
The author selected the Free and Open Source Fund to receive a donation as part of the Write for DOnations program.
Introduction
Flask is a lightweight Python web framework that provides useful tools and features for creating web applications in the Python Language.
When developing a web application, it is important to separate business logic from presentation logic. Business logic is what handles user requests and talks to the database to build an appropriate response. Presentation logic is how the data is presented to the user, typically using HTML files to build the basic structure of the response web page, and CSS styles to style HTML components. For example, in a social media application, you might have a username field and a password field that can be displayed only when the user is not logged in. If the user is logged in, you display a logout button instead. This is the presentation logic. If a user types in their username and password, you can use Flask to perform business logic: You extract the data (the username and password) from the request, log the user in if the credentials are correct or respond with an error message. How the error message is displayed will be handled by the presentation logic.
In Flask, you can use the Jinja templating language to render HTML templates. A template is a file that can contain both fixed and dynamic content. When a user requests something from your application (such as an index page, or a login page), Jinja allows you to respond with an HTML template where you can use many features that are not available in standard HTML, such as variables, if statements, for loops, filters, and template inheritance. These features allow you to efficiently write easy-to-maintain HTML pages. Jinja also automatically escapes HTML to prevent Cross-Site Scripting (XSS) attacks.
In this tutorial, you’ll build a small web application that renders several HTML files. You’ll use variables to pass data from the server to the templates. Template inheritance will help you avoid repetition. You’ll use logic in templates such as conditionals and loops, use filters to modify text, and use the Bootstrap toolkit to style your application.
Prerequisites
-
A local Python 3 programming environment. Follow the tutorial for your distribution in How To Install and Set Up a Local Programming Environment for Python 3 series. In this tutorial we’ll call our project directory
flask_app. -
Flask installed on your programming environment as covered in Step 1 of How to Create Your First Web Application Using Flask and Python.
-
An understanding of basic Flask concepts, such as routes and view functions. If you are not familiar with Flask, check out How to Create Your First Web Application Using Flask and Python.
-
An understanding of basic HTML concepts. You can review our How To Build a Website with HTML tutorial series for background knowledge.
Step 1 — Rendering a Template and Using Variables
Make sure you have activated your environment and have Flask installed, and then you can start building your application. The first step is to display a message that greets visitors on the index page. You’ll use Flask’s render_template() helper function to serve an HTML template as the response. You will also see how to pass variables from your application side to your templates.
First, in your flask_app directory, open a file named app.py for editing. Use nano or your favorite text editor:
- nano app.py
Add the following code inside the app.py file:
from flask import Flask, render_template

app = Flask(__name__)


@app.route('/')
def hello():
    return render_template('index.html')
Save and close the file.
In this code block, you import the Flask class and the render_template() function from the flask package. You use the Flask class to create your Flask application instance named app. Then you define a view function (which is a Python function that returns an HTTP response) called hello() using the app.route() decorator, which converts a regular function into a view function. This view function uses the render_template() function to render a template file called index.html.
Next, you’ll have to create the index.html template file in a directory called templates inside your flask_app directory. Flask looks for templates in the templates directory, which is called templates, so the name is important. Make sure you’re inside the flask_app directory and run the following command to create the templates directory:
- mkdir templates
Next, open a file called index.html inside the templates directory for editing. The name index.html here is not a standard required name; you can call it home.html or homepage.html or anything else if you want:
- nano templates/index.html
Add the following HTML code inside the index.html file:
<!DOCTYPE html>
<html lang="en">
<head>
    <meta charset="UTF-8">
    <title>FlaskApp</title>
</head>
<body>
    <h1>Hello World!</h1>
    <h2>Welcome to FlaskApp!</h2>
</body>
</html>
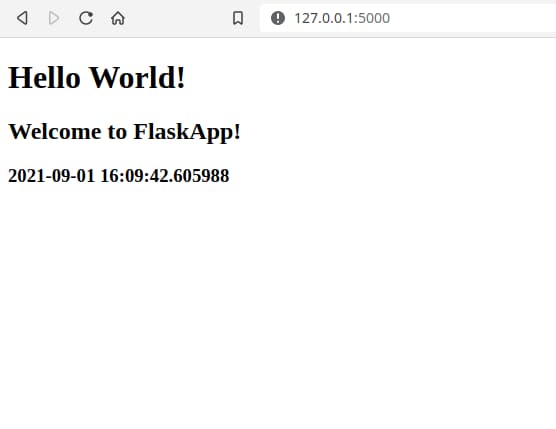
Here, you set a title, added a Hello World! message as an H1 heading, and created a Welcome to FlaskApp! message as an H2 heading.
Save and close the file.
While in your flask_app directory with your virtual environment activated, tell Flask about the application (app.py in your case) using the FLASK_APP environment variable, and set the FLASK_ENV environment variable to development to run the application in development mode and get access to the debugger. Use the following commands to do this (on Windows, use set instead of export):
- export FLASK_APP=app
- export FLASK_ENV=development
Then, run the application using the flask run command:
- flask run
With the development server running, visit the following URL using your browser:
http://127.0.0.1:5000/
You’ll see the title of the page is set to FlaskApp, and the two headings are rendered HTML.
In web applications, you often need to pass data from your application’s Python files to your HTML templates. To demonstrate how to do this in this application, you will pass a variable containing the current UTC date and time to the index template, and you’ll display the value of the variable in the template.
Leave the server running, and open your app.py file for editing in a new terminal:
- nano app.py
Import the datetime module from the Python standard library and edit the index() function so the file looks as follows:
import datetime
from flask import Flask, render_template

app = Flask(__name__)


@app.route('/')
def hello():
    return render_template('index.html', utc_dt=datetime.datetime.utcnow())
Save and close the file.
Here you imported the datetime module and passed a variable called utc_dt to the index.html template with the value of datetime.datetime.utcnow(), which is the current UTC date and time.
Next, to display the variable’s value on the index page, open the index.html file for editing:
- nano templates/index.html
Edit the file to look as follows:
<!DOCTYPE html>
<html lang="en">
<head>
    <meta charset="UTF-8">
    <title>FlaskApp</title>
</head>
<body>
    <h1>Hello World!</h1>
    <h2>Welcome to FlaskApp!</h2>
    <h3>{{ utc_dt }}</h3>
</body>
</html>
Save and close the file.
You added an H3 heading with the special {{ ... }} delimiter to print the value of the utc_dt variable.
Open your browser and visit the index page:
http://127.0.0.1:5000/
You’ll see a page similar to the following image:
You’ve now created an index page with an HTML template in your Flask application, rendered a template, and passed and displayed a variable value. Next you’ll avoid code repetition by using template inheritance.
Step 2 — Using Template Inheritance
In this step, you’ll make a base template with content that can be shared with your other templates. You’ll edit your index template to inherit from the base template. Then, you’ll make a new page that will serve as your application’s About page, where users can find more information about your application.
A base template contains HTML components that are typically shared between all other templates, such as the application’s title, navigation bars, and footers.
First, open a new file called base.html for editing inside your templates directory:
- nano templates/base.html
Write the following code inside your base.html file:
<!DOCTYPE html>
<html lang="en">
<head>
    <meta charset="UTF-8">
    <title>{% block title %} {% endblock %} - FlaskApp</title>
    <style>
        nav a {
            color: #d64161;
            font-size: 3em;
            margin-left: 50px;
            text-decoration: none;
        }
    </style>
</head>
<body>
    <nav>
        <a href="#">FlaskApp</a>
        <a href="#">About</a>
    </nav>
    <hr>
    <div class="content">
        {% block content %} {% endblock %}
    </div>
</body>
</html>
Save and close the file.
Most of the code in this file is standard HTML, a title, some styling for the navigation links, a navigation bar with two links, one for the index page and one for the About page not yet created, and a <div> for the page’s content. (The links don’t work yet; the next step will demonstrate how to link between pages).
However, the following highlighted parts are specific to the Jinja template engine:
-
{% block title %} {% endblock %}: A block that serves as a placeholder for a title. You’ll later use it in other templates to provide a custom title for each page in your application without rewriting the entire<head>section each time. -
{% block content %} {% endblock %}: Another block that will be replaced by content depending on the child template (a template that inherits frombase.html) that will override it.
Now that you have a base template, you can take advantage of it using inheritance. Open the index.html file:
- nano templates/index.html
Then replace its contents with the following:
{% extends 'base.html' %}

{% block content %}
    <h1>{% block title %} Index {% endblock %}</h1>
    <h1>Hello World!</h1>
    <h2>Welcome to FlaskApp!</h2>
    <h3>{{ utc_dt }}</h3>
{% endblock %}
Here, you use the {% extends %} tag to inherit from the base.html template. You then extend it via replacing the content block in the base template with what is inside the content block in the preceding code block.
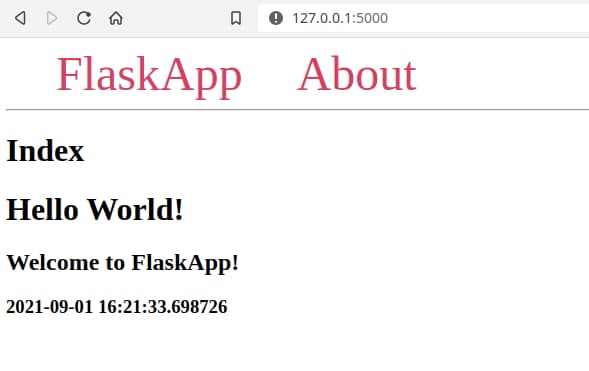
This content block contains an <h1> tag with the text Index inside a title block, which in turn replaces the original title block in the base.html template with the text Index so that the complete title becomes Index - FlaskApp. This way, you can avoid repeating the same text twice, as it works both as a title for the page and a heading that appears below the navigation bar inherited from the base template.
Then you have a few more headings: one <h1> heading with the text Hello World!, an <h2> heading, and an <h3> heading containing the value of the utc_dt variable.
Template inheritance gives you the ability to reuse the HTML code you have in other templates (base.html in this case) without having to repeat it each time it is needed.
Save and close the file and refresh the index page on your browser. The page will look as follows:
Next, you’ll create the About page. Open the app.py file to add a new route:
- nano app.py
Add the following route at the end of the file:
# ...
@app.route('/about/')
def about():
    return render_template('about.html')
Here you use the app.route() decorator to create a view function called about(). In it, you return the result of calling the render_template() function with the about.html template file name as an argument.
Save and close the file.
Open a template file called about.html for editing:
- nano templates/about.html
Add the following code to the file:
{% extends 'base.html' %}

{% block content %}
    <h1>{% block title %} About {% endblock %}</h1>
    <h3>FlaskApp is a Flask web application written in Python.</h3>
{% endblock %}
Here, you inherit from the base template using the extends tag, replace the base template’s content block with an <h1> tag that also serves as the page’s title, and add an <h3> tag with some information about the application.
Save and close the file.
With the development server running, visit the following URL using your browser:
http://127.0.0.1:5000/about
You’ll see a page similar to the following:
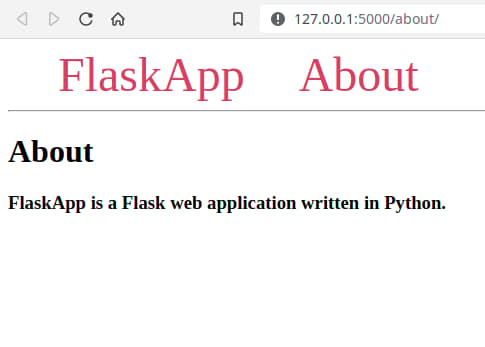
Notice how the navigation bar and part of the title are inherited from the base template.
You’ve now created a base template and used it in your index page and about page to avoid code repetition. The links in the navigation bar don’t do anything at this point. In the next step, you’ll learn how to link between routes in your templates by fixing the navigation bar links.
Step 3 — Linking between Pages
In this step, you’ll learn how to link between pages in your templates using the url_for() helper function. You will add two links to the navigation bar in your base template, one for the index page, and one for the About page.
First open your base template for editing:
- nano templates/base.html
Edit the file to look as follows:
<!DOCTYPE html>
<html lang="en">
<head>
    <meta charset="UTF-8">
    <title>{% block title %} {% endblock %} - FlaskApp</title>
    <style>
        nav a {
            color: #d64161;
            font-size: 3em;
            margin-left: 50px;
            text-decoration: none;
        }
    </style>
</head>
<body>
    <nav>
        <a href="{{ url_for('hello') }}">FlaskApp</a>
        <a href="{{ url_for('about') }}">About</a>
    </nav>
    <hr>
    <div class="content">
        {% block content %} {% endblock %}
    </div>
</body>
</html>
Here, you use the special url_for() function that will return the URL for the view function you give it. The first link links to the route of the hello() view function (which is the index page). The second link links to the route of the about() view function. Notice that you pass the name of the view function, not the route (/ or /about).
Using the url_for() function to build URLs helps you manage URLs better. If you hard-code URLs, your links will break if you edit the routes. With url_for() you can edit routes and guarantee that the links will still work as expected. The url_for() function also takes care of other things like escaping special characters.
Save and close the file.
Now go to the index page and try out the links in the navigation bar. You’ll see that they work as expected.
You learned how to use the url_for() function to link to other routes in your templates. Next, you will add some conditional statements to control what is displayed in your templates depending on conditions you set, and use for loops in your templates to display list items.
Step 4 — Using Conditionals and Loops
In this step, you’ll use if statements in your templates to control what to display depending on certain conditions. You’ll also use for loops to go through Python lists and display each item in the list. You’ll add a new page that displays comments in a list. Comments with an even index number will have a blue background, and comments with an odd index number will be displayed with a gray background.
First, you will create a route for the comments page. Open your app.py file for editing:
- nano app.py
Add the following route at the end of the file:
# ...

@app.route('/comments/')
def comments():
    comments = ['This is the first comment.',
                'This is the second comment.',
                'This is the third comment.',
                'This is the fourth comment.'
                ]

    return render_template('comments.html', comments=comments)
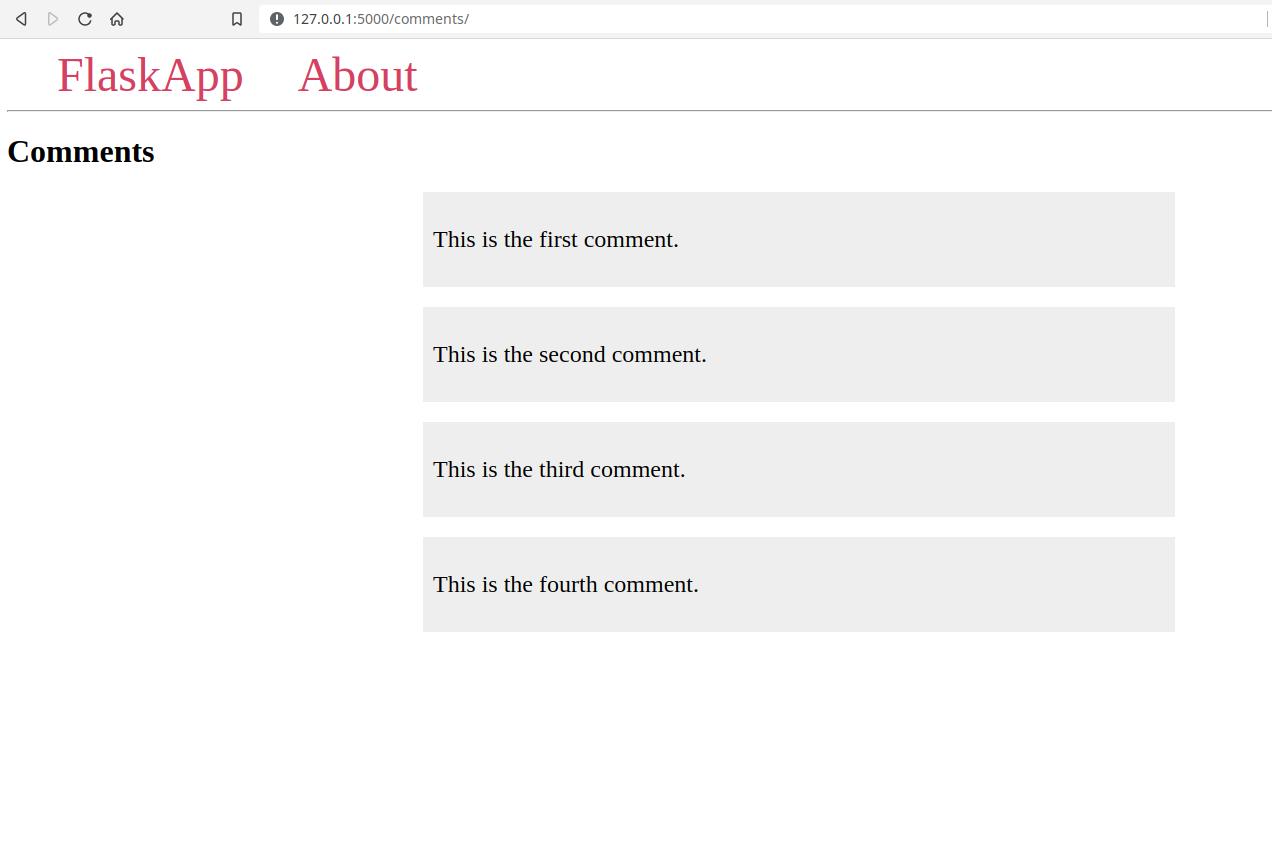
In the route above, you have a Python list called comments that contains four items. (These comments would usually come from a database in a real-world scenario rather than being hard-coded like you’ve done here.) You return a template file called comments.html in the last line, passing a variable called comments containing the list to the template file.
Save and close the file.
Next, open a new comments.html file inside the templates directory for editing:
- nano templates/comments.html
Add the following code to the file:
{% extends 'base.html' %}

{% block content %}
    <h1>{% block title %} Comments {% endblock %}</h1>
    <div style="width: 50%; margin: auto">
        {% for comment in comments %}
        <div style="padding: 10px; background-color: #EEE; margin: 20px">
            <p style="font-size: 24px">{{ comment }}</p>
        </div>
        {% endfor %}
    </div>
{% endblock %}
Here, you extend the base.html template and replace the contents of the content block. First, you use an <h1> heading that also serves as the page’s title.
You use a Jinja for loop in the line {% for comment in comments %} to go through each comment in the comments list (which gets stored in the comment variable). You display the comment in the <p style="font-size: 24px">{{ comment }}</p> tag the same way you would normally display a variable in Jinja. You signal the ending of the for loop using the {% endfor %} keyword. This is different from the way Python for loops are constructed because there is no special indentation in Jinja templates.
Save and close the file.
With the development server running, open your browser and visit the comments page:
http://127.0.0.1:5000/comments
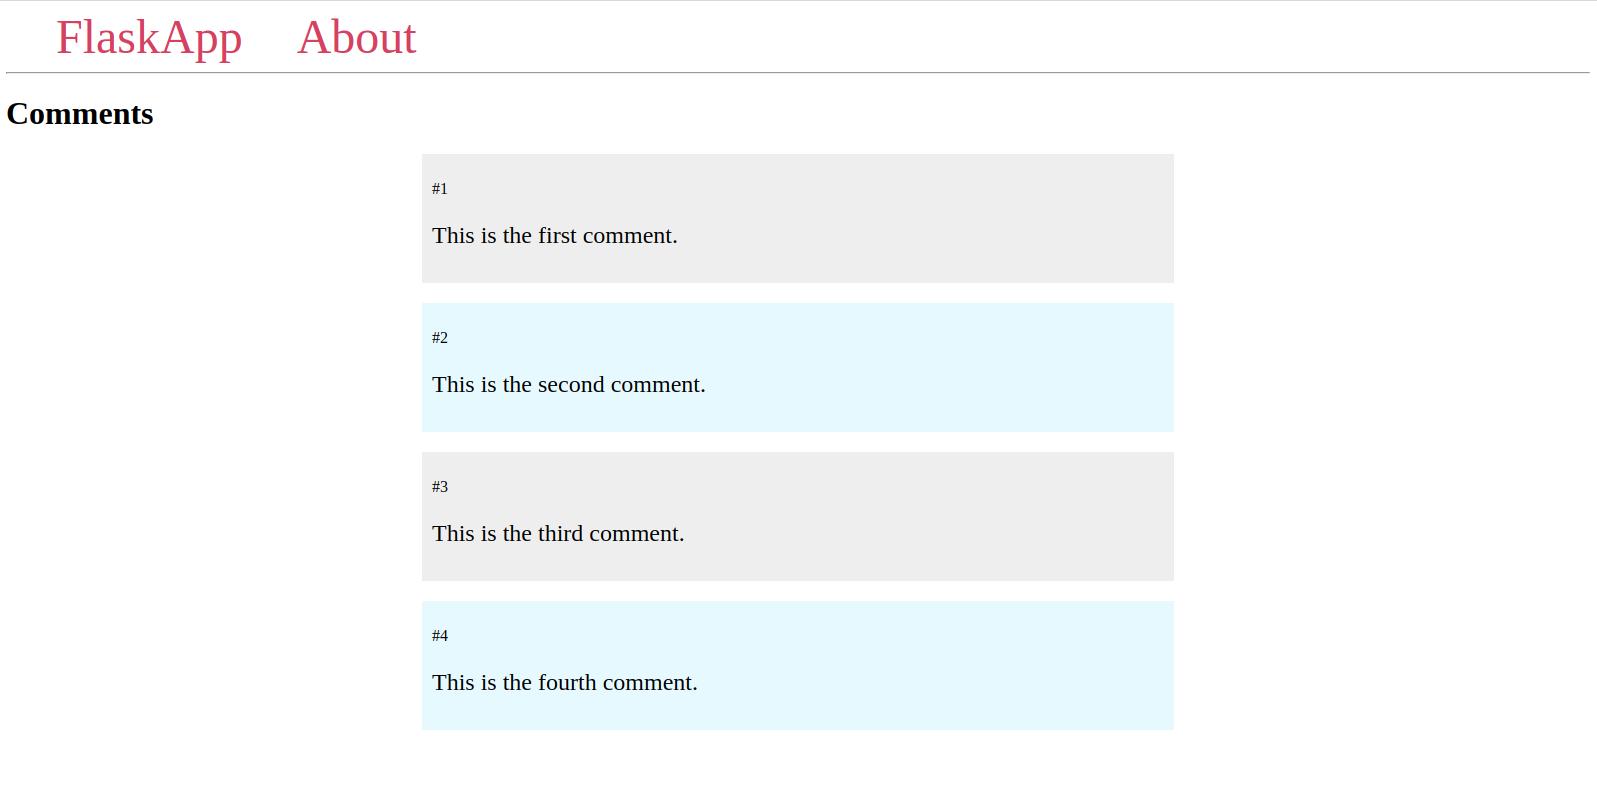
You will see a page similar to the following:
Now you will use the if conditional statement in your templates by displaying comments with an odd index number with a gray background, and comments with an even index number with a blue background.
Open your comments.html template file for editing:
- nano templates/comments.html
Edit it to look as follows:
{% extends 'base.html' %}

{% block content %}
    <h1>{% block title %} Comments {% endblock %}</h1>
    <div style="width: 50%; margin: auto">
        {% for comment in comments %}
            {% if loop.index % 2 == 0 %}
                {% set bg_color = '#e6f9ff' %}
            {% else %}
                {% set bg_color = '#eee' %}
            {% endif %}

            <div style="padding: 10px; background-color: {{ bg_color }}; margin: 20px">
                <p>#{{ loop.index }}</p>
                <p style="font-size: 24px">{{ comment }}</p>
            </div>
        {% endfor %}
    </div>
{% endblock %}
With this new edit, you added an if statement in the line {% if loop.index % 2 == 0 %}. The loop variable is a special Jinja variable that gives you access to information about the current loop. Here you use loop.index to get the index of the current item, which starts from 1, not 0 as in Python lists.
The if statement here checks whether the index is even using the % operator. It checks for the remainder of dividing the index number by 2; if the remainder is 0 it means the index number is even, otherwise, the index number is odd. You use the {% set %} tag to declare a variable called bg_color. If the index number is even, you set it to a blueish color, otherwise, if the index number is odd, you set the bg_color variable to gray. You then use the bg_color variable to set a background color for the <div> tag that contains the comment. Above the comment’s text, you use loop.index to display the current index number in a <p> tag.
Save and close the file.
Open your browser and visit the comments page:
http://127.0.0.1:5000/comments
You will see your new Comments page:
This was a demonstration of how to use the if statement. But you can also achieve the same effect by using the special loop.cycle() Jinja helper. To demonstrate this, open the comments.html file:
- nano templates/comments.html
Edit it to look as follows:
{% extends 'base.html' %}

{% block content %}
    <h1>{% block title %} Comments {% endblock %}</h1>
    <div style="width: 50%; margin: auto">
        {% for comment in comments %}
            <div style="padding: 10px;
                        background-color: {{ loop.cycle('#EEE', '#e6f9ff') }};
                        margin: 20px">
                <p>#{{ loop.index }}</p>
                <p style="font-size: 24px">{{ comment }}</p>
            </div>
        {% endfor %}
    </div>
{% endblock %}
Here, you removed the if/else statement and used the loop.cycle('#EEE', '#e6f9ff') helper to cycle between the two colors. The value of background-color will be #EEE one time and #e6f9ff another.
Save and close the file.
Open the comments page in your browser, refresh it, and you’ll see that this has the same effect as the if statement.
You can use if statements for multiple purposes, including controlling what gets displayed on the page. For example, to display all comments except for the second one, you can use an if statement with the condition loop.index != 2 to filter out the second comment.
Open the comments template:
- nano templates/comments.html
And edit it to look as follows:
{% extends 'base.html' %}

{% block content %}
    <h1>{% block title %} Comments {% endblock %}</h1>
    <div style="width: 50%; margin: auto">
        {% for comment in comments %}
            {% if loop.index != 2 %}
                <div style="padding: 10px;
                            background-color: #EEE;
                            margin: 20px">
                    <p>#{{ loop.index }}</p>
                    <p style="font-size: 24px">{{ comment }}</p>
                </div>
            {% endif %}
        {% endfor %}
    </div>
{% endblock %}
Here, you use {% if loop.index != 2 %} to show only the comments that don’t have the index 2, which means all the comments except for the second one. You also use a hard-coded value for the background color instead of the loop.cycle() helper to make things simpler, and the rest is not changed. You end the if statement using {% endif %}.
Save and close the file.
Refresh the comments page and you’ll see that the second comment is not displayed.
You now need to add a link that takes users to the Comments page in the navigation bar. Open the base template for editing:
- nano templates/base.html
Edit the contents of the <nav> tag by adding a new <a> link to it:
<!DOCTYPE html>
<html lang="en">
<head>
    <meta charset="UTF-8">
    <title>{% block title %} {% endblock %} - FlaskApp</title>
    <style>
        nav a {
            color: #d64161;
            font-size: 3em;
            margin-left: 50px;
            text-decoration: none;
        }
    </style>
</head>
<body>
    <nav>
        <a href="{{ url_for('hello') }}">FlaskApp</a>
        <a href="{{ url_for('comments') }}">Comments</a>
        <a href="{{ url_for('about') }}">About</a>
    </nav>
    <hr>
    <div class="content">
        {% block content %} {% endblock %}
    </div>
</body>
</html>
Here, you use the url_for() helper to link to the comments() view function.
Save and close the file.
The navigation bar will now have a new link that links to the comments page.
You used if statements in your templates to control what to display depending on certain conditions. You used for loops to go through Python lists and display each item in the list, and you learned about the special loop variable in Jinja. Next, you’ll use Jinja filters to control how variable data is displayed.
Step 5 — Using Filters
In this step, you’ll learn how to use Jinja filters in your templates. You’ll use the upper filter to convert comments you added in the previous step to uppercase, you’ll use the join filter to join a sequence of strings into one string, and you’ll learn how to render trusted HTML code without escaping it using the safe filter.
First, you will convert the comments in the comments page to uppercase. Open the comments.html template for editing:
- nano templates/comments.html
Edit it to look as follows:
{% extends 'base.html' %}

{% block content %}
    <h1>{% block title %} Comments {% endblock %}</h1>
    <div style="width: 50%; margin: auto">
        {% for comment in comments %}
            {% if loop.index != 2 %}
                <div style="padding: 10px;
                            background-color: #EEE;
                            margin: 20px">
                    <p>#{{ loop.index }}</p>
                    <p style="font-size: 24px">{{ comment | upper }}</p>
                </div>
            {% endif %}
        {% endfor %}
    </div>
{% endblock %}
Here, you added the upper filter using the pipe symbol (|). This will modify the value of the comment variable to be uppercase.
Save and close the file.
With the development server running, open the comments page with your browser:
http://127.0.0.1:5000/comments
You can see that the comments are all in uppercase after applying the filter.
Filters can also take arguments in parentheses. To demonstrate this, you’ll use the join filter to join all the comments in the comments list.
Open the comments template:
- nano templates/comments.html
Edit it to look as follows:
{% extends 'base.html' %}

{% block content %}
    <h1>{% block title %} Comments {% endblock %}</h1>
    <div style="width: 50%; margin: auto">
        {% for comment in comments %}
            {% if loop.index != 2 %}
                <div style="padding: 10px;
                            background-color: #EEE;
                            margin: 20px">
                    <p>#{{ loop.index }}</p>
                    <p style="font-size: 24px">{{ comment | upper }}</p>
                </div>
            {% endif %}
        {% endfor %}
        <hr>
        <div>
            <p>{{ comments | join(" | ") }}</p>
        </div>
    </div>
{% endblock %}
Here you added an <hr> tag and a <div> tag where you join all the comments in the comments list using the join() filter.
Save and close the file.
Refresh the comments page and you’ll see a page similar to the following:
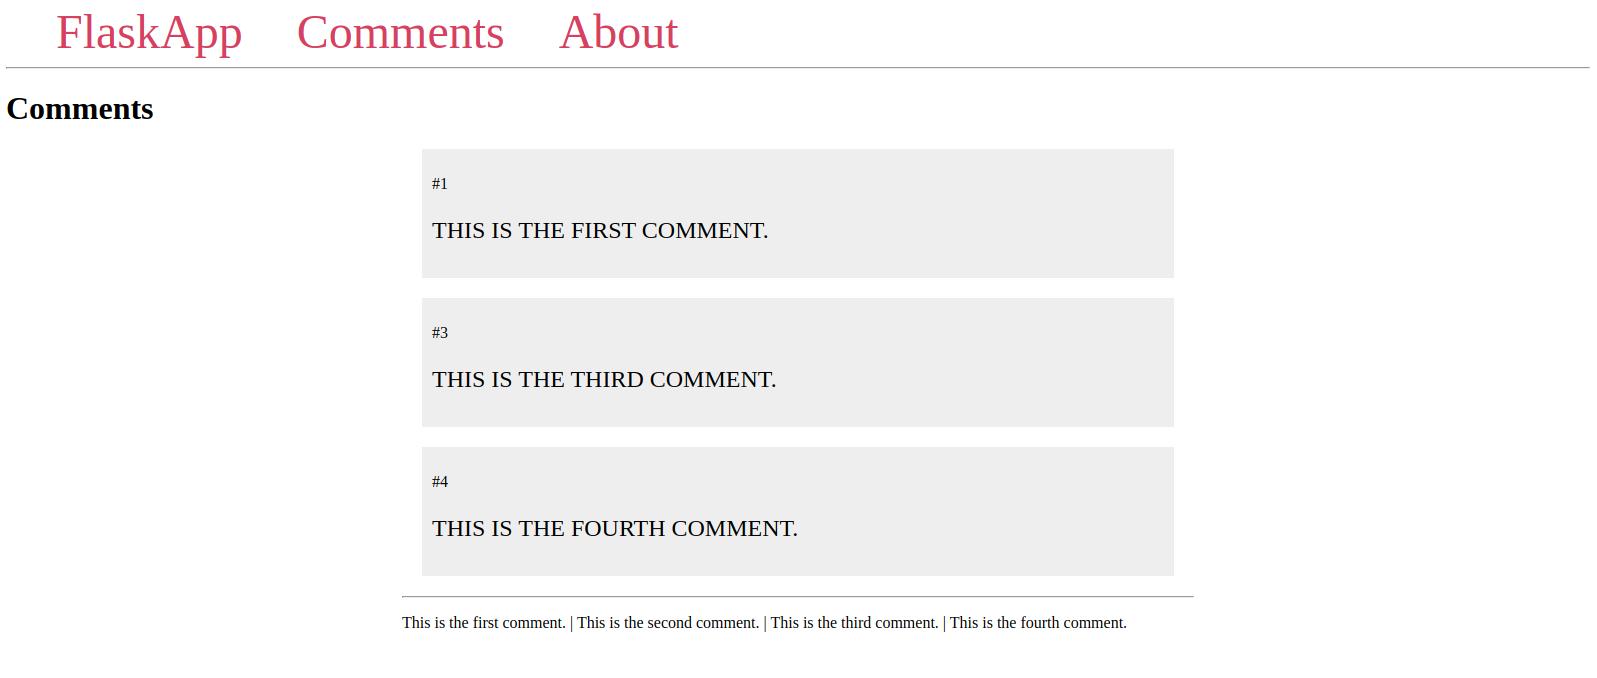
As you can see, the comments list is displayed with the comments separated by a pipe symbol, which is what you passed to the join() filter.
Another important filter is the safe filter, which allows you to render trusted HTML on the browser. To illustrate this, you’ll add some text containing an HTML tag to your comments template using the {{ }} Jinja delimiter. In a real-world scenario, this would come as a variable from the server. Then you’ll edit the join() argument to be the <hr> tag instead of the pipe symbol.
Open the comments template:
- nano templates/comments.html
Edit it to look as follows:
{% extends 'base.html' %}

{% block content %}
    <h1>{% block title %} Comments {% endblock %}</h1>
    <div style="width: 50%; margin: auto">
        {% for comment in comments %}
            {% if loop.index != 2 %}
                <div style="padding: 10px;
                            background-color: #EEE;
                            margin: 20px">
                    <p>#{{ loop.index }}</p>
                    <p style="font-size: 24px">{{ comment | upper }}</p>
                </div>
            {% endif %}
        {% endfor %}
        <hr>
        <div>
            {{ "<h1>COMMENTS</h1>" }}
            <p>{{ comments | join(" <hr> ") }}</p>
        </div>
    </div>
{% endblock %}
Here, you added the value "<h1>COMMENTS</h1>" and changed the join argument to the <hr> tag.
Save and close the file.
Refresh the comments page and you’ll see a page similar to the following:
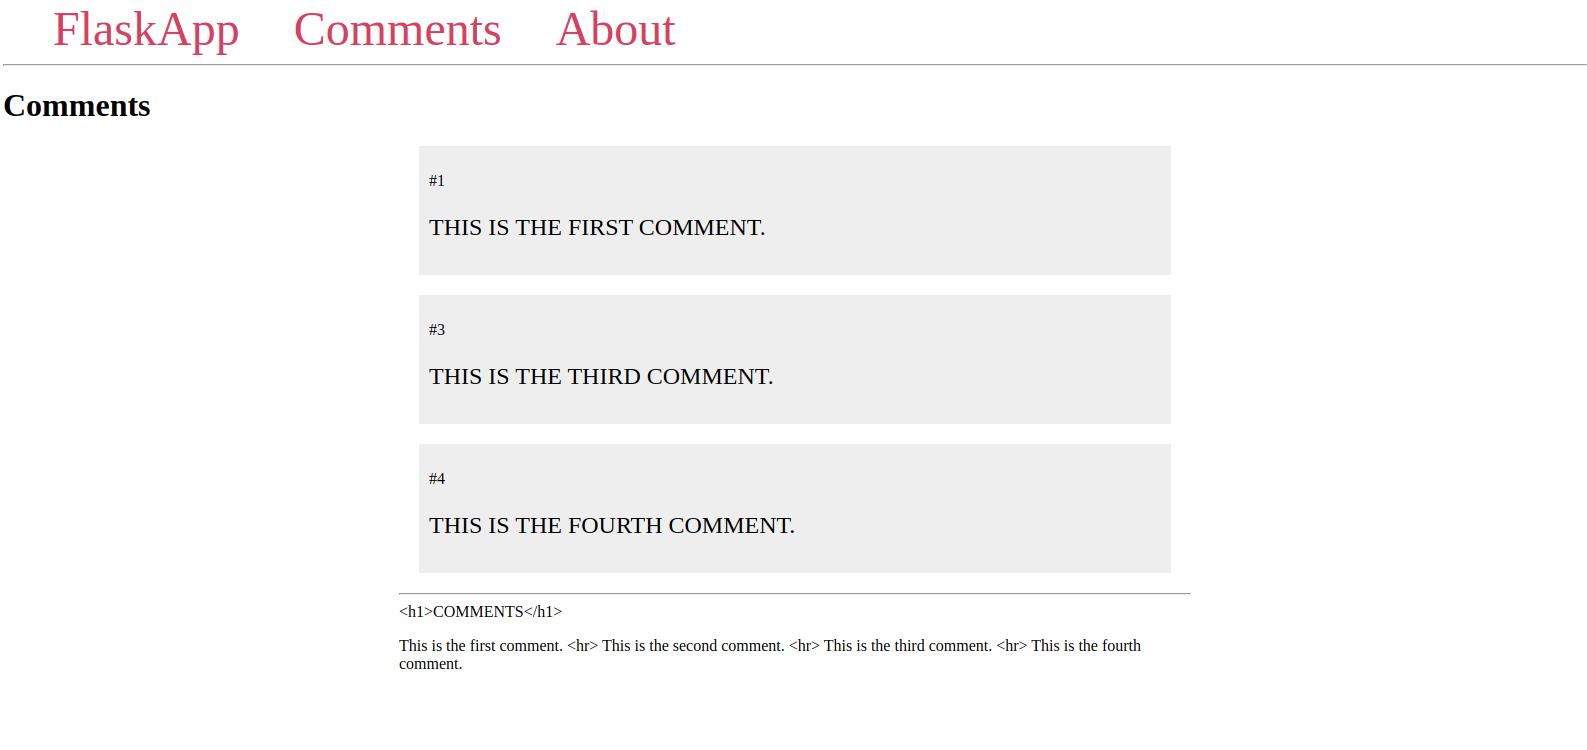
As you can see, the HTML tags were not rendered. This is a safety feature in Jinja, because some HTML tags can be harmful and may result in a Cross Site Scripting (XSS) attack. You should allow only trusted HTML to be rendered in the browser.
To render the HTML tags above, open the comments template file:
- nano templates/comments.html
Edit it by adding the safe filter:
{% extends 'base.html' %}

{% block content %}
    <h1>{% block title %} Comments {% endblock %}</h1>
    <div style="width: 50%; margin: auto">
        {% for comment in comments %}
            {% if loop.index != 2 %}
                <div style="padding: 10px;
                            background-color: #EEE;
                            margin: 20px">
                    <p>#{{ loop.index }}</p>
                    <p style="font-size: 24px">{{ comment | upper }}</p>
                </div>
            {% endif %}
        {% endfor %}
        <hr>
        <div>
            {{ "<h1>COMMENTS</h1>" | safe }}
            <p>{{ comments | join(" <hr> ") | safe }}</p>
        </div>
    </div>
{% endblock %}
You can see that you can also chain filters like in the line <p>{{ comments | join(" <hr> ") | safe }}</p>. Each filter gets applied to the result of the previous filtering.
Save and close the file.
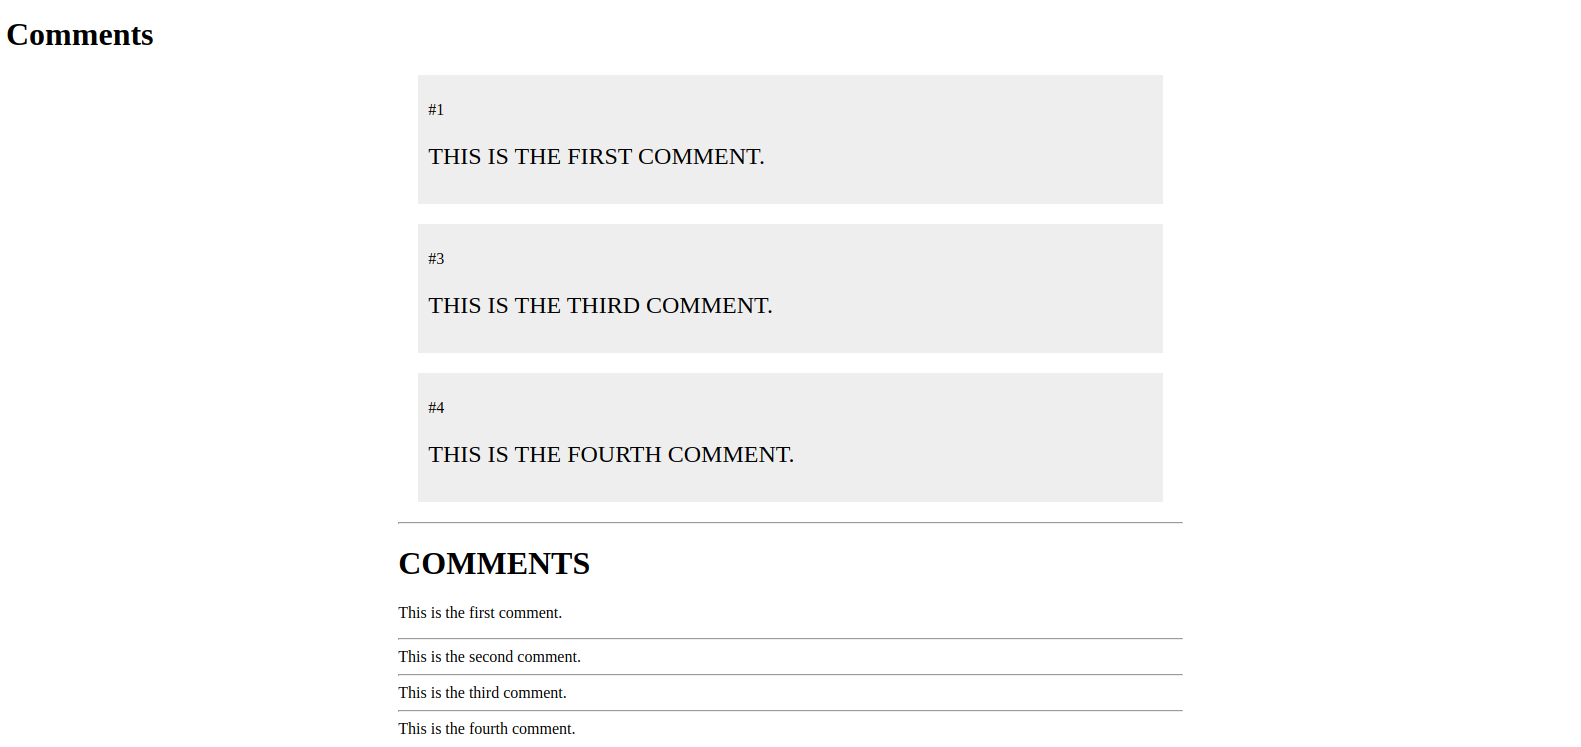
Refresh the comments page and you’ll see that the HTML tags are now rendered as expected:
Warning: Using the safe filter on HTML from unknown data sources may open up your application to XSS attacks. Do not use it unless the HTML you are rendering is from a trusted source.
For more information, check out the list of built-in Jinja filters.
You have now learned how to use filters in your Jinja templates to modify variable values. Next, you’ll integrate the Bootstrap toolkit to style your application.
Step 6 — Integrating Bootstrap
In this step, you’ll learn how to use the Bootstrap toolkit to style your application. You’ll add a Bootstrap navigation bar in the base template that will appear in all the pages that inherit from the base template.
The Bootstrap toolkit helps you style your application so it is more visually appealing. It will also help you incorporate responsive web pages in your web application so that it works well on mobile browsers without writing your own HTML, CSS, and JavaScript code to achieve these goals.
To use Bootstrap, you’ll need to add it to the base template so you can use it in all other templates.
Open your base.html template, for editing:
- nano templates/base.html
Edit it to look as follows:
<!doctype html>
<html lang="en">
  <head>
    <!-- Required meta tags -->
    <meta charset="utf-8">
    <meta name="viewport" content="width=device-width, initial-scale=1">

    <!-- Bootstrap CSS -->
    <link href="https://cdn.jsdelivr.net/npm/bootstrap@5.1.0/dist/css/bootstrap.min.css" rel="stylesheet" integrity="sha384-KyZXEAg3QhqLMpG8r+8fhAXLRk2vvoC2f3B09zVXn8CA5QIVfZOJ3BCsw2P0p/We" crossorigin="anonymous">

    <title>{% block title %} {% endblock %} - FlaskApp</title>
  </head>
  <body>
    <nav class="navbar navbar-expand-lg navbar-light bg-light">
    <div class="container-fluid">
        <a class="navbar-brand" href="{{ url_for('hello') }}">FlaskApp</a>
        <button class="navbar-toggler" type="button" data-bs-toggle="collapse" data-bs-target="#navbarNav" aria-controls="navbarNav" aria-expanded="false" aria-label="Toggle navigation">
        <span class="navbar-toggler-icon"></span>
        </button>
        <div class="collapse navbar-collapse" id="navbarNav">
        <ul class="navbar-nav">
            <li class="nav-item">
              <a class="nav-link" href="{{ url_for('comments') }}">Comments</a>
            </li>
            <li class="nav-item">
              <a class="nav-link" href="{{ url_for('about') }}">About</a>
            </li>
        </ul>
        </div>
    </div>
    </nav>
    <div class="container">
        {% block content %} {% endblock %}
    </div>

    <!-- Optional JavaScript -->

    <script src="https://cdn.jsdelivr.net/npm/bootstrap@5.1.0/dist/js/bootstrap.bundle.min.js" integrity="sha384-U1DAWAznBHeqEIlVSCgzq+c9gqGAJn5c/t99JyeKa9xxaYpSvHU5awsuZVVFIhvj" crossorigin="anonymous"></script>

  </body>
</html>
Most of the code above is Bootstrap boilerplate required to use it. You have some meta tags, a link to the Bootstrap CSS file in the <head> section, and at the bottom you have a link to optional JavaScript. The highlighted parts of the code contain Jinja code explained in the previous steps. Notice how you use specific tags and CSS classes to tell Bootstrap how to display each element.
In the <nav> tag above, you have an <a> tag with the class navbar-brand, which determines the brand link in the navigation bar. Inside the <ul class="navbar-nav"> tag, you have regular navigation bar items inside an <a> tag in an <li> tag.
To learn more about these tags and CSS classes, see the Bootstrap components.
Save and close the file.
With the development server running, open the index page with your browser:
http://127.0.0.1:5000/
You’ll see a page similar to the following:

You can now use Bootstrap components to style items in your Flask application in all of your templates.
Conclusion
You now know how to use HTML templates in your Flask web application. You’ve used variables to pass data from the server to templates, employed template inheritance to avoid repetition, incorporated elements such as if conditionals and for loops, and linked between different pages. You learned about filters to modify text and display trusted HTML, and you integrated Bootstrap into your application.
If you would like to read more about Flask, check out the Flask topic page.
Thanks for learning with the DigitalOcean Community. Check out our offerings for compute, storage, networking, and managed databases.
Tutorial Series: How To Build Web Applications with Flask

Flask is a lightweight Python web framework that provides useful tools and features for creating web applications in the Python Language. It gives developers flexibility and is an accessible framework for new developers because you can build a web application quickly using only a single Python file. Flask is also extensible and doesn’t force a particular directory structure or require complicated boilerplate code before getting started. Learning Flask will allow you to quickly create web applications in Python. You can take advantage of Python libraries to add advanced features to your web application, like storing your data in a database, or validating web forms.
Browse Series: 13 tutorials
About the author
Web developer. I mostly use Python & JavaScript. I like Flask and I am currently learning React. You can say hi on Twitter :)
Still looking for an answer?
This textbox defaults to using Markdown to format your answer.
You can type !ref in this text area to quickly search our full set of tutorials, documentation & marketplace offerings and insert the link!
 This work is licensed under a Creative Commons Attribution-NonCommercial- ShareAlike 4.0 International License.
Become a contributor for community
Get paid to write technical tutorials and select a tech-focused charity to receive a matching donation.

DigitalOcean Documentation
Full documentation for every DigitalOcean product.

Resources for startups and AI-native businesses
The Wave has everything you need to know about building a business, from raising funding to marketing your product.
The developer cloud
Scale up as you grow — whether you're running one virtual machine or ten thousand.

Start building today
From GPU-powered inference and Kubernetes to managed databases and storage, get everything you need to build, scale, and deploy intelligent applications.
