Technical Writer

Introduction
GitLab is an open-source software development program primarily used to host Git repositories. It provides features such as version control, issue tracking, code review, and more. GitLab is also flexible when it comes to your preferred hosting method. It can be hosted within your own infrastructure and can even be deployed as an internal repository for your development team or publicly for users, as well as a way for contributors to host their own projects. There are also features such as security and monitoring available with the GitLab Enterprise Edition.
This tutorial will guide you through spinning up a DigitalOcean Droplet with GitLab Enterprise pre-installed using the DigitalOcean GitLab Enterprise Edition 1-Click App. After creating your Droplet, you’ll learn how to log in to your GitLab server, navigate the web interface, and some common commands. Since this 1-Click Droplet is based on a standard Ubuntu 20.04 Droplet, you can read more of our GitLab and Git-relevant tutorials after you finish this guide.
1-Click Deployment
The GitLab Enterprise Edition 1-Click comes pre-installed with GitLab EE Latest version on a Ubuntu 20.04 Droplet. As of this writing, the package is the GitLab 15.8 version.
Prerequisites
To get your GitLab Enterprise Edition 1-Click up and running on your browser, you need a domain name. You can use the DNS quickstart guide to learn how to set one up using DigitalOcean DNS.
Step 1 — Creating a GitLab Enterprise Edition Droplet
To create your GitLab Enterprise Edition 1-Click Droplet, first, locate it in our list of Marketplace Applications and select the GitLab Enterprise Edition application. This will take you to the DigitalOcean Control Panel.
To get started creating your Droplet, press the Create GitLab Enterprise Edition Droplet button:

If you are not already logged into your DigitalOcean account, you will need to log in to proceed. If you don’t have an account, you will be prompted to sign up.
Next, you’ll be taken to the Create Droplets page. Here you can customize your server settings before creating your GitLab Enterprise Edition Droplet. Our documentation on How to Create your First Droplet describes all the choices you need to make in detail, but the following sections discuss key settings to consider.
Choosing an image
Your image will already be set to the Marketplace tab with GitLab Enterprise Edition Latest on Ubuntu 20.04 selected. If it’s not set, switch to the Marketplace tab and search for GitLab Enterprise Edition in the keyword search box. When properly set, your Control Panel will be similar to the following:

Once the GitLab Enterprise Edition image is properly selected, you can accept the defaults or adjust settings according to your use case. We typically recommend the following changes:
Choosing a datacenter region
To avoid potential latency, it is recommended that you select a datacenter region closest to your user base. In some regions, we have more than one datacenter. There is no difference between these same region datacenters (e.g., SFO3 and SFO2).
Choosing a plan
Select a plan that works for you. Keep in mind that you can resize your Droplet depending on your needs. To run a Droplet with GitLab Enterprise Edition, a minimum memory size of 4GB of RAM is required to run the application successfully. Additionally, the recommended minimum for CPU hardware is 4 cores. This can support up to 500 users. To learn more, read the system requirements from the official documentation.
Choosing an Authentication Method
When choosing an authentication method, the SSH Key option is recommended rather than Password for your Droplet. Authentication using SSH Keys is typically more secure. Keep in mind that when opening GitLab Enterprise Edition for the first time in your browser, you will be directed to a login and password screen. You can use the default account username for root to log in. We will discuss where to find the file for the initial root password information in a later step.
Selecting additional options
Adding improved metrics monitoring and alerting to your Droplet helps you follow your Droplet resource usage over time. You may also want to consider enabling automated backups. If you prefer, you can come back later to enable backup functionality on Droplets you’ve already created.
Choosing a hostname
Provide your Droplet with an identifying name that you will remember, such as “gitlab-ee-droplet-1” or naming it after the application you will be using it for.
After making all your selections, press Create Droplet button at the bottom of the Control Panel screen. Once the Droplet is created, its IP address will be displayed:

This IP address is important for connecting to your Droplet, as well as for any future configuration you may want to do. When you hover over the IP address, you can copy it to your clipboard.
Droplets created through the 1-Click Marketplace also come with additional resources that you can access by pressing the Get started link:

This toggles a new panel, where you can gain additional information that is specific to your chosen 1-Click. This includes an overview, further steps to get started using your Droplet, and links to relevant tutorials from our Community site. There are also useful links for where to get support and find more resources for GitLab Enterprise Edition. You can also get support by reviewing the official GitLab documentation:

Next, you will access your GitLab Enterprise Edition Droplet via the terminal using the SSH authentication method you set up earlier. Please note that it can take up to 10 minutes for your Droplet to be functional.
Step 2 — Accessing the Droplet via SSH to Enable Configuration
Once you’ve spun up your GitLab Enterprise Edition Droplet, you’ll need to connect to your Droplet via SSH. That means you’ll connect to the server from the command line. If you haven’t used a terminal program like SSH or PuTTY before, check out How To Connect To Your Droplet with SSH.
When you’re ready, open a terminal on your computer and log into your Droplet as root via SSH with the following command, substituting the IP address with your Droplet’s IP address:
- ssh root@your_server_ip
After you log in, double-check that the firewall settings are set up to allow for HTTP/HTTPS access via port 80 and port 443 by running the following command:
- ufw status
Status: active

To                         Action      From
--                         ------      ----
22/tcp                     LIMIT       Anywhere
80/tcp                     ALLOW       Anywhere
443/tcp                    ALLOW       Anywhere
22/tcp (v6)                LIMIT       Anywhere (v6)
80/tcp (v6)                ALLOW       Anywhere (v6)
443/tcp (v6)               ALLOW       Anywhere (v6)
This output lists all of the allowed and limited port connections. Since ports 80 and 443 access are already listed, you do not need to add this rule. However, if you did set up SSH authentication, you will want to ensure that this rule is added. You can do that with the following command:
- ufw allow OpenSSH
After, you can check the status again with ufw status to ensure it’s been added to the list. Now that you’ve successfully signed in and verified your firewall settings, in the next step you’ll edit GitLab’s configuration file.
Step 2 — Editing the Configuration File
If you want GitLab Enterprise to redirect to your domain, edit the configuration file with that information and then run a reconfiguration command. To get started, open up the following file with your preferred text editor. This example uses nano:
- nano /etc/gitlab/gitlab.rb
Once you’re in the file, search for the external_url line. This will likely appear similar to the following with the http and your IP address information:
…
## GitLab URL
##! URL on which GitLab will be reachable.
##! For more details on configuring external_url see:
##! https://docs.gitlab.com/omnibus/settings/configuration.html#configuring-the>
##!
##! Note: During installation/upgrades, the value of the environment variable
##! EXTERNAL_URL will be used to populate/replace this value.
##! On AWS EC2 instances, we also attempt to fetch the public hostname/IP
##! address from AWS. For more details, see:
##! https://docs.aws.amazon.com/AWSEC2/latest/UserGuide/instancedata-data-retri>
external_url 'http://your_ip_address'
…
Now, update this line by changing http to https and write in your domain name in place of the IP address, so that you’ll automatically be redirected to your site and protected by a Let’s Encrypt certificate:
…
## GitLab URL
##! URL on which GitLab will be reachable.
##! For more details on configuring external_url see:
##! https://docs.gitlab.com/omnibus/settings/configuration.html#configuring-the>
##!
##! Note: During installation/upgrades, the value of the environment variable
##! EXTERNAL_URL will be used to populate/replace this value.
##! On AWS EC2 instances, we also attempt to fetch the public hostname/IP
##! address from AWS. For more details, see:
##! https://docs.aws.amazon.com/AWSEC2/latest/UserGuide/instancedata-data-retri>
external_url 'https://your_domain'
…
Next, you need to add your email for Let’s Encrypt. This is useful in the case that there is an issue with your domain, and Let’s Encrypt can contact you. Find the letsencrypt['contact_emails'] line, uncomment it by deleting the hash symbol #, and then add your information:
…
letsencrypt['contact_emails'] = ['sammy@example.com']
…
After you’ve made these changes, save and close the file. If you used nano you can do this by pressing CTRL + X, Y, and then ENTER.
Then run the following command to reconfigure GitLab and account for these updates:
- gitlab-ctl reconfigure
This initializes GitLab and uses the information you updated about your server. It may take a few minutes and is an automated process with no prompts. This also configures a Let’s Encrypt certificate for your domain.
Now that you’ve updated your configuration file, next you’ll complete the configuration setup on your browser.
Step 3 — Configuring GitLab via the Web Interface
As mentioned earlier, you need to use your GitLab Enterprise root password for your initial log in on the browser. To find these credentials, open up the following file:
- sudo nano /etc/gitlab/initial_root_password
Once you’ve opened this file, located the Password line to find that information:
# WARNING: This value is valid only in the following conditions
#          1. If provided manually (either via `GITLAB_ROOT_PASSWORD` environment variable or via `gitlab_rails['initial_root_password']` setting in `gitlab.rb`, it was provided before database was seeded for the firs$
#          2. Password hasn't been changed manually, either via UI or via command line.
#
#          If the password shown here doesn't work, you must reset the admin password following https://docs.gitlab.com/ee/security/reset_user_password.html#reset-your-root-password.

Password: your_password

# NOTE: This file will be automatically deleted in the first reconfigure run after 24 hours.
Save this password information for later. Now when you go to the log in page from your browser make sure to have the following credentials available:
- Username: root
- Password: password listed in the
/etc/gitlab/initial_root_passwordfile
Begin the initial configuration by going to the domain name for your GitLab server in the browser:
https://your_domain
You will receive the login page and can input your username and password credentials from the file you opened recently:
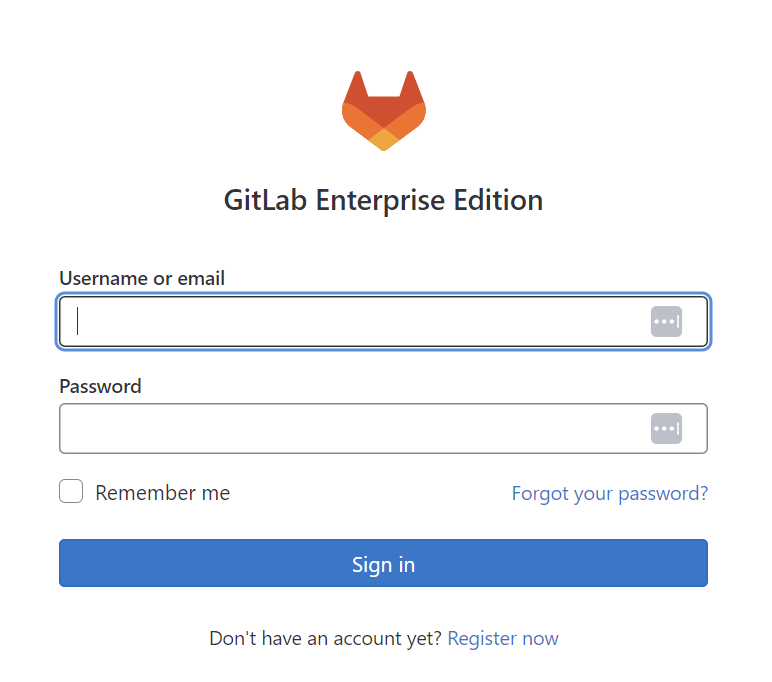
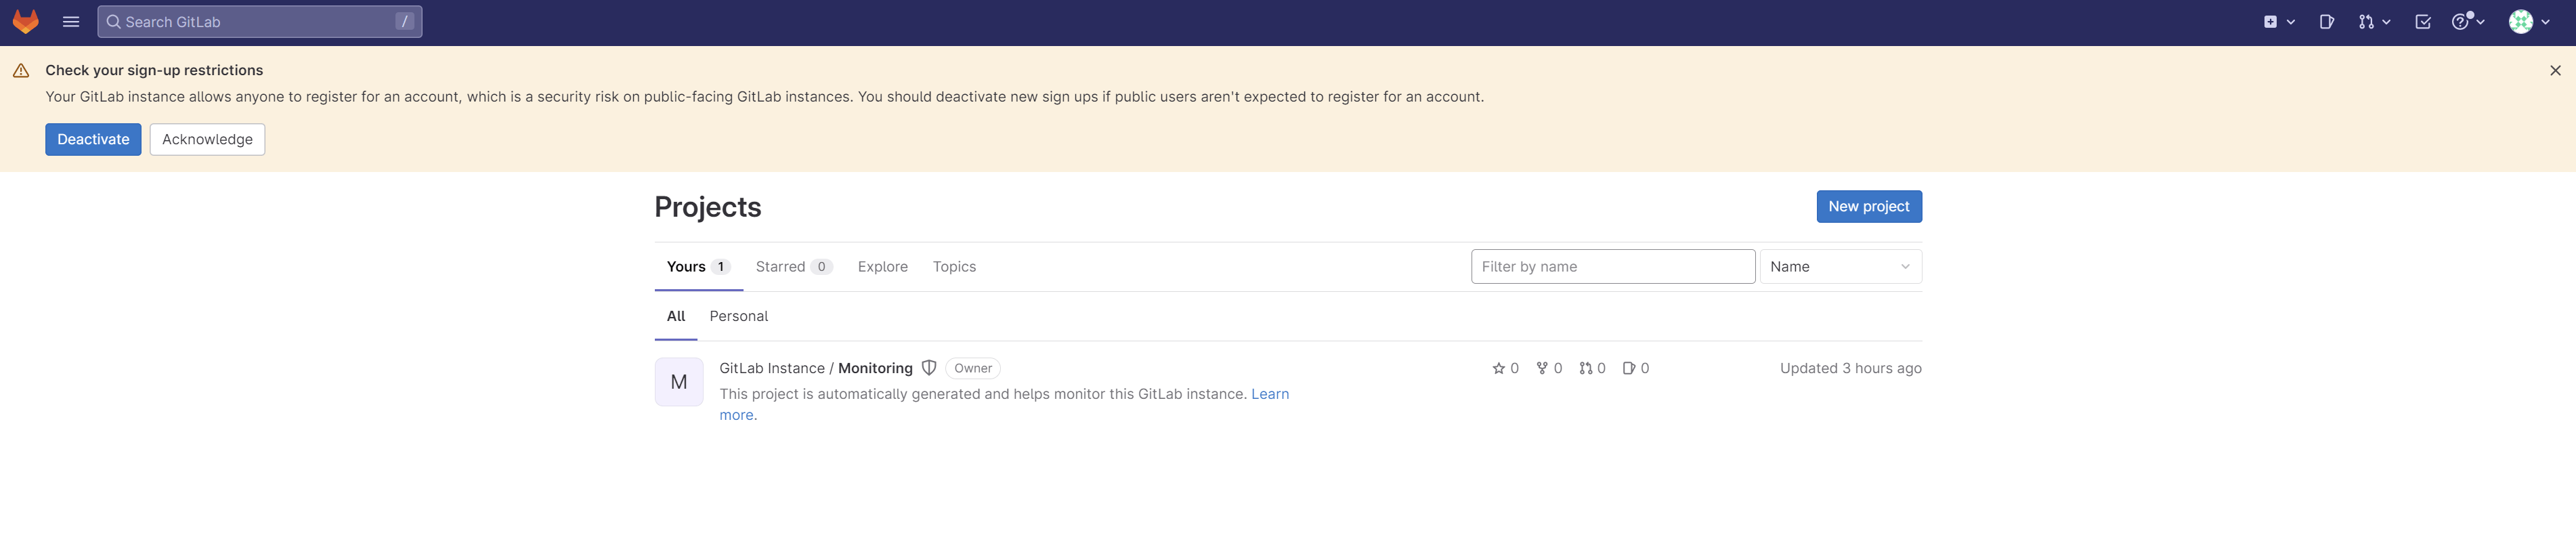
After inputting your information and pressing Sign in, you’ll be taken to the GitLab’s dashboard:
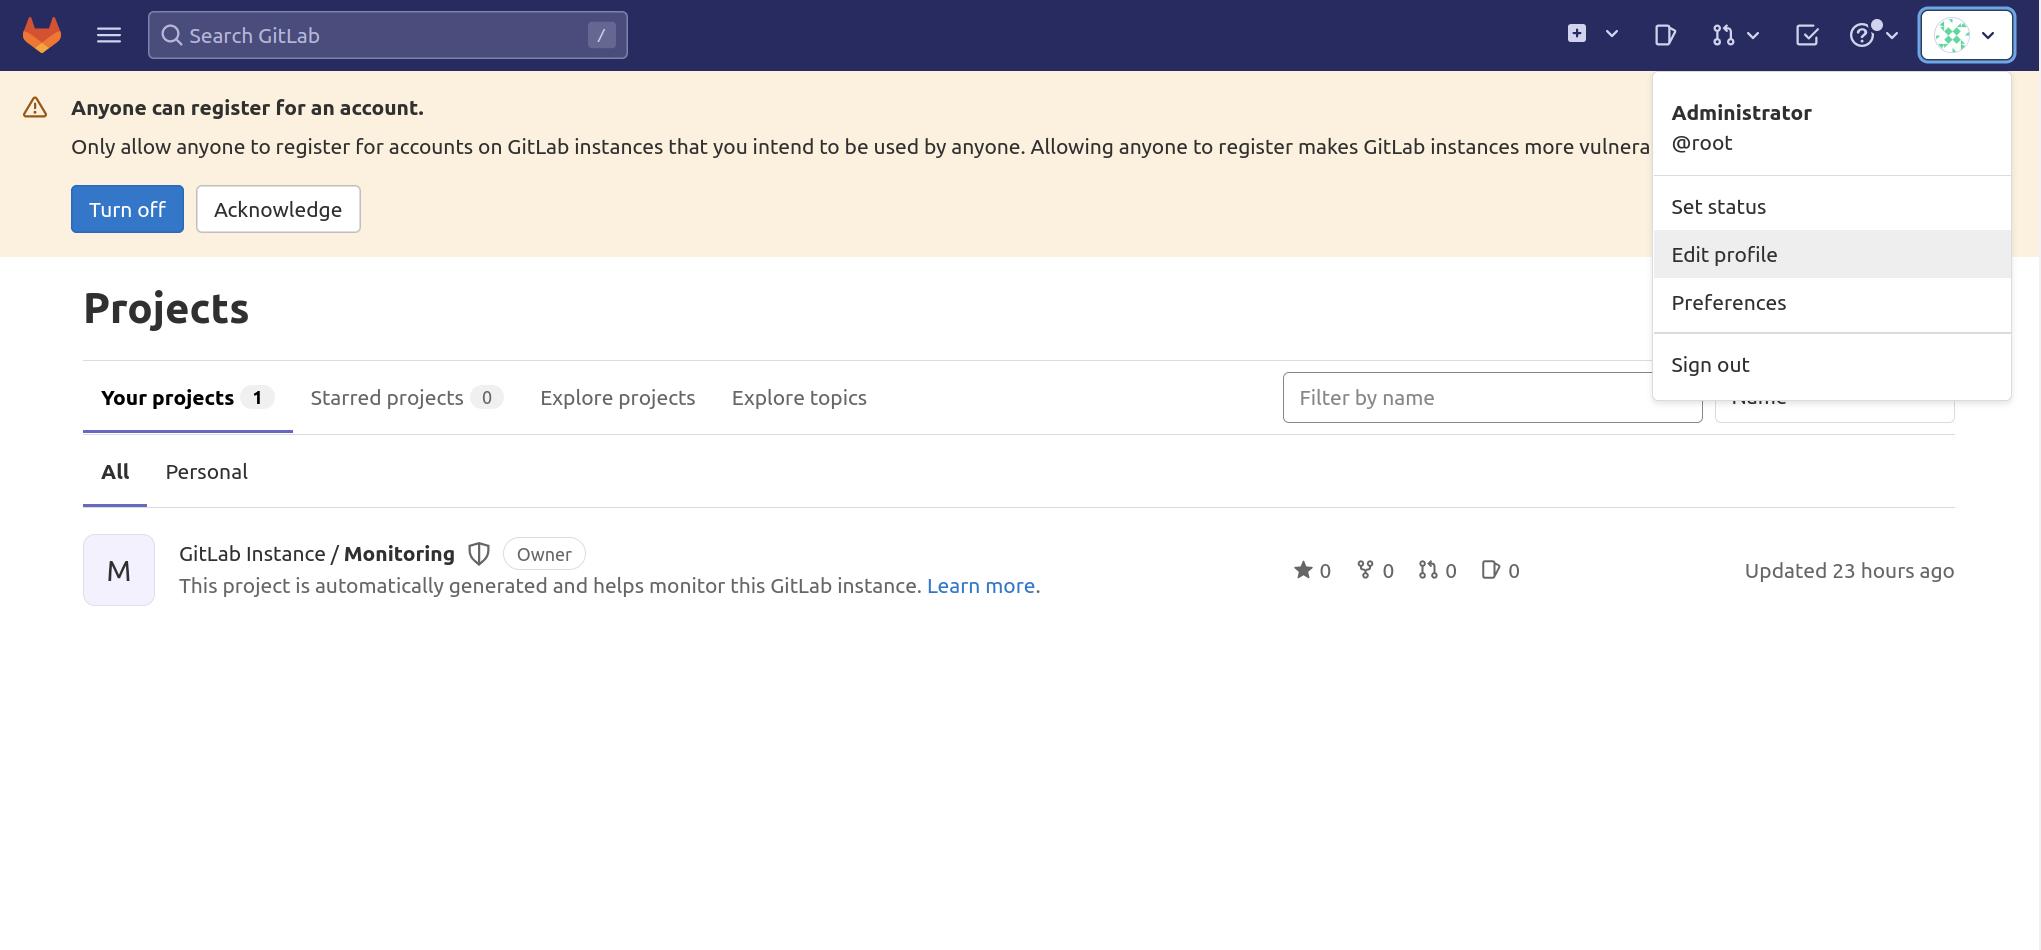
Once you’re in, first navigate to the icon in the far top right and press on it for the drop-down menu. From there, select Edit profile:
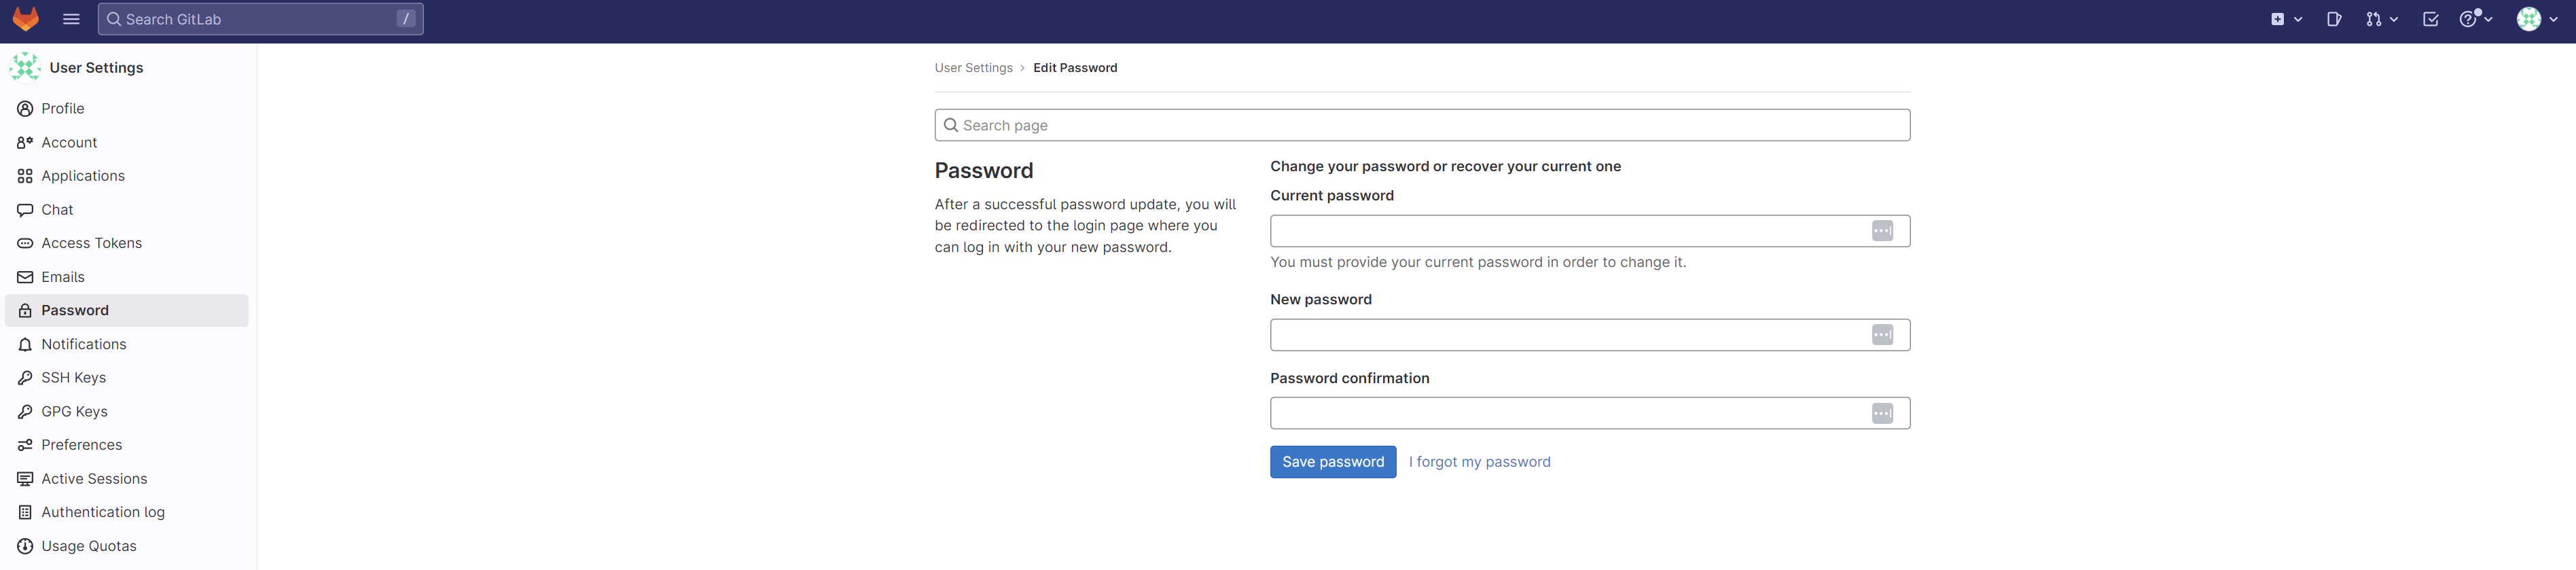
Then select Password from the list on the left panel. Update your password to something secure to replace the GitLab password that was generated for you. When you’re finished, press Save password:
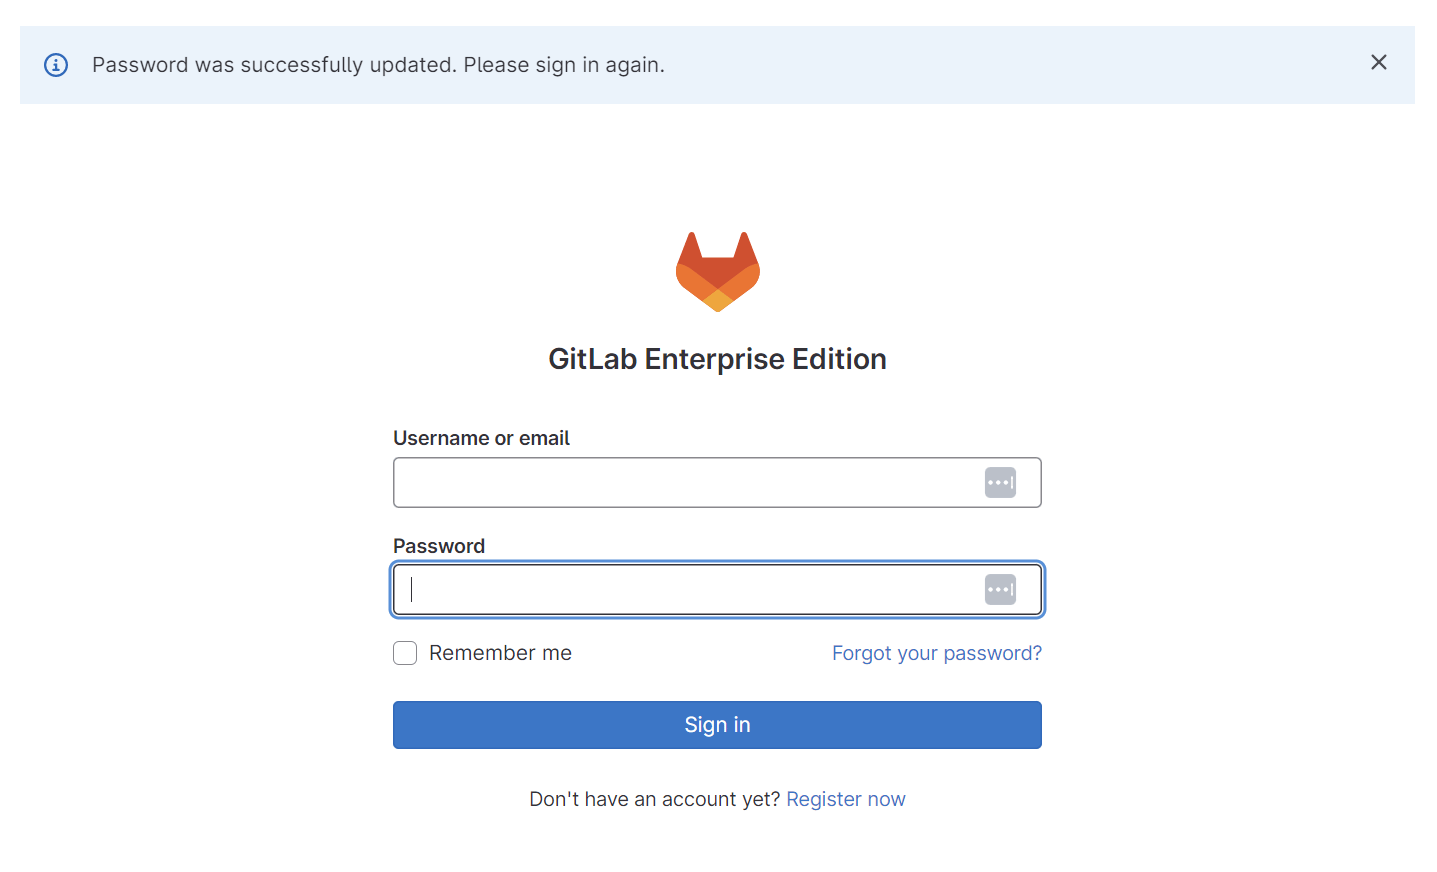
This will return you to the original login screen, and a note stating the password was updated. Enter your username and new password to access your GitLab server again:
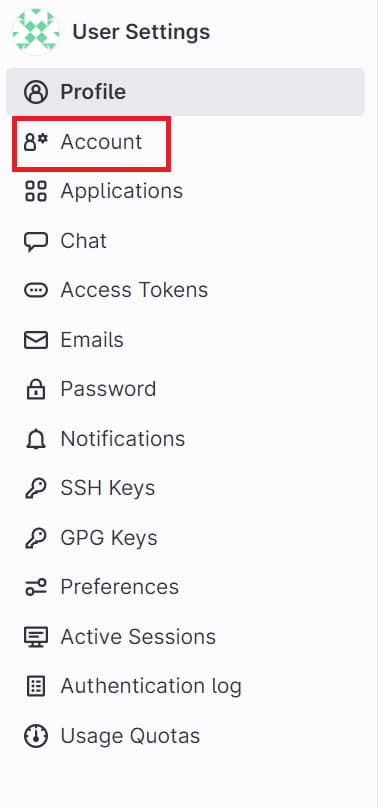
If you want to update your username, you can do so by navigating to the Edit profile option again and then selecting Account:
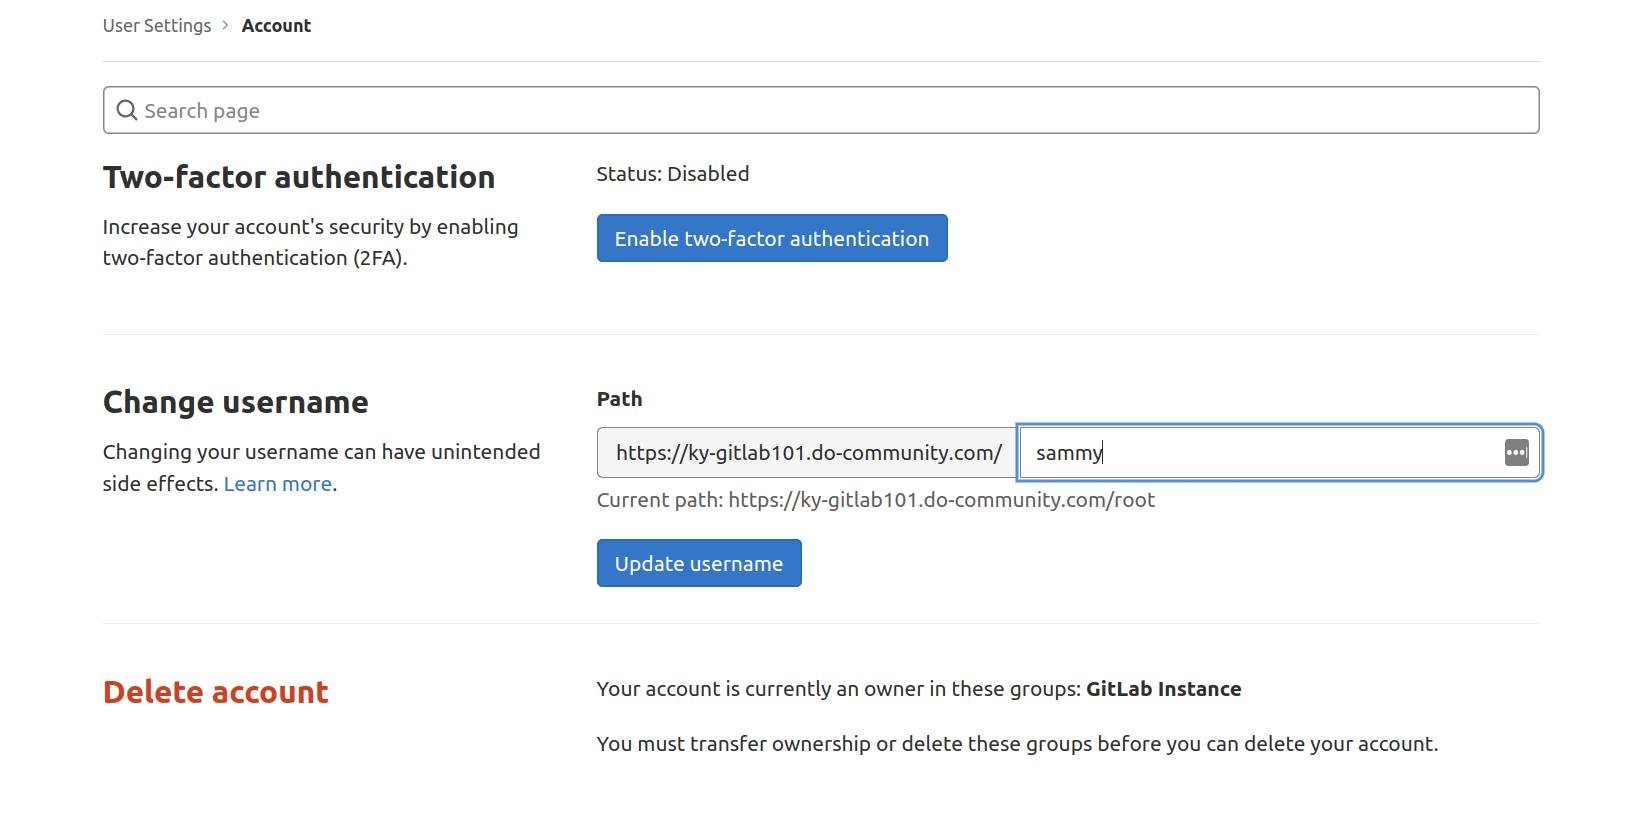
After, you can update your name in the section Change username. You’re given the username root by default when creating the account, so it’s recommended you change it for security reasons. This does not remove any administrative privileges, it only changes the name. When you’ve made the change, press Update username. You will be asked to confirm this change, and then it will be implemented. Keep in mind the updates to both your password and username next time you log in:
There are many other settings you can adjust for your profile as well, such as updating your avatar photo, current status, name, pronouns, pronunciation, email, and more. You can also add SSH keys to your account, renew your Let’s Encrypt certificates, and restrict or disable public sign-ups. Learn more from our tutorial on How To Install and Configure GitLab on Ubuntu 20.04.
Conclusion
Your GitLab Enterprise Edition 1-Click Droplet is now ready to go. To learn more about the settings and features of GitLab, check out our tutorial on How To Install and Configure GitLab on Ubuntu 20.04. For more general information on Git, GitHub, and open source, check out our the Introduction to GitHub and Open-Source Projects series.
Thanks for learning with the DigitalOcean Community. Check out our offerings for compute, storage, networking, and managed databases.
About the author
Educator and writer committed to empowering our community by providing access to the knowledge and tools for making creative ideas into a reality
Still looking for an answer?
This textbox defaults to using Markdown to format your answer.
You can type !ref in this text area to quickly search our full set of tutorials, documentation & marketplace offerings and insert the link!
 This work is licensed under a Creative Commons Attribution-NonCommercial- ShareAlike 4.0 International License.
Become a contributor for community
Get paid to write technical tutorials and select a tech-focused charity to receive a matching donation.

DigitalOcean Documentation
Full documentation for every DigitalOcean product.

Resources for startups and AI-native businesses
The Wave has everything you need to know about building a business, from raising funding to marketing your product.
The developer cloud
Scale up as you grow — whether you're running one virtual machine or ten thousand.

Start building today
From GPU-powered inference and Kubernetes to managed databases and storage, get everything you need to build, scale, and deploy intelligent applications.
