
Introduction
GitLab is a great way to manage git repositories on a centralized server. While solutions like GitHub are a great option for many projects, they do not fit every team’s needs. GitLab gives you complete control over your repositories and allows you to decide whether they are public or private for free.
DigitalOcean has a GitLab one-click install image that allows you to easily deploy a GitLab server on a VPS instance. You can set up GitLab on DigitalOcean here.
In this guide, we will explore the GitLab interface so that you can configure the environment, upload your projects, and invite and manage users. We will assume you’ve gone through the installation procedure and can log into your GitLab instance.
How To Configure Your User Profile
Before you get started using GitLab to handle your projects, it is a good idea to get your profile set up correctly. This will not only help your teammates identify you, it is also where you can manage your interface and the way that you connect to projects.
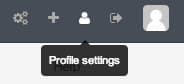
Begin by clicking on the “Profile settings” button in the upper-right corner:
The initial screen will allow you to change the name and email associated with your account. You can also link your social media accounts, write a short bio, and upload a picture of your choice.
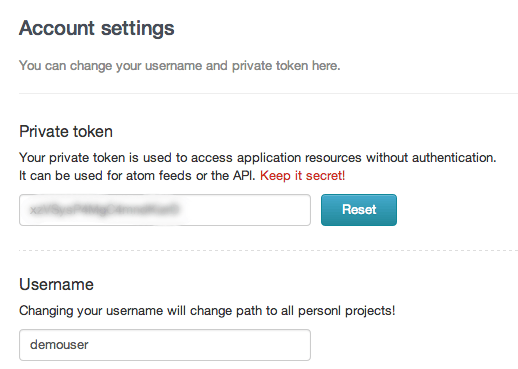
If you would also like to change your username, click the “Account” tab at the top. Here you can adjust the username that your repositories will be stored under. You will also have access to your access token:
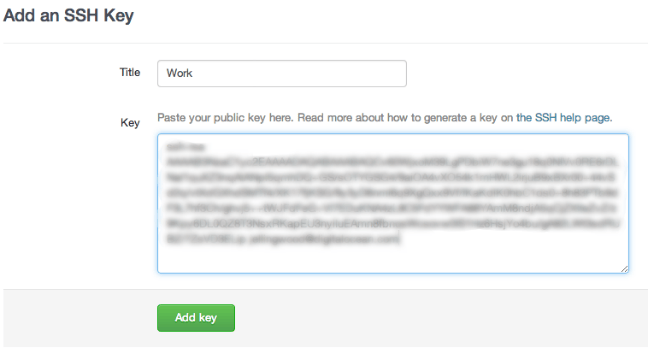
The other item that you definitely want to look into is the “SSH Keys” tab. In this tab, click the “Add SSH Key” button.
Here, you can add the SSH key that you will use to communicate with the server through git. Multiple keys can be added for each user. Add your SSH key and click “Add Key”:
This is also a good opportunity to change the application and code preview themes, if you so desire. Click on the “Design” tab. You can choose from five application themes and four popular code preview themes:

How To Manage Users and Groups
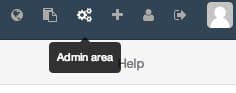
GitLab gives you the tools to manage projects, users, and groups from one screen. Access it by clicking the “Admin area” button in the top-right corner:
The interface is divided into six sections: projects, latest projects, users, latest users, groups, and stats. The main points of contact that we will be using are the projects, users, and groups.
Create a New User
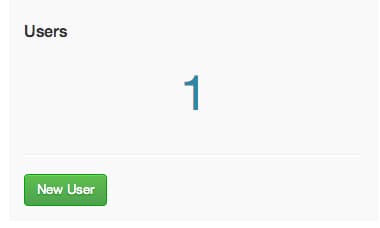
Currently, there is only a single user and no projects of groups. Let’s start by creating a demonstration user that we can use later. Click on the “New User” button in the middle column:
We will need to fill out the regular contact details. When you are done, click the “Create User” button at the bottom:
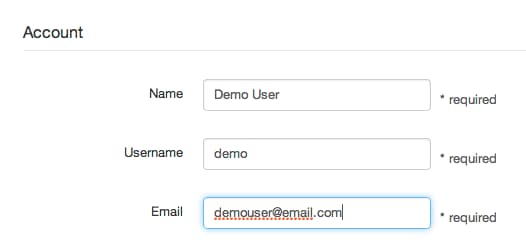
You will be taken to the new user’s account page. An email with an initial password will be sent to the account email.
Create a New Group
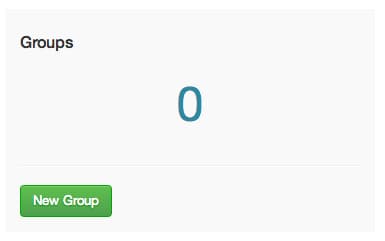
Let’s add a new group now. Click on the “Admin area” button again in the top-right corner. Click the “New Group” button in the right column:
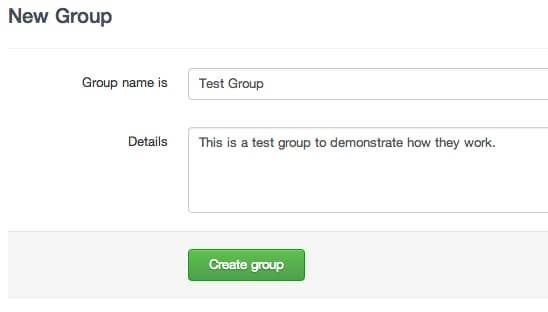
The only thing you need to do to create a group is fill out a name and description. Click the “Create group” button:
The group will be created and you will automatically be added to the group as an owner. Let’s add our demonstration account to this group as well.
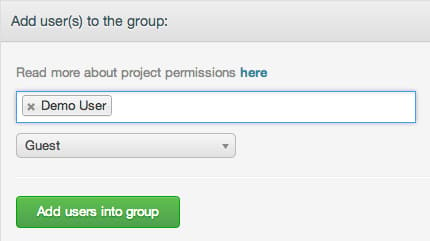
Search for the second username in the box titled “Add user(s) to the group:”. You will need to choose an access level for the user as well. For an explanation of the different permission levels available on your GitLab, go here:
<pre> <span class=“highlight”>your_domain.com</span>/help/permissions </pre>
This is also available as a link in the box under “Read more about project permissions here”.
For now, it doesn’t matter which level you choose. Click “Add users into group” to add their access:
If you would like to change a user’s permission level, you can add the user again with the new permissions. It will update accordingly.
Initialize a Project
Now, we can initialize a project. Return to the admin dashboard by clicking on the “Admin area” button as before. Click on the “New Project” button on the left side:
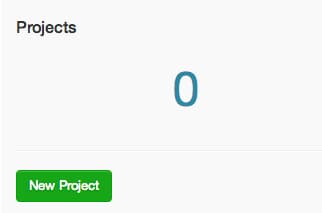
You can also get to this area by clicking on the “New project” button in the top navigation bar:

Pick a name and a namespace. A namespace is who will own the project. We will give the group we created ownership of our project. You should also fill out a description and choose whether the repo should be public.
It is also possible to import a repository from another site. You can click the “Import existing repository” link to get access to this functionality.

You will be taken to a page that will show you how to clone the project to your local computer, or push a local project to your new repository on GitLab.
You will be given a repository link that you can use to clone the repository and share with group members (or other people if it is public).
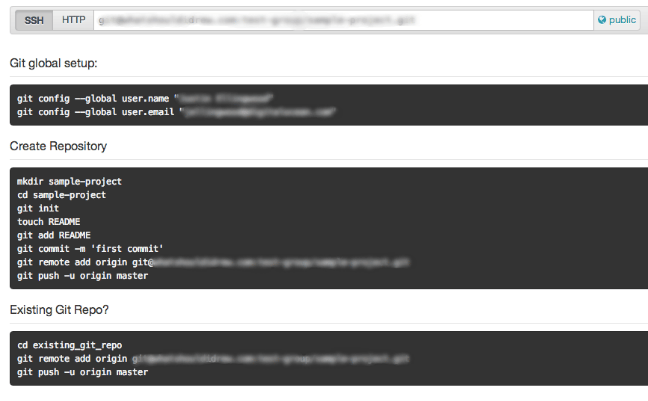
If you follow the instructions, you should be able to push your first commit to your GitLab repository.
Manage Projects with GitLab
We will add a sample project to our GitLab repository so we can see some of the features available when a project has a history and many commits.
Go through the procedure to create a new project. Call it “Rails”. This time, click “Import existing repository” link. We will be using Michael Hartl’s Ruby on Rails tutorial sample application.
In the Import existing repo field, type:
https://github.com/mhartl/sample_app.git
Click “Create project”.
View Project Code
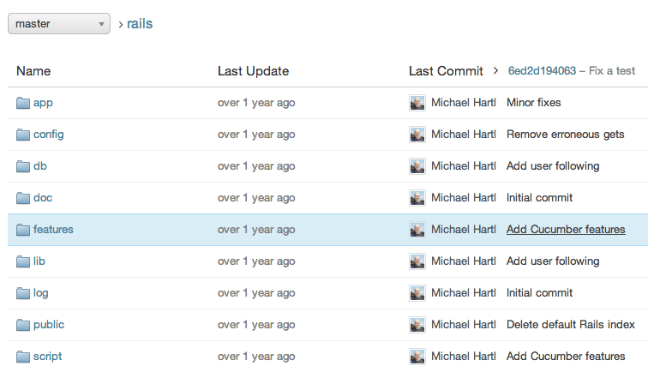
You should be taken to the project’s landing page. Click on the “Files” tab to see the actual repository files:
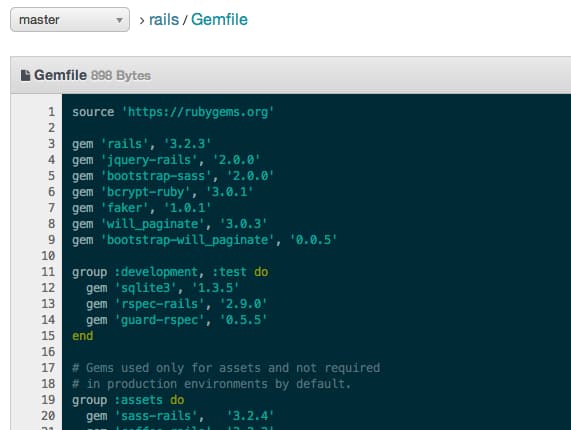
Click on the “Gemfile” file. As you can see, there is great syntax highlighting included for recognized languages:
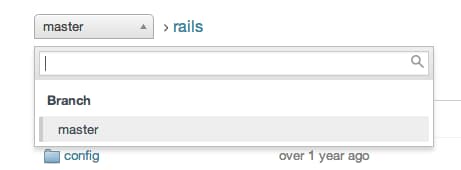
If your project has multiple branches, you can change the branch view by clicking on the master drop-down and switch to a different branch:
Review Commits
Click on the “Commits” tab to see the list of commits for the current branch:
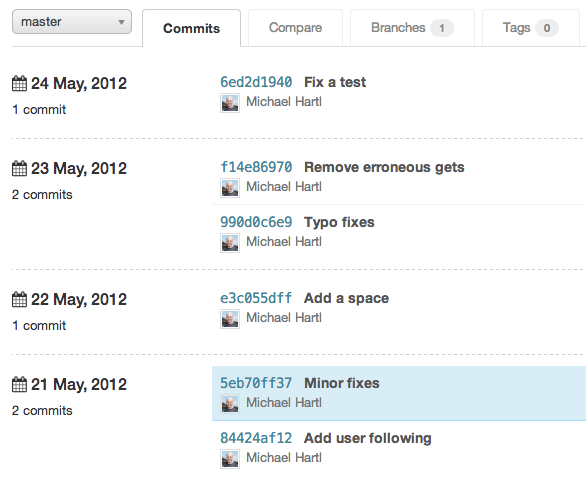
You can click on any commit to see the diff that was produced by the commit. If you would like to see the entire project at any commit point, click the “Browse Code” link associated with that commit:
To see the diff between two commits, you can click the “compare” tab at the top. If we type the name of one of the commits in the left-hand box (in this case, we’ll use e3c055dff), we can get a complete diff between the two:

Graphic Representations of your Project
You can view your project graphically in two different ways.
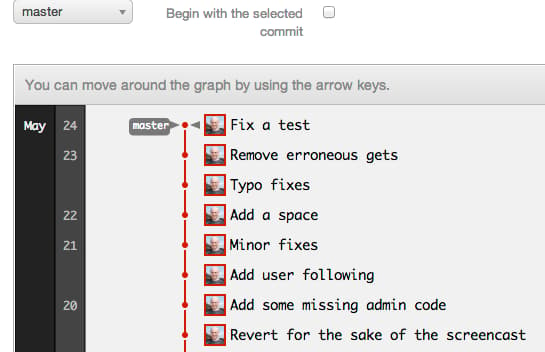
First, if you click on the “Network” tab, you can see a commit tree of your project. This allows you to see branches, merges, and commits. It will use the user’s picture next to each commit as well, for easy identification:
The other way to get a graphical picture of your project is with the “Graphs” tab. You will see a large graph with the number of the project’s commits vs time displayed. Below it will be a matching graph for each contributor:

You can select a portion of the project graph and the user’s graphs will adjust accordingly. You can also choose to display additions or deletions instead of commits through the drop-down menu.
Conclusion
There are other tools included within GitLab that you should check out if you plan on using it with a team. This includes an embedded wiki for each project, an issue tracking system, and merge requests. For sharing small pieces of code outside of any specific project, GitLab also has snippet support.
For most teams, a properly configured GitLab will be more than adequate to handle projects. It provides simple user control and easy project creation and sharing. Explore the interface to see if it could be an easy solution for your project.
<div class=“author”>By Justin Ellingwood</div>
Thanks for learning with the DigitalOcean Community. Check out our offerings for compute, storage, networking, and managed databases.
About the author
Former Senior Technical Writer at DigitalOcean, specializing in DevOps topics across multiple Linux distributions, including Ubuntu 18.04, 20.04, 22.04, as well as Debian 10 and 11.
Still looking for an answer?
This textbox defaults to using Markdown to format your answer.
You can type !ref in this text area to quickly search our full set of tutorials, documentation & marketplace offerings and insert the link!
Awesome post, thank you, Mr. Ellingwood! Got an idea to create wrapper with simple interface, based on GitLab API , for easy collaboration with nontechnical people. This is to ensure the customer can create ‘issue’ without feeling fear and despair. I mean an interface, some perfect as Digitalocean dashboard, optimized for interaction dev team with the customer. Maybe there are already ready-made solutions?
Hi There, Everything is working and i am trying to clone a gitlab repo to a server with the following command
user@cpanelwebsiteaddress [~/public_html/luke]# git clone user@host:repositorylocation (the location of the repository i got from gitlab. and when enter the command the following error returns.)
Initialized empty Git repository in /home/cpaneluser/public_html/ ssh: connect to host user@host port 22: Connection timed out fatal: The remote end hung up unexpectedly
And i dont know why this error is? Any help would be appreciated.
I have installed gitlab and it is working fine and i have uploaded files to a repository from my mac and all is good. I amso used the dame git.mydomain.me to navigate to git. and i am trying to clone the repository to luke.mydomain.me which is where i want the files from gitlab to go.
You need to set the HTTP upload limit to something like 500mb, or use SSH. Google for “gitlab 413 error” to see various solutions. I found there were two files that needed to be modified in order to get this working. Default HTTP upload size max of 5mb seems like an inappropriate default for the install; should really be fixed in the distro.
and how can i add collaboraters to a project ??
thanks for the job :-)
 This work is licensed under a Creative Commons Attribution-NonCommercial- ShareAlike 4.0 International License.
Become a contributor for community
Get paid to write technical tutorials and select a tech-focused charity to receive a matching donation.

DigitalOcean Documentation
Full documentation for every DigitalOcean product.

Resources for startups and AI-native businesses
The Wave has everything you need to know about building a business, from raising funding to marketing your product.
The developer cloud
Scale up as you grow — whether you're running one virtual machine or ten thousand.

Start building today
From GPU-powered inference and Kubernetes to managed databases and storage, get everything you need to build, scale, and deploy intelligent applications.
