By neependrakhare and Timothy Nolan

Webinar Series
This article supplements a webinar series on doing CI/CD with Kubernetes. The series discusses how to take a cloud native approach to building, testing, and deploying applications, covering release management, cloud native tools, service meshes, and CI/CD tools that can be used with Kubernetes. It is designed to help developers and businesses that are interested in integrating CI/CD best practices with Kubernetes into their workflows.
This tutorial includes the concepts and commands from the last session of the series, GitOps Tool Sets on Kubernetes with CircleCI and Argo CD.
Warning: The procedures in this tutorial are meant for demonstration purposes only. As a result, they don’t follow the best practices and security measures necessary for a production-ready deployment.
Introduction
Using Kubernetes to deploy your application can provide significant infrastructural advantages, such as flexible scaling, management of distributed components, and control over different versions of your application. However, with the increased control comes an increased complexity that can make CI/CD systems of cooperative code development, version control, change logging, and automated deployment and rollback particularly difficult to manage manually. To account for these difficulties, DevOps engineers have developed several methods of Kubernetes CI/CD automation, including the system of tooling and best practices called GitOps. GitOps, as proposed by Weaveworks in a 2017 blog post, uses Git as a “single source of truth” for CI/CD processes, integrating code changes in a single, shared repository per project and using pull requests to manage infrastructure and deployment.
There are many tools that use Git as a focal point for DevOps processes on Kubernetes, including Gitkube developed by Hasura, Flux by Weaveworks, and Jenkins X, the topic of the second webinar in this series. In this tutorial, you will run through a demonstration of two additional tools that you can use to set up your own cloud-based GitOps CI/CD system: The Continuous Integration tool CircleCI and Argo CD, a declarative Continuous Delivery tool.
CircleCI uses GitHub or Bitbucket repositories to organize application development and to automate building and testing on Kubernetes. By integrating with the Git repository, CircleCI projects can detect when a change is made to the application code and automatically test it, sending notifications of the change and the results of testing over email or other communication tools like Slack. CircleCI keeps logs of all these changes and test results, and the browser-based interface allows users to monitor the testing in real time, so that a team always knows the status of their project.
As a sub-project of the Argo workflow management engine for Kubernetes, Argo CD provides Continuous Delivery tooling that automatically synchronizes and deploys your application whenever a change is made in your GitHub repository. By managing the deployment and lifecycle of an application, it provides solutions for version control, configurations, and application definitions in Kubernetes environments, organizing complex data with an easy-to-understand user interface. It can handle several types of Kubernetes manifests, including ksonnet applications, Kustomize applications, Helm charts, and YAML/json files, and supports webhook notifications from GitHub, GitLab, and Bitbucket.
In this last article of the CI/CD with Kubernetes series, you will try out these GitOps tools by:
-
Setting up pipeline triggers to automate application testing with CircleCI and GitHub.
-
Synchronizing and deploying an application from a GitHub repository with Argo CD.
By the end of this tutorial, you will have a basic understanding of how to construct a CI/CD pipeline on Kubernetes with a GitOps tool set.
Prerequisites
To follow this tutorial, you will need:
-
An Ubuntu 16.04 server with 16 GB of RAM or above. Since this tutorial is meant for demonstration purposes only, commands are run from the root account. Note that the unrestrained privileges of this account do not adhere to production-ready best practices and could affect your system. For this reason, it is suggested to follow these steps in a test environment such as a virtual machine or a DigitalOcean Droplet.
-
A Docker Hub Account. For an overview on getting started with Docker Hub, please see these instructions.
-
A GitHub account and basic knowledge of GitHub. For a primer on how to use GitHub, check out our How To Create a Pull Request on GitHub tutorial.
-
Familiarity with Kubernetes concepts. Please refer to the article An Introduction to Kubernetes for more details.
-
A Kubernetes cluster with the kubectl command line tool. This tutorial has been tested on a simulated Kubernetes cluster, set up in a local environment with Minikube, a program that allows you to try out Kubernetes tools on your own machine without having to set up a true Kubernetes cluster. To create a Minikube cluster, follow Step 1 of the second webinar in this series, Kubernetes Package Management with Helm and CI/CD with Jenkins X.
Step 1 — Setting Up your CircleCI Workflow
In this step, you will put together a standard CircleCI workflow that involves three jobs: testing code, building an image, and pushing that image to Docker Hub. In the testing phase, CircleCI will use pytest to test the code for a sample RSVP application. Then, it will build the image of the application code and push the image to DockerHub.
First, give CircleCI access to your GitHub account. To do this, navigate to https://circleci.com/ in your favorite web browser:
In the top right of the page, you will find a Sign Up button. Click this button, then click Sign Up with GitHub on the following page. The CircleCI website will prompt you for your GitHub credentials:
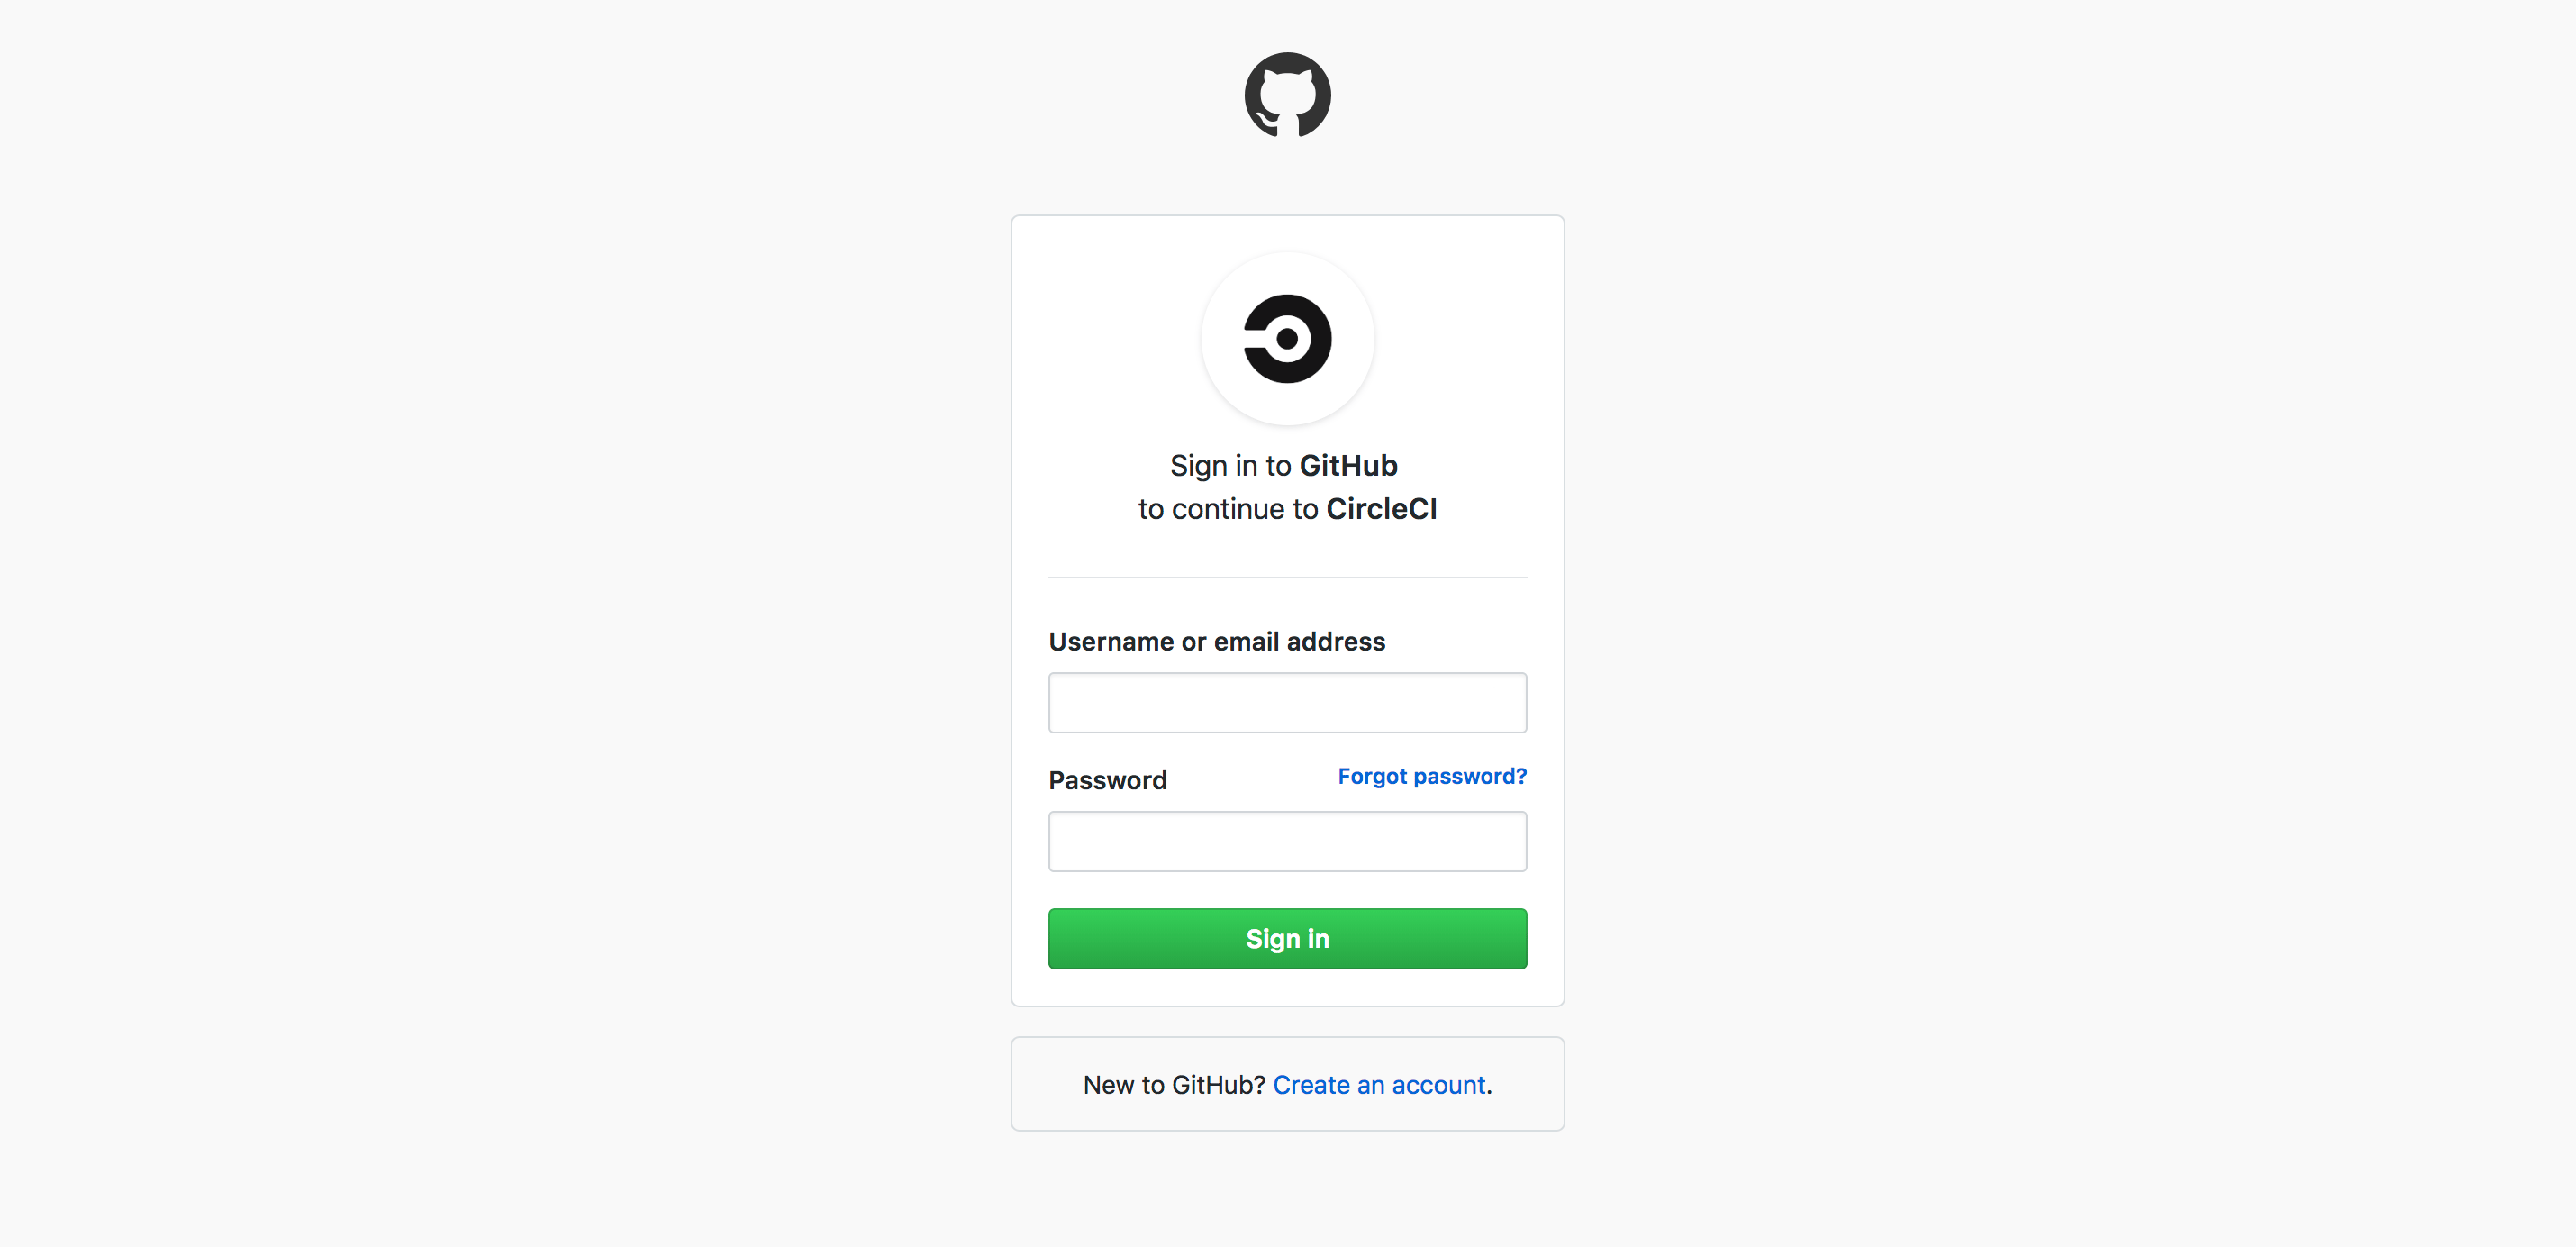
Entering your username and password here gives CircleCI the permission to read your GitHub email address, deploy keys and add service hooks to your repository, create a list of your repositories, and add an SSH key to your GitHub account. These permissions are necessary for CircleCI to monitor and react to changes in your Git repository. If you would like to read more about the requested permissions before giving CircleCI your account information, see the CircleCI documentation.
Once you have reviewed these permissions, enter your GitHub credentials and click Sign In. CircleCI will then integrate with your GitHub account and redirect your browser to the CircleCI welcome page:
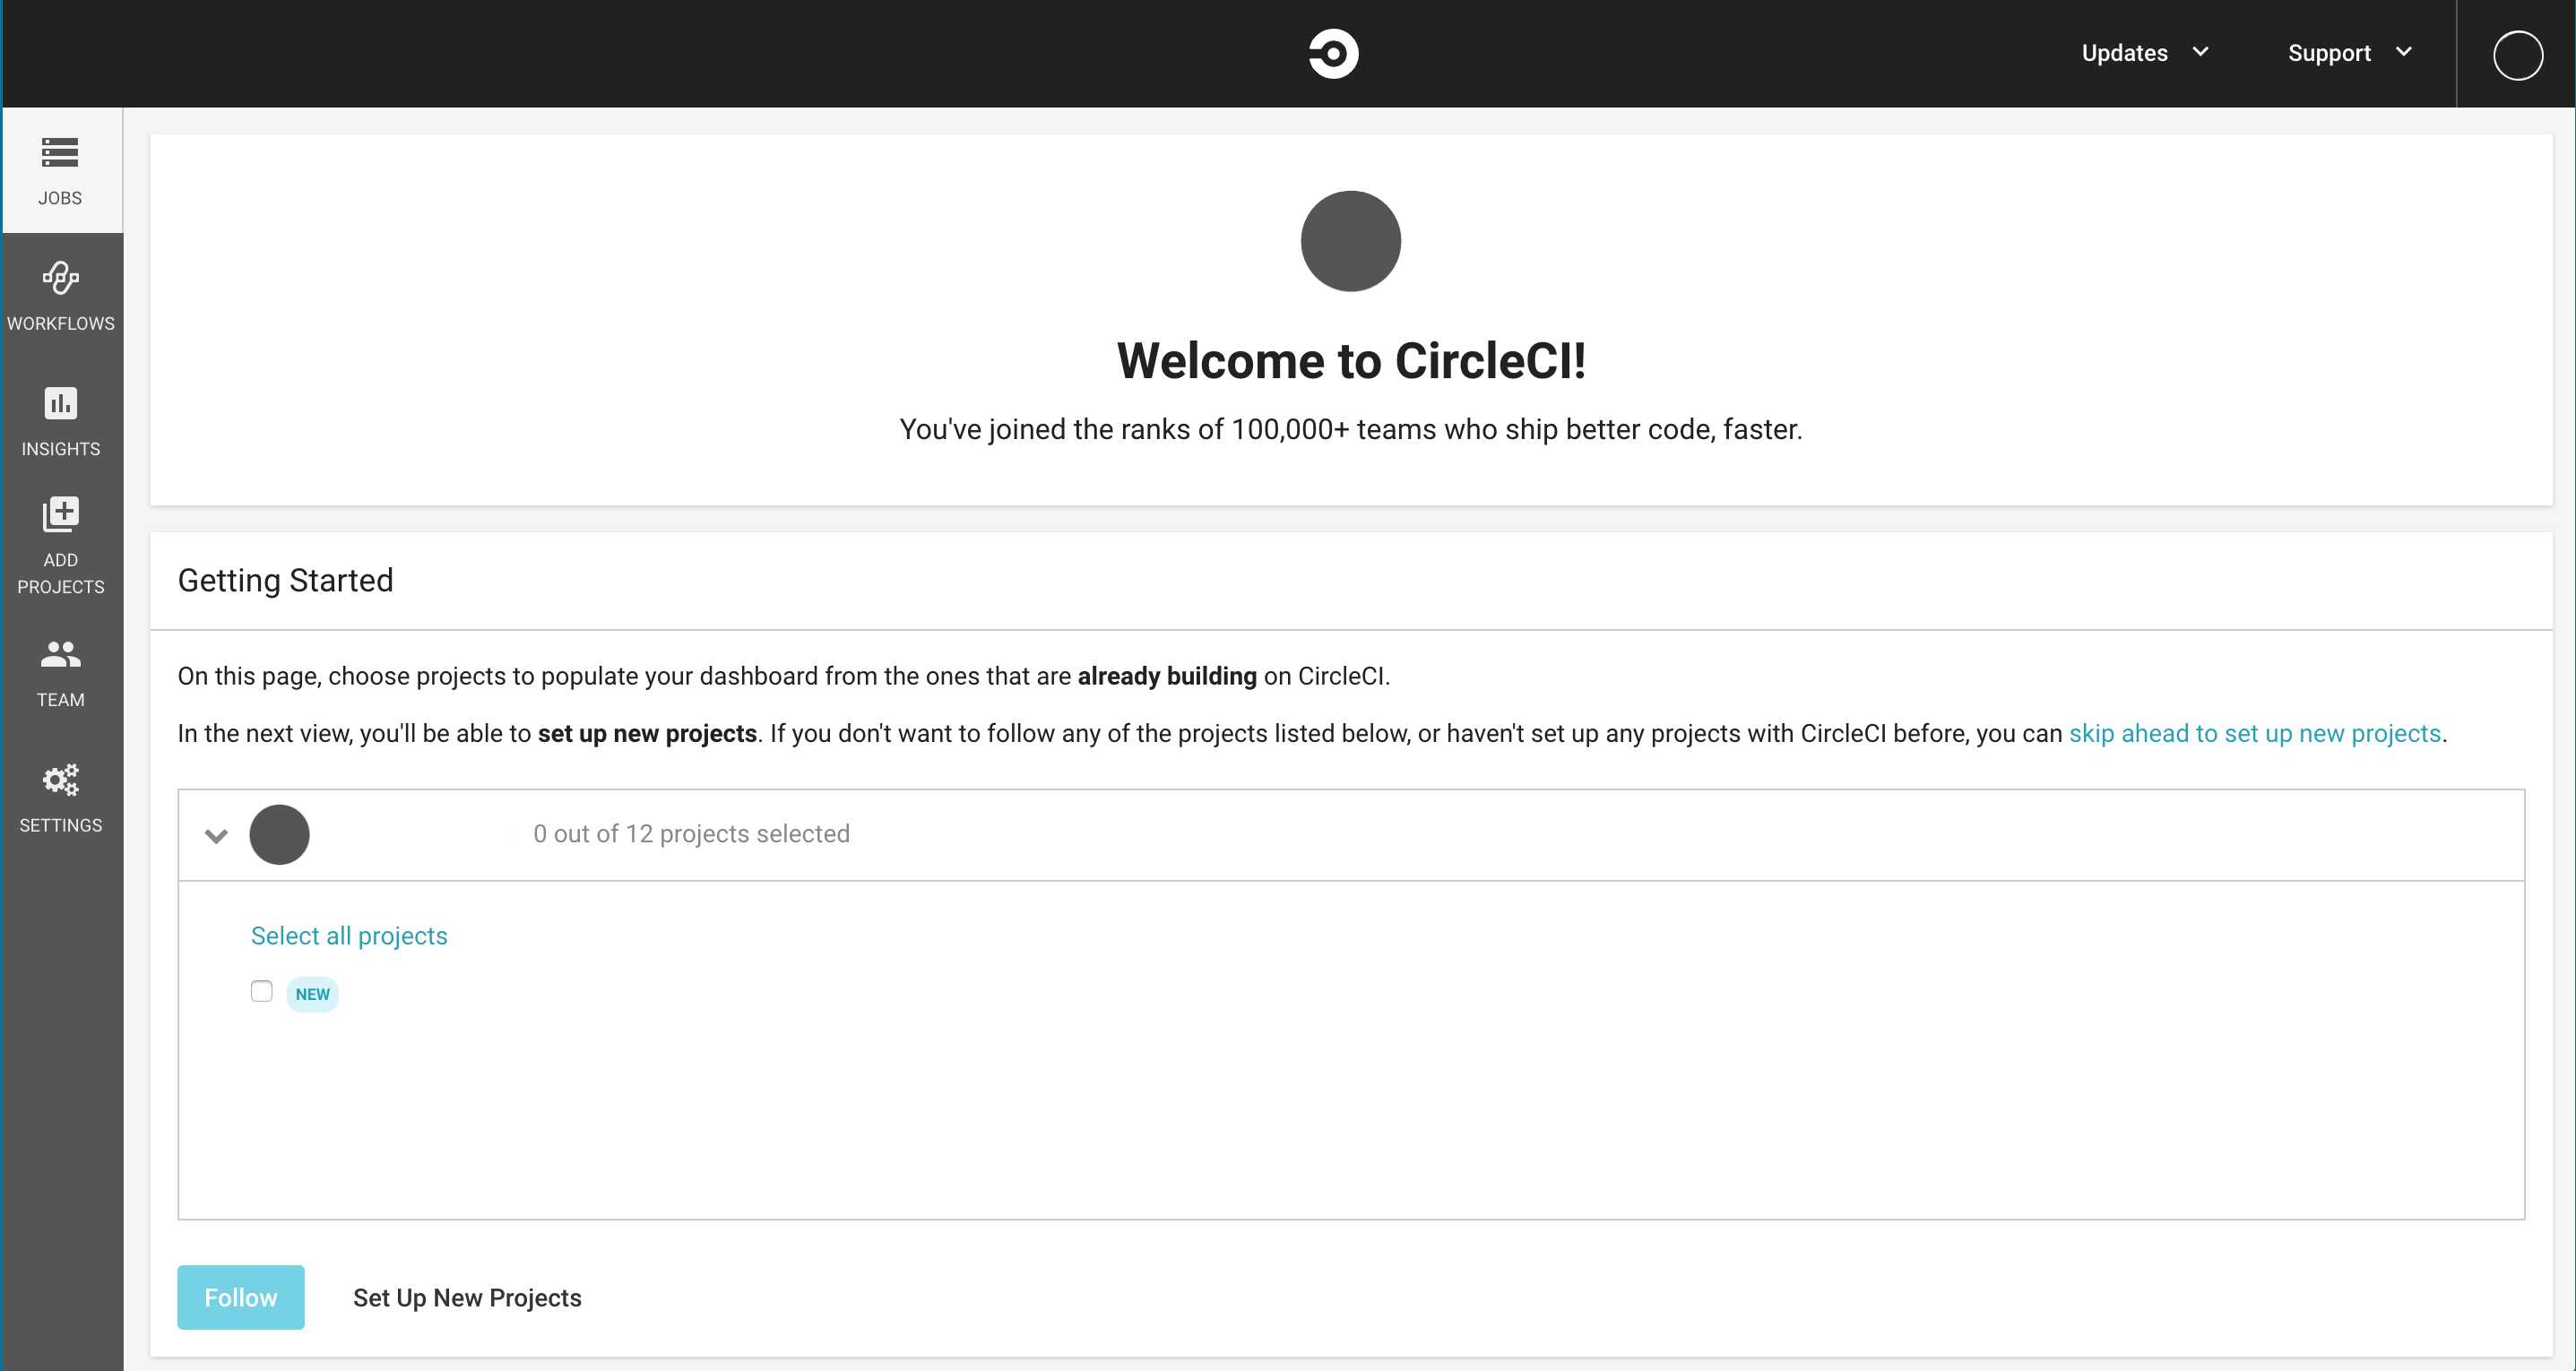
Now that you have access to your CircleCI dashboard, open up another browser window and navigate to the GitHub repository for this webinar, https://github.com/do-community/rsvpapp-webinar4. If prompted to sign in to GitHub, enter your username and password. In this repository, you will find a sample RSVP application created by the CloudYuga team. For the purposes of this tutorial, you will use this application to demonstrate a GitOps workflow. Fork this repository to your GitHub account by clicking the Fork button at the top right of the screen.
When you’ve forked the repository, GitHub will redirect you to https://github.com/your_GitHub_username/rsvpapp-webinar4. On the left side of the screen, you will see a Branch: master button. Click this button to reveal the list of branches for this project. Here, the master branch refers to the current official version of the application. On the other hand, the dev branch is a development sandbox, where you can test changes before promoting them to the official version in the master branch. Select the dev branch.
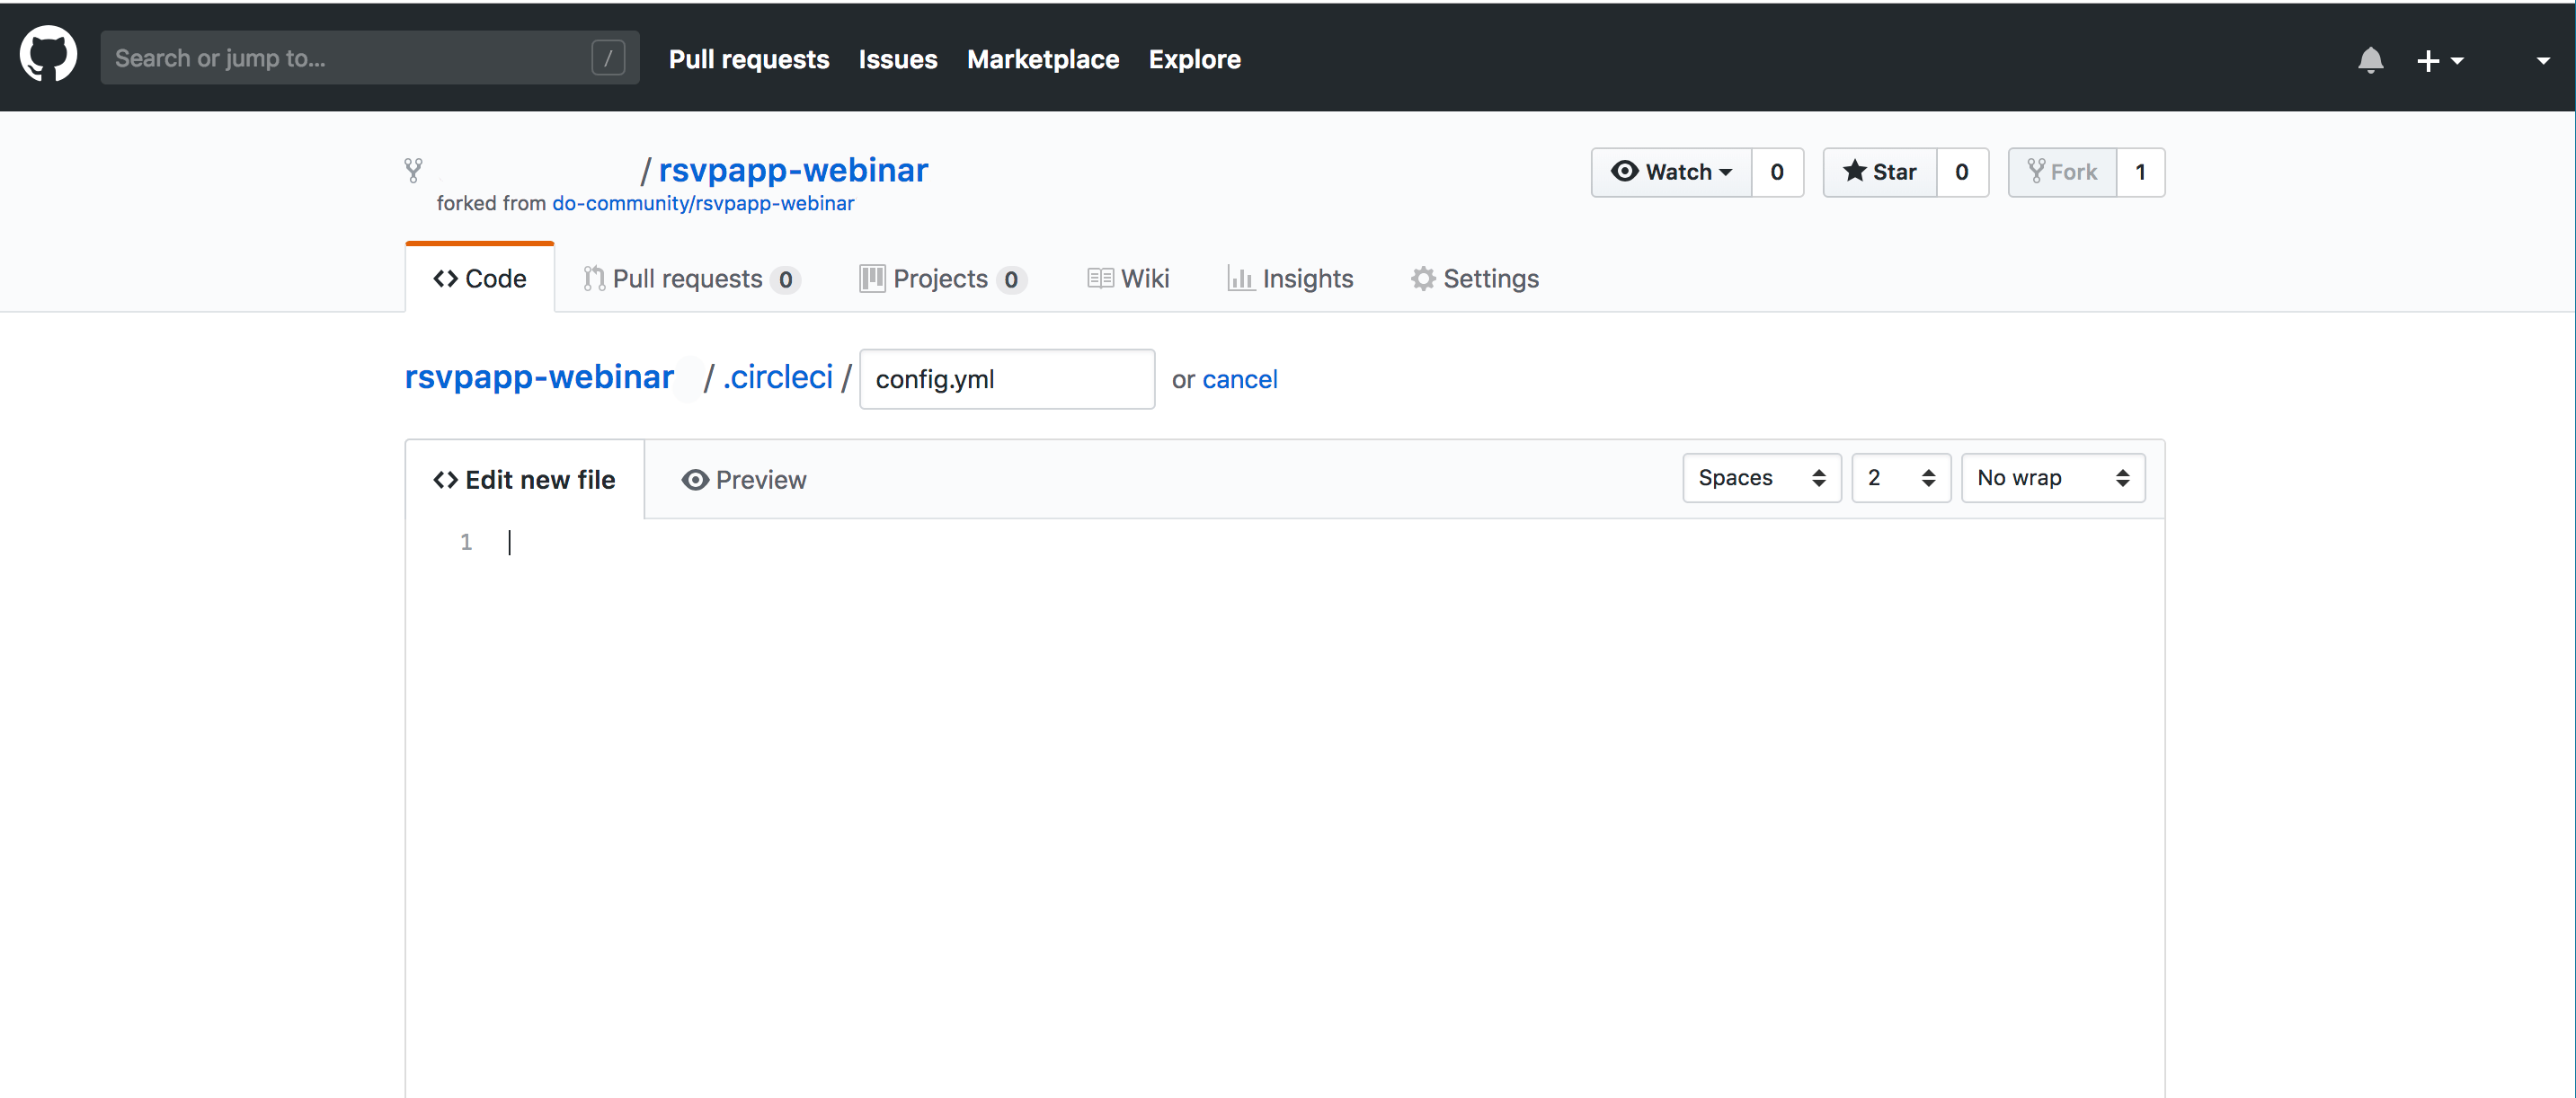
Now that you are in the development section of this demonstration repository, you can start setting up a pipeline. CircleCI requires a YAML configuration file in the repository that describes the steps it needs to take to test your application. The repository you forked already has this file at .circleci/config.yml; in order to practice setting up CircleCI, delete this file and make your own.
To create this configuration file, click the Create new file button and make a file named .circleci/config.yml:
Once you have this file open in GitHub, you can configure the workflow for CircleCI. To learn about this file’s contents, you will add the sections piece by piece. First, add the following:
version: 2
jobs:
  test:
    machine:
      image: circleci/classic:201808-01
      docker_layer_caching: true
    working_directory: ~/repo

. . .
In the preceding code, version refers to the version of CircleCI that you will use. jobs:test: means that you are setting up a test for your application, and machine:image: indicates where CircleCI will do the testing, in this case a virtual machine based on the circleci/classic:201808-01 image.
Next, add the steps you would like CircleCI to take during the test:
. . .
    steps:
      - checkout
      - run:
          name: install dependencies
          command: |
            sudo rm /var/lib/dpkg/lock
            sudo dpkg --configure -a
            sudo apt-get install software-properties-common
            sudo add-apt-repository ppa:fkrull/deadsnakes
            sudo apt-get update
            sleep 5
            sudo rm /var/lib/dpkg/lock
            sudo dpkg --configure -a
            sudo apt-get install python3.5
            sleep 5
            python -m pip install -r requirements.txt

      # run tests!
      # this example uses Django's built-in test-runner
      # other common Python testing frameworks include pytest and nose
      # https://pytest.org
      # https://nose.readthedocs.io

      - run:
          name: run tests
          command: |
            python -m pytest tests/test_rsvpapp.py

. . .
The steps of the test are listed out after steps:, starting with - checkout, which will checkout your project’s source code and copy it into the job’s space. Next, the - run: name: install dependencies step runs the listed commands to install the dependencies required for the test. In this case, you will be using the Django Web framework’s built-in test-runner and the testing tool pytest. After CircleCI downloads these dependencies, the -run: name: run tests step will instruct CircleCI to run the tests on your application.
With the test job completed, add in the following contents to describe the build job:
. . .
  build:

    machine:
      image: circleci/classic:201808-01
      docker_layer_caching: true
    working_directory: ~/repo

    steps:
      - checkout
      - run:
          name: build image
          command: |
            docker build -t $DOCKERHUB_USERNAME/rsvpapp:$CIRCLE_SHA1 .

  push:
    machine:
      image: circleci/classic:201808-01
      docker_layer_caching: true
    working_directory: ~/repo
    steps:
      - checkout
      - run:
          name: Push image
          command: |
            docker build -t $DOCKERHUB_USERNAME/rsvpapp:$CIRCLE_SHA1 .
            echo $DOCKERHUB_PASSWORD | docker login --username $DOCKERHUB_USERNAME --password-stdin
            docker push $DOCKERHUB_USERNAME/rsvpapp:$CIRCLE_SHA1

. . .
As before, machine:image: means that CircleCI will build the application in a virtual machine based on the specified image. Under steps:, you will find - checkout again, followed by - run: name: build image. This means that CircleCi will build a Docker container from the rsvpapp image in your Docker Hub repository. You will set the $DOCKERHUB_USERNAME environment variable in the CircleCI interface, which the tutorial will cover after this YAML file is complete.
After the build job is done, the push job will push the resulting image to your Docker Hub account.
Finally, add the following lines to determine the workflows that coordinate the jobs you defined earlier:
. . .
workflows:
  version: 2
  build-deploy:
    jobs:
      - test:
          context: DOCKERHUB
          filters:
            branches:
              only: dev
      - build:
          context: DOCKERHUB
          requires:
            - test
          filters:
            branches:
              only: dev
      - push:
          context: DOCKERHUB
          requires:
            - build
          filters:
            branches:
              only: dev
These lines ensure that CircleCI executes the test, build, and push jobs in the correct order. context: DOCKERHUB refers to the context in which the test will take place. You will create this context after finalizing this YAML file. The only: dev line restrains the workflow to trigger only when there is a change to the dev branch of your repository, and ensures that CircleCI will build and test the code from dev.
Now that you have added all the code for the .circleci/config.yml file, its contents should be as follows:
version: 2
jobs:
  test:
    machine:
      image: circleci/classic:201808-01
      docker_layer_caching: true
    working_directory: ~/repo

    steps:
      - checkout
      - run:
          name: install dependencies
          command: |
            sudo rm /var/lib/dpkg/lock
            sudo dpkg --configure -a
            sudo apt-get install software-properties-common
            sudo add-apt-repository ppa:fkrull/deadsnakes
            sudo apt-get update
            sleep 5
            sudo rm /var/lib/dpkg/lock
            sudo dpkg --configure -a
            sudo apt-get install python3.5
            sleep 5
            python -m pip install -r requirements.txt

      # run tests!
      # this example uses Django's built-in test-runner
      # other common Python testing frameworks include pytest and nose
      # https://pytest.org
      # https://nose.readthedocs.io

      - run:
          name: run tests
          command: |
            python -m pytest tests/test_rsvpapp.py

  build:

    machine:
      image: circleci/classic:201808-01
      docker_layer_caching: true
    working_directory: ~/repo

    steps:
      - checkout
      - run:
          name: build image
          command: |
            docker build -t $DOCKERHUB_USERNAME/rsvpapp:$CIRCLE_SHA1 .

  push:
    machine:
      image: circleci/classic:201808-01
      docker_layer_caching: true
    working_directory: ~/repo
    steps:
      - checkout
      - run:
          name: Push image
          command: |
            docker build -t $DOCKERHUB_USERNAME/rsvpapp:$CIRCLE_SHA1 .
            echo $DOCKERHUB_PASSWORD | docker login --username $DOCKERHUB_USERNAME --password-stdin
            docker push $DOCKERHUB_USERNAME/rsvpapp:$CIRCLE_SHA1

workflows:
  version: 2
  build-deploy:
    jobs:
      - test:
          context: DOCKERHUB
          filters:
            branches:
              only: dev
      - build:
          context: DOCKERHUB
          requires:
            - test
          filters:
            branches:
              only: dev
      - push:
          context: DOCKERHUB
          requires:
            - build
          filters:
            branches:
              only: dev
Once you have added this file to the dev branch of your repository, return to the CircleCI dashboard.
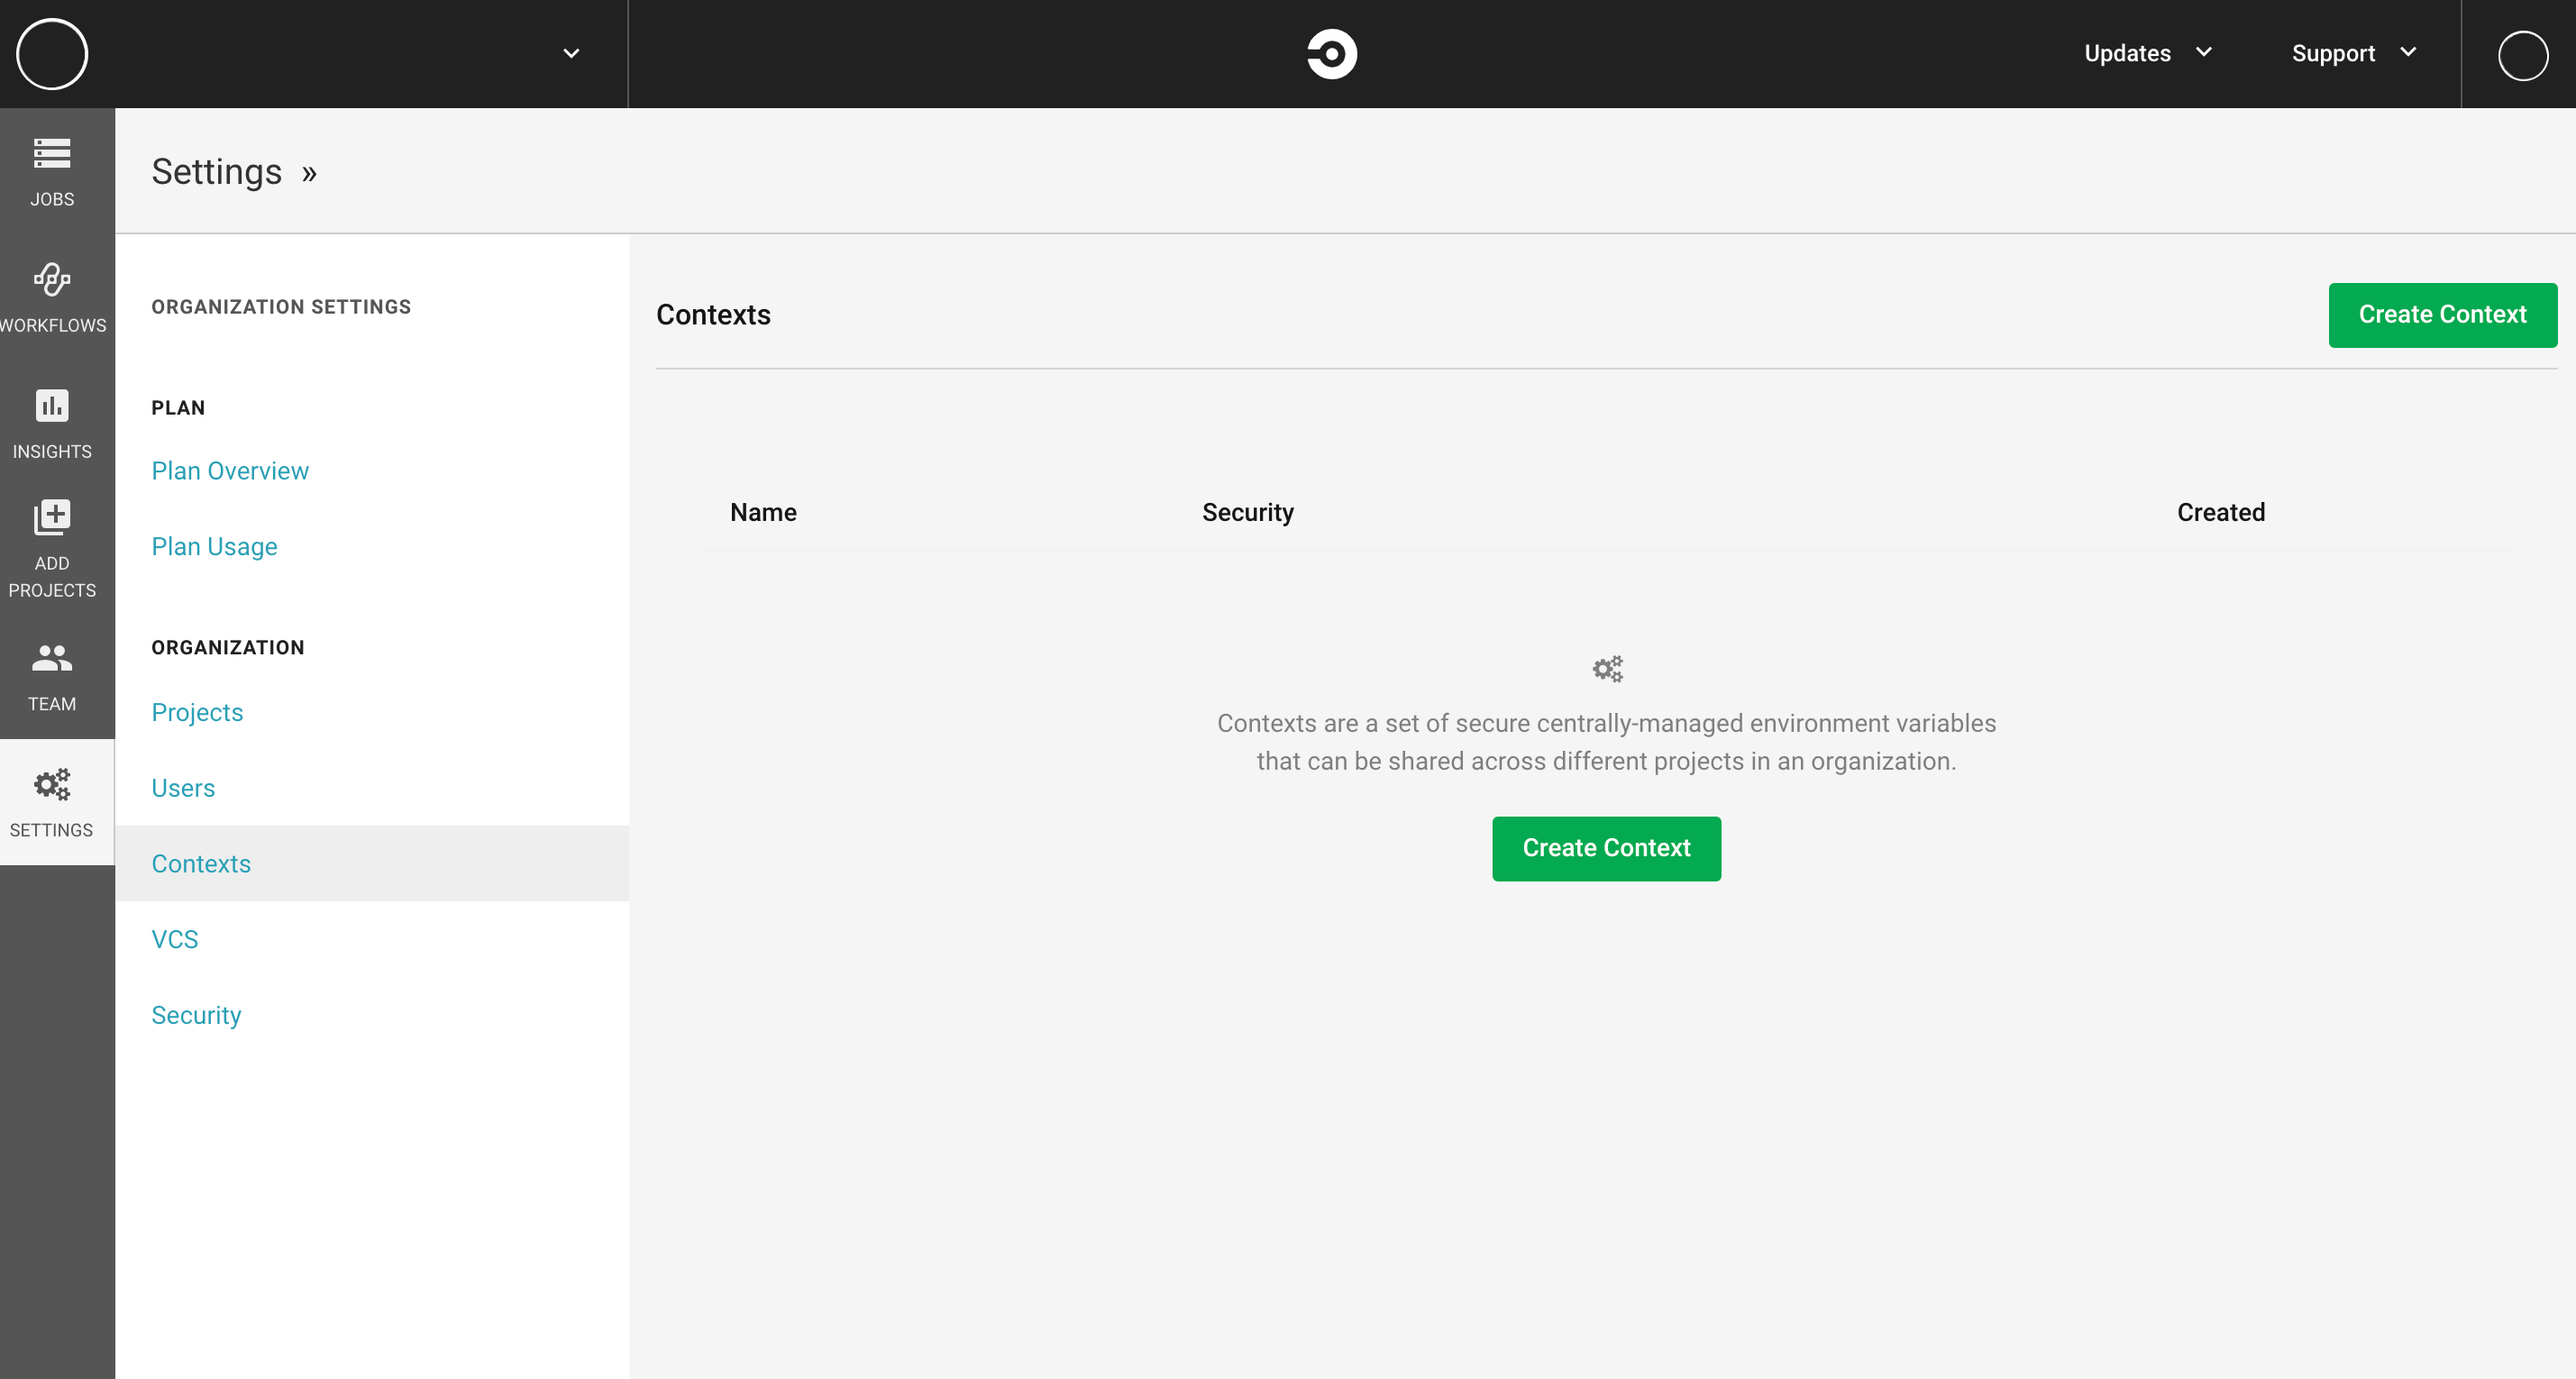
Next, you will create a CircleCI context to house the environment variables needed for the workflow that you outlined in the preceding YAML file. On the left side of the screen, you will find a SETTINGS button. Click this, then select Contexts under the ORGANIZATION heading. Finally, click the Create Context button on the right side of the screen:
CircleCI will then ask you for the name of this context. Enter DOCKERHUB, then click Create. Once you have created the context, select the DOCKERHUB context and click the Add Environment Variable button. For the first, type in the name DOCKERHUB_USERNAME, and in the Value enter your Docker Hub username.
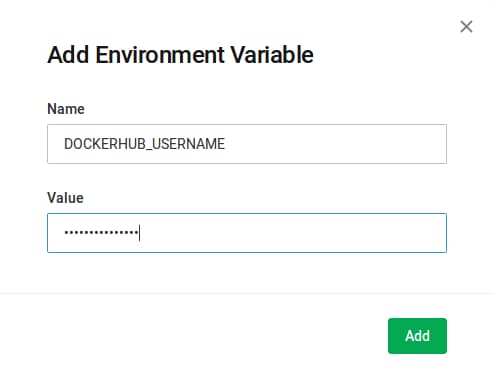
Then add another environment variable, but this time, name it DOCKERHUB_PASSWORD and fill in the Value field with your Docker Hub password.
When you’ve create the two environment variables for your DOCKERHUB context, create a CircleCI project for the test RSVP application. To do this, select the ADD PROJECTS button from the left-hand side menu. This will yield a list of GitHub projects tied to your account. Select rsvpapp-webinar4 from the list and click the Set Up Project button.
Note: If rsvpapp-webinar4 does not show up in the list, reload the CircleCI page. Sometimes it can take a moment for the GitHub projects to show up in the CircleCI interface.
You will now find yourself on the Set Up Project page:

At the top of the screen, CircleCI instructs you to create a config.yml file. Since you have already done this, scroll down to find the Start Building button on the right side of the page. By selecting this, you will tell CircleCI to start monitoring your application for changes.
Click on the Start Building button. CircleCI will redirect you to a build progress/status page, which as yet has no build.
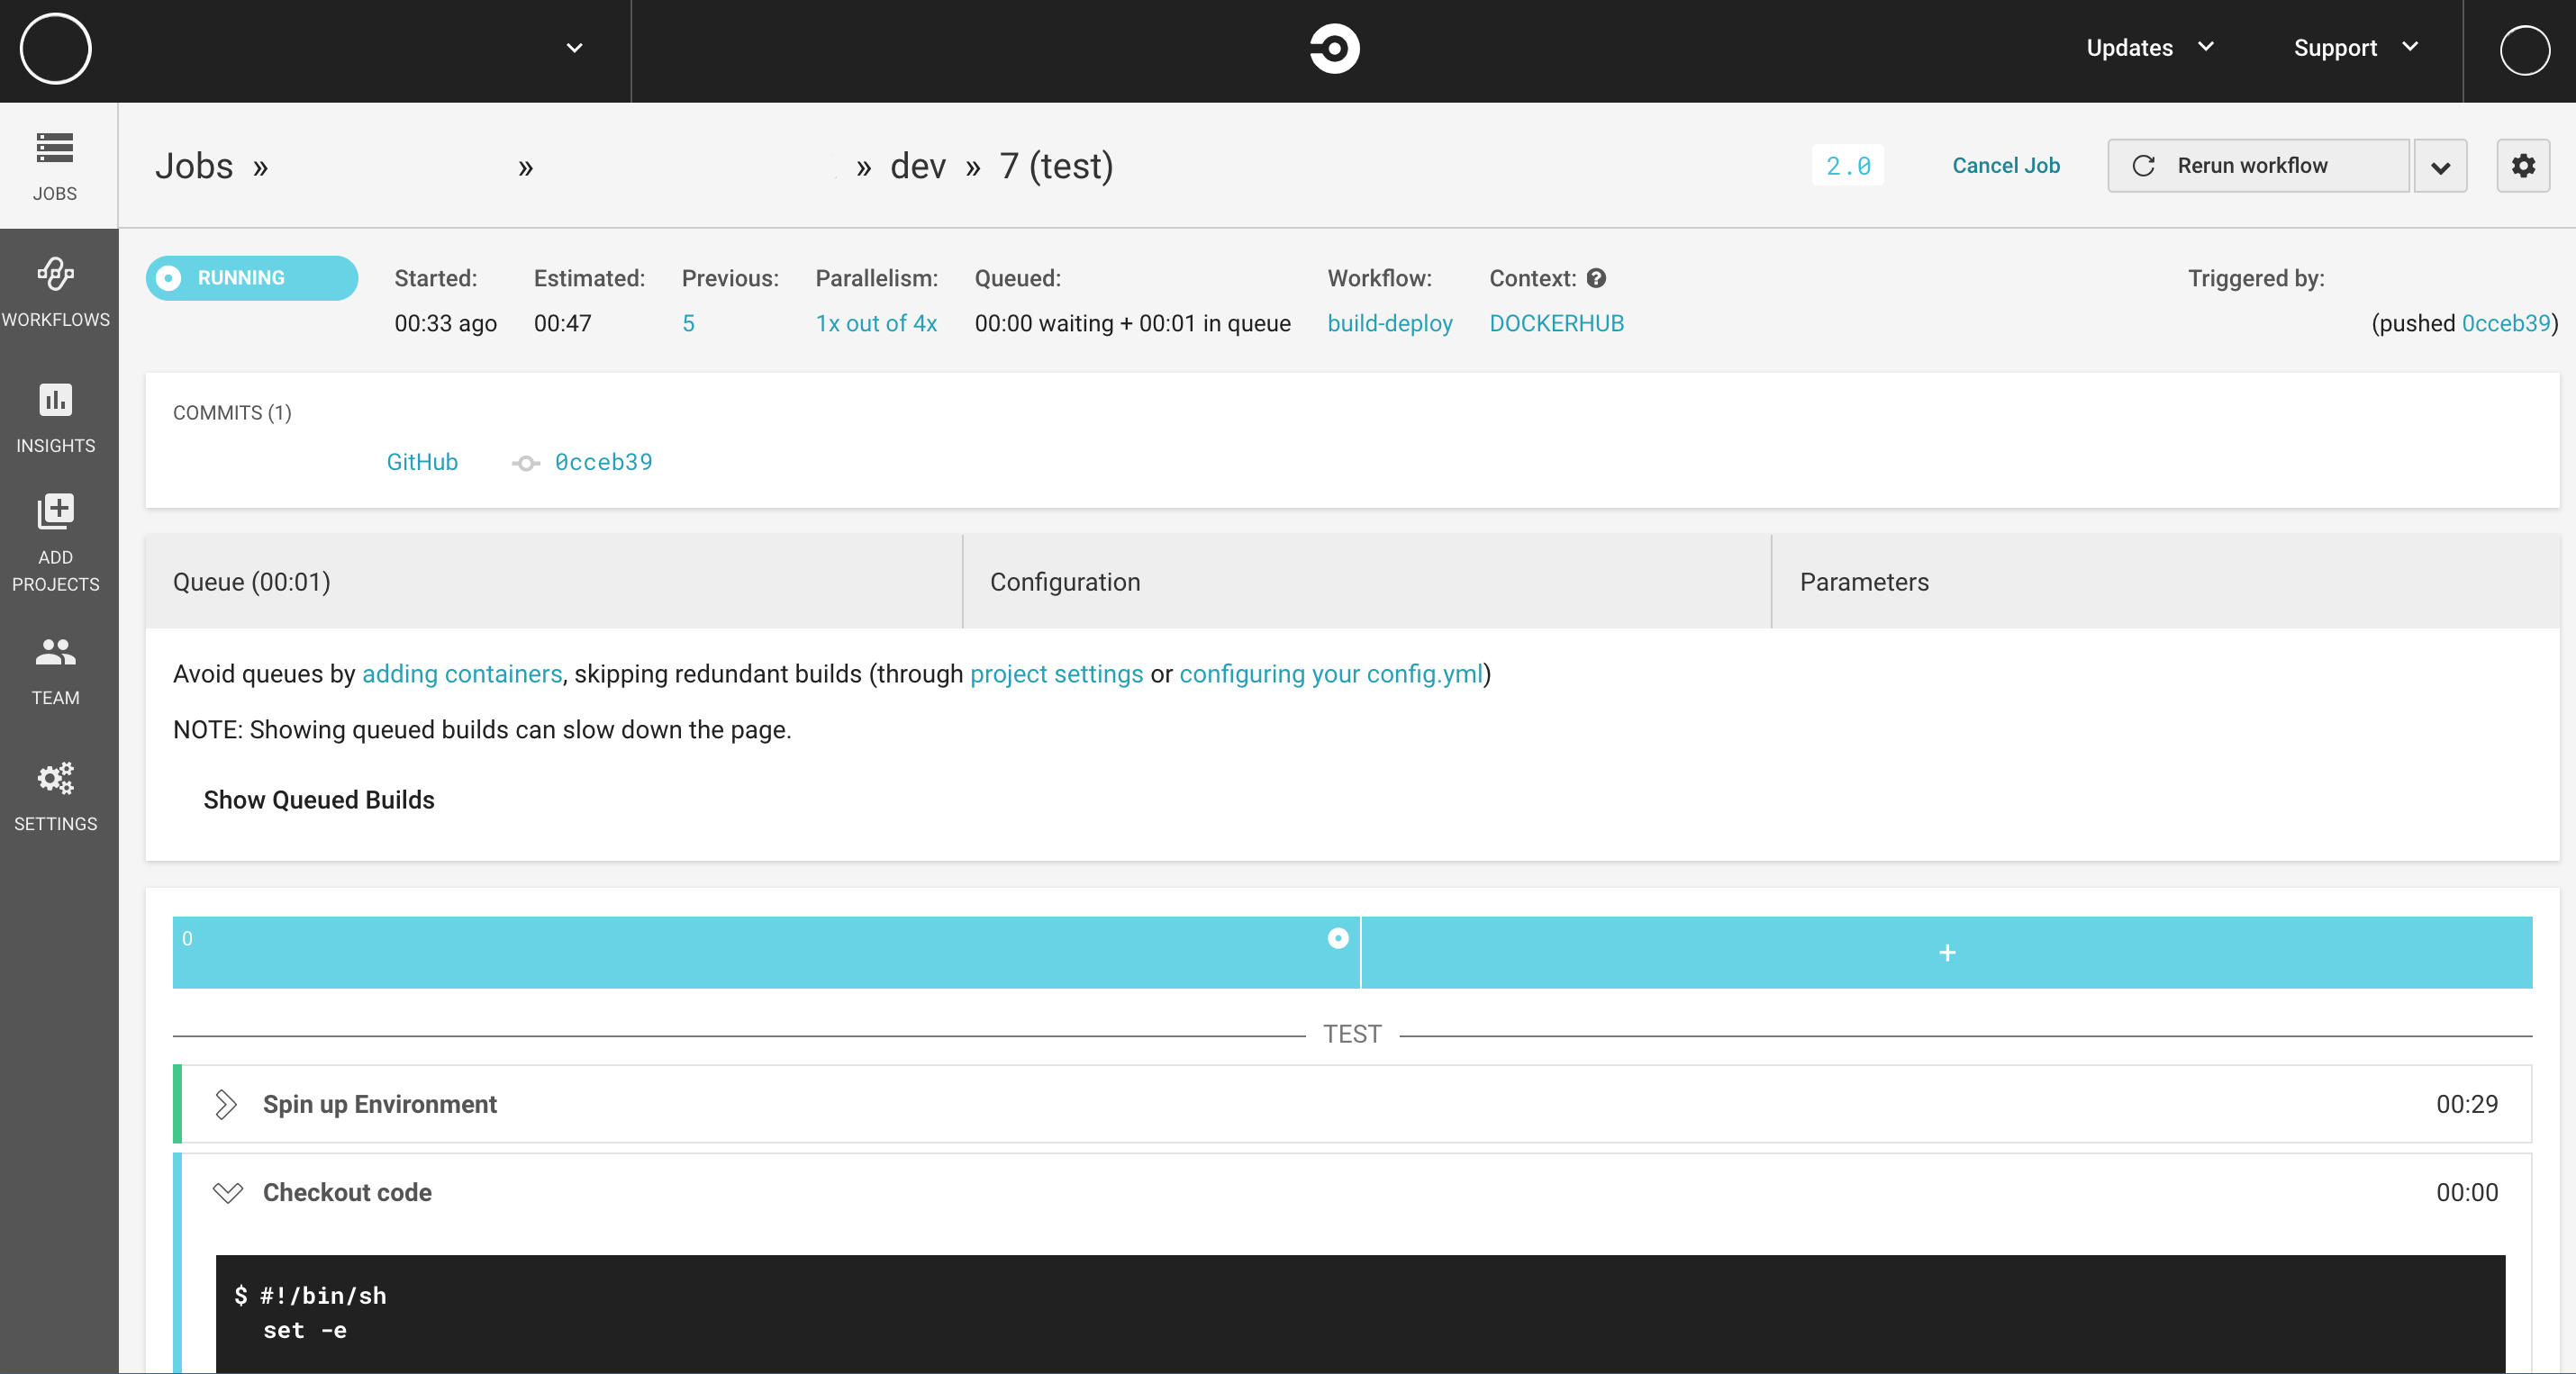
To test the pipeline trigger, go to the recently forked repository at https://github.com/your_GitHub_username/rsvpapp-webinar4 and make some changes in the dev branch only. Since you have added the branch filter only: dev to your .circleci/config file, CI will build only when there is change in the dev branch. Make a change to the dev branch code, and you will find that CircleCI has triggered a new workflow in the user interface. Click on the running workflow and you will find the details of what CircleCI is doing:
With your CircleCI workflow taking care of the Continuous Integration aspect of your GitOps CI/CD system, you can install and configure Argo CD on top of your Kubernetes cluster to address Continuous Deployment.
Step 2 — Installing and Configuring Argo CD on your Kubernetes Cluster
Just as CircleCI uses GitHub to trigger automated testing on changes to source code, Argo CD connects your Kubernetes cluster into your GitHub repository to listen for changes and to automatically deploy the updated application. To set this up, you must first install Argo CD into your cluster.
First, create a namespace named argocd:
- kubectl create namespace argocd
Within this namespace, Argo CD will run all the services and resources it needs to create its Continuous Deployment workflow.
Next, download the Argo CD manifest from the official GitHub respository for Argo:
- kubectl apply -n argocd -f https://raw.githubusercontent.com/argoproj/argo-cd/v0.9.2/manifests/install.yaml
In this command, the -n flag directs kubectl to apply the manifest to the namespace argocd, and -f specifies the file name for the manifest that it will apply, in this case the one downloaded from the Argo repository.
By using the kubectl get command, you can find the pods that are now running in the argocd namespace:
- kubectl get pod -n argocd
Using this command will yield output similar to the following:
NAME                                      READY     STATUS    RESTARTS   AGE
application-controller-6d68475cd4-j4jtj   1/1       Running   0          1m
argocd-repo-server-78f556f55b-tmkvj       1/1       Running   0          1m
argocd-server-78f47bf789-trrbw            1/1       Running   0          1m
dex-server-74dc6c5ff4-fbr5g               1/1       Running   0          1m
Now that Argo CD is running on your cluster, download the Argo CD CLI tool so that you can control the program from your command line:
- curl -sSL -o /usr/local/bin/argocd https://github.com/argoproj/argo-cd/releases/download/v0.9.2/argocd-linux-amd64
Once you’ve downloaded the file, use chmod to make it executable:
- chmod +x /usr/local/bin/argocd
To find the Argo CD service, run the kubectl get command in the namespace argocd:
kubectl get svc -n argocd argocd-server
You will get output similar to the following:
OutputNAME            TYPE        CLUSTER-IP       EXTERNAL-IP   PORT(S)          AGE
argocd-server   ClusterIP   10.109.189.243   <none>        80/TCP,443/TCP   8m
Now, access the Argo CD API server. This server does not automatically have an external IP, so you must first expose the API so that you can access it from your browser at your local workstation. To do this, use kubectl port-forward to forward port 8080 on your local workstation to the 80 TCP port of the argocd-server service from the preceding output:
- kubectl port-forward svc/argocd-server -n argocd 8080:80
The output will be:
OutputForwarding from 127.0.0.1:8080 -> 8080
Forwarding from [::1]:8080 -> 8080
Once you run the port-forward command, your command prompt will disappear from your terminal. To enter more commands for your Kubernetes cluster, open a new terminal window and log onto your remote server.
To complete the connection, use ssh to forward the 8080 port from your local machine. First, open up an additional terminal window and, from your local workstation, enter the following command, with remote_server_IP_address replaced by the IP address of the remote server on which you are running your Kubernetes cluster:
- ssh -L 8080:localhost:8080 root@remote_server_IP_address
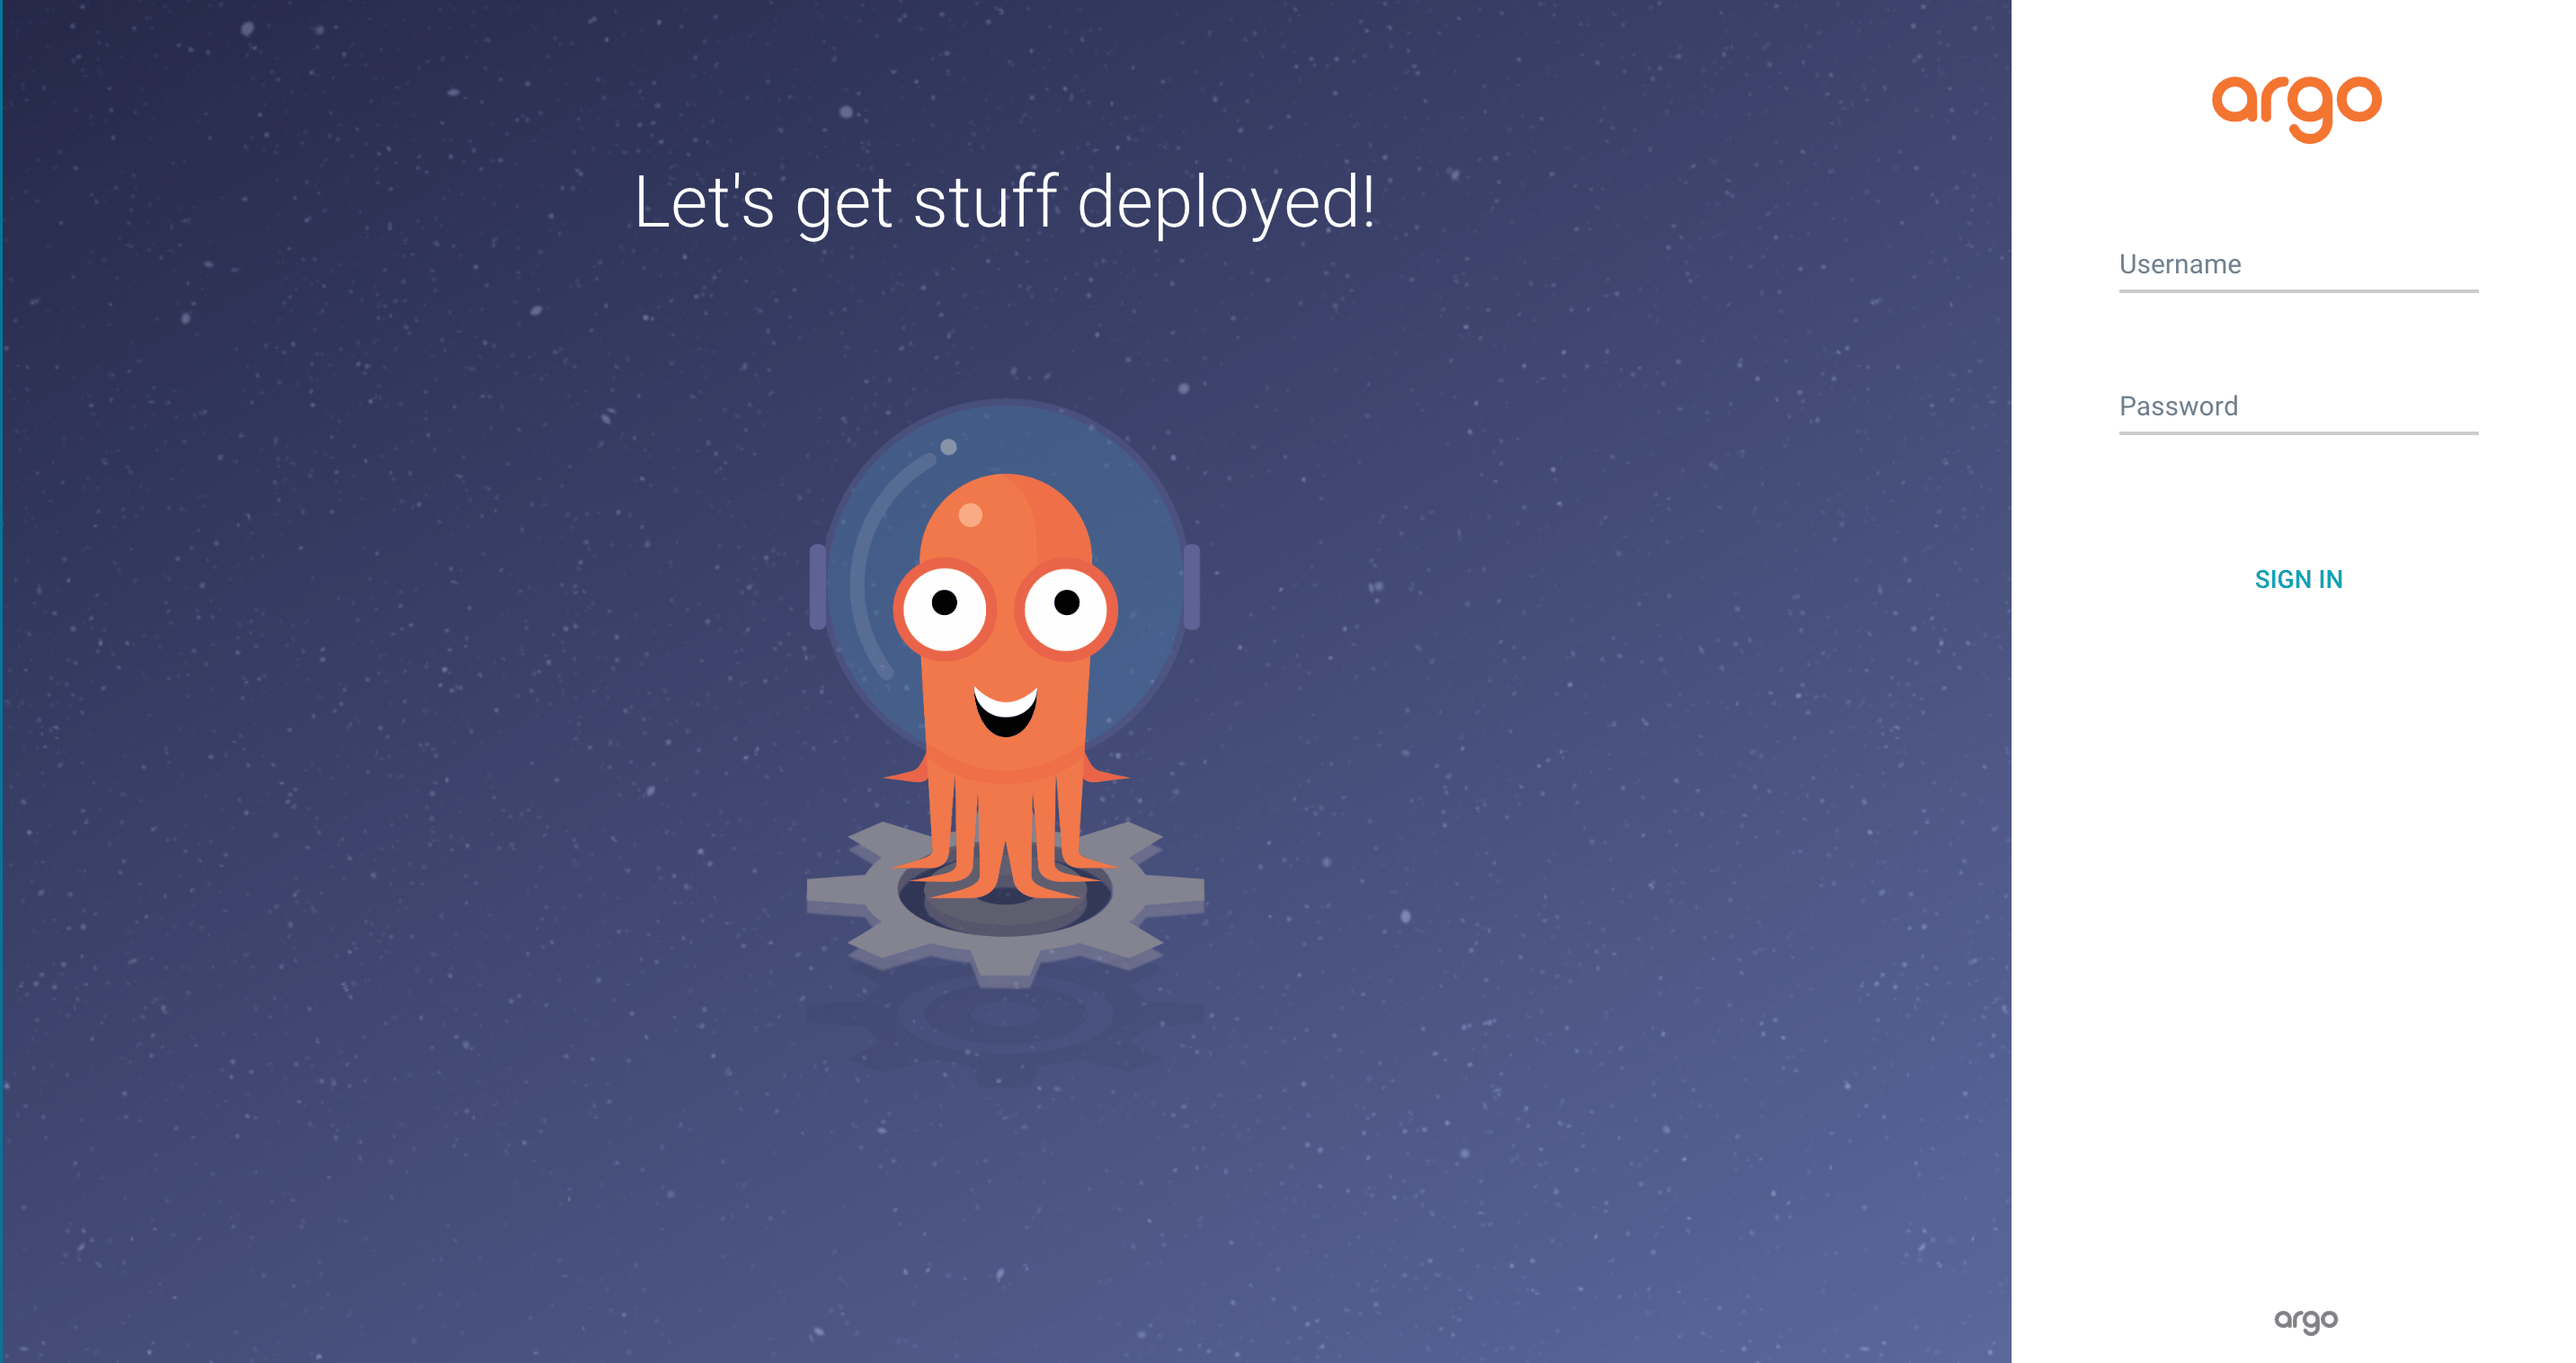
To make sure that the Argo CD server is exposed to your local workstation, open up a browser and navigate to the URL localhost:8080. You will see the Argo CD landing page:
Now that you have installed Argo CD and exposed its server to your local workstation, you can continue to the next step, in which you will connect GitHub into your Argo CD service.
Step 3 — Connecting Argo CD to GitHub
To allow Argo CD to listen to GitHub and synchronize deployments to your repository, you first have to connect Argo CD into GitHub. To do this, log into Argo.
By default, the password for your Argo CD account is the name of the pod for the Argo CD API server. Switch back to the terminal window that is logged into your remote server but is not handling the port forwarding. Retrieve the password with the following command:
- kubectl get pods -n argocd -l app=argocd-server -o name | cut -d'/' -f 2
You will get the name of the pod running the Argo API server:
Outputargocd-server-b686c584b-6ktwf
Enter the following command to log in from the CLI:
- argocd login localhost:8080
You will receive the following prompt:
[secondary_label Output]
WARNING: server certificate had error: x509: certificate signed by unknown authority. Proceed insecurely (y/n)?
For the purposes of this demonstration, type y to proceed without a secure connection. Argo CD will then prompt you for your username and password. Enter admin for username and the complete argocd-server pod name for your password. Once you put in your credentials, you’ll receive the following message:
Output'admin' logged in successfully
Context 'localhost:8080' updated
Now that you have logged in, use the following command to change your password:
- argocd account update-password
Argo CD will ask you for your current password and the password you would like to change it to. Choose a secure password and enter it at the prompts. Once you have done this, use your new password to relogin:
- argocd relogin
Enter your password again, and you will get:
OutputContext 'localhost:8080' updated
If you were deploying an application on a cluster external to the Argo CD cluster, you would need to register the application cluster’s credentials with Argo CD. If, as is the case with this tutorial, Argo CD and your application are on the same cluster, then you will use https://kubernetes.default.svc as the Kubernetes API server when connecting Argo CD to your application.
To demonstrate how one might register an external cluster, first get a list of your Kubernetes contexts:
- kubectl config get-contexts
You’ll get:
OutputCURRENT   NAME       CLUSTER    AUTHINFO   NAMESPACE
*         minikube   minikube   minikube
To add a cluster, enter the following command, with the name of your cluster in place of the highlighted name:
- argocd cluster add minikube
In this case, the preceding command would yield:
OutputINFO[0000] ServiceAccount "argocd-manager" created
INFO[0000] ClusterRole "argocd-manager-role" created
INFO[0000] ClusterRoleBinding "argocd-manager-role-binding" created, bound "argocd-manager" to "argocd-manager-role"
Cluster 'minikube' added
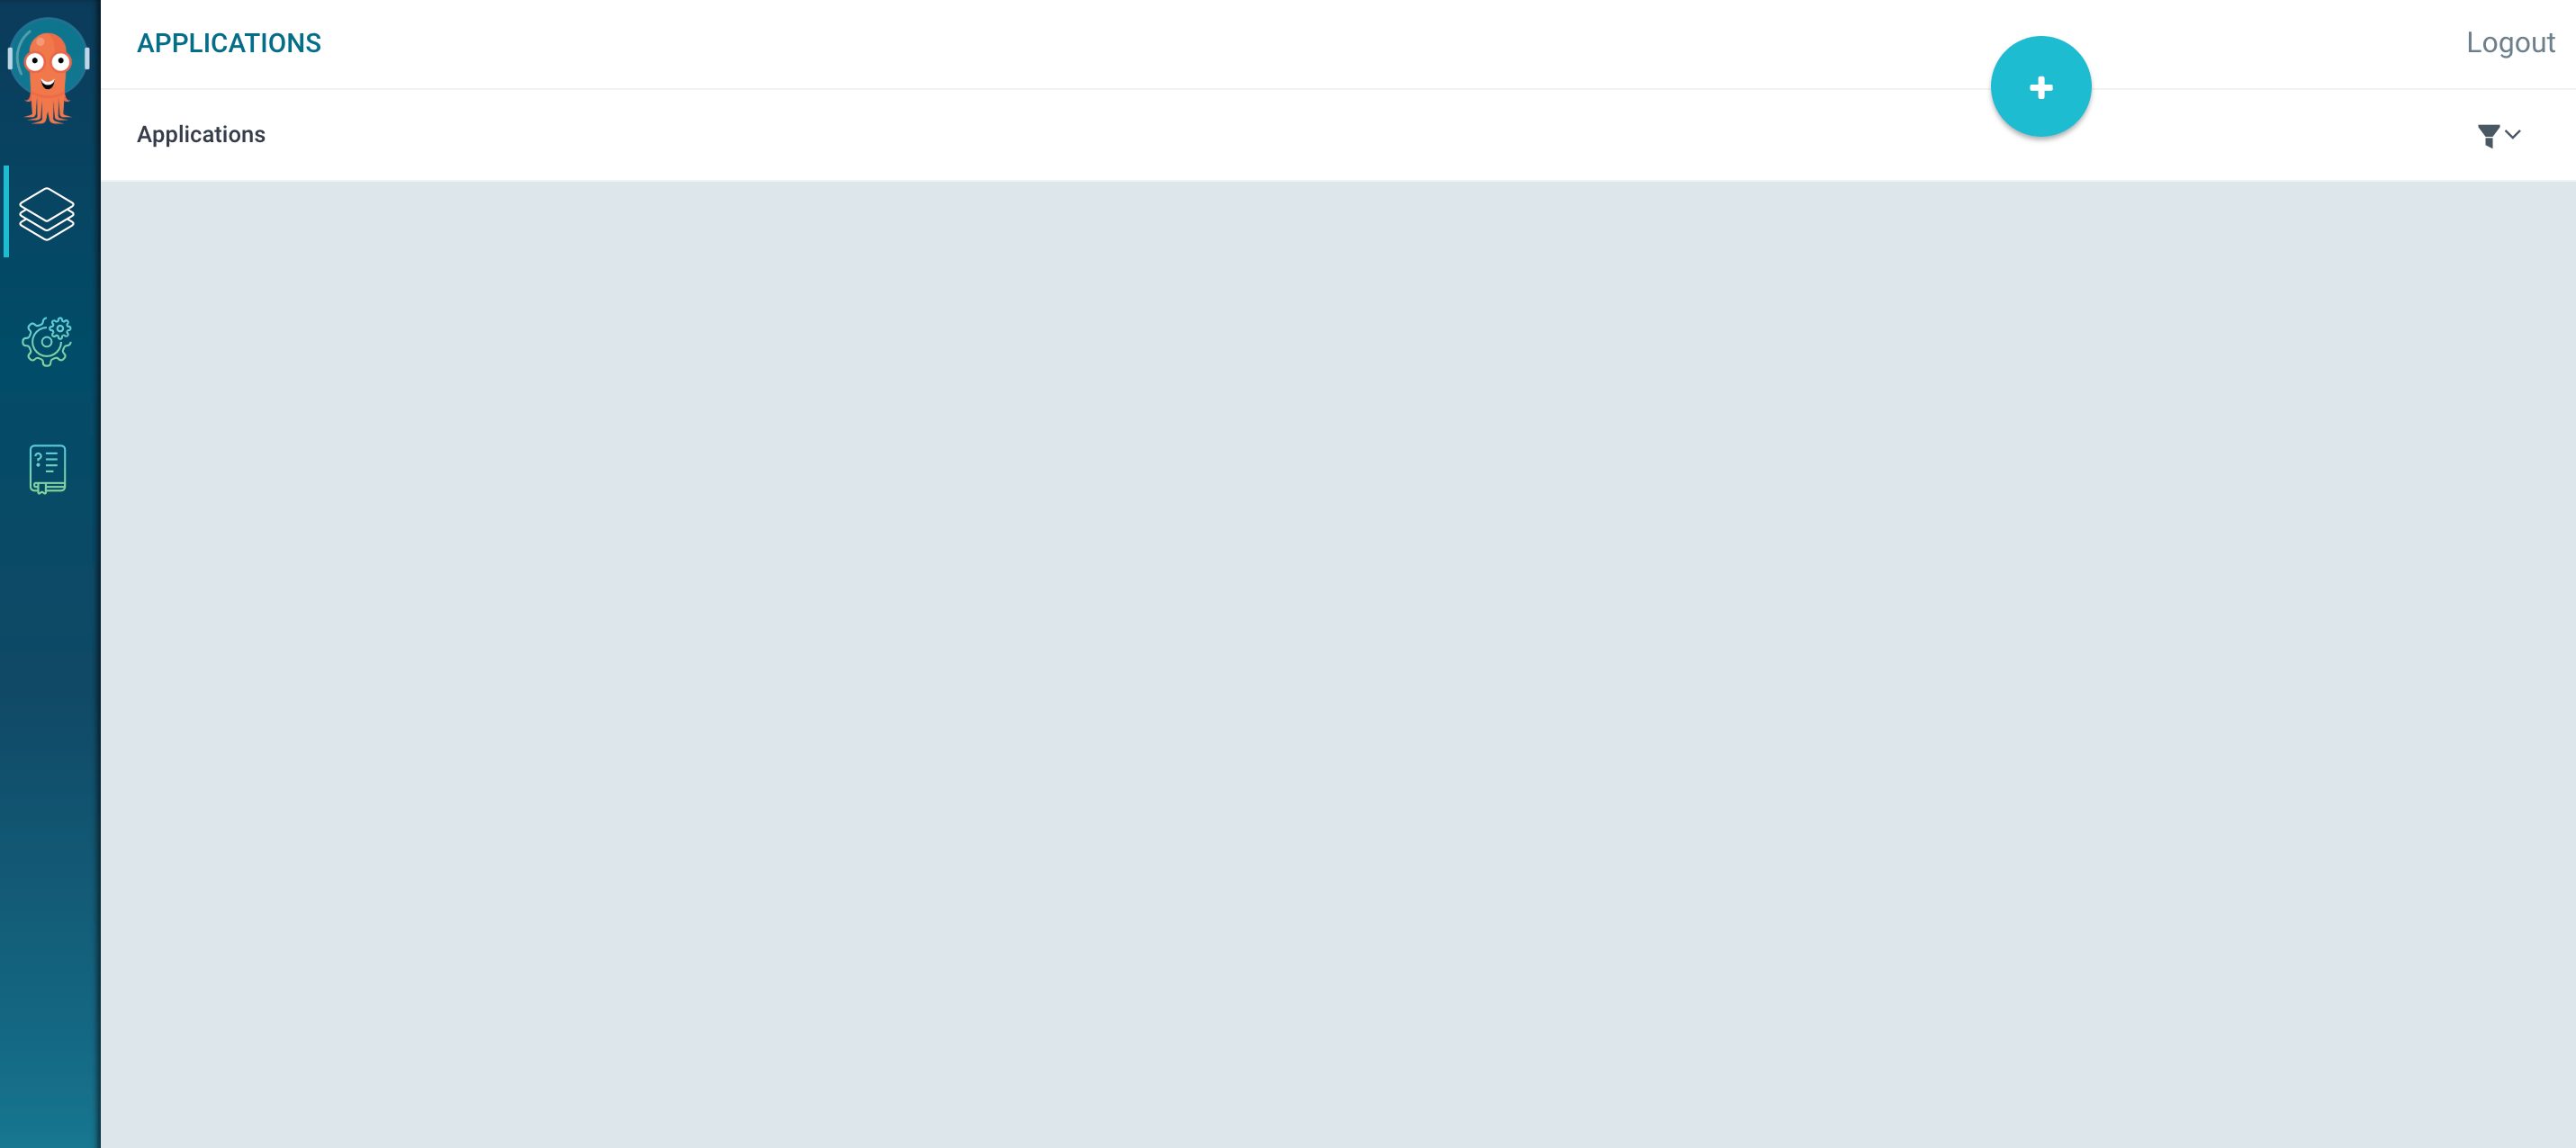
Now that you have set up your log in credentials for Argo CD and tested how to add an external cluster, move over to the Argo CD landing page and log in from your local workstation. Argo CD will direct you to the Argo CD applications page:
From here, click the Settings icon from the left-side tool bar, click Repositories, then click CONNECT REPO. Argo CD will present you with three fields for your GitHub information:
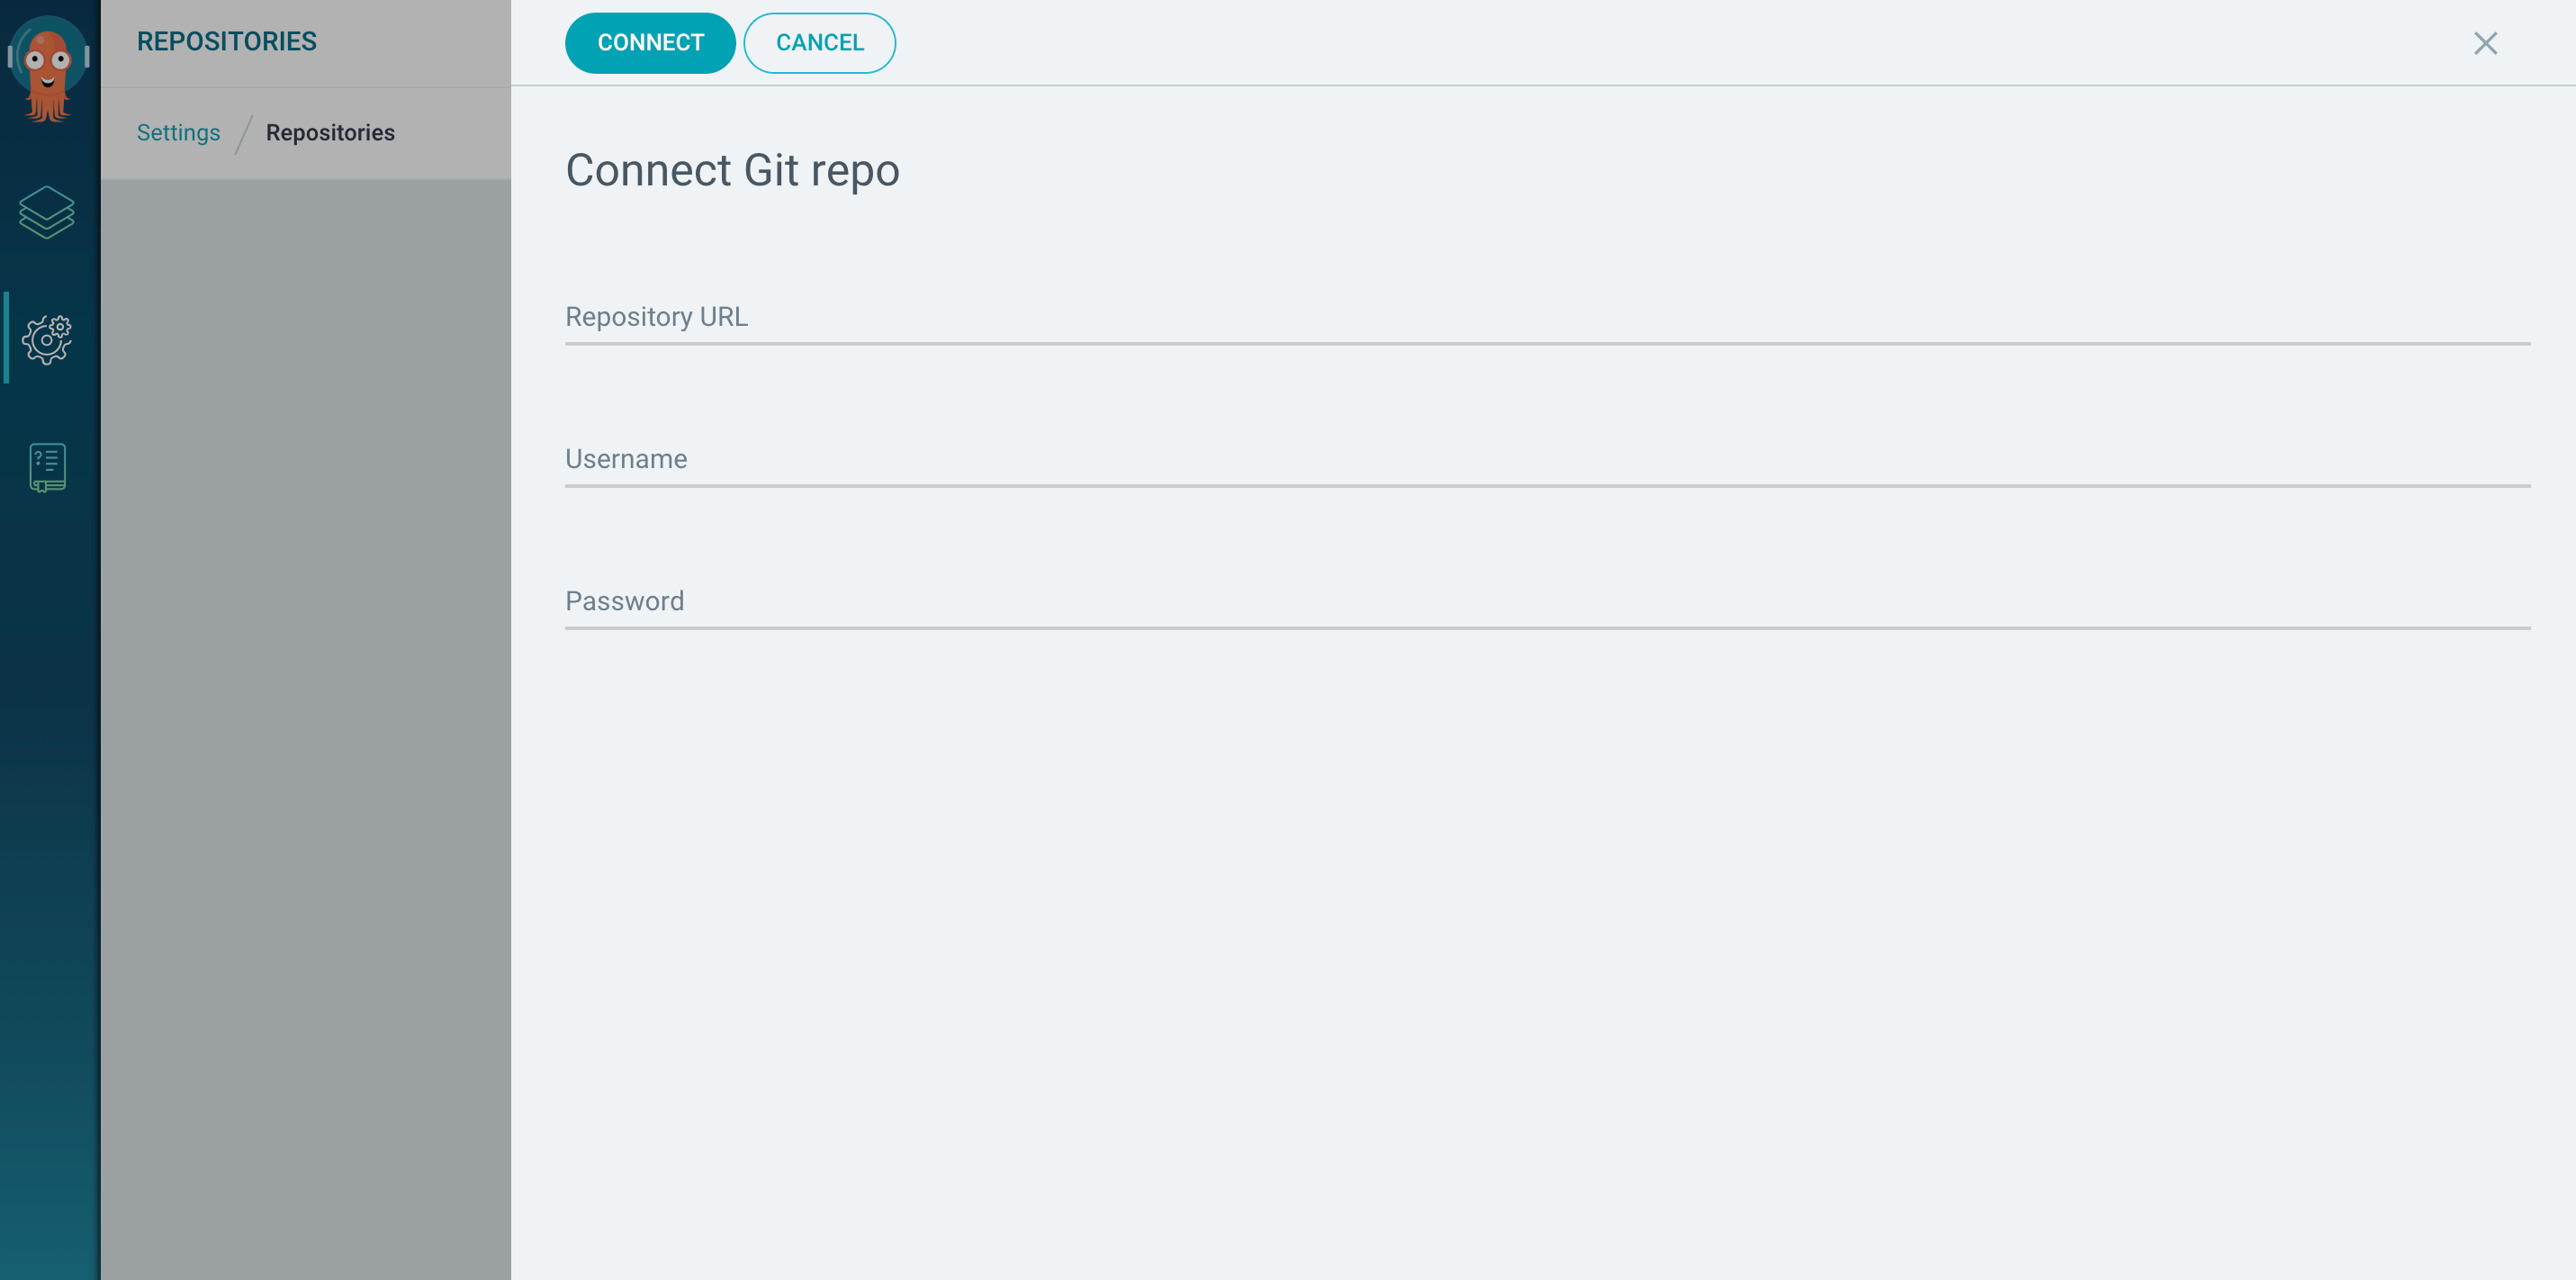
In the field for Repository URL, enter https://github.com/your_GitHub_username/rsvpapp-webinar4, then enter your GitHub username and password. Once you’ve entered your credentials, click the CONNECT button at the top of the screen.
Once you’ve connected your repository containing the demo RSVP app to Argo CD, choose the Apps icon from the left-side tool bar, click the + button in the top right corner of the screen, and select New Application. From the Select Repository page, select your GitHub repository for the RSVP app and click next. Then choose CREATE APP FROM DIRECTORY to go to a page that asks you to review your application parameters:
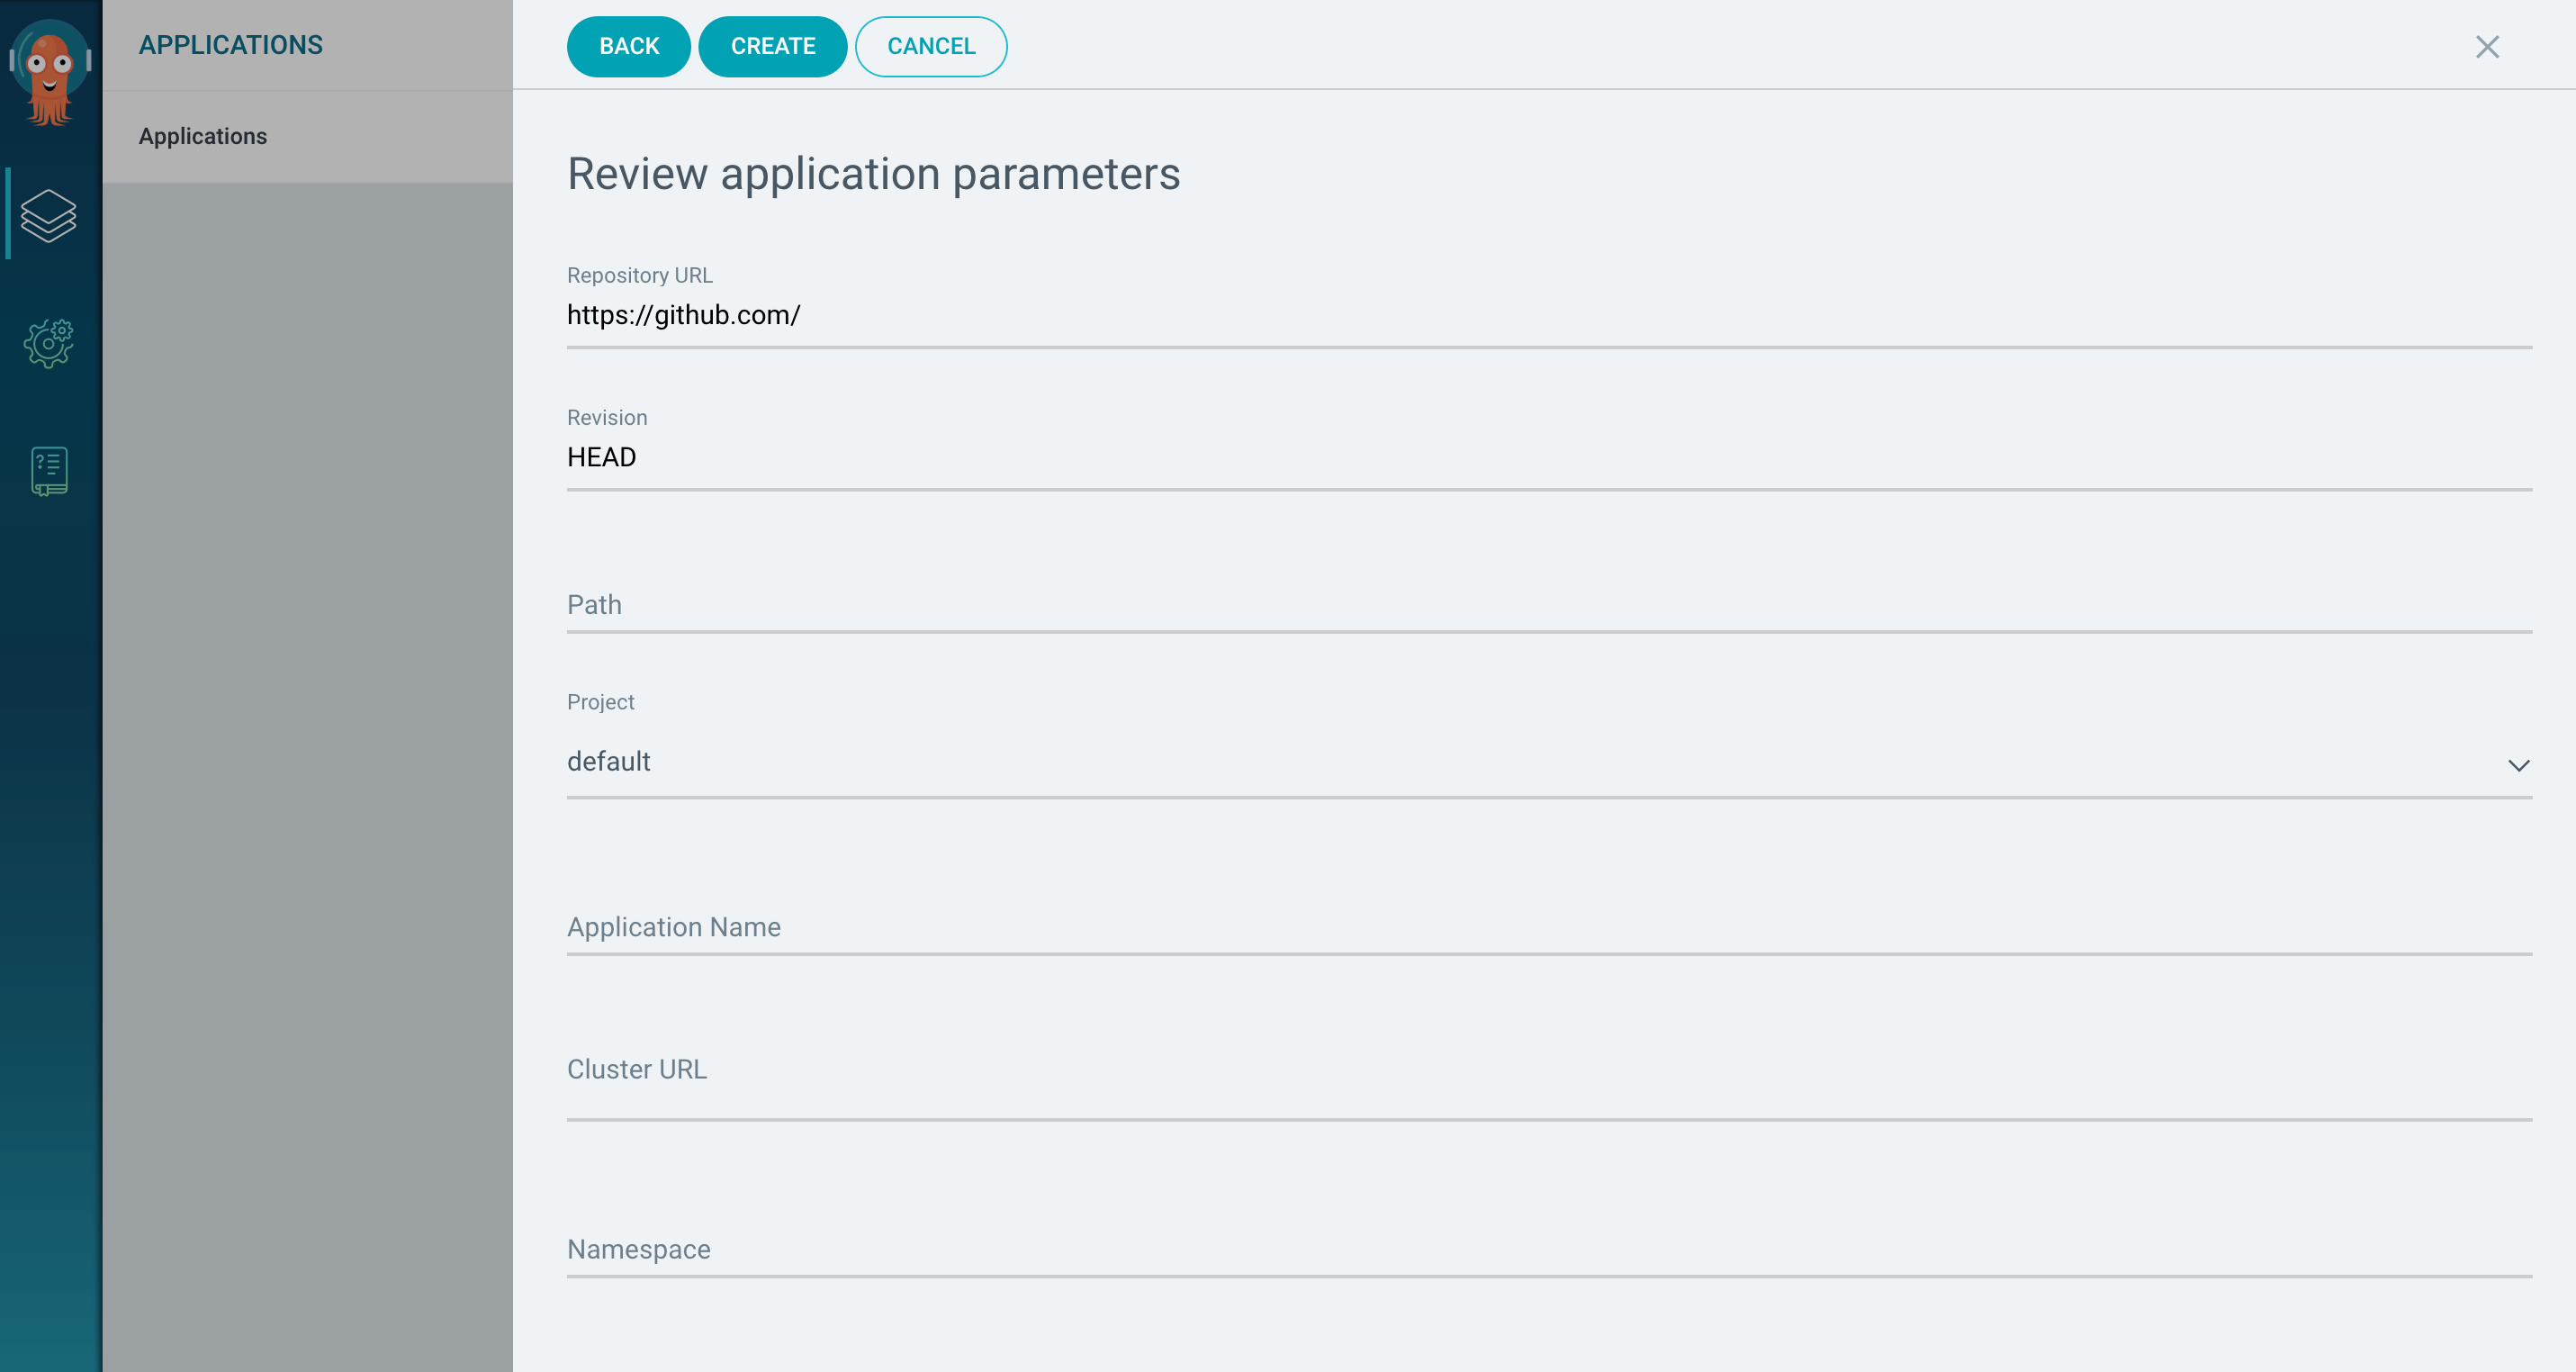
The Path field designates where the YAML file for your application resides in your GitHub repository. For this project, type k8s. For Application Name, type rsvpapp, and for Cluster URL, select https://kubernetes.default.svc from the dropdown menu, since Argo CD and your application are on the same Kubernetes cluster. Finally, enter default for Namespace.
Once you have filled out your application parameters, click on CREATE at the top of the screen. A box will appear, representing your application:
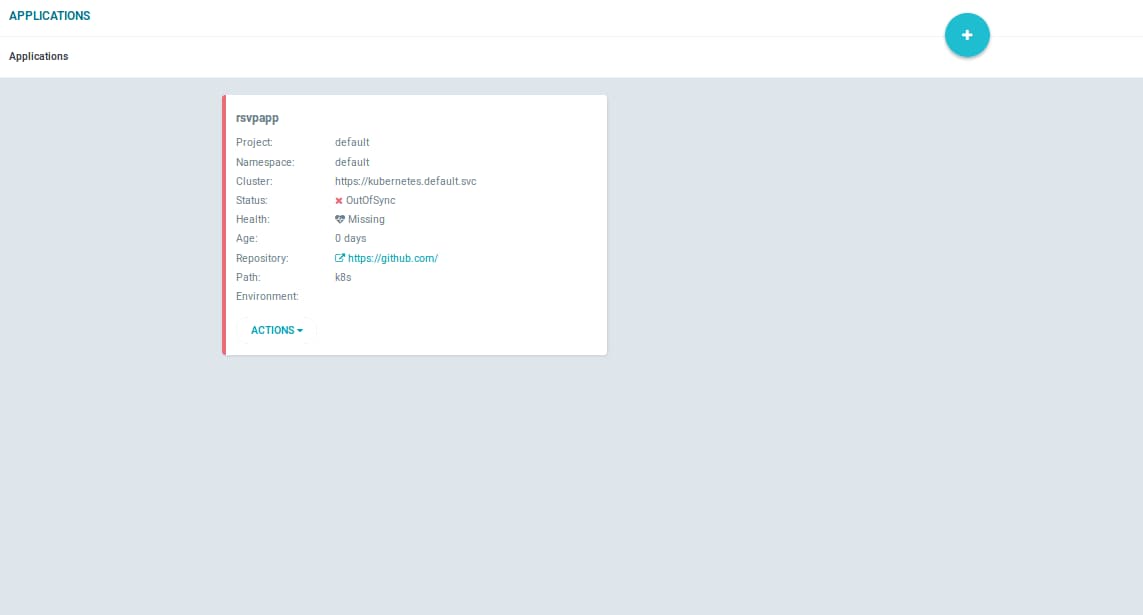
After Status:, you will see that your application is OutOfSync with your GitHub repository. To deploy your application as it is on GitHub, click ACTIONS and choose Sync. After a few moments, your application status will change to Synced, meaning that Argo CD has deployed your application.
Once your application has been deployed, click your application box to find a detailed diagram of your application:
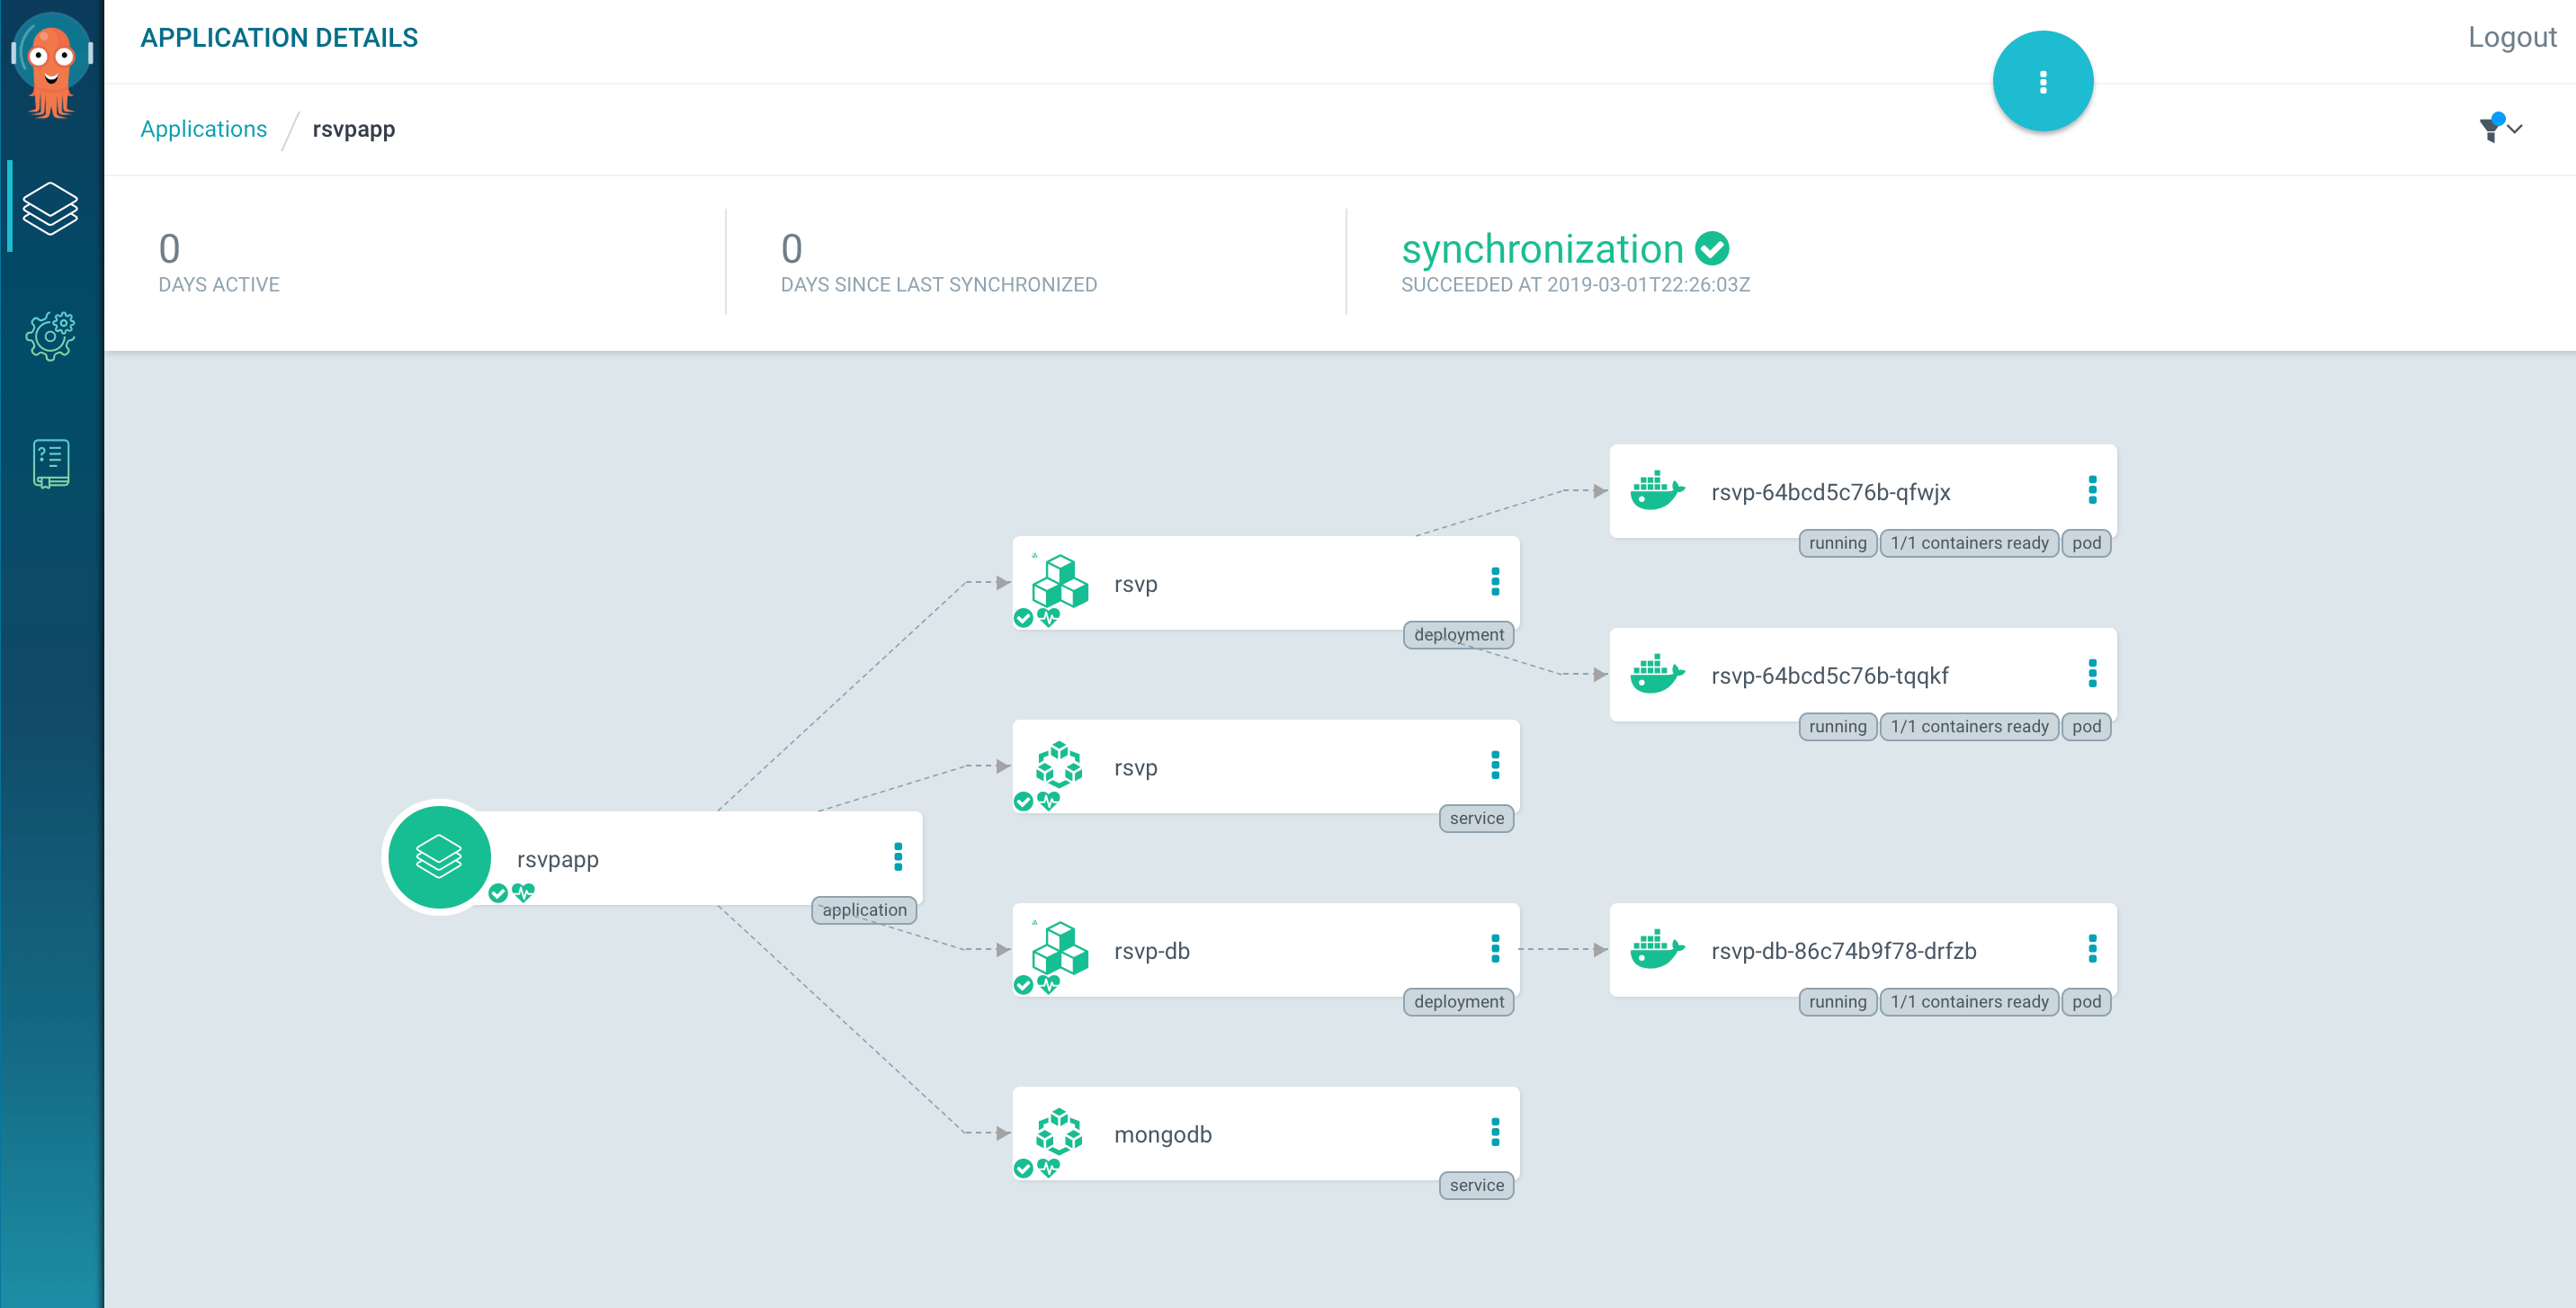
To find this deployment on your Kubernetes cluster, switch back to the terminal window for your remote server and enter:
- kubectl get pod
You will receive output with the pods that are running your app:
OutputNAME                      READY     STATUS    RESTARTS   AGE
rsvp-755d87f66b-hgfb5     1/1       Running   0          12m
rsvp-755d87f66b-p2bsh     1/1       Running   0          12m
rsvp-db-54996bf89-gljjz   1/1       Running   0          12m
Next, check the services:
- kubectl get svc
You’ll find a service for the RSVP app and your MongoDB database, in addition to the number of the port from which your app is running, highlighted in the following:
NAME         TYPE        CLUSTER-IP      EXTERNAL-IP   PORT(S)        AGE
kubernetes   ClusterIP   10.96.0.1       <none>        443/TCP        2h
mongodb      ClusterIP   10.102.150.54   <none>        27017/TCP      25m
rsvp         NodePort    10.106.91.108   <none>        80:31350/TCP   25m
You can find your deployed RSVP app by navigating to your_remote_server_IP_address:app_port_number in your browser, using the preceding highlighted number for app_port_number:
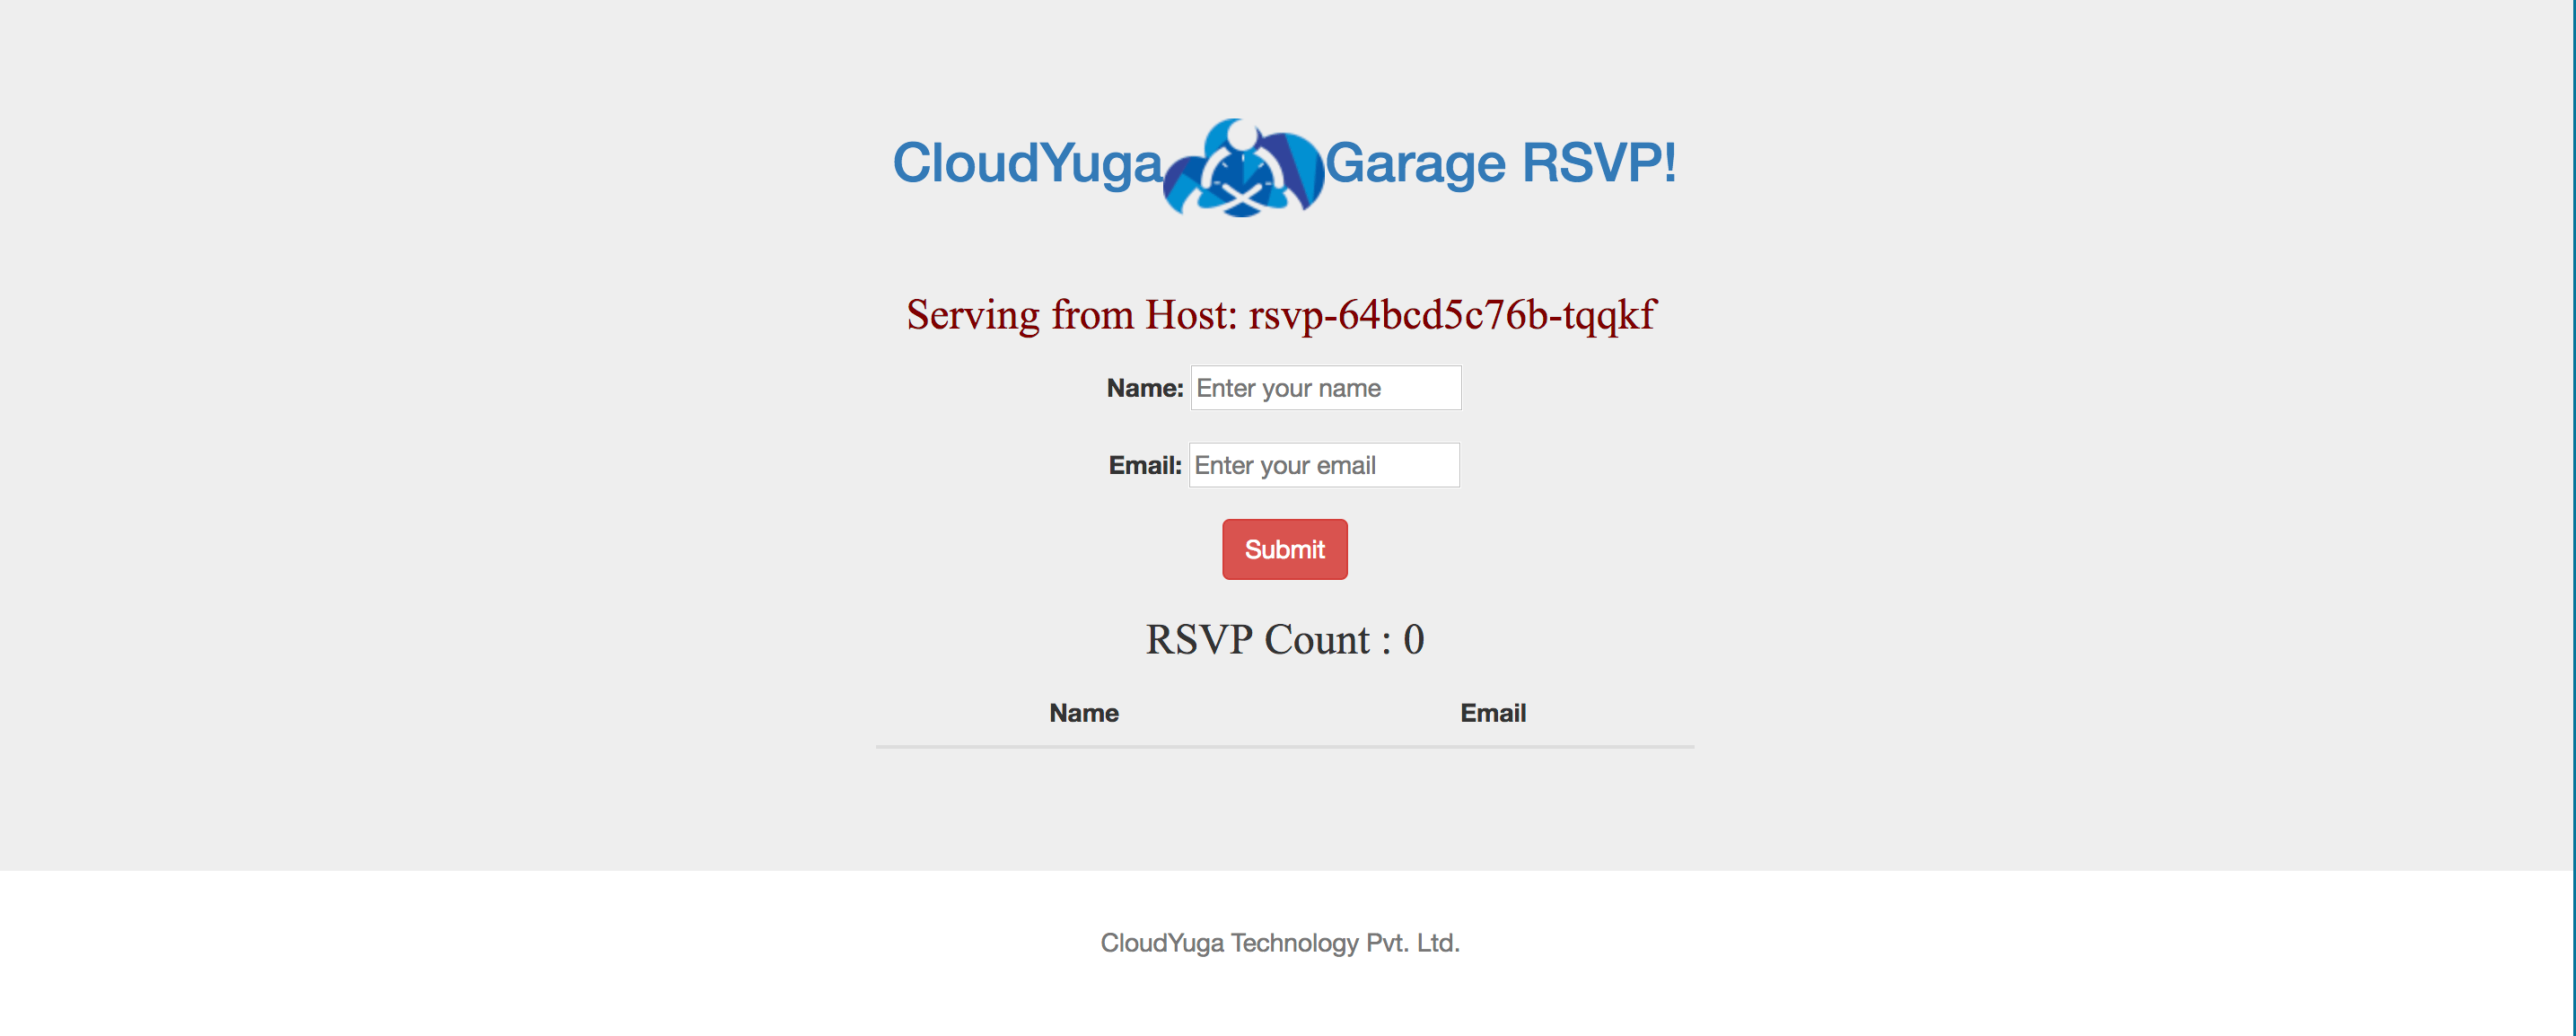
Now that you have deployed your application using Argo CD, you can test your Continuous Deployment system and adjust it to automatically sync with GitHub.
Step 4 — Testing your Continuous Deployment Setup
With Argo CD set up, test out your Continuous Deployment system by making a change in your project and triggering a new build of your application.
In your browser, navigate to https://github.com/your_GitHub_username/rsvpapp-webinar4, click into the master branch, and update the k8s/rsvp.yaml file to deploy your app using the image built by CircleCI as a base. Add dev after image: nkhare/rsvpapp:, as shown in the following:
apiVersion: apps/v1
kind: Deployment
metadata:
  name: rsvp
spec:
  replicas: 2
  selector:
    matchLabels:
      app: rsvp
  template:
    metadata:
      labels:
        app: rsvp
    spec:
      containers:
      - name: rsvp-app
        image: nkhare/rsvpapp: dev
        imagePullPolicy: Always
        livenessProbe:
          httpGet:
            path: /
            port: 5000
          periodSeconds: 30
          timeoutSeconds: 1
          initialDelaySeconds: 50
        env:
        - name: MONGODB_HOST
          value: mongodb
        ports:
        - containerPort: 5000
          name: web-port
. . .
Instead of pulling the original image from Docker Hub, Argo CD will now use the dev image created in the Continuous Integration system to build the application.
Commit the change, then return to the ArgoCD UI. You will notice that nothing has changed yet; this is because you have not activated automatic synchronization and must sync the application manually.
To manually sync the application, click the blue circle in the top right of the screen, and click Sync. A new menu will appear, with a field to name your new revision and a checkbox labeled PRUNE:
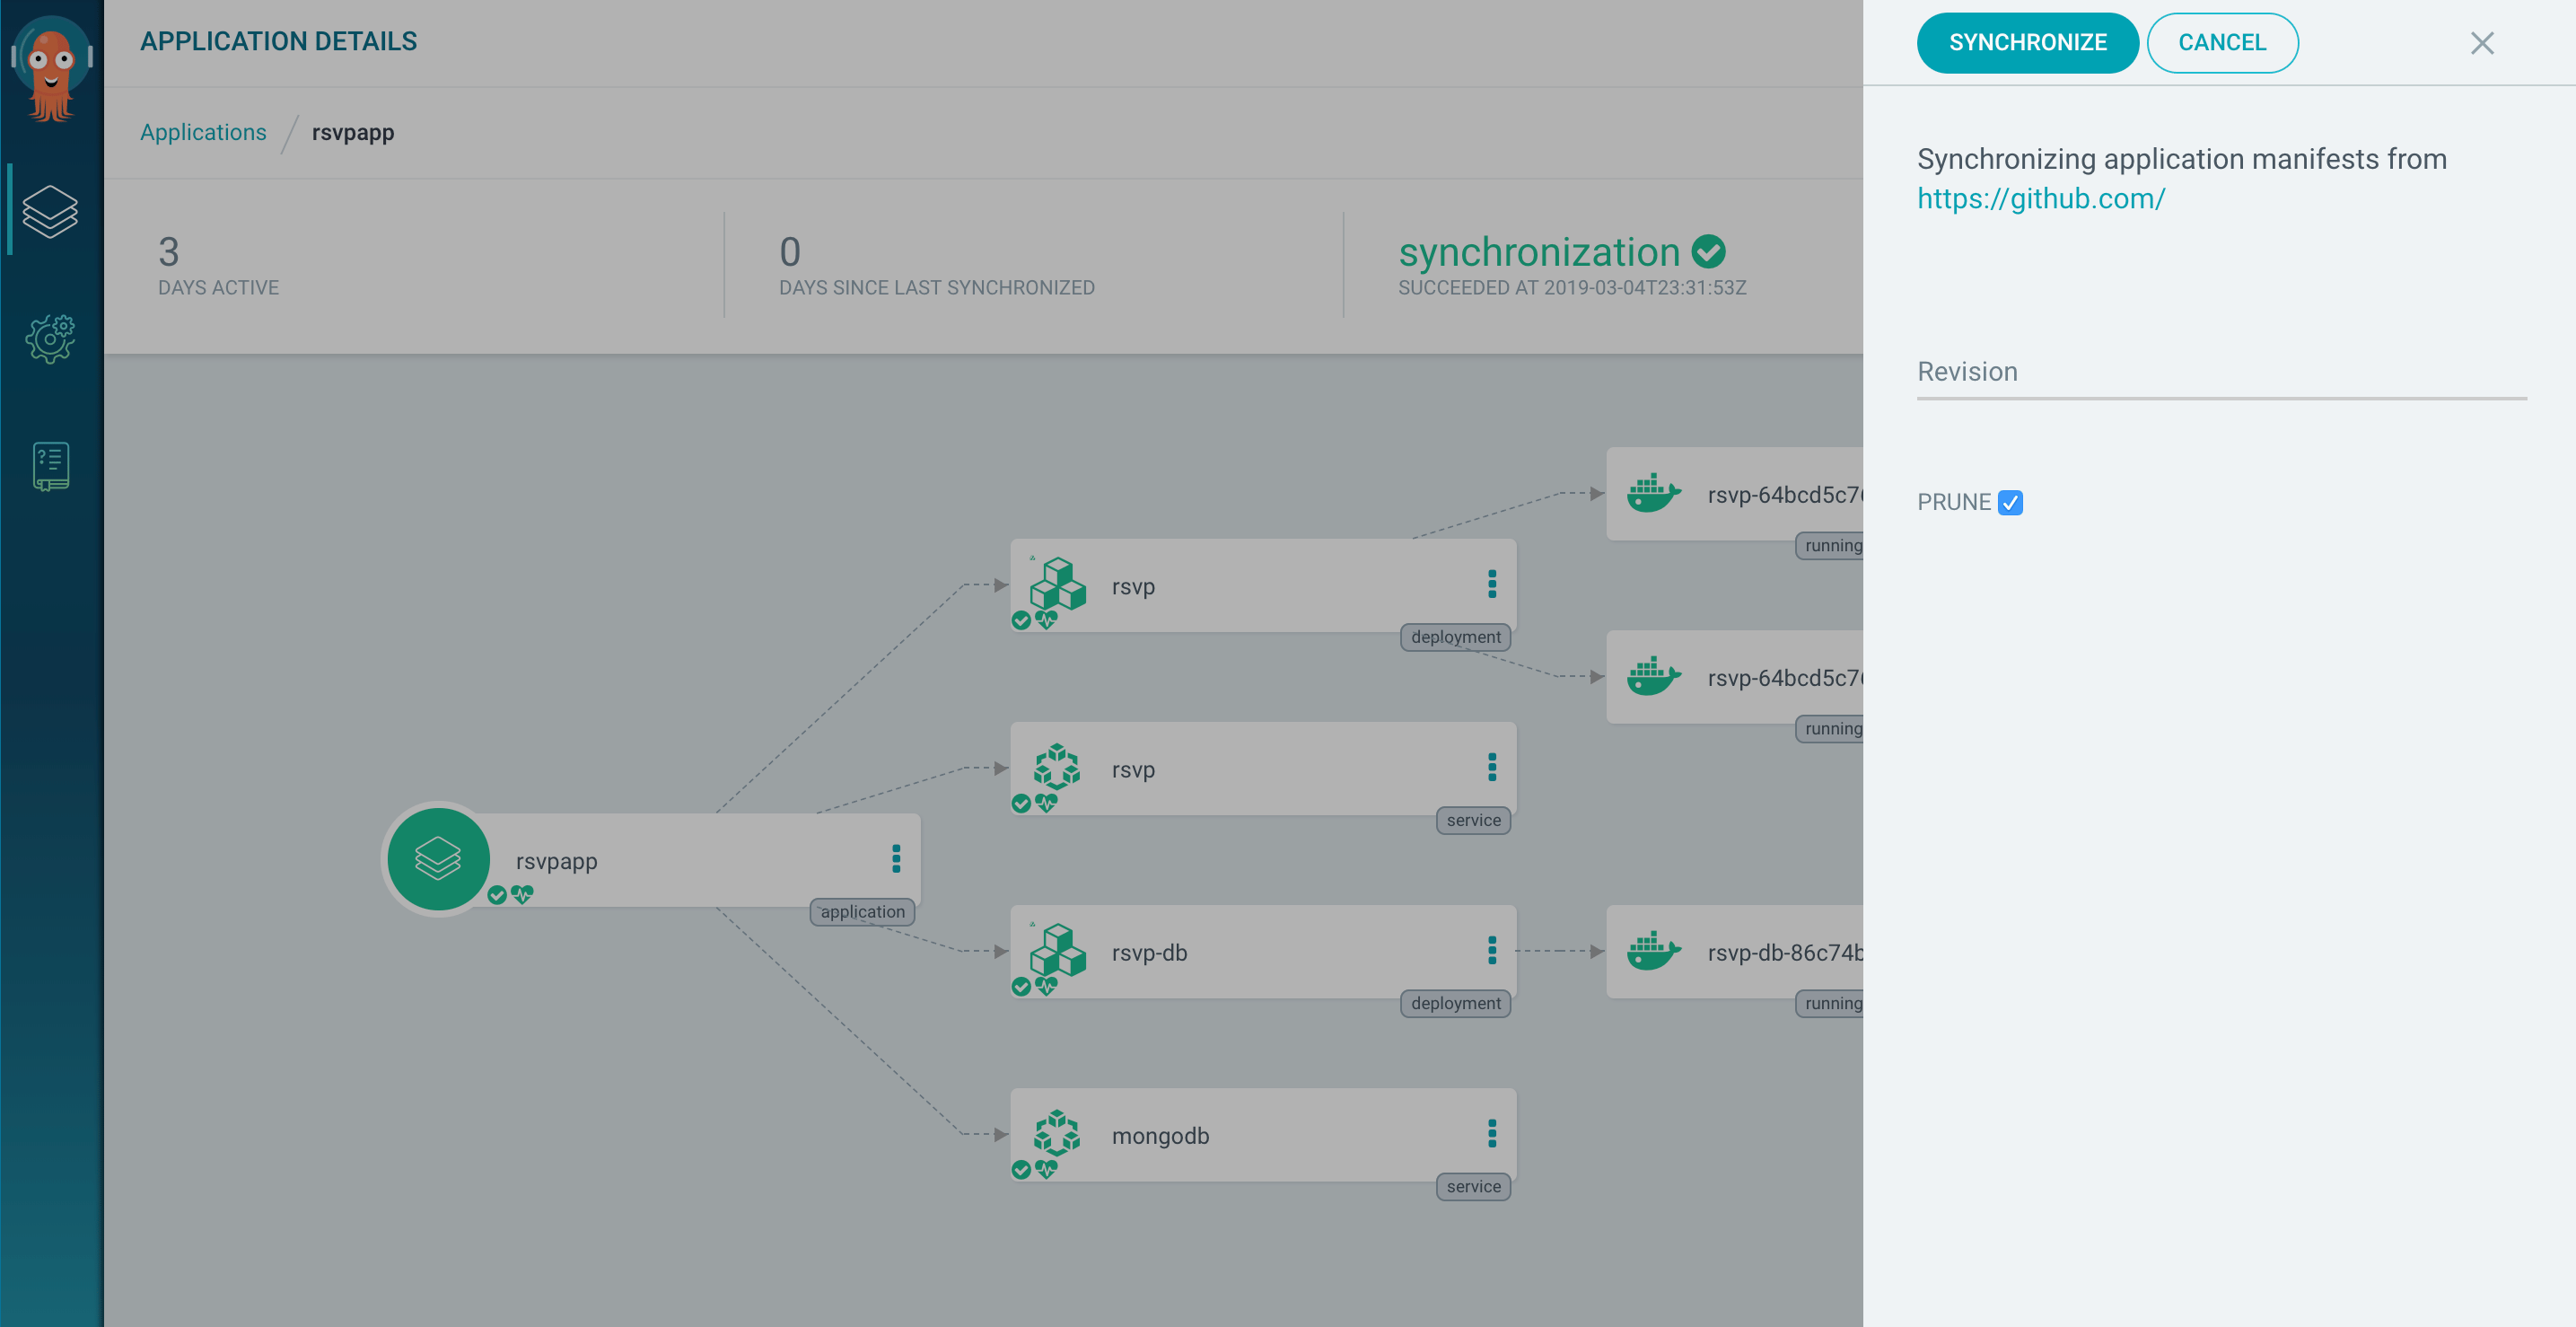
Clicking this checkbox will ensure that, once Argo CD spins up your new application, it will destroy the outdated version. Click the PRUNE box, then click SYNCHRONIZE at the top of the screen. You will see the old elements of your application spinning down, and the new ones spinning up with your CircleCI-made image. If the new image included any changes, you would find these new changes reflected in your application at the URL your_remote_server_IP_address:app_port_number.
As mentioned before, Argo CD also has an auto-sync option that will incorporate changes into your application as you make them. To enable this, open up your terminal for your remote server and use the following command:
- argocd app set rsvpapp --sync-policy automated
To make sure that revisions are not accidentally deleted, the default for automated sync has prune turned off. To turn automated pruning on, simply add the --auto-prune flag at the end of the preceding command.
Now that you have added Continuous Deployment capabilities to your Kubernetes cluster, you have completed the demonstration GitOps CI/CD system with CircleCI and Argo CD.
Conclusion
In this tutorial, you created a pipeline with CircleCI that triggers tests and builds updated images when you change code in your GitHub repository. You also used Argo CD to deploy an application, automatically incorporating the changes integrated by CircleCI. You can now use these tools to create your own GitOps CI/CD system that uses Git as its organizing theme.
If you’d like to learn more about Git, check out our An Introduction to Open Source series of tutorials. To explore more DevOps tools that integrate with Git repositories, take a look at How To Install and Configure GitLab on Ubuntu 18.04.
Thanks for learning with the DigitalOcean Community. Check out our offerings for compute, storage, networking, and managed databases.
Tutorial Series: Webinar Series: CI/CD on Kubernetes
The series discusses how to take a Cloud Native approach to building, testing, and deploying applications, covering release management, Cloud Native tools, Service Meshes, and CI/CD tools that can be used with Kubernetes. It is designed to help developers and businesses that are interested in integrating CI/CD best practices with Kubernetes into their worflows.
About the author(s)
Former Senior Technical Editor at DigitalOcean, fiction writer and podcaster elsewhere, always searching for the next good nautical pun! Areas of expertise include Node.js, PostgreSQL, CSS, JavaScript.
Still looking for an answer?
This textbox defaults to using Markdown to format your answer.
You can type !ref in this text area to quickly search our full set of tutorials, documentation & marketplace offerings and insert the link!
Great article! Thanks. Small doubt though: Instead of CircleCI, would Argo Workflow have done the trick too? Or is that serving a different purpose?
Failed to finish in circleCI.
When I followed CircleCI tutorial, I got error, “This job has been blocked because Docker Layer Caching is not available on your plan. Please upgrade to continue building.” and failed to finish. How can I avoid this error? I am not sure what is Docker Layer Caching. Is there any way to avoid this error?
 This work is licensed under a Creative Commons Attribution-NonCommercial- ShareAlike 4.0 International License.
Become a contributor for community
Get paid to write technical tutorials and select a tech-focused charity to receive a matching donation.

DigitalOcean Documentation
Full documentation for every DigitalOcean product.

Resources for startups and AI-native businesses
The Wave has everything you need to know about building a business, from raising funding to marketing your product.
The developer cloud
Scale up as you grow — whether you're running one virtual machine or ten thousand.

Start building today
From GPU-powered inference and Kubernetes to managed databases and storage, get everything you need to build, scale, and deploy intelligent applications.
