
Introduction
Ghost is a great new blogging platform that simplifies the process of getting a blog up and running. It boasts a clean interface and an easy-to-use interface.
In this article, we will discuss a method of using one VPS to host multiple blogs. We will be configuring two domain names that will resolve to different instances of Ghost being hosted on the same system.
Prerequisites
This guide assumes that you are starting on a fresh droplet that was configured with the one-click Ghost image. For instructions on how to spin up a Ghost blog on DigitalOcean, click here.
This also assumes that you have two separate domain names that you will be using for each of your blogs. They both should be pointed at your VPS instance that you created for your Ghost blog. To learn how to configure your domain names correctly, click here.
Finally, we assume that you are logged into your Ghost droplet as root.
Stop Running Services
Before we begin, we should stop the Ghost service to avoid problems down the line:
service ghost stop
This will ensure that we aren’t moving files that are opened by the Ghost process.
We want to do the same with nginx, just to be safe:
service nginx stop
Modify the Nginx Configuration
The first thing we need to do is adjust the nginx configuration. At the moment, nginx (our web server) is configured to pass all requests to a single location. We need to create different paths depending on what site our visitors are trying to reach.
Begin by navigating to the nginx directory where Ghost is configured. We will rename the Ghost configuration file to describe our first domain, and then copy it to a file that represents our second domain. These names are only for our reference, so you can change them as you’d like:
cd /etc/nginx/sites-enabled
mv ghost firstsite.conf
cp firstsite.conf secondsite.conf
Open the first site’s configuration with the editor of your choice:
nano firstsite.conf
Change the server_name parameter to match your first site’s domain name. It is important to get this part right, because it is the only way that nginx will know which Ghost instance to pass control to.
server_name firstsite.com
Save and close the file.
Next, we need to perform a similar operation on our second site configuration. Open it with your text editor:
nano secondsite.conf
We need to change the server_name parameter again to match our second site’s domain name. Again, make sure this is accurate:
server_name secondsite.com
We also need to change the port that should be used for our second site. Right now, this configuration would send all of the traffic to the same node.js instance, instead of splitting it between the two sites.
Change the proxy_pass parameter. We need to change the port number at the end to another number. It can be any port number that isn’t being used by another process.
proxy_pass http://localhost:2777
Save and close the file.
Restart nginx by typing:
service nginx restart
Change the Ghost Configuration
Now, we need to mirror our changes in the Ghost configuration files. Go to the web root directory:
cd /var/www
We need to make a directory for each of our Ghost sites:
mkdir firstsite.com
mkdir secondsite.com
Now, we need to move the Ghost directory into each of the new folders:
cp -r ghost firstsite.com
mv ghost secondsite.com
Now, we can open the first site’s Ghost configuration:
nano /var/www/firstsite.com/ghost/config.js
Find the production section by searching for the string production: {. Change the url parameter to match the name of your first site:
. . .
production: {
    url: 'http://firstsite.com'
. . .
Save and close the file.
Next, open the matching file for the second site:
nano /var/www/secondsite.com/ghost/config.js
Again, find the production: { section. Change the url parameter to match the second site’s domain:
. . .
production: {
    url: 'http://secondsite.com'
. . .
Next, scroll down a bit to the server: { section of the production block. Change the port parameter to match the number you selected for the proxy port in the second site’s nginx configuration:
port: '2777'
Save and close the file.
Create Upstart Scripts
The easiest way to manage separate Ghost installations is through Upstart scripts. This will allow you to start, stop, restart, and check the status of each site individually.
Currently, there is a System V init script located at /etc/init.d/ghost. If you are following this guide, delete the old System V script. This will help avoid confusion and can prevent the service starting with the wrong settings:
rm /etc/init.d/ghost
We will be creating a new configuration for each site. We will be using an alternative to System V called Upstart, because it has a simpler syntax.
Change to the directory where Upstart keeps its scripts:
cd /etc/init
Create a file for your first site:
nano ghost-firstsite.conf
Inside, we will place the following code. Change the values in red to match your first site’s configuration:
# ghost-firstsite

start on startup

script
    cd /var/www/firstsite.com/ghost
    npm start --production
end script
Save and close the file.
We will create the second site’s configuration file by copying the one we just created:
cp ghost-firstsite.conf ghost-secondsite.conf
Open the new file and adjust the values in red to match the second site:
# ghost-secondsite

start on startup

script
    cd /var/www/secondsite.com/ghost
    npm start --production
end script
Save and close the file.
Now, you can bring each site online by typing:
service ghost-firstsite start
service ghost-secondsite start
If you visit each of your domains, you should see the Ghost blogging landing page.
Create your user account and log in by visiting:
firstsite.com/ghost/signup
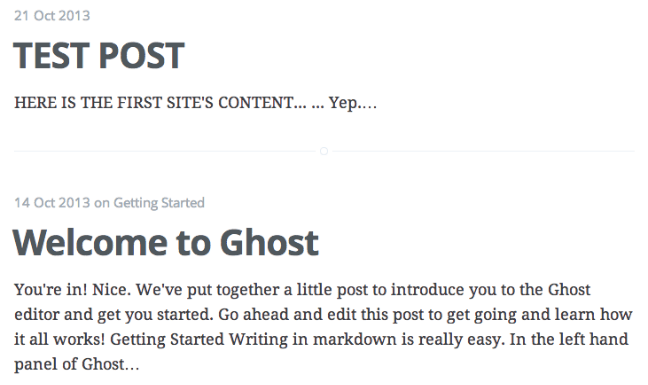
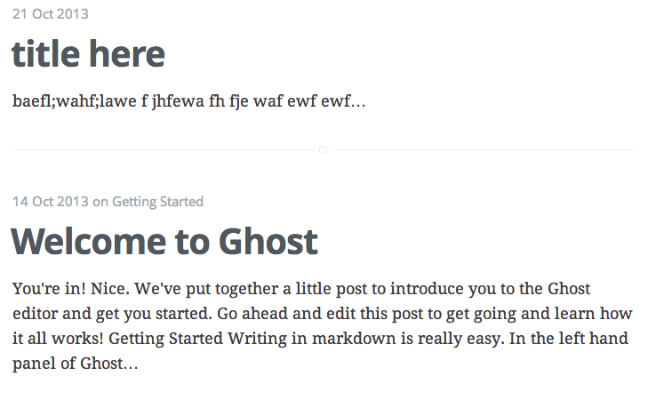
Add different content to each site to verify that they are truly separate.
Conclusion
You should now have two separate blogs being served from a single droplet. You can expand this technique to serve additional sites, as your resources permit.
Check out our other articles to learn how to change themes and settings, how to configure email and test configuration changes, and how to manage content.
Thanks for learning with the DigitalOcean Community. Check out our offerings for compute, storage, networking, and managed databases.
About the author
Former Senior Technical Writer at DigitalOcean, specializing in DevOps topics across multiple Linux distributions, including Ubuntu 18.04, 20.04, 22.04, as well as Debian 10 and 11.
Still looking for an answer?
This textbox defaults to using Markdown to format your answer.
You can type !ref in this text area to quickly search our full set of tutorials, documentation & marketplace offerings and insert the link!
It was all good till Restart nginx by typing: service nginx restart
Below is what I get as an error
Restarting nginx: nginx: [emerg] could not build the server_names_hash, you should increase server_names_hash_bucket_size: 32 nginx: configuration file /etc/nginx/nginx.conf test failed
For me not work. This return me a 502 error and I´ve followed all as here
Followed every step in detailed. First site worked perfectly but when I visit second site, I get 502 error.
It worked for me now. I guess something was wrong with my Upstart configuration. Nevertheless,I moved into the /var/www/secondsite/ghost and npm start ! And the second site worked on a different port we mentioned in the second site nginx conf file.
Thanks for the tutorial.
Will this work with subdomains as well?
For example: ghost1.mydomain.com ghost2.mydomain.com
To restart Ghost if you follow this tutorial:
service ghost-firstsite restart service ghost-secondsite restart
 This work is licensed under a Creative Commons Attribution-NonCommercial- ShareAlike 4.0 International License.
Become a contributor for community
Get paid to write technical tutorials and select a tech-focused charity to receive a matching donation.

DigitalOcean Documentation
Full documentation for every DigitalOcean product.

Resources for startups and AI-native businesses
The Wave has everything you need to know about building a business, from raising funding to marketing your product.
The developer cloud
Scale up as you grow — whether you're running one virtual machine or ten thousand.

Start building today
From GPU-powered inference and Kubernetes to managed databases and storage, get everything you need to build, scale, and deploy intelligent applications.
