
Introduction
In programming, counters are variables that hold a value that increments according to customizable rules. They have many purposes, such as helping to keep tabs on loops by storing the number of times the loop has been executed. Though routinely used in programming languages, counters have not traditionally been included in the syntax for Cascading Style Sheets (CSS). Before the days of modern CSS, keeping track of elements on the page for style purposes was either done manually in the markup, or by using JavaScript to tally things up. But now, CSS has a well-supported counter property that can track increments without JavaScript.
In this tutorial, you will run through the basics of CSS counters by using them to number section elements in an Hypertext Markup Language (HTML) document and tally up the number of rows in a table element.
Prerequisites
- An HTML file saved on your local machine as
index.htmlthat you can access from your web browser of choice. To get started, check out our How To Set Up Your HTML Project tutorial, and follow How To Use and Understand HTML Elements for instructions on how to view your HTML in your browser. If you’re new to HTML, try out the whole How To Build a Website in HTML series.
Numbering Sections of a Page
To demonstrate how counters work in CSS, you will first use a stylesheet to attach a number to multiple section elements in your HTML. Using counters, you will make the number increment by one for every new section.
First, use the text editor of your choice to open your index.html file. In this tutorial, you will use nano:
- nano index.html
Once the file is open, add the following HTML to create the semantic structure of your website, which in our example is an info sheet on reptiles:
<!DOCTYPE html>
<html>

  <head>
    <meta charset="utf-8">
    <title>Introduction to CSS Counters</title>
    <link rel="stylesheet" type="text/css" href="counter.css">
  </head>

  <body>
    <section>
      <h2>Ratings</h2>
      Insert a table with reptile ratings on it...
    </section>

    <section>
      <h2>Alligators</h2>
      Insert facts about alligators here...
    </section>

    <section>
      <h2>Turtles</h2>
      Insert facts about turtles here...
    </section>

    <section>
      <h2>Snakes</h2>
      Insert facts about snakes here...
    </section>
  </body>

</html>
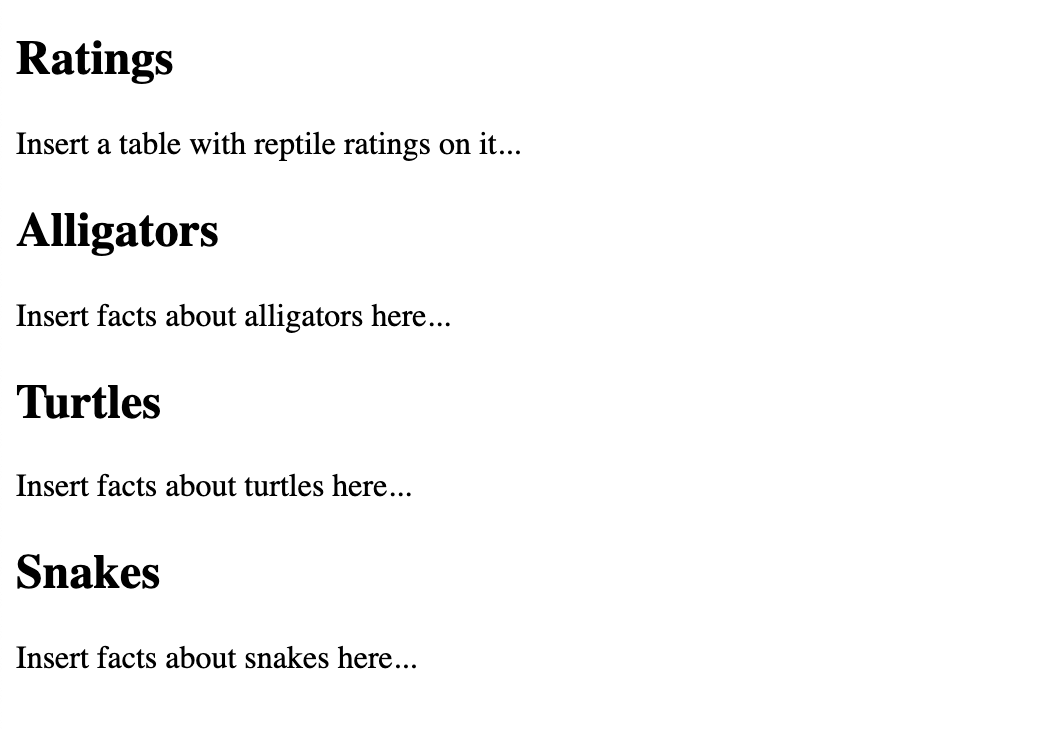
In this code, you used the section element to create four sections of your site, with titles set as h2 headings. You also added a link element in the head that connects to the CSS file counter.css, which you will create soon.
Save and close the file. Open index.html in your browser, and you will find the following:
If you wanted to number each section in this HTML, you could prefix each h2 with the number right in the markup, like so:
...
    <section>
      <h2>1. Ratings</h2>
      Insert a table with reptile ratings on it...
    </section>

    <section>
      <h2>2. Alligators</h2>
      Insert facts about alligators here...
    </section>
...
While a great solution when you have a small fixed number of sections, this will become tedious and error-prone when you have tens or even hundreds of sections. Plus, the complexity compounds quickly the moment you need to re-order the sections.
To automate this numbering, you can use CSS counters.
Create and open your counter.css file in the same directory as index.html:
- nano counter.css
Counters in CSS behave like variables in traditional programming languages. The first step to using CSS counters is to initialize a counter, which gives the counter a name and sets an initial value.
Add the following code to your file:
body {
  counter-reset: sectionCounter;
}
In this code, you used counter-reset to initialize a counter named sectionCounter. At this point, sectionCounter is equal to 0.
You can declare the initialized value explicitly by passing in an integer to the counter-reset property after the counter name. For example, counter-reset: sectionCounter 2 would initialize the sectionCounter counter with a value of 2. If the integer value is not specified, the counter value is 0 by default.
Now that you have initialized your counter, you can set how the counter increments. For each section, you will want to increment the counter by 1. Do to this, add the following highlighted code:
body {
  counter-reset: sectionCounter;
}

section {
  counter-increment: sectionCounter;
}
In this code, you selected all section elements to have the counter-increment property. This means that every time the CSS encounters a section element, it will increment the counter. Setting the property to sectionCounter chooses to increment the counter named sectionCounter. By default, the counter increments by one, but if you wanted to specify the increment you could add an integer after sectionCounter separated by whitespace.
With the counter initialized and the increment logic set, you can now use your counter. To use the counter’s value, use the content property to prepend the value to the heading h2:
body {
  counter-reset: sectionCounter;
}

section {
  counter-increment: sectionCounter;
}

h2::before {
  content: counter(sectionCounter) ". ";
}
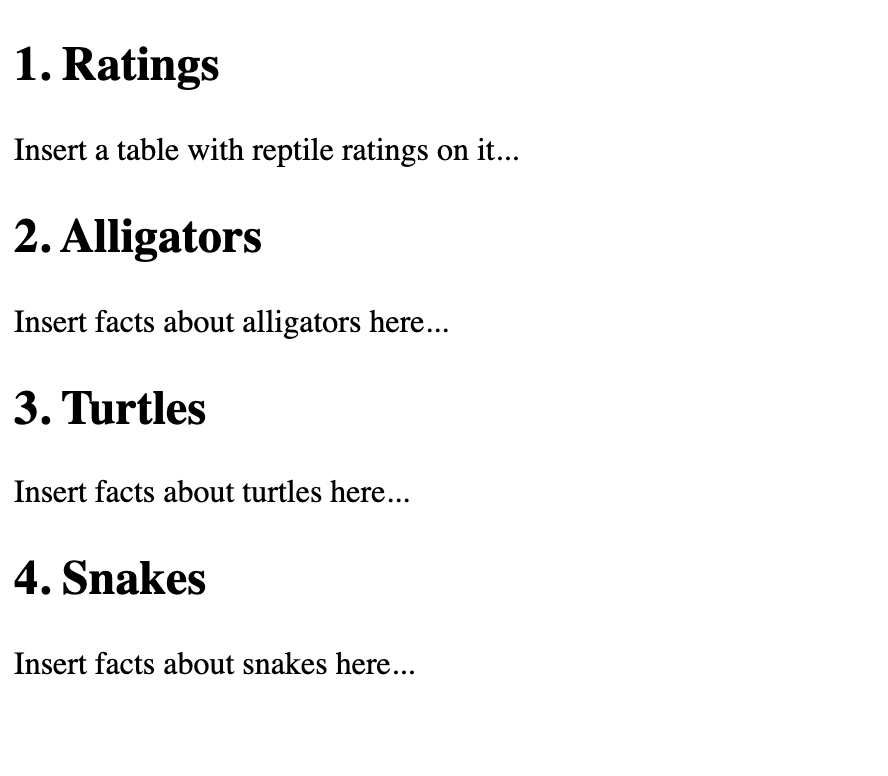
You used the ::before pseudo-element to add an element before each h2 heading. To set the content of the new element, you used the content property, paired with the counter() function. This function returns the value of sectionCounter as a string. Passing in a second string to content will concatenate the string, so this prints the value of sectionCounter followed by a . and a space.
Save and close the file. Refresh your web browser, and you’ll have section headings like 1. Ratings and 2. Alligators:
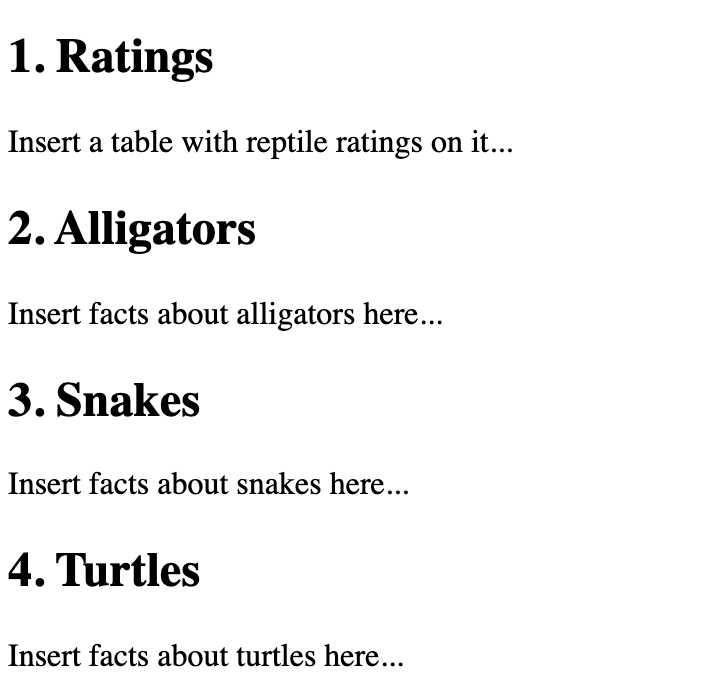
That’s not all; the counter is impervious to adding and removing new sections as well as reordering them, so you will not have to re-number if you change the order.
To try this out, open up your HTML file:
- nano index.html
Switch the order of the Turtles and Snakes sections:
...
  <body>
    <section>
      <h2>Ratings</h2>
      Insert a table with reptile ratings on it...
    </section>

    <section>
      <h2>Alligators</h2>
      Insert facts about alligators here...
    </section>

    <section>
      <h2>Snakes</h2>
      Insert facts about snakes here...
    </section>

    <section>
      <h2>Turtles</h2>
      Insert facts about turtles here...
    </section>

  </body>
...
Save and close the file. Reload your browser, and you will find the following:
In this section, you used CSS counters to automate numbered sections in an HTML document. Next, you’ll run through an example using the table element to illustrate how to use counters for totaling calculations.
Counting the Number of Rows in a Table
In addition to automating numbering in an HTML document, you can use CSS counters for any task that involves periodic incrementation. To demonstrate this, you will use counters to store the number of rows in a table element, then display the total in the table.
Counting the number of rows, or tr elements, in a table is similar to how you added a numerical value to each section element in the previous part of the tutorial. The big difference will be that the important part is the total value, and not the value for each row.
Before you tally up the rows in a table, you will need a table to work with. Open up your HTML file:
- nano index.html
Now add the following highlighted lines to create your table in the Ratings section:
<!DOCTYPE html>
<html>

  <head>
    <meta charset="utf-8">
    <title>Introduction to CSS Counters</title>
    <link rel="stylesheet" type="text/css" href="counter.css">
  </head>

  <body>
    <section>
      <h2>Ratings</h2>
      <table border="1" cellpadding="5">
        <thead>
          <tr>
            <th>Reptile</th>
            <th>Rating</th>
          </tr>
        </thead>
        <tbody>
          <tr>
            <td>Alligator</td>
            <td>9001</td>
          </tr>
          <tr>
            <td>Turtle</td>
            <td>223</td>
          </tr>
          <tr>
            <td>Snake</td>
            <td>3.14</td>
          </tr>
        </tbody>
        <tfoot>
          <tr>
            <th>Rows</th>
            <th class="total"></th>
          </tr>
        </tfoot>
      </table>
    </section>

    <section>
      <h2>Alligators</h2>
      Insert facts about alligators here...
    </section>
...
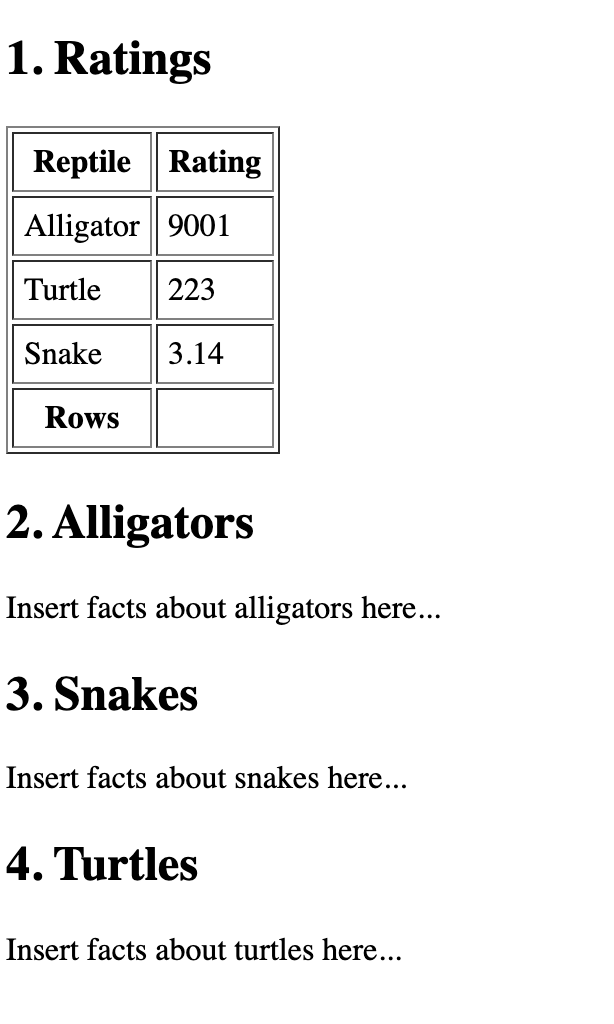
You used the table element to create a table, along with the tr element to determine table rows and the td element to fill the row with data points. Note the use of thead, tbody, and tfoot. While not necessary, these elements group the rows into semantic sections, which you can use to better target the rows in the tbody section and omit any rows in the header or footer. Finally, you used the border and cellpadding attributes to give your table some basic styling.
Save and exit index.html. Refresh the page in your browser, and you will find the following:
Now, open up your CSS file:
- nano counter.css
Same as before, you will want to initiate a counter with a zero value. But this time, add a new counter named rowCounter:
body {
  counter-reset: sectionCounter;
  counter-reset: rowCounter;
}

section {
  counter-increment: sectionCounter;
}

h2::before {
  content: counter(sectionCounter) ". ";
}
For each row, or tr element, in the tbody, increment the counter:
body {
  counter-reset: sectionCounter;
  counter-reset: rowCounter;
}

section {
  counter-increment: sectionCounter;
}

h2::before {
  content: counter(sectionCounter) ". ";
}

table tbody tr {
  counter-increment: rowCounter;
}
You used the table tbody tr selector to select all of the tr elements in tbody, then used the counter-increment property, but this time with the rowCounter counter.
Finally, add the final value of the counter to the footer in the column with the class of total:
body {
  counter-reset: sectionCounter;
  counter-reset: rows;
}

section {
  counter-increment: sectionCounter;
}

h2::before {
  content: counter(sectionCounter) ". ";
}

table tbody tr {
  counter-increment: rowCounter;
}

table .total::before {
  content: counter(rowCounter);
}
As before, you used the ::before pseudo-element to add the value of rowCounter as a new string. Since this is declared after the count has been incremented, it will report the total number of rows.
Save and exit the CSS file, then reload the page in the browser to show the following:
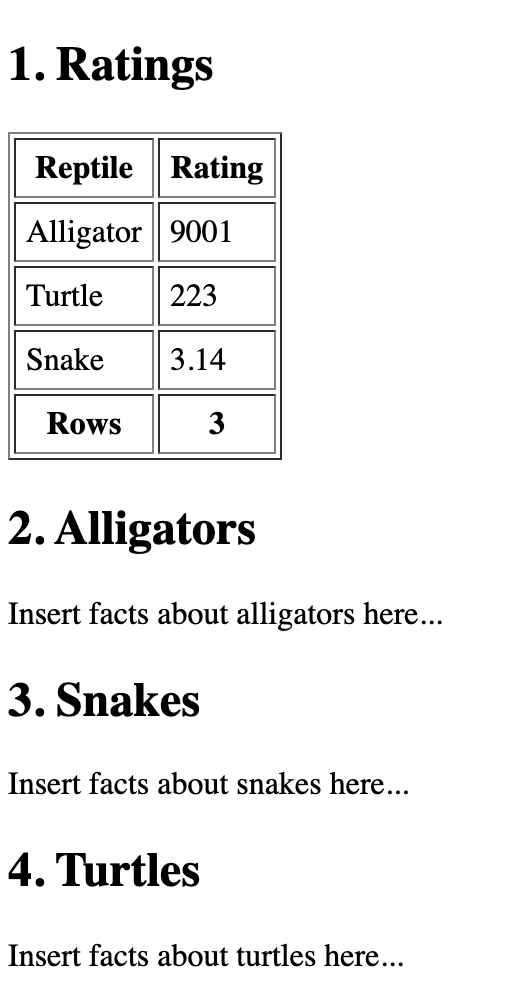
Now your table will always report how many rows it contains. Adding or deleting rows to the markup will yield an updated total. This even works when using JavaScript to manipulate the DOM.
Conclusion
Counters in CSS are useful for displaying a value that increments with certain elements in your HTML. In many cases, this can completely eliminate the need of introducing JavaScript to a page, making it an ideal solution for lightweight web projects that do not otherwise need interactivity. Note however that using CSS in this manner blurs the line between content and design, and does not separate concerns in a way that makes larger apps manageable. Because of this, it is advised to avoid this method in more complicated JavaScript applications.
If you would like to learn more about website styling, check out the How To Build a Website with HTML series or our tutorial on How To Style React Components.
Thanks for learning with the DigitalOcean Community. Check out our offerings for compute, storage, networking, and managed databases.
About the author(s)
Former Senior Technical Editor at DigitalOcean, fiction writer and podcaster elsewhere, always searching for the next good nautical pun! Areas of expertise include Node.js, PostgreSQL, CSS, JavaScript.
Still looking for an answer?
This textbox defaults to using Markdown to format your answer.
You can type !ref in this text area to quickly search our full set of tutorials, documentation & marketplace offerings and insert the link!
 This work is licensed under a Creative Commons Attribution-NonCommercial- ShareAlike 4.0 International License.
Become a contributor for community
Get paid to write technical tutorials and select a tech-focused charity to receive a matching donation.

DigitalOcean Documentation
Full documentation for every DigitalOcean product.

Resources for startups and AI-native businesses
The Wave has everything you need to know about building a business, from raising funding to marketing your product.
The developer cloud
Scale up as you grow — whether you're running one virtual machine or ten thousand.

Start building today
From GPU-powered inference and Kubernetes to managed databases and storage, get everything you need to build, scale, and deploy intelligent applications.
