By Kiyoto Tamura and Sharon Campbell

An Article from Fluentd
Overview
Elasticsearch, Fluentd, and Kibana (EFK) allow you to collect, index, search, and visualize log data. This is a great alternative to the proprietary software Splunk, which lets you get started for free, but requires a paid license once the data volume increases.
This tutorial shows you how to build a log solution using three open source software components: Elasticsearch, Fluentd and Kibana.
Prerequisites
- Droplet with Ubuntu 14.04
- User with sudo privileges
Installing and Configuring Elasticsearch
Getting Java
Elasticsearch requires Java, so the first step is to install Java.
sudo apt-get update
sudo apt-get install openjdk-7-jre-headless --yes
Check that Java was indeed installed. Run:
java -version
The output should be as follows:
java version "1.7.0_55"
OpenJDK Runtime Environment (IcedTea 2.4.7) (7u55-2.4.7-1ubuntu1)
OpenJDK 64-Bit Server VM (build 24.51-b03, mixed mode)
Getting Elasticsearch
Next, download and install Elasticsearch’s deb package as follows.
sudo wget https://download.elasticsearch.org/elasticsearch/elasticsearch/elasticsearch-1.2.2.deb
sudo dpkg -i elasticsearch-1.2.2.deb
Securing Elasticsearch
Up to version 1.2, Elasticsearch’s dynamic scripting capability was enabled by default. Since this tutorial sets up the Kibana dashboard to be accessed from the public Internet, let’s disable dynamic scripting by appending the following line at the end of /etc/elasticsearch/elasticsearch.yml:
script.disable_dynamic: true
Starting Elasticsearch
Start running Elasticsearch with the following command.
sudo service elasticsearch start
Installing and Configuring Kibana
Getting Kibana
Move to your home directory:
cd ~
We will download Kibana as follows:
curl -L https://download.elasticsearch.org/kibana/kibana/kibana-3.1.0.tar.gz | tar xzf -
sudo cp -r kibana-3.1.0 /usr/share/
Configuring Kibana
Since Kibana will use port 80 to talk to Elasticsearch as opposed to the default port 9200, Kibana’s config.js must be updated.
Open /usr/share/kibana-3.1.0/config.js and look for the following line:
elasticsearch: "http://"+window.location.hostname+":9200",
and replace it with the following line:
elasticsearch: "http://"+window.location.hostname+":80",
Installing and Configuring Nginx (Proxy Server)
We will use Nginx as a proxy server to allow access to the dashboard from the Public Internet (with basic authentication).
Install Nginx as follows:
sudo apt-get install nginx --yes
Kibana provides a good default nginx.conf, which we will modify slightly.
First, install the configuration file as follows:
wget https://assets.digitalocean.com/articles/fluentd/nginx.conf
sudo cp nginx.conf /etc/nginx/sites-available/default
Note: The original file is from this Kibana GitHub repository.
Then, edit /etc/nginx/sites-available/default as follows (changes marked in red):
#
# Nginx proxy for Elasticsearch + Kibana
#
# In this setup, we are password protecting the saving of dashboards. You may
# wish to extend the password protection to all paths.
#
# Even though these paths are being called as the result of an ajax request, the
# browser will prompt for a username/password on the first request
#
# If you use this, you'll want to point config.js at http://FQDN:80/ instead of
# http://FQDN:9200
#
server {
 listen                *:80 ;
 server_name           localhost;
 access_log            /var/log/nginx/kibana.log;
 location / {
   root  /usr/share/kibana-3.1.0;
   index  index.html  index.htm;
 }
Finally, restart nginx as follows:
$ sudo service nginx restart
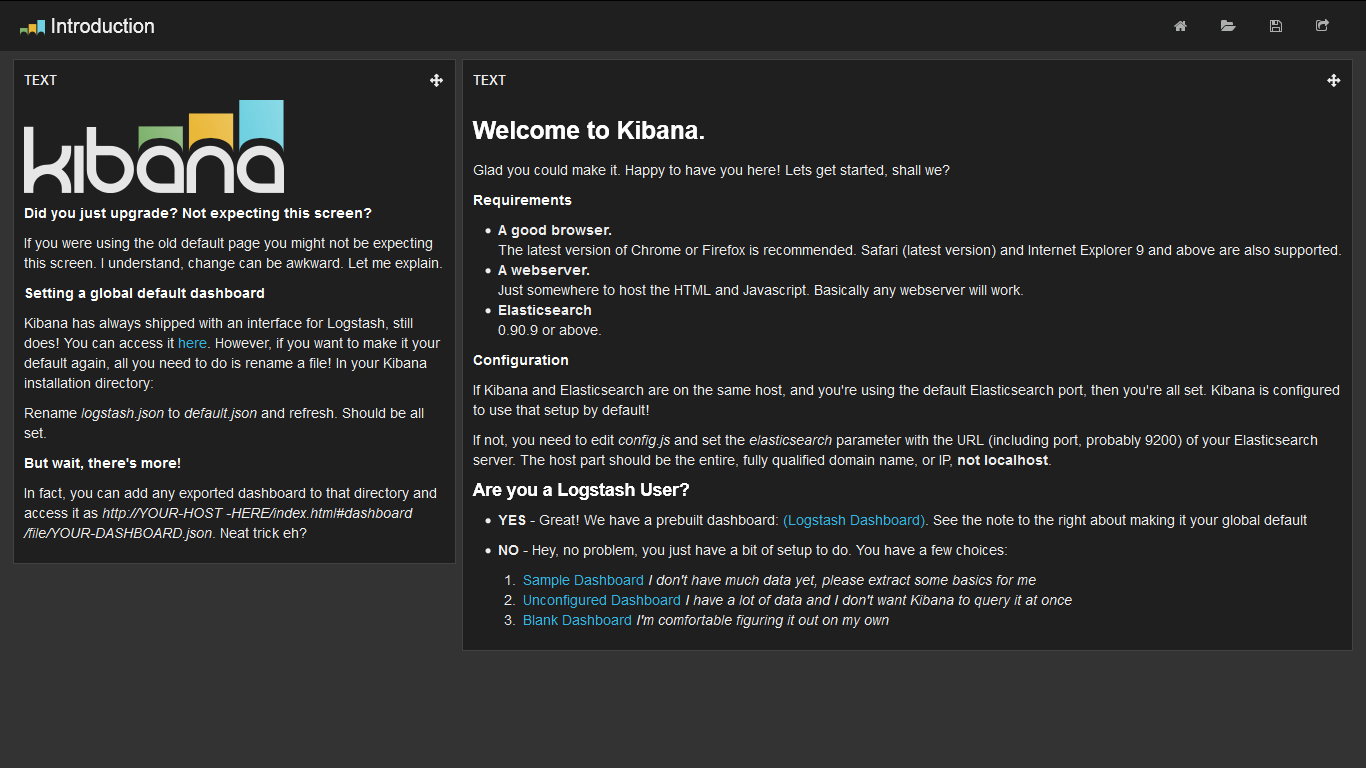
Now, you should be able to see the generic Kibana dashboard at your server’s IP address or domain, using your favorite browser.
Installing and Configuring Fluentd
Finally, let’s install Fluentd. We will use td-agent, the packaged version of Fluentd, built and maintained by Treasure Data.
Installing Fluentd via the td-agent package
Install Fluentd with the following commands:
wget http://packages.treasuredata.com/2/ubuntu/trusty/pool/contrib/t/td-agent/td-agent_2.0.4-0_amd64.deb
sudo dpkg -i td-agent_2.0.4-0_amd64.deb
Installing Plugins
We need a couple of plugins:
- out_elasticsearch: this plugin lets Fluentd to stream data to Elasticsearch.
- out_record_reformer: this plugin lets us process data into a more useful format.
The following commands install both plugins (the first apt-get is for out_elasticsearch: it requires make and libcurl)
sudo apt-get install make libcurl4-gnutls-dev --yes
sudo /opt/td-agent/embedded/bin/fluent-gem install fluent-plugin-elasticsearch
sudo /opt/td-agent/embedded/bin/fluent-gem install fluent-plugin-record-reformer
Next, we configure Fluentd to listen to syslog messages and send them to Elasticsearch. Open /etc/td-agent/td-agent.conf and add the following lines at the top of the file:
<source>
 type syslog
 port 5140
 tag  system
</source>
<match system.*.*>
 type record_reformer
 tag elasticsearch
 facility ${tag_parts[1]}
 severity ${tag_parts[2]}
</match>
<match elasticsearch>
 type copy
 <store>
   type stdout
 </store>
 <store>
 type elasticsearch
 logstash_format true
 flush_interval 5s #debug
 </store>
</match>
Starting Fluentd
Start Fluentd with the following command:
sudo service td-agent start
Forwarding rsyslog Traffic to Fluentd
Ubuntu 14.04 ships with rsyslogd. It needs to be reconfigured to forward syslog events to the port Fluentd listens to (port 5140 in this example).
Open /etc/rsyslog.conf (you need to sudo) and add the following line at the top
*.* @127.0.0.1:5140
After saving and exiting the editor, restart rsyslogd as follows:
sudo service rsyslog restart
Setting Up Kibana Dashboard Panels
Kibana’s default panels are very generic, so it’s recommended to customize them. Here, we show two methods.
Method 1: Using a Template
The Fluentd team offers an alternative Kibana configuration that works with this setup better than the default one. To use this alternative configuration, run the following command:
wget -O default.json https://assets.digitalocean.com/articles/fluentd/default.json
sudo cp default.json /usr/share/kibana-3.1.0/app/dashboards/default.json
Note: The original configuration file is from the author’s GitHub gist.
If you refresh your Kibana dashboard home page at your server’s URL, Kibana should now be configured to show histograms by syslog severity and facility, as well as recent log lines in a table.
Method 2: Manually Configuring
Go to your server’s IP address or domain to view the Kibana dashboard.
There are a couple of starter templates, but let’s choose the blank one called Blank Dashboard: I’m comfortable configuring on my own, shown at the bottom of the welcome text.
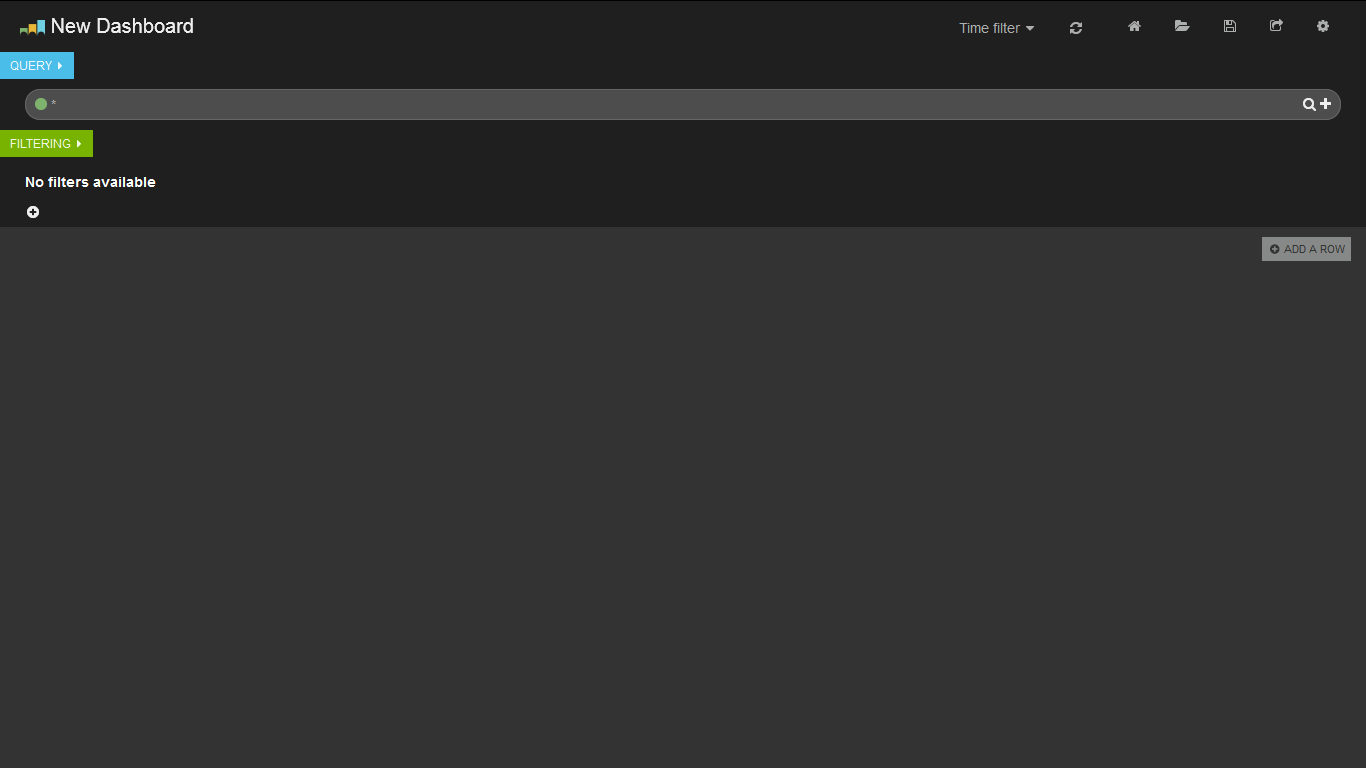
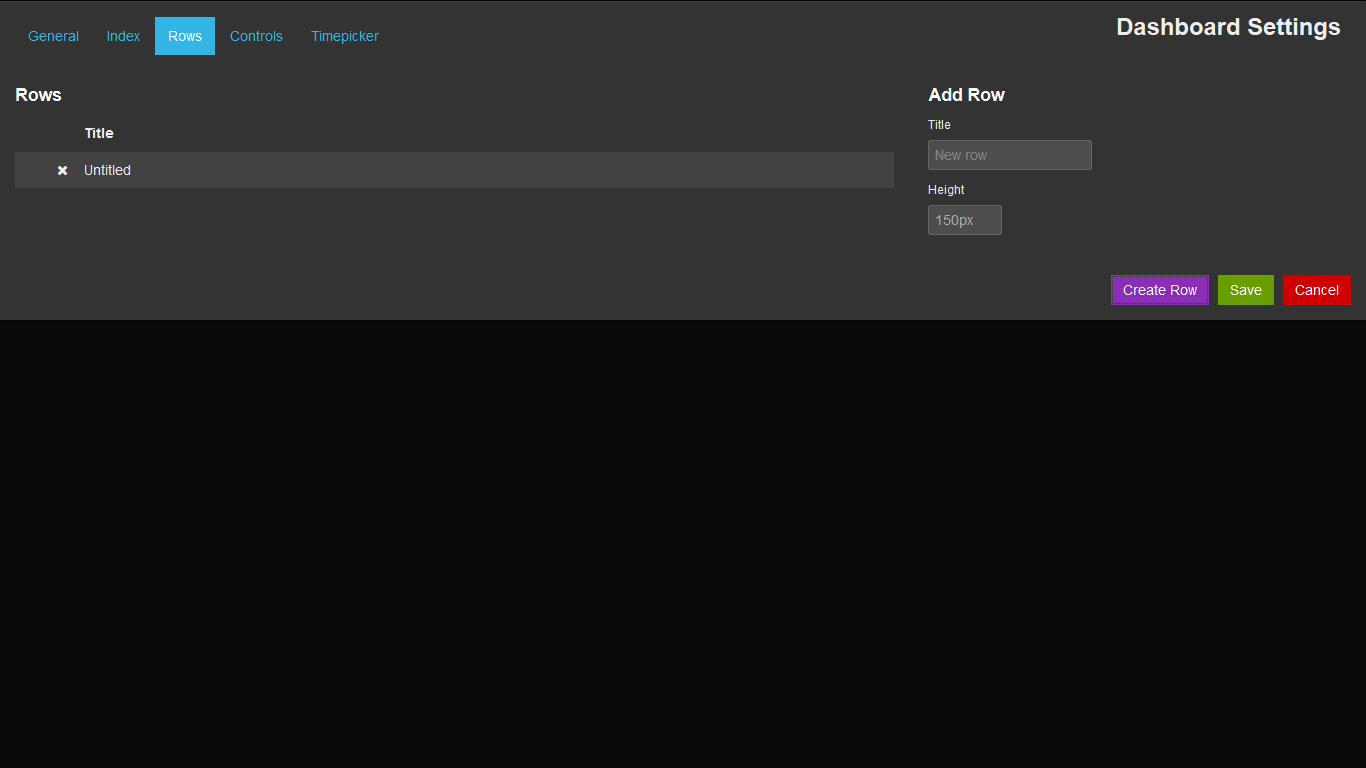
Next, click on the + ADD A ROW button on the right side of the dashboard. A configuration screen for a new row (a row consists of one or more panels) should show up. Enter a title, press the Create Row button, followed by Save. This creates a row.
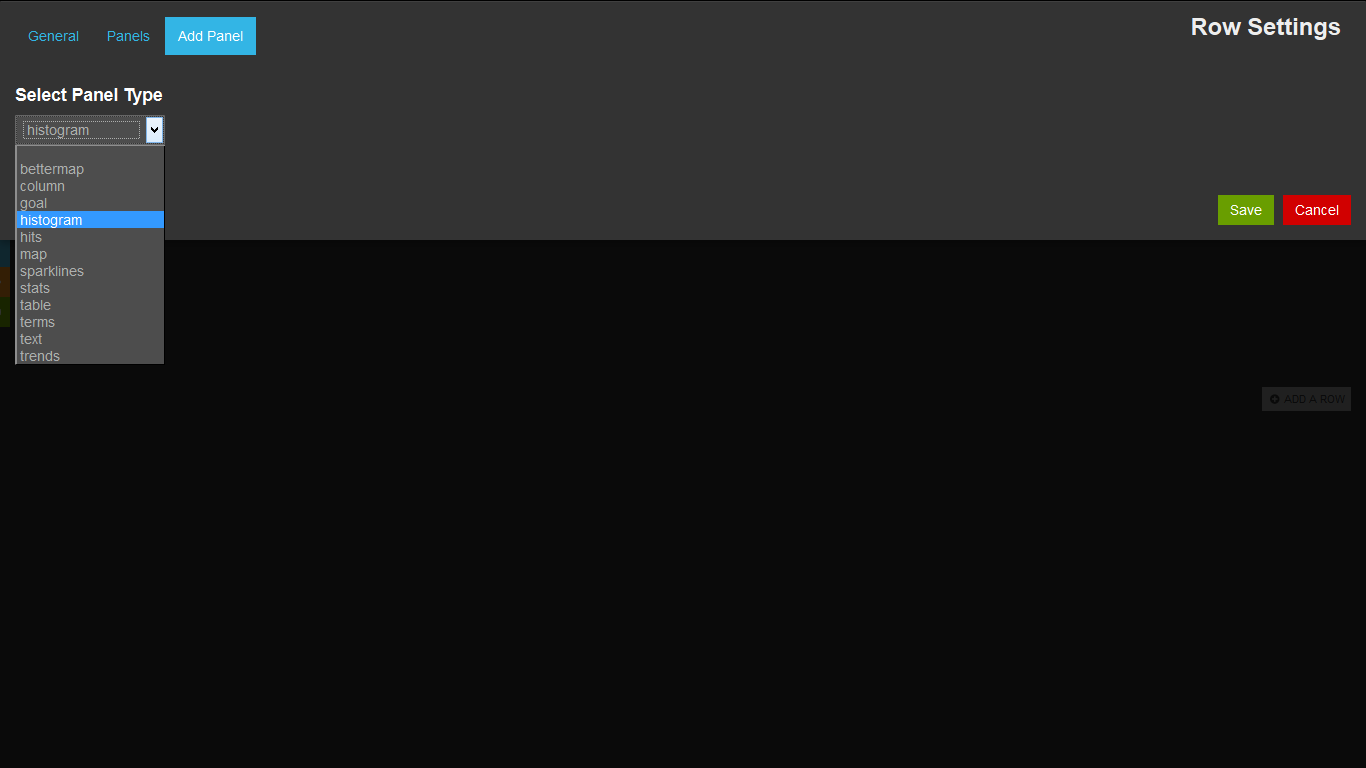
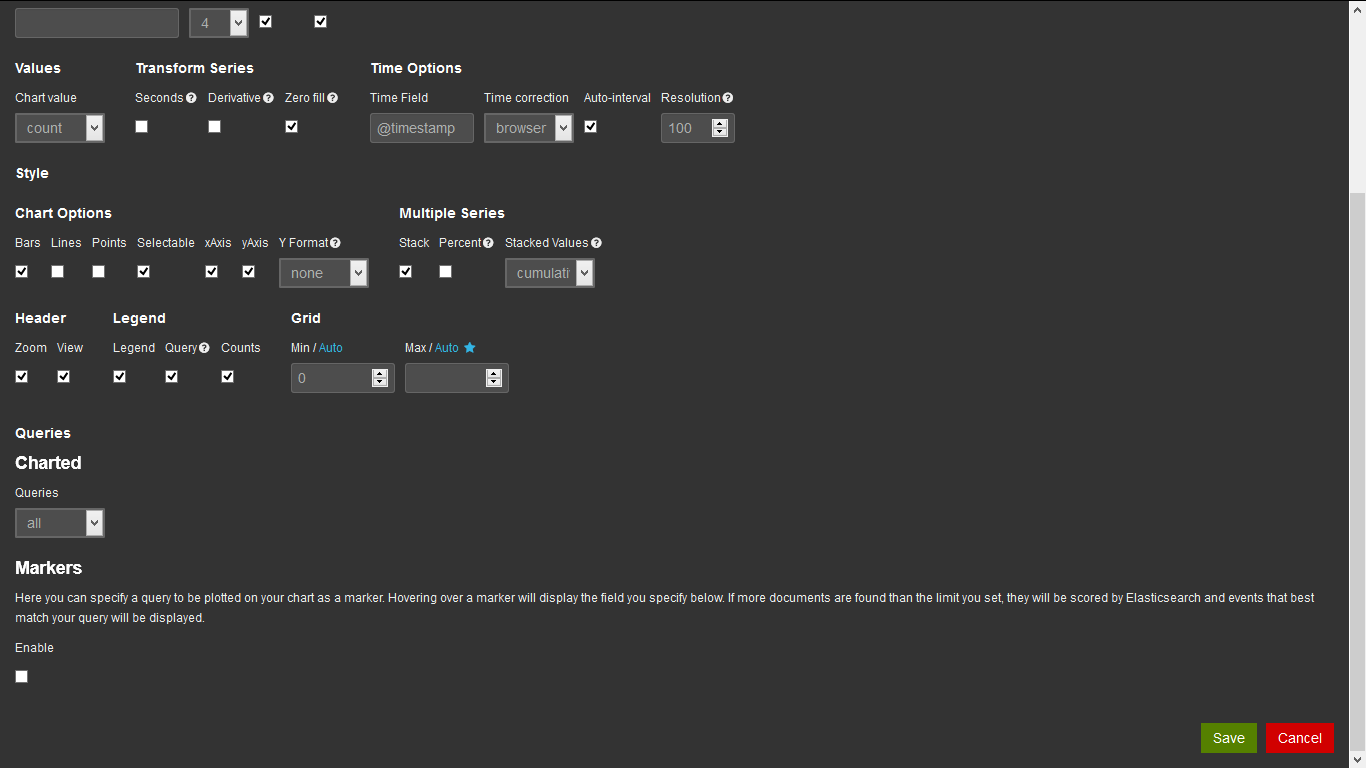
When an empty row is created, Kibana shows the prompt Add panel to empty row on the left. Click this button. It takes you to the configuration screen to add a new panel. Choose histogram from the dropdown menu. A histogram is a time chart; for more information, see Kibana’s documentation.
There are many parameters to configure for a new histogram, but you can just scroll down and press the Save button. This creates a new panel.
Further Information
For further information about configuring Kibana, please see the Kibana documentation page.
Thanks for learning with the DigitalOcean Community. Check out our offerings for compute, storage, networking, and managed databases.
About the author(s)
Current fan and former Editorial Manager at DigitalOcean. Hi! Expertise in areas including Ubuntu, Docker, Rails, and more.
Still looking for an answer?
This textbox defaults to using Markdown to format your answer.
You can type !ref in this text area to quickly search our full set of tutorials, documentation & marketplace offerings and insert the link!
Hi,
I created a droplet with 1 GB RAM (with Ubuntu 14.04 x64 image) on digitalocean, just for learning this and playing around. I have managed to bring this system up in almost no time. Thanks for the ultra-detailed and simplistic tutorial. Kudos to the author.
However out of curiosity, now, I want to modify my set-up into a nginx http access log collection, parsing and create a separate dashboard for it. I did my homework and read a lot of articles and I have modified my td-agent.conf file (from what is mentioned above) into
<source>
  type http
  port 5142
</source>

<source>
  type tail
  format apache2
  path /var/log/nginx/kibana.log #yes, I have no other log to monitor
  tag kibana.access
  pos_file nginx_tail.pos
</source>

<match kibana.access>
  type grepcounter
  count_interval 3 #Time window to grep and count the # of events
  input_key code #We look at the (http status) "code" field
  regexp ^2[0-9][0-9]$ #This regexp matches 2xx status codes
  threshold 1 #The # of events to trigger emitting an output
</match>

<match kibana.access>
  type copy
  <store>
    type stdout
  </store>
  <store>
  type elasticsearch
  logstash_format true
  flush_interval 5s
  </store>
</match>
- What changes do I need to make to my
kibana-3.1.0/config.js,nginx.confand the Kibana Dashboarddefault.json? - How can I create custom dashboards, what fields are available? Also I’m curious will
elasticsearchparse and index the logs if I just “push” them fromfluentd? - Do I need to write a parser (regex) for each of the log-type?, If yes, where?
- How do I know which logs it can parse by default?
- Also, what changes do we need to setup a distributed architecture (example separate
fluentd clients—pushing to–>fluentd master—pushing to–>elasticsearch server—prints to–>Kibana dashboard) in large-scale production environments?
– Thanks Nishant
What if I dont want to use kibana dashboard. And I would want to access whatever fluentd is sending to elasticsearch directly in a json format through http curl etc. Can you guide how that is possible?
Hi How can I send logs from multiple machine… What all configuration is required in each components.
Thanks
If anyone else if having trouble installing the fluent-plugin-elasticsearch gem, installing the latest td-agent using
curl -L https://toolbelt.treasuredata.com/sh/install-ubuntu-trusty-td-agent2.sh | sh
and then
sudo /opt/td-agent/embedded/bin/fluent-gem install fluent-plugin-elasticsearch
worked for me
 This work is licensed under a Creative Commons Attribution-NonCommercial- ShareAlike 4.0 International License.
Become a contributor for community
Get paid to write technical tutorials and select a tech-focused charity to receive a matching donation.

DigitalOcean Documentation
Full documentation for every DigitalOcean product.

Resources for startups and AI-native businesses
The Wave has everything you need to know about building a business, from raising funding to marketing your product.
The developer cloud
Scale up as you grow — whether you're running one virtual machine or ten thousand.

Start building today
From GPU-powered inference and Kubernetes to managed databases and storage, get everything you need to build, scale, and deploy intelligent applications.
