By Erin Glass
Senior Manager, DevEd
")
Introduction
In this tutorial, you will recreate the “Education” section and “Skills” section (or fifth section) of the demonstration website using HTML tables and CSS classes. Feel free to switch out Sammy’s information with your own if you wish to personalize your website. The methods you use here can be applied to other CSS/HTML website projects.

To build these sections, you’ll create a CSS class that styles two equal-sized content boxes that can fit side by side on the webpage. You’ll then add a table inside each box where you will add text content.
Prerequisites
To follow this tutorial, make sure you have set up the necessary files and folders as instructed in a previous tutorial in this series How To Set Up You CSS and HTML Practice Project.
Creating and Styling Two Equal-Sized Tables
First, copy and paste the following code snippet at the bottom of your styles.css file:
. . .

/* Fifth section */

.column-2a {
  float: left;
  width: 45%;
  padding: 40px;
  padding-left:70px;
  padding-right: 70px;
  padding-bottom:60px;
  height:450px;
  margin:30px;
  margin-right:30px;
  margin-bottom: 40px;
  background-color:white;
}
This code snippet creates the class column-2a, which is like the column-2 class you created to style the “About” section in a previous tutorial in this series, except that its height property is set to 450px. If you change the amount of content in this box, you may need to adjust the height accordingly, otherwise it may overflow or be cut off. If you want to learn more about the other declarations, please review the previous sections in this tutorial series on setting the sizes of content, padding, and margins.
Save the styles.css file before you proceed.
Next, return to the index.html file and paste the following code snippet after the last closing </div> tag:
. . .
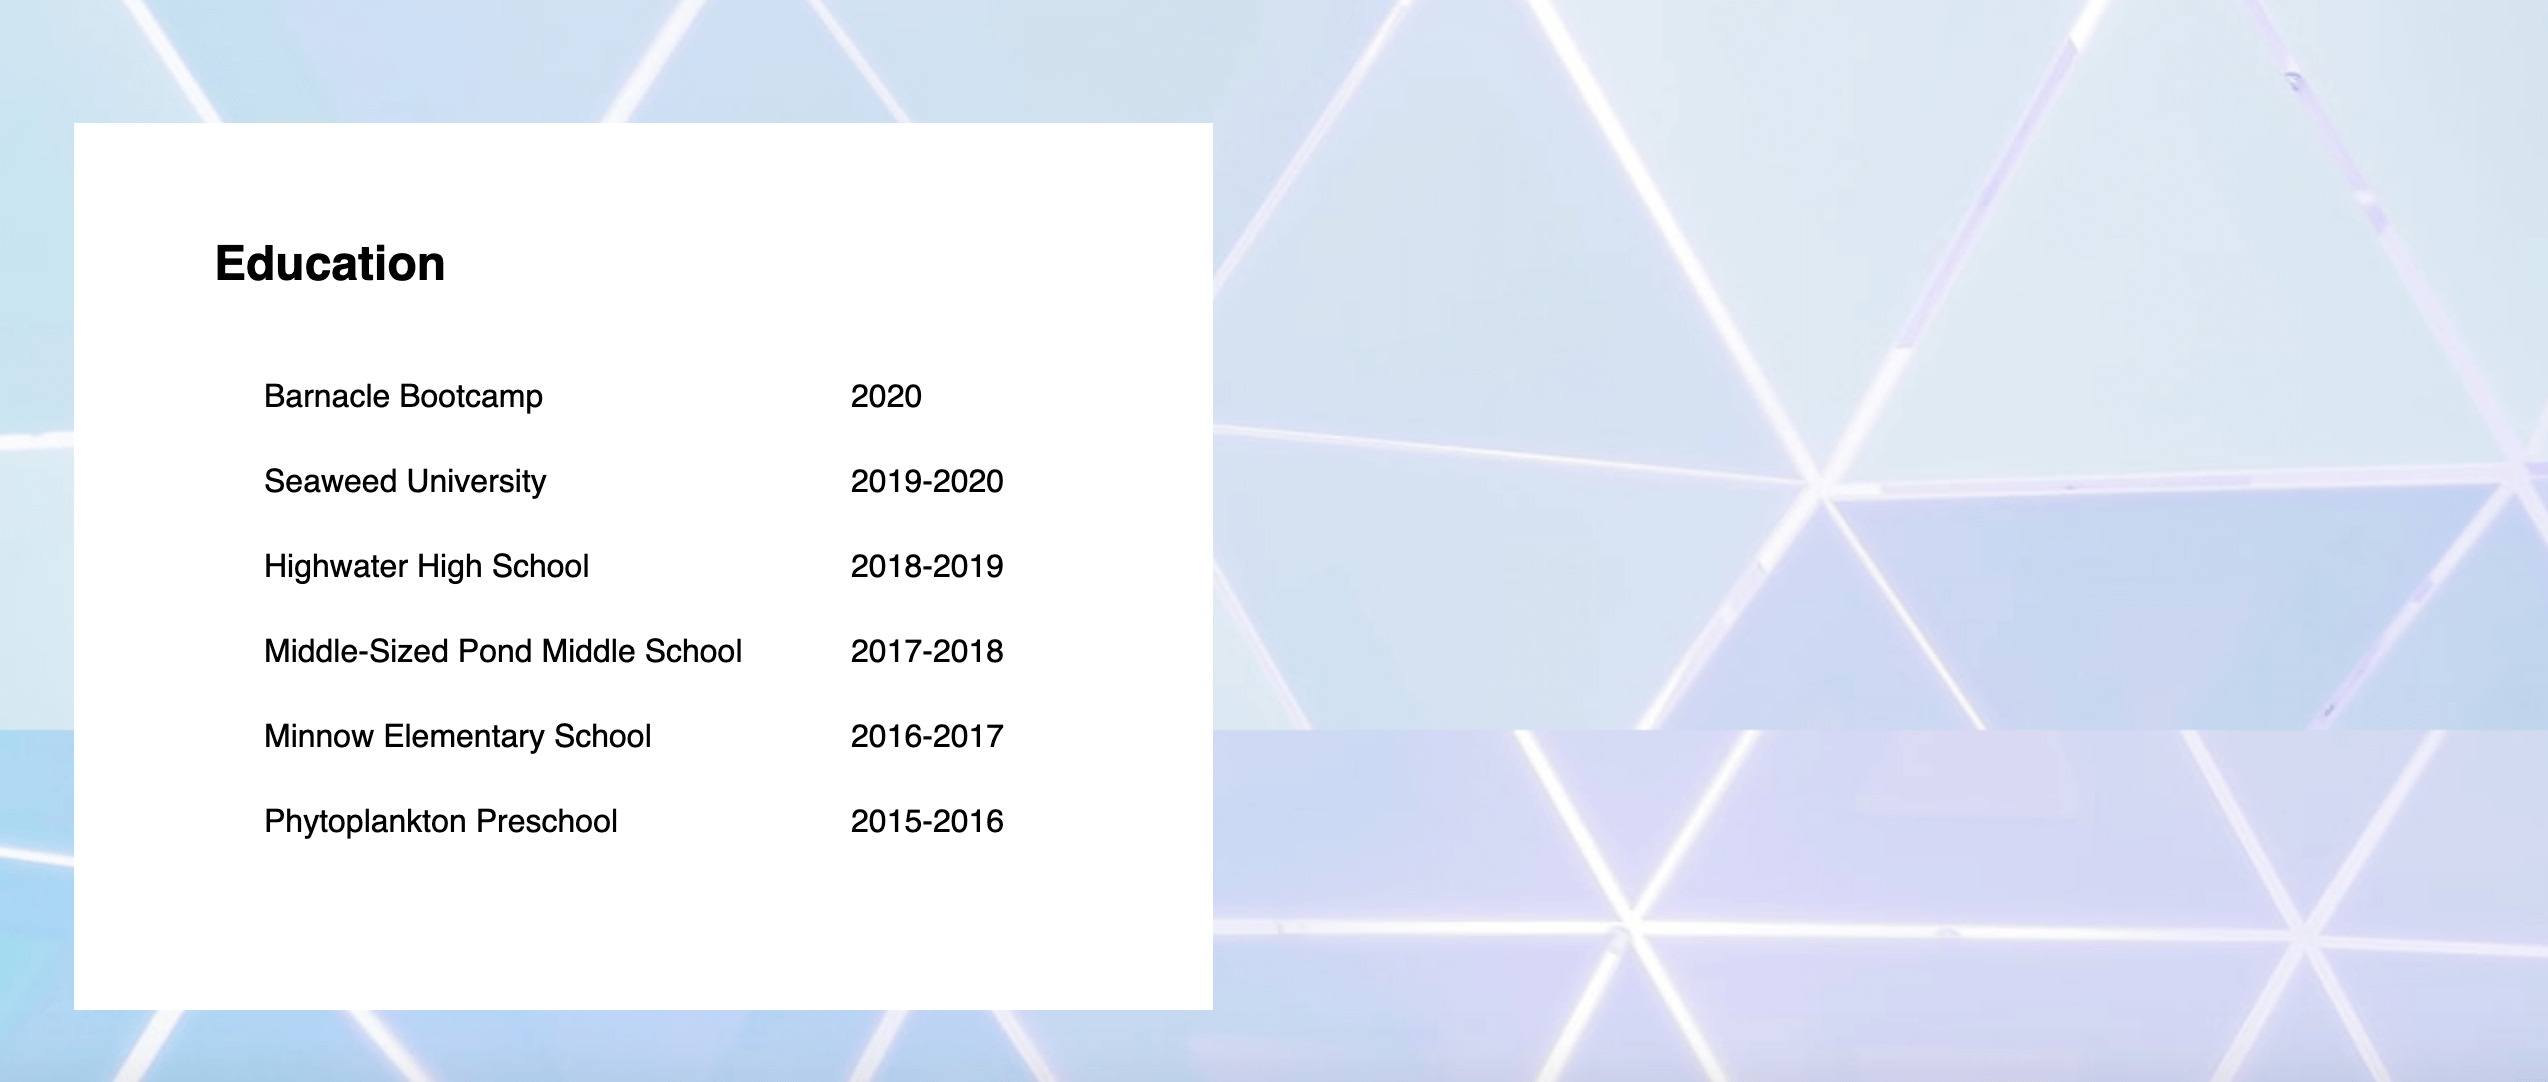
<!--Section 5: Education and Skills-->
<div class="column-2a">
<h2>Education</h2>
<table class="table-style">
<tr>
<td>Barnacle Bootcamp</td>
<td>2020</td>
</tr>
<tr>
<td>Seaweed University</td>
<td>2019-2020</td>
</tr>
<tr>
<td>Highwater High School</td>
<td>2018-2019</td>
</tr>
<tr>
<td>Middle-Sized Pond Middle School</td>
<td>2017-2018</td>
</tr>
<tr>
<td>Minnow Elementary School</td>
<td>2016-2017</td>
</tr>
<tr>
<td>Phytoplankton Preschool</td>
<td>2015-2016</td>
</tr>
</table>
</div>
This code snippet creates a column using the “column-2a” class and inserts a table styled with the table-style class created in the previous tutorial. Inside the table, you have placed your Educational history content. The <tr> tag opens up a table row where the following three sets of table data (marked up with the <td> tag) are inserted. To read more about how HTML tables work, please visit our tutorial How To Create Tables With HTML
Save the file and reload your browser to check that the table is showing up correctly. You should have table like the following screenshot:
Next, you will add the second table that lists Sammy’s skills. Return to the index.html file and paste the following code snippet after the last closing </div> tag:
. . .

  <div class="column-2a">
     <h2>Skills</h2>
    <table class="table-style">
      <tr>
        <td>Social Media</td>
        <td>⭐⭐⭐⭐⭐</td>
      </tr>
      <tr>
        <td>Public Speaking</td>
        <td>⭐⭐⭐⭐⭐</td>
      </tr>
      <tr>
        <td>Internet Ethics Ambassador</td>
        <td>⭐⭐⭐⭐</td>
      </tr>
      <tr>
        <td>Content production</td>
        <td>⭐⭐⭐⭐⭐</td>
      </tr>
      <tr>
        <td> HTML</td>
        <td>⭐⭐⭐</td>
      </tr>
      <tr>
        <td> CSS</td>
        <td>⭐⭐⭐</td>
      </tr>
    </table>
  </div>
This code snippet works exactly like the previous code snippet: it creates a column using the column-2a class and inserts a table styled with the table-style class. Note that you are using emojis to create the star image. You can use any emoji as HTML text content.
Save the file and reload your browser to check that the table is showing up correctly. You should now have two tables displayed side by side as shown in the image at the beginning of this tutorial.
Conclusion
You have now added text content using styled tables. You can experiment with sizing and adding rows and columns to customize tables for different purposes. In the next tutorial, you will create a content box with a large featured quote on your website.
Thanks for learning with the DigitalOcean Community. Check out our offerings for compute, storage, networking, and managed databases.
Tutorial Series: How To Build a Website With CSS
This tutorial is part of a series on creating and customizing this website with CSS, a stylesheet language used to control the presentation of websites. You may follow the entire series to recreate the demonstration website and gain familiarity with CSS or use the methods described here for other CSS website projects.
Before proceeding, we recommend that you have some knowledge of HTML, the standard markup language used to display documents in a web browser. If you don’t have familiarity with HTML, you can follow the first ten tutorials of our series How To Build a Website With HTML before starting this series.
Browse Series: 20 tutorials
About the author
Open source advocate and lover of education, culture, and community.
Still looking for an answer?
This textbox defaults to using Markdown to format your answer.
You can type !ref in this text area to quickly search our full set of tutorials, documentation & marketplace offerings and insert the link!
 This work is licensed under a Creative Commons Attribution-NonCommercial- ShareAlike 4.0 International License.
Become a contributor for community
Get paid to write technical tutorials and select a tech-focused charity to receive a matching donation.

DigitalOcean Documentation
Full documentation for every DigitalOcean product.

Resources for startups and AI-native businesses
The Wave has everything you need to know about building a business, from raising funding to marketing your product.
The developer cloud
Scale up as you grow — whether you're running one virtual machine or ten thousand.

Start building today
From GPU-powered inference and Kubernetes to managed databases and storage, get everything you need to build, scale, and deploy intelligent applications.
