By Savic and Kathryn Hancox

The author selected the Free and Open Source Fund to receive a donation as part of the Write for DOnations program.
Introduction
When deploying web apps to Kubernetes, you usually use Services and Ingresses to expose apps beyond the cluster at your desired domain. This involves manually configuring not only the Ingress, but also the DNS records at your provider, which can be a time-consuming and error-prone process. This can become an obstacle as your application grows in complexity; when the external IP changes, it is necessary to update the DNS records accordingly.
To overcome this, the Kubernetes sig-network team created ExternalDNS for the purpose of automatically managing external DNS records from within a Kubernetes cluster. Once deployed, ExternalDNS works in the background and requires almost no additional configuration. Whenever a Service or Ingress is created or changed, ExternalDNS will update the records right away.
In this tutorial, you will install ExternalDNS to your DigitalOcean Kubernetes cluster via Helm and configure it to use DigitalOcean as your DNS provider. Then, you will deploy a sample web app with an Ingress and use ExternalDNS to point it to your domain name. In the end, you will have an automated DNS-record managing system in place for both Services and Ingresses.
Prerequisites
-
A DigitalOcean Kubernetes cluster with your connection configured as the
kubectldefault. Instructions on how to configurekubectlare shown under the Connect to your Cluster step when you create your cluster. To create a Kubernetes cluster on DigitalOcean, read the Kubernetes Quickstart. -
The Helm 3 package manager installed on your local machine. Complete Step 1 of the How To Install Software on Kubernetes Clusters with the Helm 3 Package Manager tutorial.
-
The Nginx Ingress Controller installed on your cluster using Helm in order to use ExternalDNS with Ingress Resources. To do this, follow How to Set Up an Nginx Ingress on DigitalOcean Kubernetes Using Helm. You’ll need to set the
publishServiceproperty totrueas per the instructions in Step 2. -
A DigitalOcean API key (Personal Access Token) with read and write permissions. To create one, visit How to Create a Personal Access Token.
-
A fully registered domain name. This tutorial will use
echo.your_domainthroughout. You can purchase a domain name on Namecheap, get one for free on Freenom, or use the domain registrar of your choice.
Step 1 — Installing ExternalDNS Using Helm
In this section, you will install ExternalDNS to your cluster using Helm and configure it to work with the DigitalOcean DNS service.
In order to override some of the default settings of the ExternalDNS Helm chart, you’ll need to create a values.yaml file that you’ll pass in to Helm during installation. On the machine you use to access your cluster in the prerequisites, create the file by running:
- nano externaldns-values.yaml
Add the following lines:
provider: digitalocean

digitalocean:
  apiToken: your_api_token

interval: "1m"

policy: sync # or upsert-only

# domainFilters: [ 'your_domain' ]
In the first block, you set the DNS service provider to DigitalOcean. Then, in the next block, you define your DigitalOcean API token by replacing your_api_token.
The next line sets the interval at which ExternalDNS will poll for changes to Ingresses and Services. You can set it to a lower value to propagate changes to your DNS faster, with 1 minute being the default value.
The policy setting determines whether ExternalDNS will only insert DNS records (upsert-only) or create and delete them as needed (sync). Fortunately, since version 0.3, ExternalDNS supports the concept of ownership by creating accompanying TXT records in which it stores information about the domains it creates, limiting its scope of action to only those it created.
The domainFilters parameter is used for limiting the domains that ExternalDNS can manage. You can uncomment it and enter your domains in the form of a string array, but this isn’t necessary.
When you’ve finished editing, save and close the file.
The ExternalDNS Helm chart is a part of the Bitnami chart library. Add it to your Helm installation by running the following command:
- helm repo add bitnami https://charts.bitnami.com/bitnami
Then, refresh Helm’s cache to download its contents:
- helm repo update
Finally, install ExternalDNS to your cluster by running:
- helm install external-dns bitnami/external-dns -f externaldns-values.yaml
The output will be similar to the following:
OutputNAME: external-dns
LAST DEPLOYED: ...
NAMESPACE: default
STATUS: deployed
REVISION: 1
TEST SUITE: None
NOTES:
** Please be patient while the chart is being deployed **

To verify that external-dns has started, run:

  kubectl --namespace=default get pods -l "app.kubernetes.io/name=external-dns,app.kubernetes.io/instance=external-dns"
You can verify the ExternalDNS creation by running:
- kubectl --namespace=default get pods -l "app.kubernetes.io/name=external-dns,app.kubernetes.io/instance=external-dns"
OutputNAME                            READY   STATUS    RESTARTS   AGE
external-dns-56c85ff66b-2vm88   1/1     Running   0          24s
You’ve installed ExternalDNS to your Kubernetes cluster. Next, you will deploy an example web app, expose it using an Nginx Ingress, and let ExternalDNS automatically point your domain name to the appropriate Load Balancer.
Step 2 — Deploying and Exposing an Example Web App
In this section, you will deploy a dummy web app to your cluster in order to expose it using your Ingress. Then you’ll set up ExternalDNS to automatically configure DNS records for you. In the end, you will have DNS records for your domain pointed to the Load Balancer of the Ingress.
The dummy web app you’ll deploy is http-echo by Hashicorp. It is an in-memory web server that echoes back the message you give it. You’ll store its Kubernetes manifests in a file named echo.yaml. Create it and open it for editing:
- nano echo.yaml
Add the following lines to your file:
apiVersion: networking.k8s.io/v1
kind: Ingress
metadata:
  name: echo-ingress
  annotations:
    kubernetes.io/ingress.class: nginx
spec:
  rules:
  - host: "echo.your_domain"
    http:
      paths:
      - pathType: Prefix
        path: "/"
        backend:
          service:
            name: echo
            port:
              number: 80
---
apiVersion: v1
kind: Service
metadata:
  name: echo
spec:
  ports:
  - port: 80
    targetPort: 5678
  selector:
    app: echo
---
apiVersion: apps/v1
kind: Deployment
metadata:
  name: echo
spec:
  selector:
    matchLabels:
      app: echo
  replicas: 3
  template:
    metadata:
      labels:
        app: echo
    spec:
      containers:
      - name: echo
        image: hashicorp/http-echo
        args:
        - "-text=Echo!"
        ports:
        - containerPort: 5678
In this configuration, you define a Deployment, an Ingress, and a Service. The Deployment consists of three replicas of the http-echo app, with a custom message (Echo!) passed in. The Service is defined to allow access to the Pods in the Deployment via port 80. The Ingress is configured to expose the Service at your domain.
Replace echo.your_domain with your domain, then save and close the file.
Now there is no need for you to configure the DNS records for the domain manually. ExternalDNS will do so automatically, as soon as you apply the configuration to Kubernetes.
To apply the configuration, run the following command:
- kubectl create -f echo.yaml
You’ll receive the following output:
Outputingress.extensions/echo-ingress created
service/echo created
deployment.apps/echo created
You’ll need to wait a short amount of time for ExternalDNS to notice the changes and create the appropriate DNS records. The interval setting in the Helm chart governs the length of time you’ll need to wait for your DNS record creation. In externaldns-values.yaml, the interval length is set to 1 minute by default.
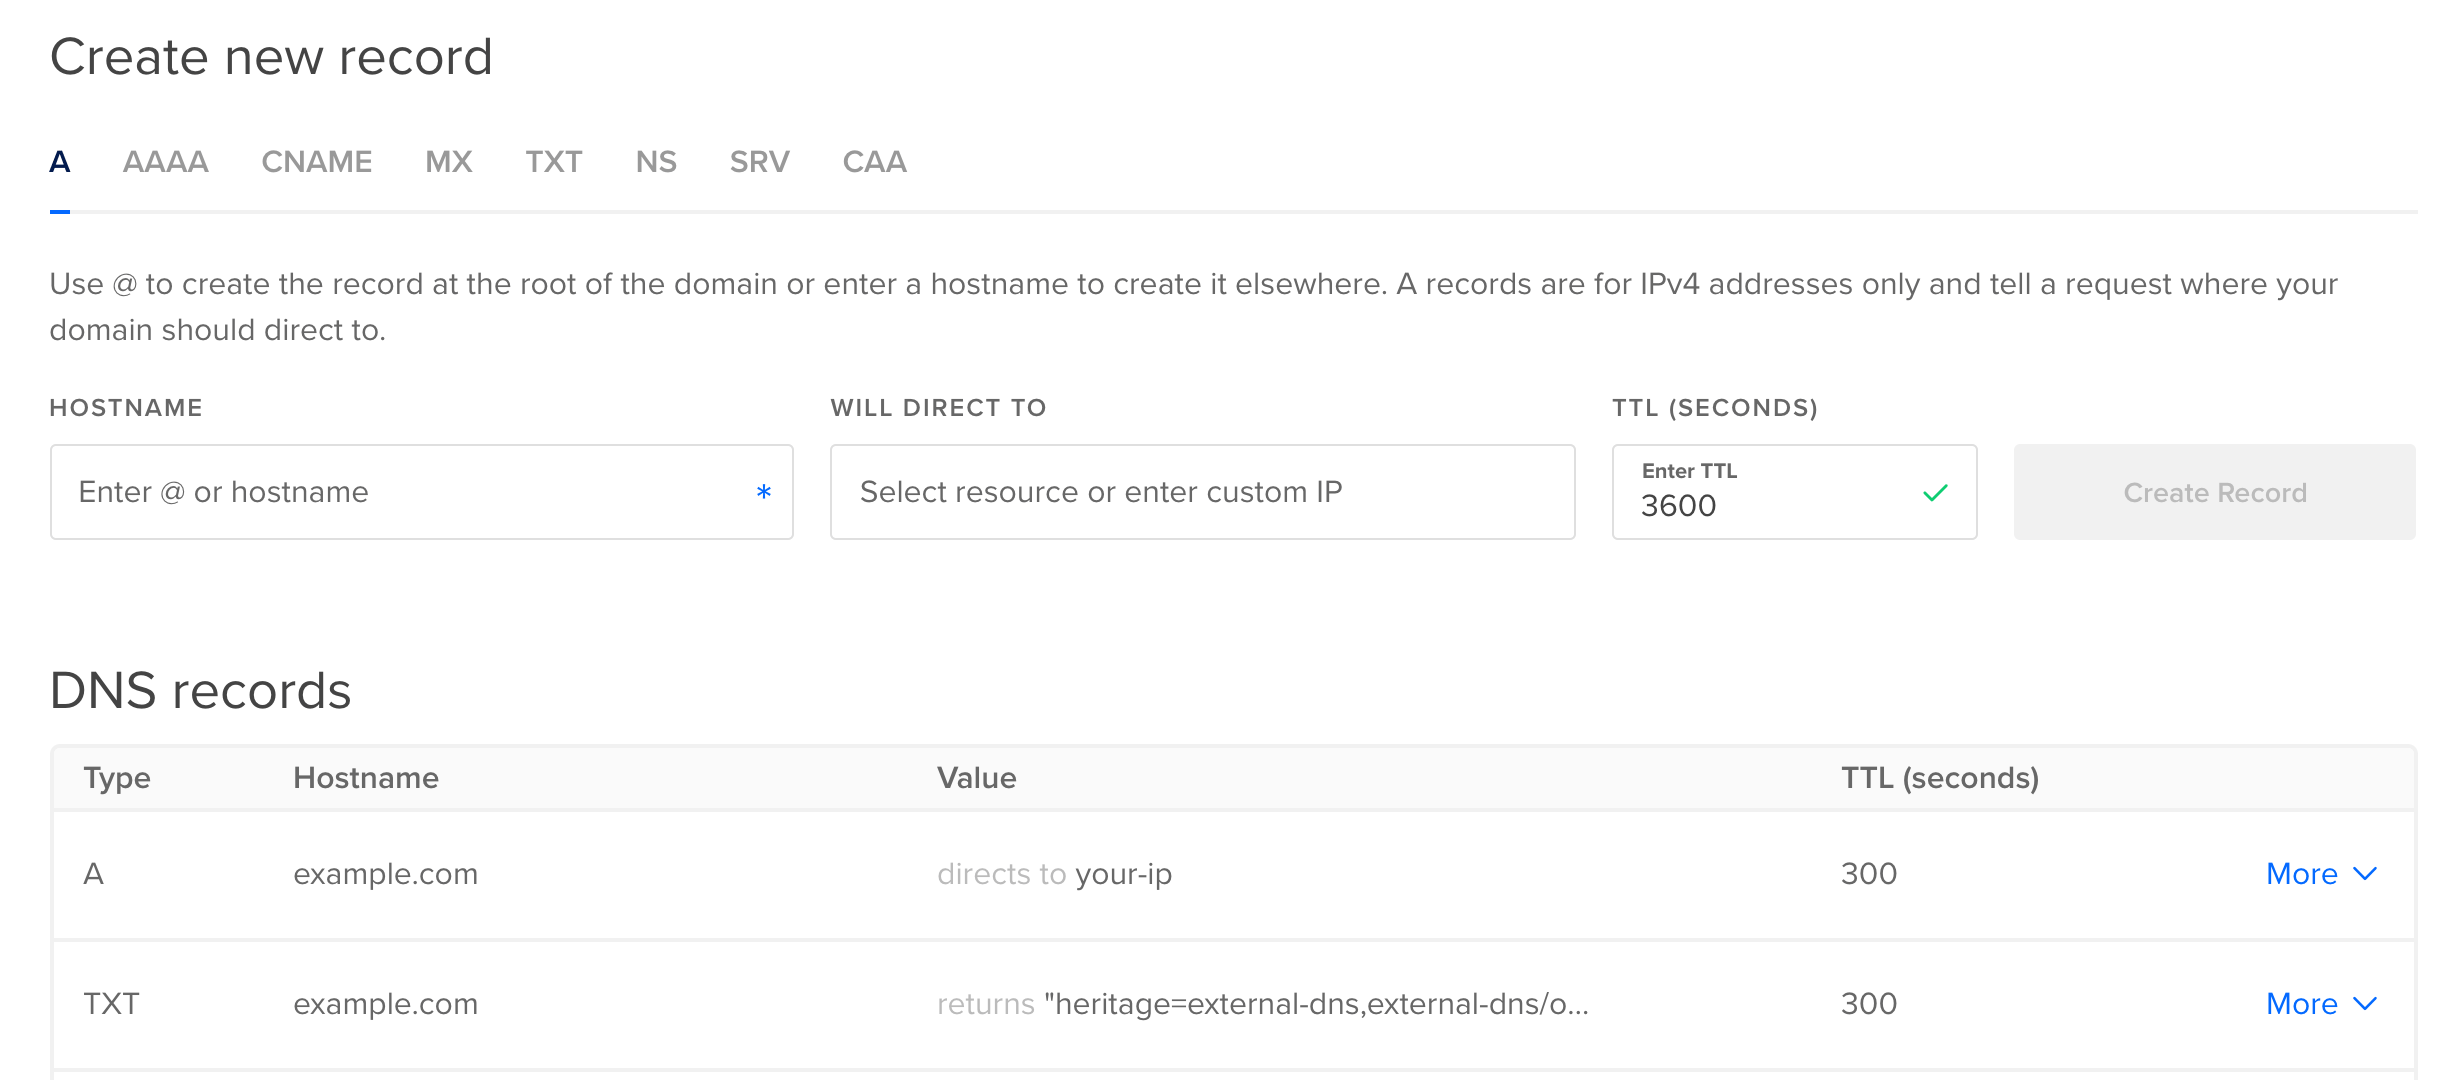
You can visit your DigitalOcean Control Panel to find an A and TXT record.
Once the specified time interval has passed, or you find the records in the Control Panel, access your domain using curl:
- curl echo.your_domain
You’ll receive the following output:
OutputEcho!
This message confirms you’ve configured ExternalDNS and created the necessary DNS records to point to the Load Balancer of the Nginx Ingress Controller. If you have an error message, give it some time. Or, you can try accessing your domain from your browser where you’ll receive Echo!.
You’ve tested ExternalDNS by deploying an example app with an Ingress. You can also observe the new DNS records in your DigitalOcean Control Panel. In the next step, you’ll expose the Service at your domain name.
Step 3 — (Optional) Exposing the App Using a Service
In this optional section, you’ll use Services with ExternalDNS instead of Ingresses. ExternalDNS allows you to make different Kubernetes resources available to DNS servers. Using Services is a similar process to Ingresses with the configuration modified for this alternate resource.
Note: Following this step will delete the DNS records you’ve just created.
Since you’ll be customizing the Service contained in echo.yaml, you won’t need the echo-ingress anymore. Delete it using the following command:
- kubectl delete ing echo-ingress
The output will be:
Outputingress.extensions/echo-ingress deleted
ExternalDNS will delete the existing DNS records it created in the previous step. In the remainder of the step, you can use the same domain you have used before.
Next, open the echo.yaml file for editing:
- nano echo.yaml
Replace the file contents with the following lines:
apiVersion: v1
kind: Service
metadata:
  name: echo
  annotations:
    external-dns.alpha.kubernetes.io/hostname: echo.your_domain
spec:
  type: LoadBalancer
  ports:
  - port: 80
    targetPort: 5678
  selector:
    app: echo
---
apiVersion: apps/v1
kind: Deployment
metadata:
  name: echo
spec:
  selector:
    matchLabels:
      app: echo
  replicas: 3
  template:
    metadata:
      labels:
        app: echo
    spec:
      containers:
      - name: echo
        image: hashicorp/http-echo
        args:
        - "-text=Echo!"
        ports:
        - containerPort: 5678
You’ve removed Ingress from the file for the previous setup and changed the Service type to LoadBalancer. Furthermore, you’ve added an annotation specifying the domain name for ExternalDNS.
Apply the changes to your cluster by running the following command:
- kubectl apply -f echo.yaml
The output will be:
Output...
service/echo configured
deployment.apps/echo configured
You can check that the Service’s Load Balancer becomes available by running:
- kubectl get svc echo -w
OutputNAME   TYPE           CLUSTER-IP      EXTERNAL-IP   PORT(S)        AGE
echo   LoadBalancer   10.245.81.235   <pending>     80:31814/TCP   8s
...
As in the previous step, you’ll need to wait some time for the DNS records to be created and propagated. Once that is done, curl the domain you specified:
- curl echo.your_domain
The output will be the same as the previous step:
OutputEcho!
If you get an error, wait a little longer, or you can try a different domain. Since DNS records are cached on client systems, it may take a long time for the changes to actually propagate.
In this step, you created a Service (of type LoadBalancer) and pointed it to your domain name using ExternalDNS.
Conclusion
ExternalDNS works silently in the background and provides a friction-free experience. Your Kubernetes cluster has just become the central source of truth regarding the domains. You won’t have to manually update DNS records anymore.
The real power of ExternalDNS will become apparent when creating testing environments from a Continuous Delivery system. If you want to set up such a system on your Kubernetes cluster, visit How To Set Up a CD Pipeline with Spinnaker on DigitalOcean Kubernetes.
Thanks for learning with the DigitalOcean Community. Check out our offerings for compute, storage, networking, and managed databases.
About the author(s)
Expert in cloud topics including Kafka, Kubernetes, and Ubuntu.
Former Senior Technical Editor at DigitalOcean, with a strong focus on DevOps and System Administration content. Areas of expertise include Terraform, PyTorch, Python, and Django.
Still looking for an answer?
This textbox defaults to using Markdown to format your answer.
You can type !ref in this text area to quickly search our full set of tutorials, documentation & marketplace offerings and insert the link!
I was having some issues with this - after some debugging it turned out that my helm repo was out of date so I was getting an old version of the chart.
If you run into any issues (e.g. no token present for digitalocean), try helm repo update
The prerequisites say it needs Helm with Tiller:
The Helm package manager installed on your local machine, and Tiller installed on your cluster.
Does that mean this won’t work using Helm 3?
If you still can’t get it working and ExternalDNS does not seem to update the DNS records first do the below steps:
- Ensure that a project is created in the Control Panel.
- Create the domains you want to manage in the Networking tab. Don’t create any records.
Once that’s done, ExternalDNS will be able to associate the IPs with the endpoints of your choosing automatically and they will appear on the Control Panel. I’ve used it to create A records for LoadBalancer services successfully.
This worked.
Some minor issues:
- the “name” flag/option is incorrect for the version of helm I’m using. I used the second cmd below instead, and that worked fine.
helm install stable/external-dns --name external-dns -f externaldns-values.yaml

helm install external-dns stable/external-dns -f externaldns-values.yaml

helm version
version.BuildInfo{Version:"v3.2.1", GitCommit:"fe51cd1e31e6a202cba7dead9552a6d418ded79a", GitTreeState:"clean", GoVersion:"go1.13.10"}
- This helm chart installed, but the provider output said it was deprecated and offered advise on upgrading, which I did not try out. It functioned as expected regardless.
Anyways, is there any method to integrate this with the article that gets SSL certs working? If not, I’ll just try updating the ingress file mentioned in the below article and reloading.
SOLUTION (helm, version 3):
helm repo add bitnami https://charts.bitnami.com/bitnami
helm upgrade external-dns bitnami/external-dns
The killer tip for me is that the subdomain that you want to manage has to be added as a zone.
For example, if you have a zone my.domain.com, and you want ExternalDNS to manage dev.my.domain.com, then you have to create a zone for the latter.
Also, to leave nothing unsaid, the Personal Access Token needs read and write permissions.
DO, Please update this article to explain how to use https://artifacthub.io/packages/helm/external-dns/external-dns rather than bitnami, since they have utterly abandoned the community. Past docker images referenced are not even available any more without modification.
 This work is licensed under a Creative Commons Attribution-NonCommercial- ShareAlike 4.0 International License.
Become a contributor for community
Get paid to write technical tutorials and select a tech-focused charity to receive a matching donation.

DigitalOcean Documentation
Full documentation for every DigitalOcean product.

Resources for startups and AI-native businesses
The Wave has everything you need to know about building a business, from raising funding to marketing your product.
The developer cloud
Scale up as you grow — whether you're running one virtual machine or ten thousand.

Start building today
From GPU-powered inference and Kubernetes to managed databases and storage, get everything you need to build, scale, and deploy intelligent applications.
