
Introduction
The Docker platform allows developers to package and run applications as containers. A container is an isolated process that runs on a shared operating system, offering a lighter weight alternative to virtual machines. Though containers are not new, they offer benefits — including process isolation and environment standardization — that are growing in importance as more developers use distributed application architectures.
When building and scaling an application with Docker, the starting point is typically creating an image for your application, which you can then run in a container. The image includes your application code, libraries, configuration files, environment variables, and runtime. Using an image ensures that the environment in your container is standardized and contains only what is necessary to build and run your application.
In this tutorial, you will create an application image for a static website that uses the Express framework and Bootstrap. You will then build a container using that image and push it to Docker Hub for future use. Finally, you will pull the stored image from your Docker Hub repository and build another container, demonstrating how you can recreate and scale your application.
Key Takeaways
- Docker provides process isolation, environment standardization, and consistent deployment across different environments.
- Use multi-stage Dockerfiles to create optimized production images with a minimal attack surface.
- Run containers as non-root users, use specific base image tags, and implement proper layer caching for security.
- Implement health checks, proper logging, and resource limits for production deployments.
- Scale applications with multi-container setups using Docker Compose for development and production.
- Use Docker Scout for automated security scanning of your container images.
Prerequisites
To follow this tutorial, you will need:
-
A server running Ubuntu, along with a non-root user with
sudoprivileges and an active firewall. For guidance on how to set these up, please follow our Initial Server Setup Guide. -
Docker installed on your server, following Steps 1 and 2 of How To Install and Use Docker on Ubuntu.
-
Node.js and npm installed, following these instructions on installing with the PPA managed by NodeSource on Ubuntu.
-
A Docker Hub account.
Step 1 — Installing Your Application Dependencies
To create your image, you will first need to make your application files, which you can then copy to your container. These files will include your application’s static content, code, and dependencies.
First, create a directory for your project in your non-root user’s home directory. We will call ours node_project, but you should feel free to replace this with something else:
- mkdir node_project
Navigate to this directory:
- cd node_project
This will be the root directory of the project.
Next, create a package.json file with your project’s dependencies and other identifying information. Open the file with nano or your favorite editor:
- nano package.json
Add the following information about the project, including its name, author, license, entrypoint, and dependencies. Be sure to replace the author information with your own name and contact details:
{
  "name": "nodejs-image-demo",
  "version": "1.0.0",
  "description": "nodejs image demo",
  "author": "Sammy the Shark <sammy@example.com>",
  "license": "MIT",
  "main": "app.js",
  "keywords": [
    "nodejs",
    "bootstrap",
    "express"
  ],
  "dependencies": {
    "express": "^4.16.4"
  }
}
This file includes the project name, author, and license under which it is being shared. Npm recommends making your project name short and descriptive, and avoiding duplicates in the npm registry. We’ve listed the MIT license in the license field, permitting the free use and distribution of the application code.
Additionally, the file specifies:
"main": The entrypoint for the application,app.js. You will create this file next."dependencies": The project dependencies — in this case, Express 4.16.4 or above.
Though this file does not list a repository, you can add one by following these guidelines on adding a repository to your package.json file. This is a good addition if you are versioning your application.
Save and close the file when you’ve finished making changes.
To install your project’s dependencies, run the following command:
- npm install
This will install the packages you’ve listed in your package.json file in your project directory.
We can now move on to building the application files.
Step 2 — Creating the Application Files
We will create a website that offers users information about sharks. Our application will have a main entrypoint, app.js, and a views directory that will include the project’s static assets. The landing page, index.html, will offer users some preliminary information and a link to a page with more detailed shark information, sharks.html. In the views directory, we will create both the landing page and sharks.html.
First, open app.js in the main project directory to define the project’s routes:
- nano app.js
The first part of the file will create the Express application and Router objects, and define the base directory and port as constants:
const express = require('express');
const app = express();
const router = express.Router();

const path = __dirname + '/views/';
const port = 8080;
The require function loads the express module, which we then use to create the app and router objects. The router object will perform the routing function of the application, and as we define HTTP method routes we will add them to this object to define how our application will handle requests.
This section of the file also sets a couple of constants, path and port:
path: Defines the base directory, which will be theviewssubdirectory within the current project directory.port: Tells the app to listen on and bind to port8080.
Next, set the routes for the application using the router object:
...

router.use(function (req,res,next) {
  console.log('/' + req.method);
  next();
});

router.get('/', function(req,res){
  res.sendFile(path + 'index.html');
});

router.get('/sharks', function(req,res){
  res.sendFile(path + 'sharks.html');
});
The router.use function loads a middleware function that will log the router’s requests and pass them on to the application’s routes. These are defined in the subsequent functions, which specify that a GET request to the base project URL should return the index.html page, while a GET request to the /sharks route should return sharks.html.
Finally, mount the router middleware and the application’s static assets and tell the app to listen on port 8080:
...

app.use(express.static(path));
app.use('/', router);

app.listen(port, function () {
  console.log('Example app listening on port 8080!')
})
The finished app.js file will look like this:
const express = require('express');
const app = express();
const router = express.Router();

const path = __dirname + '/views/';
const port = 8080;

router.use(function (req,res,next) {
  console.log('/' + req.method);
  next();
});

router.get('/', function(req,res){
  res.sendFile(path + 'index.html');
});

router.get('/sharks', function(req,res){
  res.sendFile(path + 'sharks.html');
});

app.use(express.static(path));
app.use('/', router);

app.listen(port, function () {
  console.log('Example app listening on port 8080!')
})
Save and close the file when you are finished.
Next, let’s add some static content to the application. Start by creating the views directory:
- mkdir views
Open the landing page file, index.html:
- nano views/index.html
Add the following code to the file, which will import Boostrap and create a jumbotron component with a link to the more detailed sharks.html info page:
<!DOCTYPE html>
<html lang="en">
<head>
<title>About Sharks</title>
<meta charset="utf-8">
<meta name="viewport" content="width=device-width, initial-scale=1">
<link rel="stylesheet" href="https://stackpath.bootstrapcdn.com/bootstrap/4.1.3/css/bootstrap.min.css" integrity="sha384-MCw98/SFnGE8fJT3GXwEOngsV7Zt27NXFoaoApmYm81iuXoPkFOJwJ8ERdknLPMO" crossorigin="anonymous">
<link href="css/styles.css" rel="stylesheet">
<link href="https://fonts.googleapis.com/css?family=Merriweather:400,700" rel="stylesheet" type="text/css">
</head>
<body>
<nav class="navbar navbar-dark bg-dark navbar-static-top navbar-expand-md">
<div class="container">
<button type="button" class="navbar-toggler collapsed" data-toggle="collapse" data-target="#bs-example-navbar-collapse-1" aria-expanded="false"> <span class="sr-only">Toggle navigation</span>
</button> <a class="navbar-brand" href="#">Everything Sharks</a>
<div class="collapse navbar-collapse" id="bs-example-navbar-collapse-1">
<ul class="nav navbar-nav mr-auto">
<li class="active nav-item"><a href="/" class="nav-link">Home</a>
</li>
<li class="nav-item"><a href="/sharks" class="nav-link">Sharks</a>
</li>
</ul>
</div>
</div>
</nav>
<div class="jumbotron">
<div class="container">
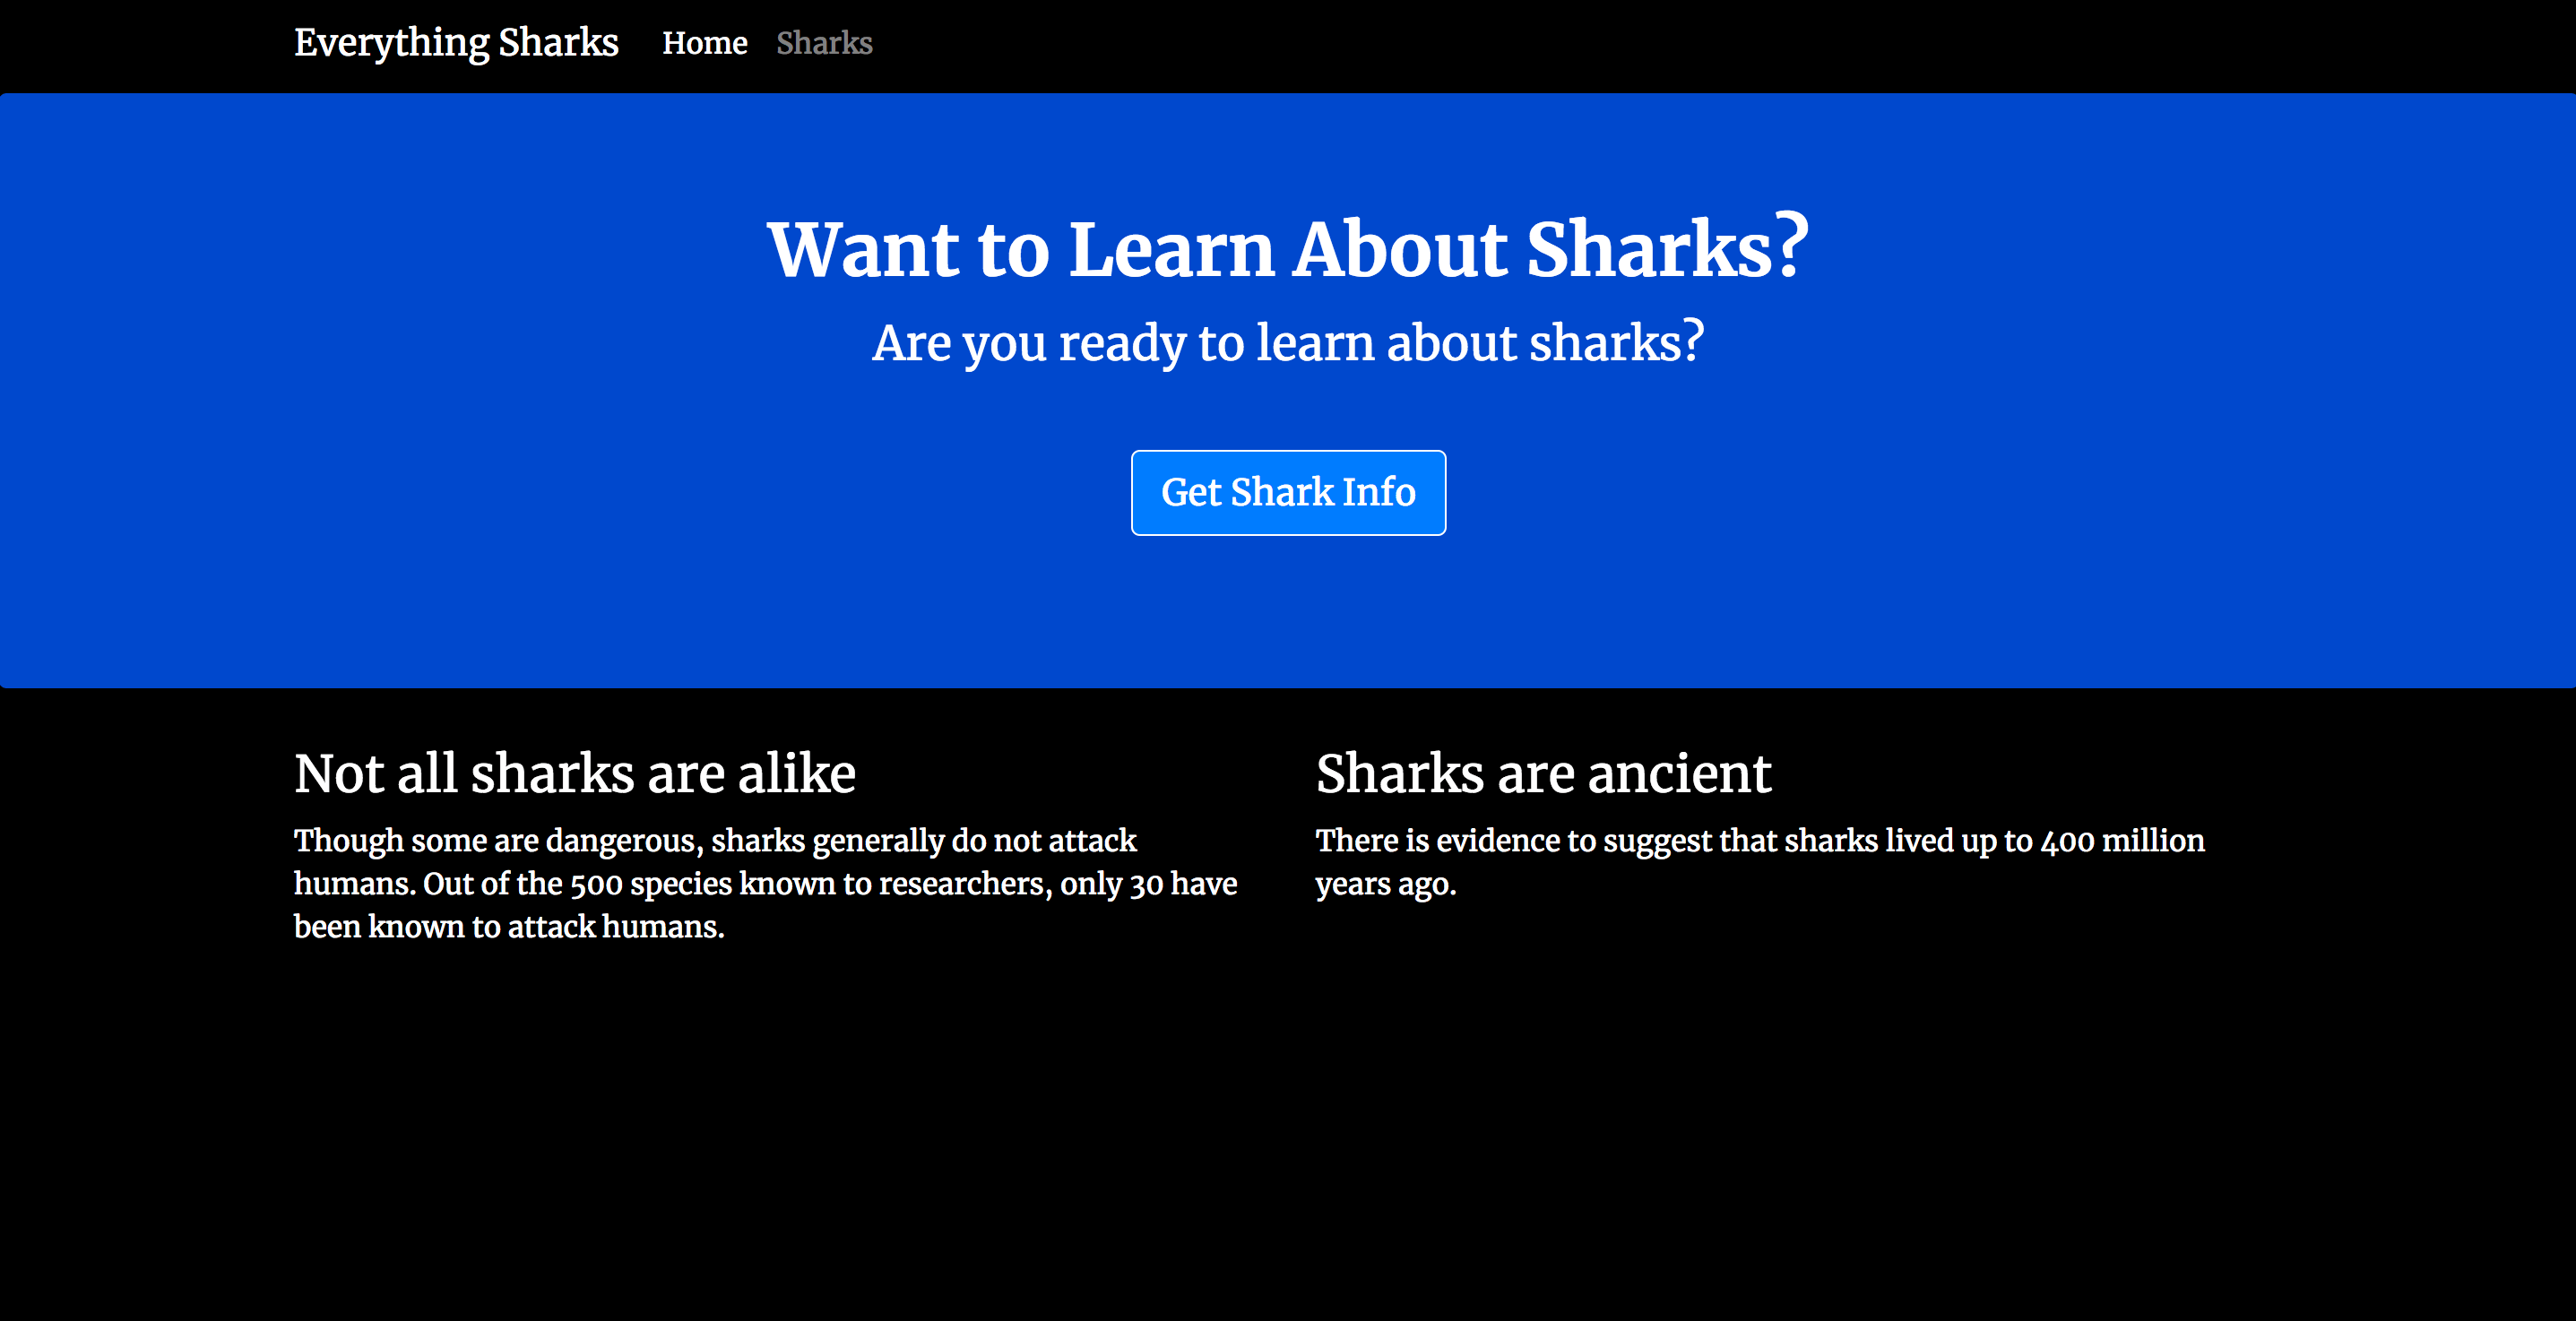
<h1>Want to Learn About Sharks?</h1>
<p>Are you ready to learn about sharks?</p>
<br>
<p><a class="btn btn-primary btn-lg" href="/sharks" role="button">Get Shark Info</a>
</p>
</div>
</div>
<div class="container">
<div class="row">
<div class="col-lg-6">
<h3>Not all sharks are alike</h3>
<p>Though some are dangerous, sharks generally do not attack humans. Out of the 500 species known to researchers, only 30 have been known to attack humans.
</p>
</div>
<div class="col-lg-6">
<h3>Sharks are ancient</h3>
<p>There is evidence to suggest that sharks lived up to 400 million years ago.
</p>
</div>
</div>
</div>
</body>
</html>
The top-level navbar here allows users to toggle between the Home and Sharks pages. In the navbar-nav subcomponent, we are using Bootstrap’s active class to indicate the current page to the user. We’ve also specified the routes to our static pages, which match the routes we defined in app.js:
...
<div class="collapse navbar-collapse" id="bs-example-navbar-collapse-1">
   <ul class="nav navbar-nav mr-auto">
      <li class="active nav-item"><a href="/" class="nav-link">Home</a>
      </li>
      <li class="nav-item"><a href="/sharks" class="nav-link">Sharks</a>
      </li>
   </ul>
</div>
...
Additionally, we’ve created a link to our shark information page in our jumbotron’s button:
...
<div class="jumbotron">
   <div class="container">
      <h1>Want to Learn About Sharks?</h1>
      <p>Are you ready to learn about sharks?</p>
      <br>
      <p><a class="btn btn-primary btn-lg" href="/sharks" role="button">Get Shark Info</a>
      </p>
   </div>
</div>
...
There is also a link to a custom style sheet in the header:
...
<link href="css/styles.css" rel="stylesheet">
...
We will create this style sheet at the end of this step.
Save and close the file when you are finished.
With the application landing page in place, we can create our shark information page, sharks.html, which will offer interested users more information about sharks.
Open the file:
- nano views/sharks.html
Add the following code, which imports Bootstrap and the custom style sheet and offers users detailed information about certain sharks:
<!DOCTYPE html>
<html lang="en">
<head>
<title>About Sharks</title>
<meta charset="utf-8">
<meta name="viewport" content="width=device-width, initial-scale=1">
<link rel="stylesheet" href="https://stackpath.bootstrapcdn.com/bootstrap/4.1.3/css/bootstrap.min.css" integrity="sha384-MCw98/SFnGE8fJT3GXwEOngsV7Zt27NXFoaoApmYm81iuXoPkFOJwJ8ERdknLPMO" crossorigin="anonymous">
<link href="css/styles.css" rel="stylesheet">
<link href="https://fonts.googleapis.com/css?family=Merriweather:400,700" rel="stylesheet" type="text/css">
</head>
<nav class="navbar navbar-dark bg-dark navbar-static-top navbar-expand-md">
<div class="container">
<button type="button" class="navbar-toggler collapsed" data-toggle="collapse" data-target="#bs-example-navbar-collapse-1" aria-expanded="false"> <span class="sr-only">Toggle navigation</span>
</button> <a class="navbar-brand" href="/">Everything Sharks</a>
<div class="collapse navbar-collapse" id="bs-example-navbar-collapse-1">
<ul class="nav navbar-nav mr-auto">
<li class="nav-item"><a href="/" class="nav-link">Home</a>
</li>
<li class="active nav-item"><a href="/sharks" class="nav-link">Sharks</a>
</li>
</ul>
</div>
</div>
</nav>
<div class="jumbotron text-center">
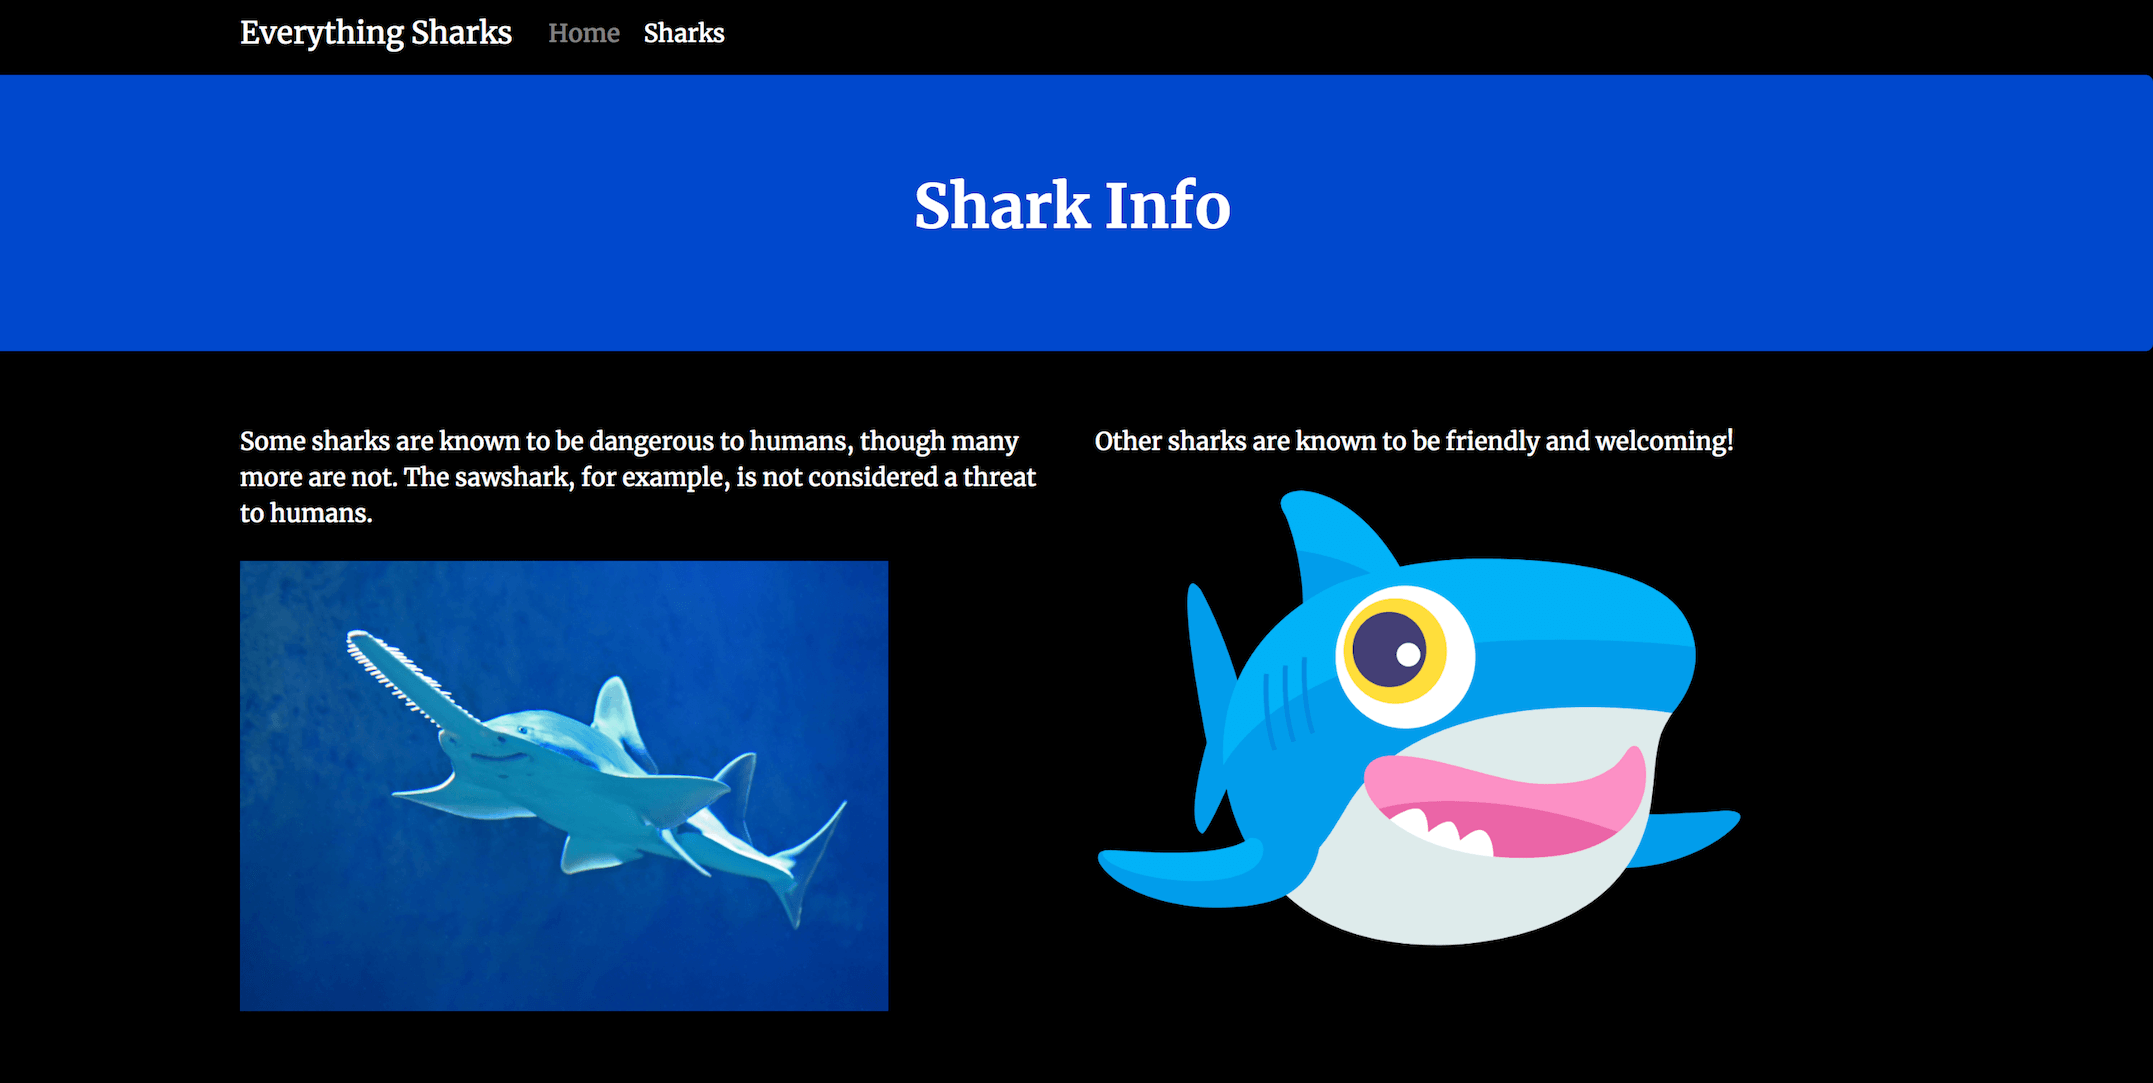
<h1>Shark Info</h1>
</div>
<div class="container">
<div class="row">
<div class="col-lg-6">
<p>
<div class="caption">Some sharks are known to be dangerous to humans, though many more are not. The sawshark, for example, is not considered a threat to humans.
</div>
<img src="https://assets.digitalocean.com/articles/docker_node_image/sawshark.jpg" alt="Sawshark">
</p>
</div>
<div class="col-lg-6">
<p>
<div class="caption">Other sharks are known to be friendly and welcoming!</div>
<img src="https://assets.digitalocean.com/articles/docker_node_image/sammy.png" alt="Sammy the Shark">
</p>
</div>
</div>
</div>
</html>
Note that in this file, we again use the active class to indicate the current page.
Save and close the file when you are finished.
Finally, create the custom CSS style sheet that you’ve linked to in index.html and sharks.html by first creating a css folder in the views directory:
- mkdir views/css
Open the style sheet:
- nano views/css/styles.css
Add the following code, which will set the desired color and font for our pages:
.navbar {
    margin-bottom: 0;
}

body {
    background: #020A1B;
    color: #ffffff;
    font-family: 'Merriweather', sans-serif;
}

h1,
h2 {
    font-weight: bold;
}

p {
    font-size: 16px;
    color: #ffffff;
}

.jumbotron {
    background: #0048CD;
    color: white;
    text-align: center;
}

.jumbotron p {
    color: white;
    font-size: 26px;
}

.btn-primary {
    color: #fff;
    text-color: #000000;
    border-color: white;
    margin-bottom: 5px;
}

img,
video,
audio {
    margin-top: 20px;
    max-width: 80%;
}

div.caption: {
    float: left;
    clear: both;
}
In addition to setting font and color, this file also limits the size of the images by specifying a max-width of 80%. This will prevent them from taking up more room than we would like on the page.
Save and close the file when you are finished.
With the application files in place and the project dependencies installed, you are ready to start the application.
If you followed the initial server setup tutorial in the prerequisites, you will have an active firewall permitting only SSH traffic. To permit traffic to port 8080 run:
- sudo ufw allow 8080
To start the application, make sure that you are in your project’s root directory:
- cd ~/node_project
Start the application with node app.js:
- node app.js
Navigate your browser to http://your_server_ip:8080. You will load the following landing page:
Click on the Get Shark Info button. The following information page will load:
You now have an application up and running. When you are ready, quit the server by typing CTRL+C. We can now move on to creating the Dockerfile that will allow us to recreate and scale this application as desired.
Step 3 — Writing the Dockerfile
Your Dockerfile specifies what will be included in your application container when it is executed. Using a Dockerfile allows you to define your container environment and avoid discrepancies with dependencies or runtime versions.
Following these guidelines on building optimized containers, we will make our image as efficient as possible by minimizing the number of image layers and restricting the image’s function to a single purpose — recreating our application files and static content.
Modern Dockerfile Best Practices
For production-ready Node.js applications, we’ll implement several key best practices:
- Multi-stage builds to reduce final image size
- Non-root user execution for enhanced security
- Specific base image tags instead of
latest - Layer optimization for better caching
- Health checks for container monitoring
In your project’s root directory, create the Dockerfile:
- nano Dockerfile
Multi-Stage Dockerfile Implementation
We’ll use a multi-stage build approach that separates the build environment from the runtime environment. This reduces the final image size and improves security by excluding build tools from the production image.
Let’s use the node:20-alpine image as our base, which provides the current LTS version of Node.js. The alpine image is derived from the Alpine Linux project and helps keep our image size minimal.
Add the following multi-stage Dockerfile:
# Build stage
FROM node:20-alpine AS builder
# Set working directory
WORKDIR /app
# Copy package files
COPY package*.json ./
# Install dependencies
RUN npm ci --only=production && npm cache clean --force
# Copy source code
COPY . .
# Production stage
FROM node:20-alpine AS production
# Create app directory
WORKDIR /app
# Create non-root user
RUN addgroup -g 1001 -S nodejs && \
adduser -S nextjs -u 1001
# Copy built application from builder stage
COPY /app /app
# Switch to non-root user
USER nextjs
# Expose port
EXPOSE 8080
# Add health check
HEALTHCHECK \
CMD node -e "require('http').get('http://localhost:8080', (res) => { process.exit(res.statusCode === 200 ? 0 : 1) })"
# Start the application
CMD ["node", "app.js"]
This multi-stage approach provides several advantages:
- Smaller final image: Build dependencies are excluded from the production image
- Enhanced security: Non-root user execution reduces attack surface
- Better caching: Layer optimization improves build times
- Health monitoring: Built-in health checks for container orchestration
Save and close the file when you are finished editing.
Docker Compose for Multi-Service Applications
For production applications, you’ll often need to connect your Node.js app to databases, caching layers, or other services. Docker Compose simplifies this by allowing you to define multi-container applications in a single YAML file.
Create a docker-compose.yml file for development and production environments:
- nano docker-compose.yml
Add the following Docker Compose configuration:
services:
  app:
    build: .
    ports:
      - "8080:8080"
    environment:
      - NODE_ENV=production
      - PORT=8080
    networks:
      - app-network
    restart: unless-stopped
    healthcheck:
      test: ["CMD", "node", "-e", "require('http').get('http://localhost:8080', (res) => { process.exit(res.statusCode === 200 ? 0 : 1) })"]
      interval: 30s
      timeout: 10s
      retries: 3

  redis:
    image: redis:7-alpine
    ports:
      - "6379:6379"
    networks:
      - app-network
    restart: unless-stopped
    volumes:
      - redis_data:/data

  nginx:
    image: nginx:alpine
    ports:
      - "80:80"
    volumes:
      - ./nginx.conf:/etc/nginx/nginx.conf:ro
    depends_on:
      - app
    networks:
      - app-network
    restart: unless-stopped

volumes:
  redis_data:

networks:
  app-network:
    driver: bridge
Note: The Redis and Nginx services in this example are included to illustrate a multi-service configuration. The Node.js application built in this tutorial does not connect to Redis. To use Redis in your application, you will need to add a Redis client library (such as ioredis) and connection logic to your app code.
This configuration provides:
- Multi-service orchestration: App,Redis cache, and Nginx reverse proxy.
- Service dependencies: Proper startup order with
depends_on - Network isolation: Services communicate through a dedicated network
- Volume persistence: Redis data persists between container restarts
- Health monitoring: Built-in health checks for all services
- Production-ready: Restart policies and proper networking
Advanced Docker Features
Modern Docker development includes several features worth knowing about for production deployments:
Docker Scout Integration
Docker Scout provides automated security scanning and vulnerability detection.
- # Enable Docker Scout for your image
- docker scout quickview your_dockerhub_username/nodejs-image-demo
The command docker scout quickview your_dockerhub_username/nodejs-image-demo runs Docker Scout’s “quickview” on the specified image in Docker Hub.
This analyzes your container image (your_dockerhub_username/nodejs-image-demo) for security vulnerabilities, provides a summary of issues, and highlights potential risks in your image layers. It’s a fast way to ensure your application image remains secure before deploying or sharing with others.
Container Resource Management
Add resource limits to your Docker Compose configuration:
services:
  app:
    build: .
    deploy:
      resources:
        limits:
          cpus: '0.5'
          memory: 512M
        reservations:
          cpus: '0.25'
          memory: 256M
Before building the application image, let’s add a .dockerignore file. Working in a similar way to a .gitignore file, .dockerignore specifies which files and directories in your project directory should not be copied over to your container.
Open the .dockerignore file:
- nano .dockerignore
Inside the file, add your local node modules, npm logs, Dockerfile, and .dockerignore file:
node_modules
npm-debug.log
Dockerfile
.dockerignore
If you are working with Git then you will also want to add your .git directory and .gitignore file.
Save and close the file when you are finished.
You are now ready to build the application image using the docker build command. Using the -t flag with docker build will allow you to tag the image with a memorable name. Because we are going to push the image to Docker Hub, let’s include our Docker Hub username in the tag. We will tag the image as nodejs-image-demo, but feel free to replace this with a name of your own choosing. Remember to also replace your_dockerhub_username with your own Docker Hub username:
- sudo docker build -t your_dockerhub_username/nodejs-image-demo .
The . specifies that the build context is the current directory.
It will take a minute or two to build the image. Once it is complete, check your images:
- sudo docker images
You will receive the following output:
REPOSITORY                                         TAG                 IMAGE ID            CREATED             SIZE
your_dockerhub_username/nodejs-image-demo          latest              1c723fb2ef12        8 seconds ago       73MB
node                                               10-alpine           f09e7c96b6de        3 weeks ago        70.7MB
It is now possible to create a container with this image using docker run. We will include three flags with this command:
-p: This publishes the port on the container and maps it to a port on our host. We will use port80on the host, but you should feel free to modify this as necessary if you have another process running on that port. For more information about how this works, review this discussion in the Docker docs on port binding.-d: This runs the container in the background.--name: This allows us to give the container a memorable name.
Run the following command to build the container:
- sudo docker run --name nodejs-image-demo -p 80:8080 -d your_dockerhub_username/nodejs-image-demo
Once your container is up and running, you can inspect a list of your running containers with docker ps:
- sudo docker ps
You will receive the following output:
CONTAINER ID        IMAGE                                                   COMMAND             CREATED             STATUS              PORTS                  NAMES
e50ad27074a7        your_dockerhub_username/nodejs-image-demo               "node app.js"       8 seconds ago       Up 7 seconds        0.0.0.0:80->8080/tcp   nodejs-image-demo
With your container running, you can now visit your application by navigating your browser to your server IP without the port:
http://your_server_ip
Your application landing page will load once again.
Now that you have created an image for your application, you can push it to Docker Hub for future use.
Step 4 — Using a Repository to Work with Images
By pushing your application image to a registry like Docker Hub, you make it available for subsequent use as you build and scale your containers. We will demonstrate how this works by pushing the application image to a repository and then using the image to recreate our container.
The first step to pushing the image is to log in to the Docker Hub account you created in the prerequisites:
- sudo docker login -u your_dockerhub_username
When prompted, enter your Docker Hub account password. Logging in this way will create a ~/.docker/config.json file in your user’s home directory with your Docker Hub credentials.
You can now push the application image to Docker Hub using the tag you created earlier, your_dockerhub_username/nodejs-image-demo:
- sudo docker push your_dockerhub_username/nodejs-image-demo
Let’s test the utility of the image registry by destroying our current application container and image and rebuilding them with the image in our repository.
First, list your running containers:
- sudo docker ps
You will get the following output:
CONTAINER ID        IMAGE                                       COMMAND             CREATED             STATUS              PORTS                  NAMES
e50ad27074a7        your_dockerhub_username/nodejs-image-demo   "node app.js"       3 minutes ago       Up 3 minutes        0.0.0.0:80->8080/tcp   nodejs-image-demo
Using the CONTAINER ID listed in your output, stop the running application container. Be sure to replace the highlighted ID below with your own CONTAINER ID:
- sudo docker stop e50ad27074a7
List your all of your images with the -a flag:
- docker images -a
You will receive the following output with the name of your image, your_dockerhub_username/nodejs-image-demo, along with the node image and the other images from your build:
REPOSITORY                                           TAG                 IMAGE ID            CREATED             SIZE
your_dockerhub_username/nodejs-image-demo            latest              1c723fb2ef12        7 minutes ago       73MB
<none>                                               <none>              2e3267d9ac02        4 minutes ago       72.9MB
<none>                                               <none>              8352b41730b9        4 minutes ago       73MB
<none>                                               <none>              5d58b92823cb        4 minutes ago       73MB
<none>                                               <none>              3f1e35d7062a        4 minutes ago       73MB
<none>                                               <none>              02176311e4d0        4 minutes ago       73MB
<none>                                               <none>              8e84b33edcda        4 minutes ago       70.7MB
<none>                                               <none>              6a5ed70f86f2        4 minutes ago       70.7MB
<none>                                               <none>              776b2637d3c1        4 minutes ago       70.7MB
node                                                 10-alpine           f09e7c96b6de        3 weeks ago         70.7MB
Remove the stopped container and all of the images, including unused or dangling images, with the following command:
- docker system prune -a
Type y when prompted in the output to confirm that you would like to remove the stopped container and images. Be advised that this will also remove your build cache.
You have now removed both the container running your application image and the image itself. For more information on removing Docker containers, images, and volumes, please review How To Remove Docker Images, Containers, and Volumes.
With all of your images and containers deleted, you can now pull the application image from Docker Hub:
- docker pull your_dockerhub_username/nodejs-image-demo
List your images once again:
- docker images
Your output will have your application image:
REPOSITORY                                     TAG                 IMAGE ID            CREATED             SIZE
your_dockerhub_username/nodejs-image-demo      latest              1c723fb2ef12        11 minutes ago      73MB
You can now rebuild your container using the command from Step 3:
- docker run --name nodejs-image-demo -p 80:8080 -d your_dockerhub_username/nodejs-image-demo
List your running containers:
- docker ps
CONTAINER ID        IMAGE                                                   COMMAND             CREATED             STATUS              PORTS                  NAMES
f6bc2f50dff6        your_dockerhub_username/nodejs-image-demo               "node app.js"       4 seconds ago       Up 3 seconds        0.0.0.0:80->8080/tcp   nodejs-image-demo
Visit http://your_server_ip once again to view your running application.
FAQs
1. Why should I use Docker for Node.js apps?
Docker provides several key benefits for Node.js applications:
- Consistent environments: Your app runs identically across development, testing, and production
- Easy scaling: Container orchestration tools like Kubernetes can easily scale your application
- Dependency isolation: Each app runs with its own isolated dependencies and runtime
- Simplified deployment: One command deploys your entire application stack
- Resource efficiency: Containers share the host OS kernel, using fewer resources than VMs
2. What’s the best base image for Node.js in 2025?
For production Node.js applications in 2025, we recommend:
node:20-alpine: Current LTS version with minimal attack surfacenode:20-slim: Debian-based alternative with more packages availablenode:20-bullseye: Full Debian image for complex applications
The Alpine variant (node:20-alpine) is preferred for most applications due to its small size (~70MB vs ~300MB for full images) and security benefits.
You can visit Docker Hub Node image page for more information.
3. How do I connect my Node.js container to a database?
Use Docker Compose to orchestrate multiple services:
services:
  app:
    build: .
    environment:
      - DATABASE_URL=postgresql://user:password@db:5432/mydb
    depends_on:
      - db

  db:
    image: postgres:15-alpine
    environment:
      - POSTGRES_DB=mydb
      - POSTGRES_USER=user
      - POSTGRES_PASSWORD=password
    volumes:
      - postgres_data:/var/lib/postgresql/data
4. Can I use Docker Compose with a Node.js app?
Yes! Docker Compose is ideal for Node.js applications. It allows you to:
- Define multi-service applications in a single YAML file
- Manage dependencies between services (app, database, cache, etc.)
- Use environment-specific configurations
- Scale services independently
- Share volumes and networks between containers
You can refer to our tutorial on Containerizing a Node.js Application for Development With Docker Compose for more information.
5. How can I reduce Docker image size?
Several strategies can significantly reduce your Docker image size:
- Use multi-stage builds: Separate build and runtime environments
- Choose Alpine base images: Alpine Linux variants are much smaller
- Use
.dockerignore: Exclude unnecessary files from the build context - Optimize layer caching: Order Dockerfile instructions to maximize cache hits
- Remove build dependencies: Don’t include dev dependencies in production images
- Use distroless images: Consider Google’s distroless images for minimal attack surface
6. How do I deploy a Dockerized Node.js app to production?
For production deployment, consider these approaches:
- Container orchestration: Use Kubernetes, Docker Swarm, or similar platforms
- Managed services: Use platforms like DigitalOcean App Platform or DigitalOcean Kubernetes.
- Traditional VPS: Deploy to DigitalOcean Droplets with Docker installed.
You can also try out our Node.js Hosting Solutions for more information.
7. What are common Docker errors when building Node.js apps?
Common issues and solutions:
- Permission denied: Run containers as non-root users
- Port conflicts: Ensure ports aren’t already in use
- Memory issues: Increase Docker’s memory allocation
- Build context too large: Use
.dockerignoreto exclude unnecessary files - Layer cache misses: Optimize Dockerfile instruction order
- Network connectivity: Use Docker networks for service communication
You can use our tutorial on How To Debug and Fix Common Docker Issues for more information.
8. How can I debug my Node.js app inside a container?
Several debugging approaches work well with containerized Node.js apps:
- Attach to running container:
docker exec -it container_name /bin/sh - View container logs:
docker logs -f container_name - Use VS Code Dev Containers: Develop directly inside containers
- Remote debugging: Expose debug ports and connect from your IDE
- Health checks: Implement comprehensive health monitoring
- Log aggregation: Use tools like ELK stack or Fluentd for centralized logging
Conclusion
In this comprehensive tutorial, you have learned how to build, containerize, and deploy a Node.js application using modern Docker practices. By following a multi-stage Dockerfile approach, you can produce optimized production images while enhancing security by running containers as a non-root user.
Integrating Docker Compose allows you to easily orchestrate multi-service application environments, while health checks and monitoring features help ensure your containers are production-ready. With the addition of modern Docker features like AI-powered tools and integrated security scanning, you are now equipped with the techniques required to create secure, efficient, and maintainable containerized Node.js applications prepared for reliable deployment at scale.
Next Steps
To continue your Docker and Node.js journey, explore these related tutorials:
-
Containerizing a Node.js Application for Development With Docker Compose - Learn advanced Docker Compose patterns for development environments
-
How To Secure a Containerized Node.js Application with Nginx, Let’s Encrypt, and Docker Compose - Implement production-grade security with SSL/TLS
-
How To Set Up a Node.js Application for Production on Ubuntu 22.04 - Deploy Node.js applications on DigitalOcean Droplets
-
DigitalOcean Node.js Hosting Solutions - Explore managed Node.js hosting options
For comprehensive Docker learning, explore our complete library of Docker tutorials.
Thanks for learning with the DigitalOcean Community. Check out our offerings for compute, storage, networking, and managed databases.
Tutorial Series: From Containers to Kubernetes with Node.js
In this series, you will build and containerize a Node.js application with a MongoDB database. The series is designed to introduce you to the fundamentals of migrating an application to Kubernetes, including modernizing your app using the 12FA methodology, containerizing it, and deploying it to Kubernetes. The series also includes information on deploying your app with Docker Compose using an Nginx reverse proxy and Let’s Encrypt.
Browse Series: 7 tutorials
About the author(s)
Anish is a Sr Technical Content Strategist and Team Lead at DigitalOcean with 7+ years of experience as an SRE at Nutanix and Cloud consultant at AMEX, and technical writing at DOCN, and shipping deep infra and AI inference tutorials that help developers deploy production‑ready applications on DigitalOcean.
Building future-ready infrastructure with Linux, Cloud, and DevOps. Full Stack Developer & System Administrator. Technical Writer @ DigitalOcean | GitHub Contributor | Passionate about Docker, PostgreSQL, and Open Source | Exploring NLP & AI-TensorFlow | Nailed over 50+ deployments across production environments.
Still looking for an answer?
This textbox defaults to using Markdown to format your answer.
You can type !ref in this text area to quickly search our full set of tutorials, documentation & marketplace offerings and insert the link!
Hi Kathleen. Great tutorial. As pointed out here one should run a node app like CMD [“node”,“app.js”]. Regards.

Great. I took an online course a while back and now it all makes sense. I had to take this tutorial I am working on an application for my employer. Thank you Kathleen.
Why do we need a --chown flag in COPY when a USER node was run earlier?
How can I build this project using a gradle and use created artifact .jar file for building docker image. Is it possible to build nodejs project using gradle build tool.
Please reply it’s very urgent.
This comment has been deleted
 This work is licensed under a Creative Commons Attribution-NonCommercial- ShareAlike 4.0 International License.
Become a contributor for community
Get paid to write technical tutorials and select a tech-focused charity to receive a matching donation.

DigitalOcean Documentation
Full documentation for every DigitalOcean product.

Resources for startups and AI-native businesses
The Wave has everything you need to know about building a business, from raising funding to marketing your product.
The developer cloud
Scale up as you grow — whether you're running one virtual machine or ten thousand.

Start building today
From GPU-powered inference and Kubernetes to managed databases and storage, get everything you need to build, scale, and deploy intelligent applications.
