By Erin Glass
Senior Manager, DevEd
")
Introduction
In this tutorial, you will recreate the top header section of the demonstration website using HTML and CSS. You can switch out Sammy’s information with your own if you wish to experiment or personalize the size. The methods that you use here can be applied to other CSS/HTML website projects.

Prerequisites
To follow this tutorial, make sure you have set up the necessary files and folders as instructed in a previous tutorial in this series How To Set Up You CSS and HTML Practice Project.
Adding the Title and Subtitle To Your Webpage Header
Our website header includes the title (“Sammy the Shark”), a subtitle (“SENIOR SELACHIMORPHA AT DIGITALOCEAN”), and a small profile image. These elements are wrapped inside a <div> container that is styled with a class defined in the CSS stylesheet. You will recreate this section by adding the text and image content, creating a class for the <div> container, and then wrapping the text and image content in a <div> container that is assigned the newly-created class.
To add a title and subtitle to your site, add the following highlighted code snippet in between the opening and closing <body> tags in the index.html file. Switch out Sammy’s information with your own if you would like to personalize your site:
. . .

<body>

<!--Header content-->
   <h1>Sammy the Shark<h1>
   <h5>SENIOR SELACHIMORPHA AT DIGITALOCEAN<h5>
</body>
In this code snippet, you have added the title Sammy the Shark and assigned it the <h1> heading tag as it is the most important heading of this webpage. You have also added the subtitle SENIOR SELACHIMORPHA AT DIGITALOCEAN and assigned it the <h5> heading tag, as it is a less important heading.
Note that you have also added the comment <!--Header content--> just before the title. A comment is used to save explanatory notes on your code for future reference and is not displayed by the browser to site visitors (unless they view the source code of the webpage). In HTML, comments are written between <!-- and --> as demonstrated in the code snippet above. Make sure to close your comment with the ending comment tag (-->) or all of your content will be commented out.
Adding and Styling a Small Profile Image To Your Webpage Header
Next, you’ll add a small profile image to the header section. Pick a profile photo that you want to include on your site. If you don’t have a profile photo, you can use any alternative image (such as the profile image of Sammy) or create an avatar through a site like Getavataaars.com.
Once you have selected an image, save it to your images folder as small-profile.jpeg.
Now add the profile image to the webpage by using an <img> tag and the src attribute assigned the file path of your profile image. Add the following highlighted code snippet to your index.html file just after the <!--Header content--> line and before the <h1>Sammy the Shark<h1> line:
. . .

  <body>

  <!--Header content-->
       <img src="images/small-profile.jpeg" alt="Sammy the Shark, DigitalOcean’s mascot">
       <h1>Sammy the Shark<h1>
       <h5>SENIOR SELACHIMORPHA AT DIGITALOCEAN<h5>
   </body>
</html>
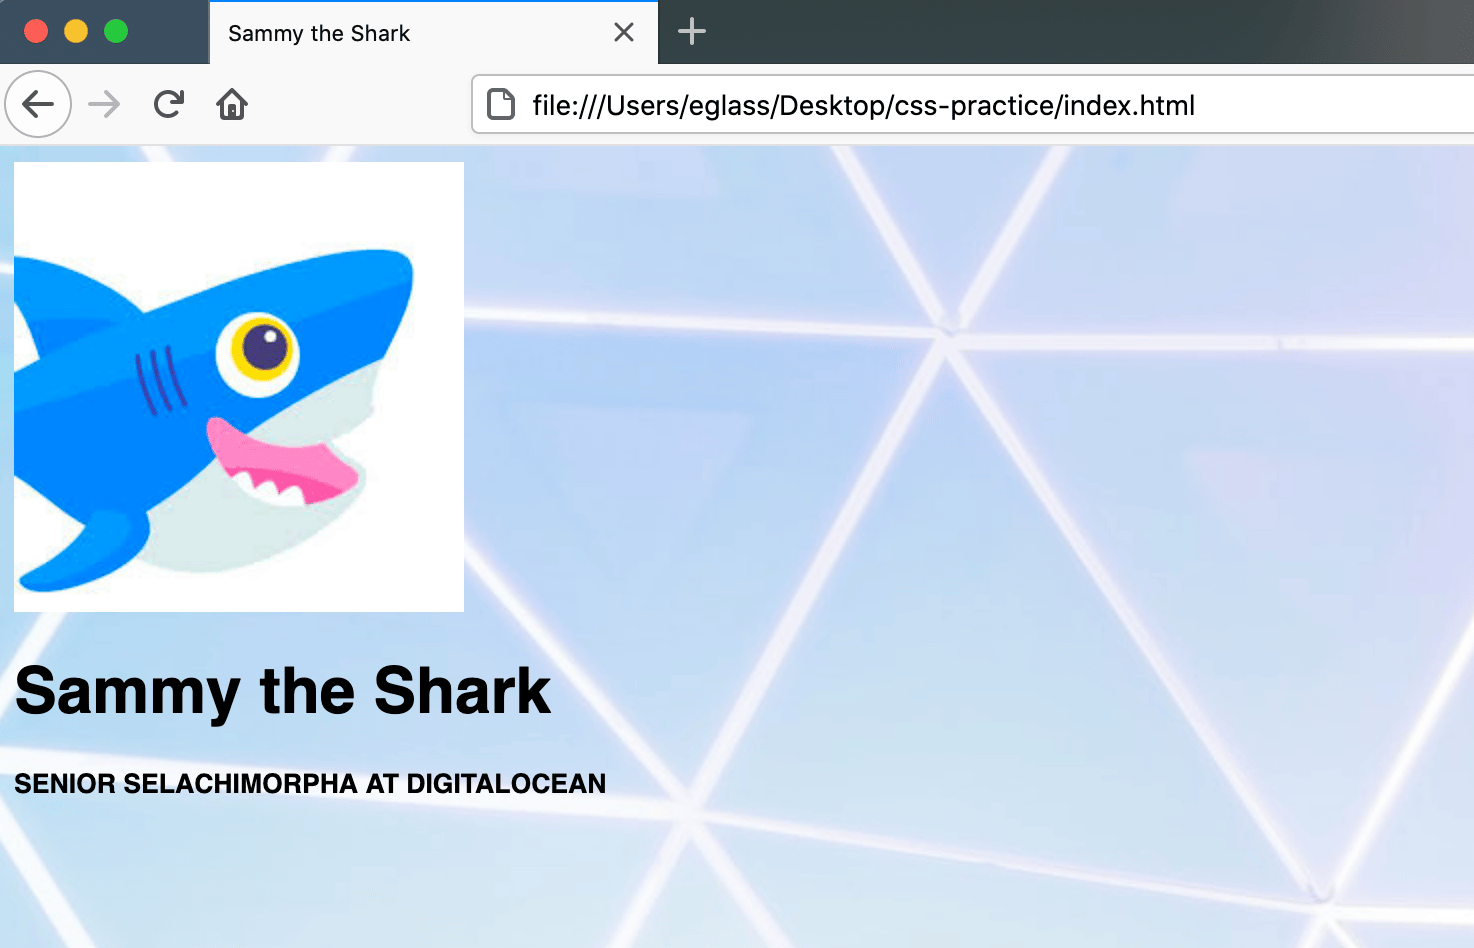
Save the file and load it in the browser. Your webpage should now have a title, subtitle, profile image, and background image:
Notice that the image does not have the same styling as the profile image in the demonstration site. To recreate the shape, size, and border of the profile image in the demonstration site, add the following ruleset to your styles.css file:
. . .
/*Top header profile image*/
.profile-small {
   height:150px;
   border-radius: 50%;
   border: 10px solid #FEDE00;
}
Before moving on, let’s review each line of code you just added:
/*Top header profile image*/is a CSS comment for labeling the code.- The text
.profile-smallrefers to the name of the class we’re defining with the ruleset. This class will be applied to the profile image in the next step. - The declaration
height:150px;sets the height of the image to 150 pixels and automatically adjusts the width to maintain the image size proportions. - The declaration
border-radius: 50%;rounds the edges of the image into a circular shape. - The declaration
border: 10px solid #FEDE00;gives the image a solid border that is 10 pixels wide and has the HTML color code#FEDE00.
Save the file and return to your index.html file to add the profile-small class to your <img> tag like so:
. . .
       <img src="images/small-profile.jpeg" class="profile-small" alt="Sammy the Shark, DigitalOcean’s mascot">
. . .
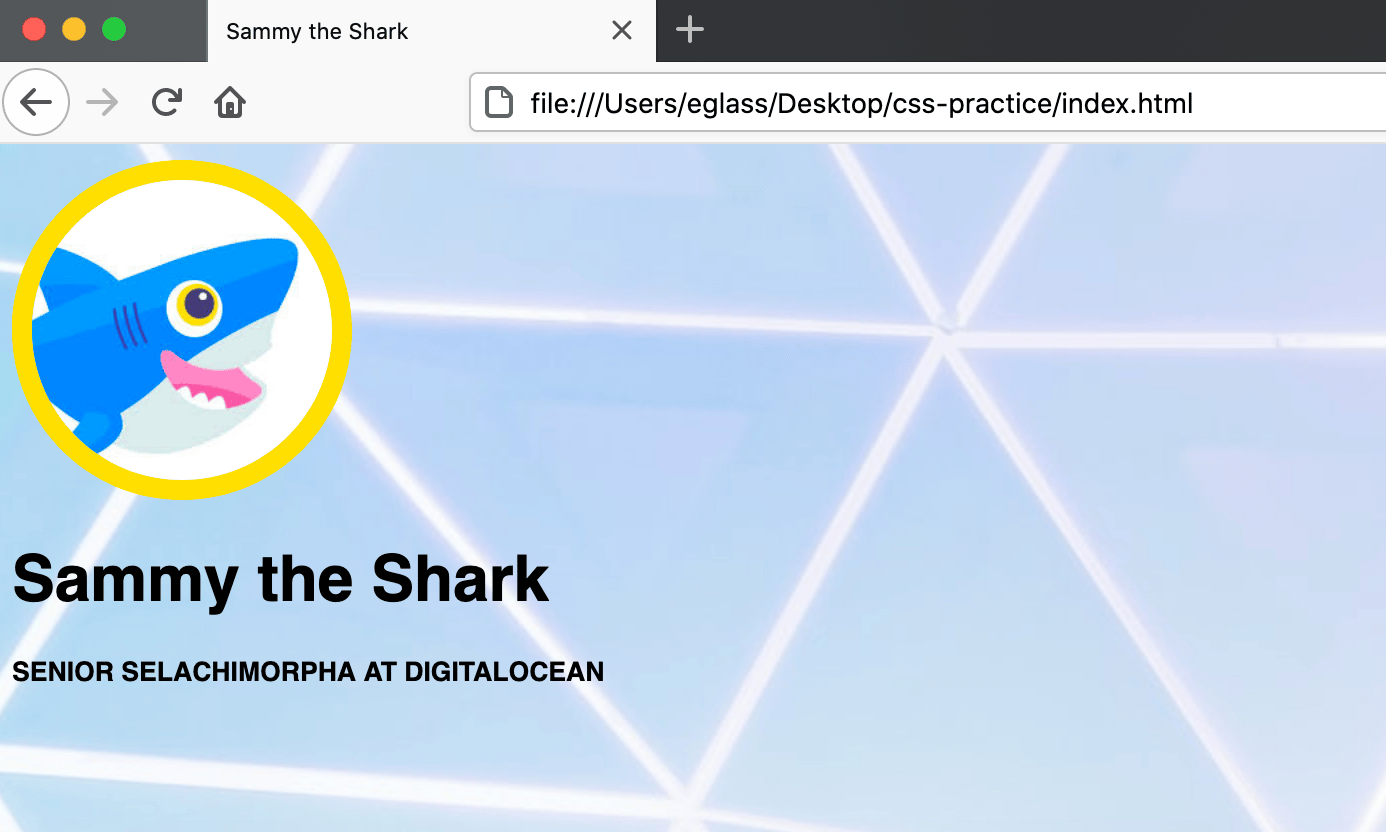
Save the file and reload it in your browser. Your profile image should now have a height of 150 pixels, a circular shape, and a yellow border:
In the next step, you’ll apply additional styling to the title, subtitle, and profile image as a whole.
Styling and Positioning the Header Content With CSS
You will now define a class with CSS to style and position the header content. Return to the styles.css file and create the header class by adding the following CSS ruleset:
. . .
/* Header Title */
.header {
  padding: 40px;
  text-align: center;
  background: #f9f7f7;
  margin:30px;
  font-size:20px;
}
Let’s pause briefly to understand each line of the code that you just added:
- The
/* Header Title */is a comment, which is not displayed by the browser. - The text
.headeris the name of the class selector we’re creating and defining with this ruleset. - The
padding: 40px;declaration creates 40 pixels of padding between the content and the border of the element. - The
text-align: center;declaration moves the content to the center of the element. You can also adjust the value toleftorrightto align the text accordingly. - The
background: #f9f7f7;declaration sets the color to the specific HTML color code used in the demonstration website. This tutorial will not cover HTML color codes in this tutorial series, but you can also use HTML color names (black,white,gray,silver,purple,red,fuchsia,lime,olive,green,yellow,teal,navy,blue,maroon, andaqua) to change the color value of this property. - The
margin:30px;declaration creates a margin of 30 pixels between the perimeter of the element and the perimeter of the viewport or any surrounding elements. - The
font-size:20px;declaration increases the size of both the title and subtitle.
Save your styles.css file. Next, you will apply this header class to your header content. Return to the index.html page and wrap the header content (that you already added to your file) in a <div> tag that is assigned the header class:
. . .
<!--Section 1: Header content-->
   <div class="header">
     <img src="images/small-profile.jpeg" class="small-profile.jpeg" alt="Sammy the Shark, DigitalOcean’s mascot">
     <h1>Sammy the Shark<h1>
     <h5>SENIOR SELACHIMORPHA AT DIGITALOCEAN<h5>
   </div>
  </body>
</html>
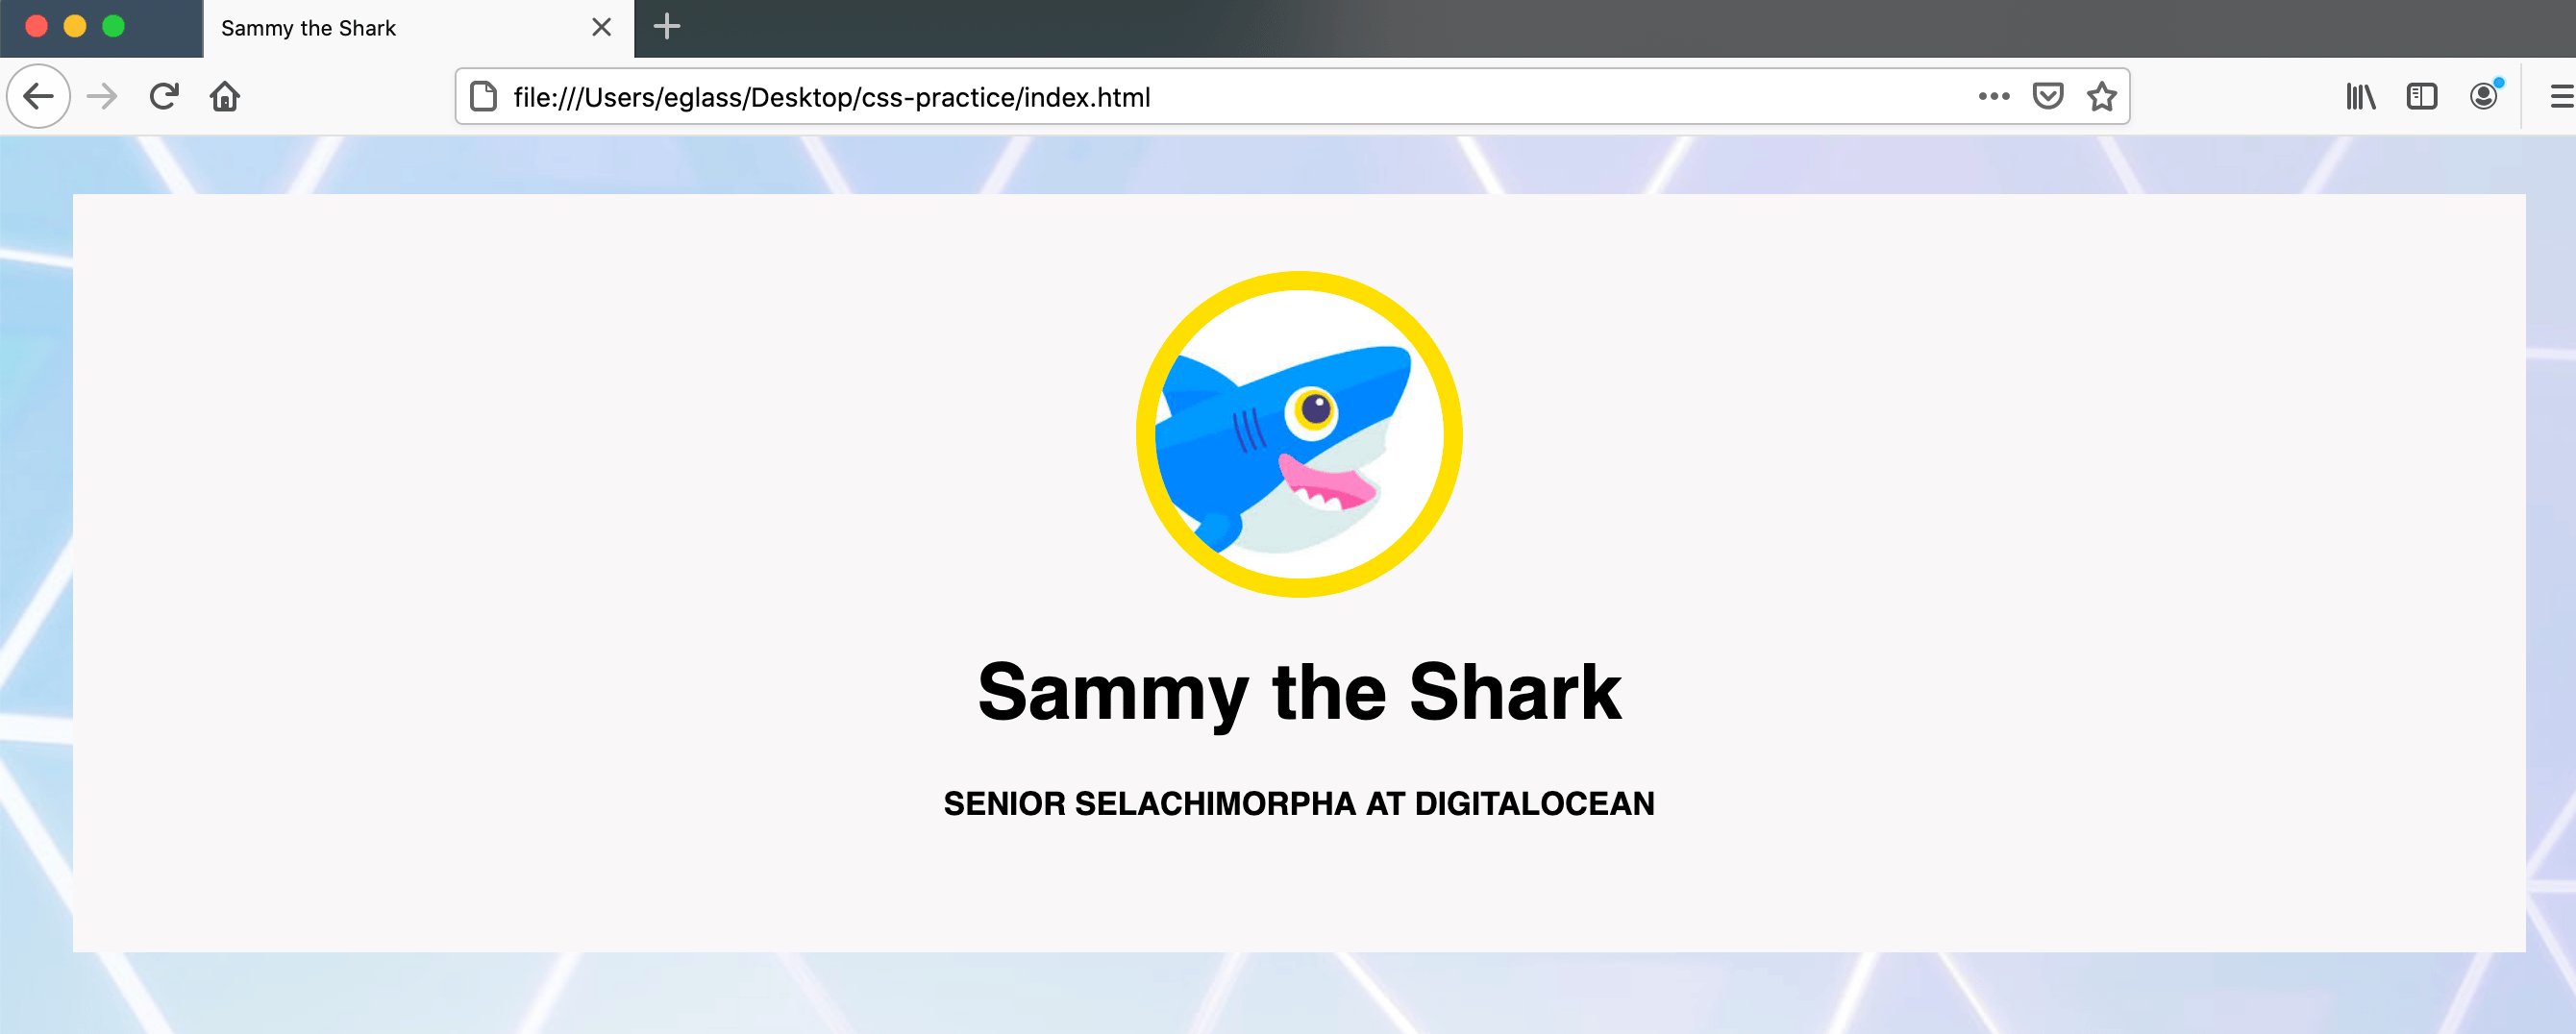
Save the index.html file and reload it in your browser. Your title, subtitle, and profile image should now be styled inside a <div> container according to the rules you declared with the header class:
Conclusion
You have now recreated the header section of the demonstration website on your webpage using HTML and CSS. You added and styled a title, subtitle, and profile image using <div> containers and CSS classes. If you are interested, you can continue to explore design possibilities by modifying your CSS rules for your header content.
When you are ready, you can continue to the next tutorial where you will recreate the second section of the demonstration site.
Thanks for learning with the DigitalOcean Community. Check out our offerings for compute, storage, networking, and managed databases.
Tutorial Series: How To Build a Website With CSS
This tutorial is part of a series on creating and customizing this website with CSS, a stylesheet language used to control the presentation of websites. You may follow the entire series to recreate the demonstration website and gain familiarity with CSS or use the methods described here for other CSS website projects.
Before proceeding, we recommend that you have some knowledge of HTML, the standard markup language used to display documents in a web browser. If you don’t have familiarity with HTML, you can follow the first ten tutorials of our series How To Build a Website With HTML before starting this series.
Browse Series: 20 tutorials
About the author
Open source advocate and lover of education, culture, and community.
Still looking for an answer?
This textbox defaults to using Markdown to format your answer.
You can type !ref in this text area to quickly search our full set of tutorials, documentation & marketplace offerings and insert the link!
 This work is licensed under a Creative Commons Attribution-NonCommercial- ShareAlike 4.0 International License.
Become a contributor for community
Get paid to write technical tutorials and select a tech-focused charity to receive a matching donation.

DigitalOcean Documentation
Full documentation for every DigitalOcean product.

Resources for startups and AI-native businesses
The Wave has everything you need to know about building a business, from raising funding to marketing your product.
The developer cloud
Scale up as you grow — whether you're running one virtual machine or ten thousand.

Start building today
From GPU-powered inference and Kubernetes to managed databases and storage, get everything you need to build, scale, and deploy intelligent applications.
