Not using Ubuntu 12.04?
Choose a different version or distribution.
Status: Deprecated
This article covers a version of Ubuntu that is no longer supported. If you are currently operate a server running Ubuntu 12.04, we highly recommend upgrading or migrating to a supported version of Ubuntu:
- Upgrade to Ubuntu 14.04.
- Upgrade from Ubuntu 14.04 to Ubuntu 16.04
- Migrate the server data to a supported version
Reason: Ubuntu 12.04 reached end of life (EOL) on April 28, 2017 and no longer receives security patches or updates. This guide is no longer maintained.
See Instead:
This guide might still be useful as a reference, but may not work on other Ubuntu releases. If available, we strongly recommend using a guide written for the version of Ubuntu you are using. You can use the search functionality at the top of the page to find a more recent version.
About phpMyAdmin
phpMyAdmin is an free web software to work with MySQL on the web—it provides a convenient visual front end to the MySQL capabilities.
Setup
The steps in this tutorial require the user to have root privileges on your virtual private server. You can see how to set that up here in steps 3 and 4.
Before working with phpMyAdmin you need to have LAMP installed on your server. If you don't have the Linux, Apache, MySQL, PHP stack on your server, you can find the tutorial for setting it up here.
Once you have the user and required software, you can start installing phpMyAdmin on your VPS!
Install phpMyAdmin
The easiest way to install phpmyadmin is through apt-get:
sudo apt-get install phpmyadmin apache2-utils
During the installation, phpMyAdmin will walk you through a basic configuration. Once the process starts up, follow these steps:
- Select Apache2 for the server
- Choose YES when asked about whether to Configure the database for phpmyadmin with dbconfig-common
- Enter your MySQL password when prompted
- Enter the password that you want to use to log into phpmyadmin
After the installation has completed, add phpmyadmin to the apache configuration.
sudo nano /etc/apache2/apache2.conf
Add the phpmyadmin config to the file.
Include /etc/phpmyadmin/apache.conf
Restart apache:
sudo service apache2 restart
You can then access phpmyadmin by going to youripaddress/phpmyadmin. The screen should look like this
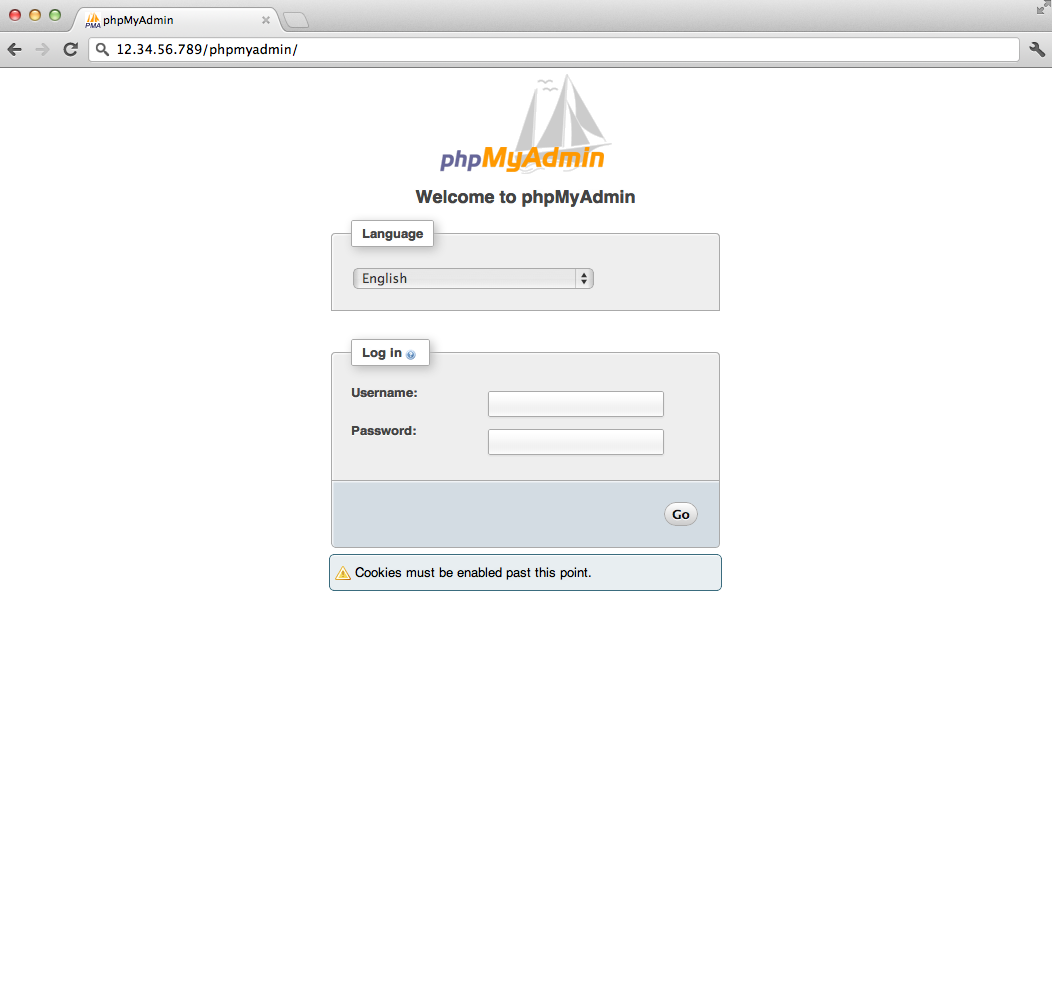
Security
Unfortunately older versions of phpMyAdmin have had serious security vulnerabilities including allowing remote users to eventually exploit root on the underlying virtual private server. One can prevent a majority of these attacks through a simple process: locking down the entire directory with Apache's native user/password restrictions which will prevent these remote users from even attempting to exploit older versions of phpMyAdmin.
Set Up the .htaccess File
To set this up start off by allowing the .htaccess file to work within the phpmyadmin directory. You can accomplish this in the phpmyadmin configuration file:
sudo nano /etc/phpmyadmin/apache.conf
Under the directory section, add the line “AllowOverride All” under “Directory Index”, making the section look like this:
<Directory /usr/share/phpmyadmin>
        Options FollowSymLinks
        DirectoryIndex index.php
        AllowOverride All
        [...]
Configure the .htaccess file
With the .htaccess file allowed, we can proceed to set up a native user whose login would be required to even access the phpmyadmin login page.
Start by creating the .htaccess page in the phpmyadmin directory:
sudo nano /usr/share/phpmyadmin/.htaccess
Follow up by setting up the user authorization within .htaccess file. Copy and paste the following text in:
AuthType Basic
AuthName "Restricted Files"
AuthUserFile /etc/apache2/.phpmyadmin.htpasswd
Require valid-user
Below you’ll see a quick explanation of each line
- AuthType: This refers to the type of authentication that will be used to the check the passwords. The passwords are checked via HTTP and the keyword Basic should not be changed.
- AuthName: This is text that will be displayed at the password prompt. You can put anything here.
- AuthUserFile: This line designates the server path to the password file (which we will create in the next step.)
- Require valid-user: This line tells the .htaccess file that only users defined in the password file can access the phpMyAdmin login screen.
Create the htpasswd file
Now we will go ahead and create the valid user information.
Start by creating a htpasswd file. Use the htpasswd command, and place the file in a directory of your choice as long as it is not accessible from a browser. Although you can name the password file whatever you prefer, the convention is to name it .htpasswd.
sudo htpasswd -c /etc/apache2/.phpmyadmin.htpasswd username
A prompt will ask you to provide and confirm your password.
Once the username and passwords pair are saved you can see that the password is encrypted in the file.
FInish up by restarting apache:
sudo service apache2 restart
Accessing phpMyAdmin
phpMyAdmin will now be much more secure since only authorized users will be able to reach the login page. Accessing youripaddress/phpmyadmin should display a screen like this.
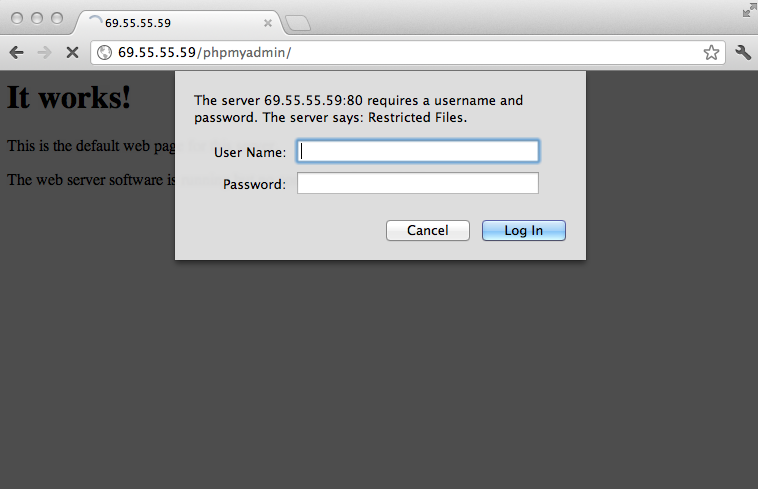
Fill it in with the username and password that you generated. After you login you can access phpmyadmin with the MySQL username and password.
Thanks for learning with the DigitalOcean Community. Check out our offerings for compute, storage, networking, and managed databases.
About the author
Former Director of Community at DigitalOcean. Expert in cloud topics including LAMP Stack, CentOS, Ubuntu, MySQL, SSL certificates, and more.
Still looking for an answer?
This textbox defaults to using Markdown to format your answer.
You can type !ref in this text area to quickly search our full set of tutorials, documentation & marketplace offerings and insert the link!
Just a few comments for anyone who might be struggling:
Configure the .htaccess file: AuthUserFile /path/to/passwords needs to be: AuthUserFile /path/to/passwords/.htpasswd
Create the htpasswd file: sudo htpasswd -c /path/to/passwords/.htpasswd username
Accessing phpMyAdmin: Before this will work, you need to restart the server again sudo service apache2 restart
Thank you for the comment and clarification. I have changed a few of the commands to make it clearer above.
Thanks for the quick update. Really great docs on the community and great service. Keep up the good work.
Hi,
i think this step:
“After the installation has completed, add phpmyadmin to the apache configuration in “/etc/apache2/apache2.conf” Include /etc/phpmyadmin/apache.conf”
should have this command: sudoedit /etc/apache2/apache2.conf
Thanks for your comment! I have updated the article to explicitly include a step on editing the apache configuration.
In Nginx you would have to set it up to parse PHP as by default Nginx is just a webserver which doesn’t have the ability to process PHP.
after I use this “sudo htpasswd -c /path/to/passwords/.htpasswd username” I got this message “cannot create file /path/to/passwords/.htpasswd”. I thought I followed the steps.
 This work is licensed under a Creative Commons Attribution-NonCommercial- ShareAlike 4.0 International License.
Become a contributor for community
Get paid to write technical tutorials and select a tech-focused charity to receive a matching donation.

DigitalOcean Documentation
Full documentation for every DigitalOcean product.

Resources for startups and AI-native businesses
The Wave has everything you need to know about building a business, from raising funding to marketing your product.
The developer cloud
Scale up as you grow — whether you're running one virtual machine or ten thousand.

Start building today
From GPU-powered inference and Kubernetes to managed databases and storage, get everything you need to build, scale, and deploy intelligent applications.
