
Introduction
Fathom Analytics is an open-source, self-hosted web analytics application that focuses on simplicity and privacy. It is written in Go and ships as a single binary file, making installation relatively straightforward.
In this tutorial you will install and configure Fathom, then install Nginx to act as a reverse proxy for the Fathom app. Finally, you will enable secure HTTPS connections by using Certbot to download and configure SSL certificates from the Let’s Encrypt Certificate Authority.
Prerequisites
In order to complete this tutorial, you’ll first need the following:
- An Ubuntu 20.04 server, with the UFW firewall enabled and a non-root user with
sudoprivileges configured. Please read our Initial Server Setup with Ubuntu 20.04 to learn more about setting up these requirements - A domain name pointed at your server’s public IP address. This should be something like
example.comorfathom.example.com, for instance. If you’re using DigitalOcean, please see our DNS Quickstart for information on creating domain resources in our control panel.
When you’ve satisfied all the prerequisites, proceed to Step 1, where you’ll download and install Fathom.
Step 1 — Downloading Fathom
To install the Fathom software, you’ll first download the latest release, then extract the executable file to the /usr/local/bin directory.
First, move to a directory you can write to. The /tmp directory is a good choice:
- cd /tmp
In your web browser, visit the GitHub page for Fathom’s latest software release, then find the file with a name like fathom_1.2.1_linux_amd64.tar.gz. The version number may be different.
Right-click on the link to the file, then select Copy Link (or similar, depending on your browser).
Use the curl command to download the file from the link you just copied:
- curl -L -O https://github.com/usefathom/fathom/releases/download/v1.2.1/fathom_1.2.1_linux_amd64.tar.gz
You should now have a fathom_1.2.1_linux_amd64.tar.gz file in your /tmp directory. Use the tar command to extract the fathom executable and move it to /usr/local/bin:
- sudo tar -C /usr/local/bin/ -xzf fathom*.tar.gz fathom
The sudo command is necessary because /usr/local/bin is a protected directory, so you need superuser privileges to write to it.
Now use sudo and chmod to update the permissions of the fathom binary:
- sudo chmod +x /usr/local/bin/fathom
This makes fathom executable. To test it out, run fathom --version:
- fathom --version
OutputFathom version 1.2.1, commit 8f7c6d2e45ebb28651208e2a7320e29948ecdb2c, built at 2018-11-30T09:21:37Z
The command will print out Fathom’s version number and some additional details. You’ve successfully downloaded and installed the Fathom binary. Next you’ll configure and run Fathom for the first time.
Step 2 — Configuring and Running Fathom
Before configuring Fathom you’re going to create a new fathom user on your system. This new user account will be used to run the Fathom server, which will help isolate and secure the service.
Make a new user named fathom with the adduser command:
- sudo adduser --system --group --home /opt/fathom fathom
This creates a special --system user, meaning it has no password and cannot log in like a normal user could. We also make a fathom group using the --group flag, and a home directory in /opt/fathom.
Move to the fathom user’s home directory now:
- cd /opt/fathom
Now we have to execute a few commands that need to be run as the fathom user. To do this, open a bash shell as the fathom user using sudo:
- sudo -u fathom bash
Your prompt will change to something like fathom@host:~$. Until we exit this shell, every command we run will be run as the fathom user.
Now you’re ready to set up a configuration file for Fathom. One item we’ll need in this configuration file is a random string that Fathom will use for signing and encryption purposes. Use the openssl command to generate a random string now:
- openssl rand --base64 32
OutputiKo/rYHFa2hDINjgCcIeeCe9pNglQreQrzrs+qK5tYg=
Copy the string to your clipboard, or note it down on a temporary scratch document of some sort, then open a new .env file for the configuration:
- nano /opt/fathom/.env
This will open a new blank file in the nano text editor. Feel free to use your favorite editor instead.
Paste the following into the file, making sure to update the random string to the one you generated previously:
FATHOM_SERVER_ADDR="127.0.0.1:8080"
FATHOM_DATABASE_DRIVER="sqlite3"
FATHOM_DATABASE_NAME="fathom.db"
FATHOM_SECRET="your_random_string_here"
This configuration first specifies that the server should only listen on localhost (127.0.0.1) port 8080, and that it should use an SQLite database file called fathom.db.
Save and close the file. In nano you can press CTRL+O then ENTER to save, then press CTRL+X to exit.
Now that the database is configured, we can add the first user to our Fathom instance:
- fathom user add --email="your_email" --password="your_password"
Since this is the first time you’re running fathom with the database configured, you should notice some initial database migrations happening:
OutputINFO[0000] Fathom version 1.2.1, commit 8f7c6d2e45ebb28651208e2a7320e29948ecdb2c, built at 2018-11-30T09:21:37Z
INFO[0000] Configuration file: /opt/fathom/.env
INFO[0000] Connected to sqlite3 database: /opt/fathom/fathom.db
INFO[0000] Applied 26 database migrations!
INFO[0000] Created user sammy@example.com
Your fathom.db database file is now created and the user is added.
Start the Fathom server now to test it out:
- fathom server
OutputINFO[0000] Fathom version 1.2.1, commit 8f7c6d2e45ebb28651208e2a7320e29948ecdb2c, built at 2018-11-30T09:21:37Z
INFO[0000] Configuration file: /opt/fathom/.env
INFO[0000] Connected to sqlite3 database: /opt/fathom/fathom.db
In a second terminal connected to your server, fetch the homepage of your Fathom instance using curl:
- curl localhost:8080
Output<!DOCTYPE html>
<html class="no-js" lang="en">
<head>
  <title>Fathom - simple website analytics</title>
  <link href="assets/css/styles.css?t=1543569696966" rel="stylesheet">
. . .
You should see a few lines of HTML code printed to your screen. This shows that the server is up and responding to requests on localhost.
Back in your first terminal, exit the fathom server process by pressing CTRL+C.
You’re all done running commands as the fathom user, so exit that session as well:
- exit
Your shell prompt should return to normal.
Fathom is now fully configured and you’ve successfully run it manually from the command line. Next we’ll set Fathom up to run as a Systemd service.
Step 3 — Setting Up Fathom as a Systemd Service
To run fathom serve at all times, even when you’re not logged into the server, you’ll set it up as a service with Systemd. Systemd is a service manager that handles starting, stopping, and restarting services on Ubuntu and many other Linux distributions.
The fathom.service file you create will contain all the configuration details that Systemd needs to properly run the server. Open the new file now:
- sudo nano /etc/systemd/system/fathom.service
Add the following into the file:
[Unit]
Description=Fathom Analytics server
Requires=network.target
After=network.target

[Service]
Type=simple
User=fathom
Group=fathom
Restart=always
RestartSec=3
WorkingDirectory=/opt/fathom
ExecStart=/usr/local/bin/fathom server

[Install]
WantedBy=multi-user.target
This file specifies when the service should be launched (After=network.target, meaning after the network is up), that it should be run as the fathom user and group, that Systemd should always try to restart the process if it exits (Restart=always), that it should be run from the /opt/fathom directory, and what command to use to run the server (ExecStart=/usr/local/bin/fathom server).
Save and close the file. Reload the Systemd config:
- sudo systemctl daemon-reload
Enable the service:
- sudo systemctl enable fathom.service
Enabling the service means that Systemd will start it automatically during system startup. We’ll also need to start the service manually now, just this once:
- sudo systemctl start fathom
Note in the previous command that you can leave off the .service portion of the service name. Finally, check the status of the service to make sure it’s running:
- sudo systemctl status fathom
Output● fathom.service - Fathom Analytics server
     Loaded: loaded (/etc/systemd/system/fathom.service; enabled; vendor preset: enabled)
     Active: active (running) since Wed 2021-11-03 15:32:45 UTC; 13s ago
   Main PID: 3748 (fathom)
      Tasks: 5 (limit: 1136)
     Memory: 10.3M
     CGroup: /system.slice/fathom.service
             └─3748 /usr/local/bin/fathom server

Nov 03 15:32:45 ubuntu-fathom systemd[1]: Started Fathom Analytics server.
Nov 03 15:32:46 ubuntu-fathom fathom[3748]: time="2021-11-03T15:32:46Z" level=info msg="Fathom version 1.2.1, commit 8f>
Nov 03 15:32:46 ubuntu-fathom fathom[3748]: time="2021-11-03T15:32:46Z" level=info msg="Configuration file: /opt/fathom>
Nov 03 15:32:46 ubuntu-fathom fathom[3748]: time="2021-11-03T15:32:46Z" level=info msg="Connected to sqlite3 database: >
The service is up and running again on localhost port 8080. Next we’ll set up Nginx as a reverse proxy to expose the Fathom service to the outside world.
Step 4 — Installing and Configuring Nginx
Putting a web server such as Nginx in front of your application server can improve performance by offloading caching, compression, and static file serving to a more efficient process. We’re going to install Nginx and configure it to reverse proxy requests to Fathom, meaning it will take care of handing requests from your users to Fathom and back again.
First, refresh your package list, then install Nginx using apt:
- sudo apt update
- sudo apt install nginx
Allow public traffic to ports 80 and 443 (HTTP and HTTPS) using the “Nginx Full” UFW application profile:
- sudo ufw allow "Nginx Full"
OutputRule added
Rule added (v6)
Next, open up a new Nginx configuration file in the /etc/nginx/sites-available directory. We’ll call ours fathom.conf but you could use a different name:
- sudo nano /etc/nginx/sites-available/fathom.conf
Paste the following into the new configuration file, being sure to replace your_domain_here with the domain that you’ve configured to point to your Fathom server. This should be something like fathom.example.com, for instance:
server {
    listen       80;
    listen       [::]:80;
    server_name  your_domain_here;

    access_log  /var/log/nginx/fathom.access.log;
    error_log   /var/log/nginx/fathom.error.log;

    location / {
      proxy_pass http://localhost:8080;
      proxy_set_header X-Real-IP $remote_addr;
      proxy_set_header X-Forwarded-For $remote_addr;
      proxy_set_header Host $host;
  }
}
This configuration is HTTP-only for now. We’ll let Certbot take care of configuring SSL in the next step. The rest of the config sets up logging locations and then passes all traffic along to our Fathom server at http://localhost:8080, adding a few important proxy forwarding headers along the way.
Save and close the file, then enable the configuration by linking it into /etc/nginx/sites-enabled/:
- sudo ln -s /etc/nginx/sites-available/fathom.conf /etc/nginx/sites-enabled/
Use nginx -t to verify that the configuration file syntax is correct:
- sudo nginx -t
Outputnginx: the configuration file /etc/nginx/nginx.conf syntax is ok
nginx: configuration file /etc/nginx/nginx.conf test is successful
And finally, reload the nginx service to pick up the new configuration:
- sudo systemctl reload nginx
Your Fathom site should now be available on plain HTTP. Load http://your_domain_here and it will look like this:
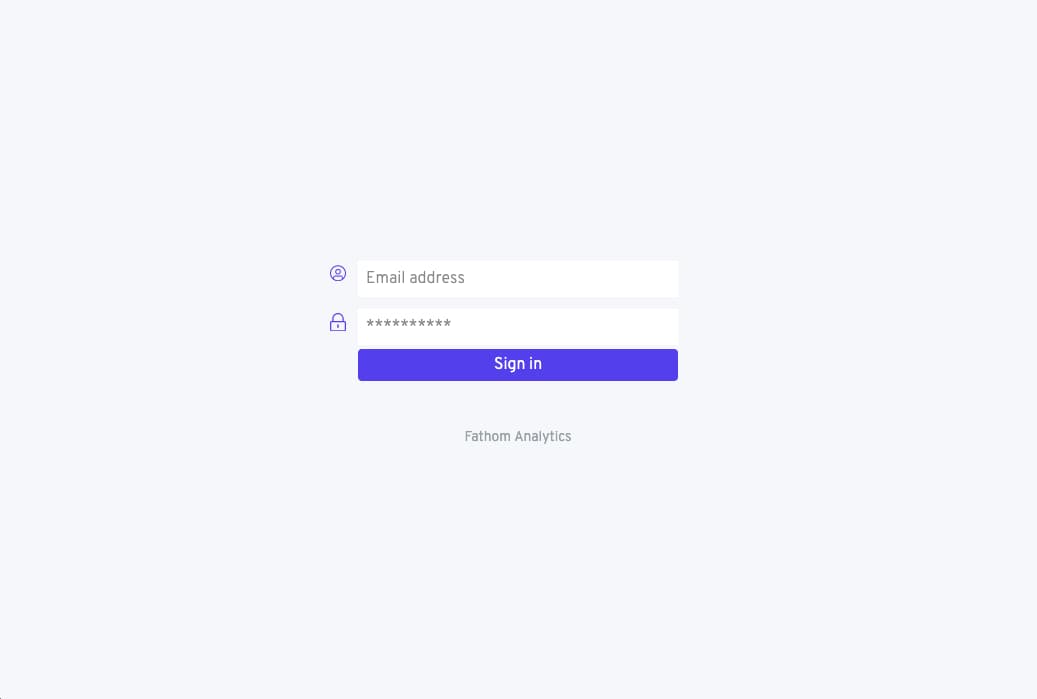
Now that you have your site up and running over HTTP, it’s time to secure the connection with Certbot and Let’s Encrypt certificates.
Step 5 — Installing Certbot and Setting Up SSL Certificates
Thanks to Certbot and the Let’s Encrypt free certificate authority, adding SSL encryption to our Fathom app will take only two commands.
First, install Certbot and its Nginx plugin:
- sudo apt install certbot python3-certbot-nginx
Next, run certbot in --nginx mode, and specify the same domain you used in the Nginx server_name config:
- sudo certbot --nginx -d your_domain_here
You’ll be prompted to agree to the Let’s Encrypt terms of service, and to enter an email address.
Afterwards, you’ll be asked if you want to redirect all HTTP traffic to HTTPS. It’s up to you, but this is generally recommended and safe to do.
After that, Let’s Encrypt will confirm your request and Certbot will download your certificate:
OutputCongratulations! You have successfully enabled https://Fathom.example.com

You should test your configuration at:
https://www.ssllabs.com/ssltest/analyze.html?d=Fathom.example.com
- - - - - - - - - - - - - - - - - - - - - - - - - - - - - - - - - - - - - - - -

IMPORTANT NOTES:
 - Congratulations! Your certificate and chain have been saved at:
   /etc/letsencrypt/live/Fathom.example.com/fullchain.pem
   Your key file has been saved at:
   /etc/letsencrypt/live/Fathom.example.com/privkey.pem
   Your cert will expire on 2021-12-06. To obtain a new or tweaked
   version of this certificate in the future, simply run certbot again
   with the "certonly" option. To non-interactively renew *all* of
   your certificates, run "certbot renew"
 - Your account credentials have been saved in your Certbot
   configuration directory at /etc/letsencrypt. You should make a
   secure backup of this folder now. This configuration directory will
   also contain certificates and private keys obtained by Certbot so
   making regular backups of this folder is ideal.
 - If you like Certbot, please consider supporting our work by:

   Donating to ISRG / Let's Encrypt:   https://letsencrypt.org/donate
   Donating to EFF:                    https://eff.org/donate-le
Certbot will automatically reload Nginx to pick up the new configuration and certificates. Reload your site and it should switch you over to HTTPS automatically if you chose the redirect option.
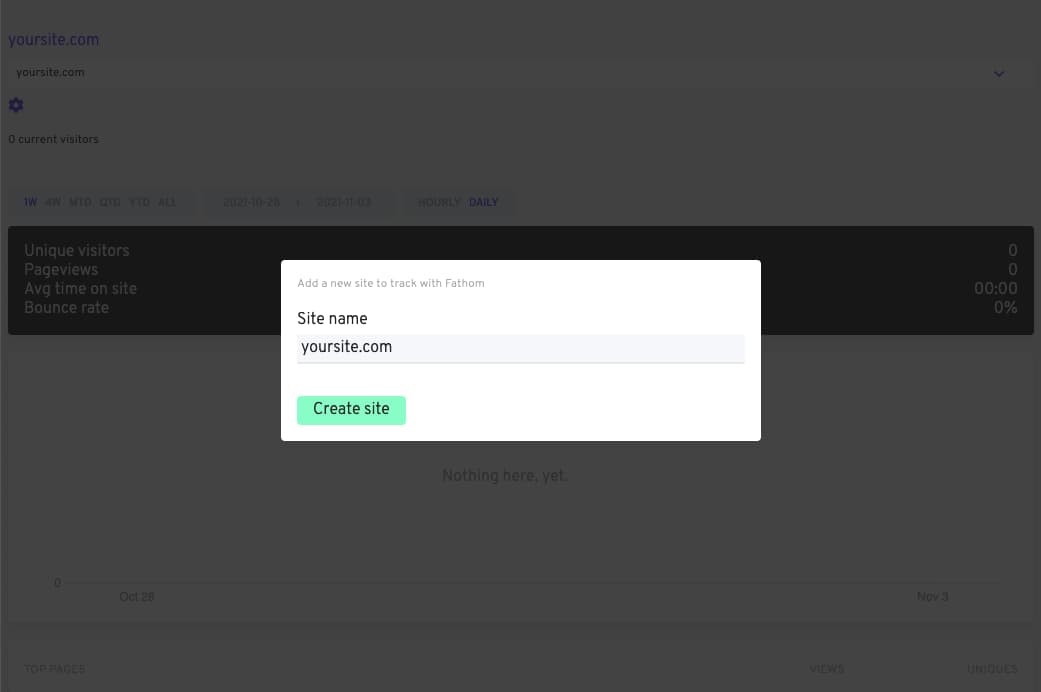
Your site is now secure and it’s safe to log in with the user details you set up in Step 2.
When you successfully log in, you’ll see a prompt to get your first website set up with Fathom:
Once that is done you’ll see the (currently empty) dashboard for the site you just set up:
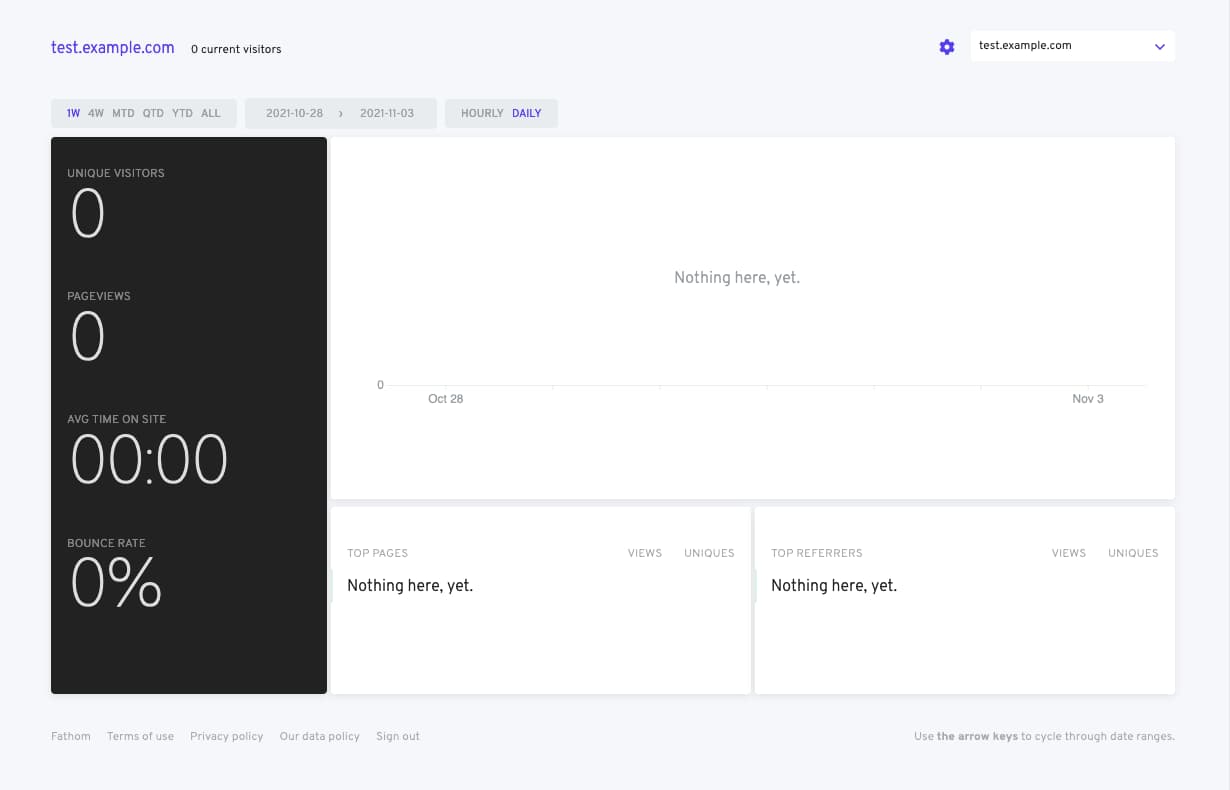
You have successfully installed and secured your Fathom analytics software.
Conclusion
In this tutorial, you downloaded, installed, and configured the Fathom Analytics app, then set up an Nginx reverse proxy and secured it using Let’s Encrypt SSL certificates.
You’re now ready to finish setting up your website by adding the Fathom Analytics tracking script to it. Please see the official Fathom Analytics documentation for further information on using the software and setting up your site.
Thanks for learning with the DigitalOcean Community. Check out our offerings for compute, storage, networking, and managed databases.
About the author
Senior Technical Writer at DigitalOcean
Still looking for an answer?
This textbox defaults to using Markdown to format your answer.
You can type !ref in this text area to quickly search our full set of tutorials, documentation & marketplace offerings and insert the link!
 This work is licensed under a Creative Commons Attribution-NonCommercial- ShareAlike 4.0 International License.
Become a contributor for community
Get paid to write technical tutorials and select a tech-focused charity to receive a matching donation.

DigitalOcean Documentation
Full documentation for every DigitalOcean product.

Resources for startups and AI-native businesses
The Wave has everything you need to know about building a business, from raising funding to marketing your product.
The developer cloud
Scale up as you grow — whether you're running one virtual machine or ten thousand.

Start building today
From GPU-powered inference and Kubernetes to managed databases and storage, get everything you need to build, scale, and deploy intelligent applications.
