Not using CentOS 7?
Choose a different version or distribution.
Introduction
Nginx is a popular high-performance web server. This tutorial will teach you how to install and start Nginx on your CentOS 7 server.
Prerequisites
The steps in this tutorial require a non-root user with sudo privileges. See our Initial Server Setup with CentOS 7 tutorial to learn how to set up this user.
Step 1 — Adding the EPEL Software Repository
To add the CentOS 7 EPEL repository, first connect to your CentOS 7 machine via SSH, then use the yum command to install the extended package repository:
- sudo yum install epel-release
You’ll be prompted to verify that you want to install the software. Type y then ENTER to continue.
Next, you’ll install the actual nginx software package.
Step 2 — Installing Nginx
Now that the EPEL repository is installed on your server, install Nginx using the following yum command:
- sudo yum install nginx
Again, answer yes to the verification prompt, then Nginx will finish installing.
Step 3 — Starting Nginx
Nginx will not start automatically after it is installed. To get Nginx running, use the systemctl command:
- sudo systemctl start nginx
You can check the status of the service with systemctl status:
- sudo systemctl status nginx
Output● nginx.service - The nginx HTTP and reverse proxy server
   Loaded: loaded (/usr/lib/systemd/system/nginx.service; disabled; vendor preset: disabled)
   Active: active (running) since Mon 2022-01-24 20:14:24 UTC; 5s ago
  Process: 1898 ExecStart=/usr/sbin/nginx (code=exited, status=0/SUCCESS)
  Process: 1896 ExecStartPre=/usr/sbin/nginx -t (code=exited, status=0/SUCCESS)
  Process: 1895 ExecStartPre=/usr/bin/rm -f /run/nginx.pid (code=exited, status=0/SUCCESS)
 Main PID: 1900 (nginx)
   CGroup: /system.slice/nginx.service
           ├─1900 nginx: master process /usr/sbin/nginx
           └─1901 nginx: worker process

Jan 24 20:14:24 centos-updates systemd[1]: Starting The nginx HTTP and reverse proxy server...
Jan 24 20:14:24 centos-updates nginx[1896]: nginx: the configuration file /etc/nginx/nginx.conf syntax is ok
Jan 24 20:14:24 centos-updates nginx[1896]: nginx: configuration file /etc/nginx/nginx.conf test is successful
Jan 24 20:14:24 centos-updates systemd[1]: Started The nginx HTTP and reverse proxy server.
The service should be active.
If you are running a firewall, run the following commands to allow HTTP and HTTPS traffic:
- sudo firewall-cmd --permanent --zone=public --add-service=http
- sudo firewall-cmd --permanent --zone=public --add-service=https
- sudo firewall-cmd --reload
You can do a spot check right away to verify that everything went as planned by visiting your server’s public IP address in your web browser:
http://server_domain_name_or_IP/
You will see the default CentOS 7 Nginx web page, which is there for informational and testing purposes. It should look something like this:
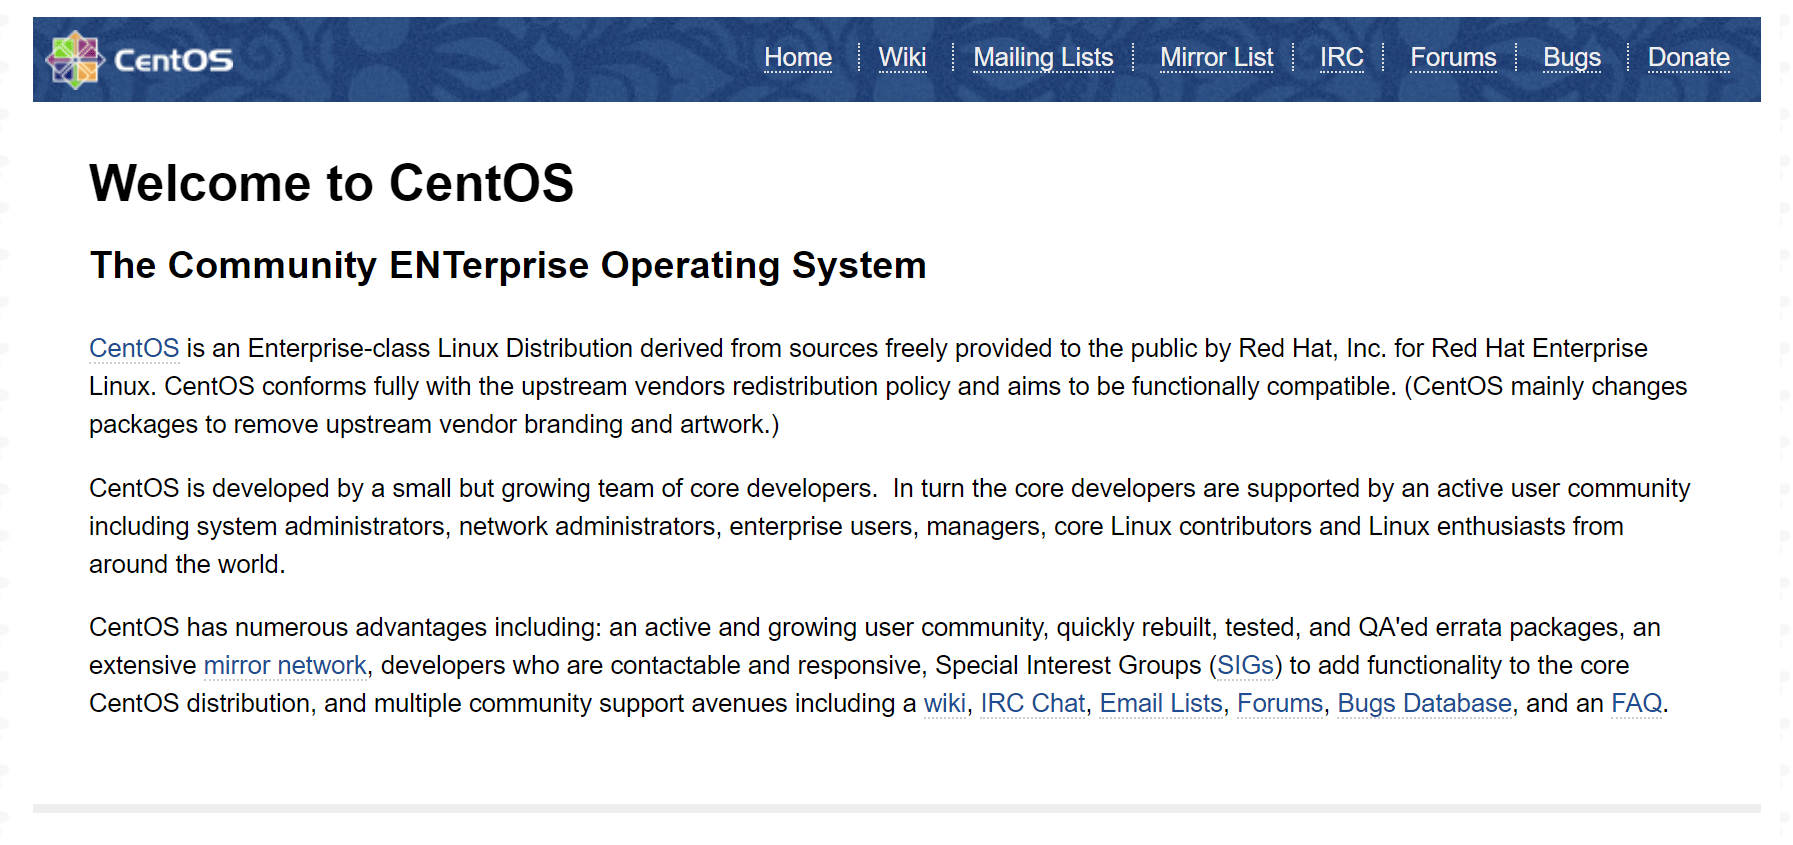
If you see this page, then your web server is now correctly installed.
Note: To find your server’s public IP address, find the network interfaces on your machine by typing:
- ip addr
Output1. lo: <LOOPBACK,UP,LOWER_UP> mtu 65536 qdisc noqueue state UNKNOWN

. . .
2: eth0: <BROADCAST,MULTICAST,UP,LOWER_UP> mtu 1500 qdisc pfifo_fast state UP qlen 1000

. . .
You may see a number of interfaces here depending on the hardware available on your server. The lo interface is the local loopback interface, which is not the one we want. In our example above, the eth0 interface is what we want.
Once you have the interface name, you can run the following command to reveal your server’s public IP address. Substitute the interface name you found above:
- ip addr show eth0 | grep inet | awk '{ print $2; }' | sed 's/\/.*$//'
Before continuing, you will probably want to enable Nginx to start when your system boots. To do so, enter the following command:
- sudo systemctl enable nginx
Nginx is now installed and running.
Step 4 — Exploring and Configuring Nginx
If you want to start serving your own pages or application through Nginx, you will want to know the locations of the Nginx configuration files and default server root directory.
Default Server Root
The default server root directory is /usr/share/nginx/html. Files that are placed in there will be served on your web server. This location is specified in the default server block configuration file that ships with Nginx, which is located at /etc/nginx/conf.d/default.conf.
Server Block Configuration
Any additional server blocks, known as Virtual Hosts in Apache, can be added by creating new configuration files in /etc/nginx/conf.d. Files that end with .conf in that directory will be loaded when Nginx is started.
Nginx Global Configuration
The main Nginx configuration file is located at /etc/nginx/nginx.conf. This is where you can change settings like the user that runs the Nginx daemon processes, and the number of worker processes that get spawned when Nginx is running, among other things.
Conclusion
Once you have Nginx installed on your CentOS 7 server, you can go on to install the full LEMP Stack on CentOS 7.
Thanks for learning with the DigitalOcean Community. Check out our offerings for compute, storage, networking, and managed databases.
About the author
Software Engineer @ DigitalOcean. Former Señor Technical Writer (I no longer update articles or respond to comments). Expertise in areas including Ubuntu, PostgreSQL, MySQL, and more.
Still looking for an answer?
This textbox defaults to using Markdown to format your answer.
You can type !ref in this text area to quickly search our full set of tutorials, documentation & marketplace offerings and insert the link!
Thanks for the writeup!
There seems to be a typo here:
sudo servicectl enable nginx.service
(should be systemctl)
Thanks for the guide, personally I prefer source compiled Nginx for the flexibility in installing additional Nginx modules like ngx_pagespeed etc https://community.centminmod.com/threads/centmin-mod-nginx-lnmp-install-on-centos-7-0-kvm-vps.1202/
Mitchell,
You forgot to mention adjusting the firewall rules. Centos and Redhat enable the firewalls by default and they will block access to port 80.
So users will need add a iptables rule of firewalld rule depending on the version of Cent
For some reason, even though I’m definitely using Centos 7, the nginx default page says “Welcome to nginx on Fedora”…
I tried it using the default yum repo as well as the one mentioned in the article.
I know it’s probably nothing but just a bit weird- anyone else experienced this? I can’t imagine my server will up and explode because of it, but it’s a constant worry :P
How to stop Nginx on CentOS 7 ? And What is the best way to reload Nginx config without restart?
Thanks
I find another way of installing Nginx. Centmin mod is a shell script which has ability to install Nginx, MariaDB/MySQL, PHP and DNS on a server. I installed Centmin mod using this article.
I tried following the instructions aboyve, however, i do get this ( after the final step ):
Job for nginx.service failed because the control process exited with error code. See “systemctl status nginx.service” and “journalctl -xe” for details.
Anyone on how to solve this issue ?
 This work is licensed under a Creative Commons Attribution-NonCommercial- ShareAlike 4.0 International License.
Become a contributor for community
Get paid to write technical tutorials and select a tech-focused charity to receive a matching donation.

DigitalOcean Documentation
Full documentation for every DigitalOcean product.

Resources for startups and AI-native businesses
The Wave has everything you need to know about building a business, from raising funding to marketing your product.
The developer cloud
Scale up as you grow — whether you're running one virtual machine or ten thousand.

Start building today
From GPU-powered inference and Kubernetes to managed databases and storage, get everything you need to build, scale, and deploy intelligent applications.
