
Status: Deprecated
This article covers a version of Ubuntu that is no longer supported. If you are currently operate a server running Ubuntu 12.04, we highly recommend upgrading or migrating to a supported version of Ubuntu:
- Upgrade to Ubuntu 14.04.
- Upgrade from Ubuntu 14.04 to Ubuntu 16.04
- Migrate the server data to a supported version
Reason: Ubuntu 12.04 reached end of life (EOL) on April 28, 2017 and no longer receives security patches or updates. This guide is no longer maintained.
See Instead: This guide might still be useful as a reference, but may not work on other Ubuntu releases. If available, we strongly recommend using a guide written for the version of Ubuntu you are using. You can use the search functionality at the top of the page to find a more recent version.
Introduction
In this article, Openfire XMPP server will be installed on a Ubuntu server. This article has been tested using Ubuntu 12.04, but it should work on all Debian-based systems. For this article, I’ll assume your Droplet runs on the IP 1.1.1.1.
What is XMPP?
The full name of XMPP is Extensible Messaging and Presence Protocol. It is a real-time communication protocol (which includes chat) based on XML. It has long been known as Jabber; however, as Jabber was not the only software relying on XMPP, it has been renamed to XMPP. If you want to know more about XMPP, please see their official website.
What is Openfire?
Openfire is a real time collaboration (RTC) server licensed under the Open Source Apache License. It uses the XMPP protocol and can be managed via a web interface. It is easy to setup and configure, but has a high level of security and performance. It runs using Java.
*It should be noted that with Openfire, no chat is possible yet. A client is needed: Openfire cannot be used alone, just like web servers need a browser.
Installing
Before installing Openfire, Java should be installed. First run a quick update on apt-get:
sudo apt-get update
Now check whether Java has already been installed by executing the following command:
java -version
If it returns “The program java can be found in the following packages”, Java hasn’t been installed yet so execute the following command:
sudo apt-get install default-jre
Now you’ll need to download Openfire. Using your browser on your own PC, visit the download section on the Openfire website. Click Linux and then click the Debian package, which will be named something like openfire_3.8.2_all.deb. On the next page, cancel the download and copy the link from click here. Now download it onto your virtual server using:
wget -O openfire.deb <copied link>
At time of writing, this would be:
wget -O openfire.deb http://www.igniterealtime.org/downloadServlet?filename=openfire/openfire_3.8.2_all.deb
This will download the Openfire Debian package to openfire.deb. Now install it:
sudo dpkg --install openfire.deb
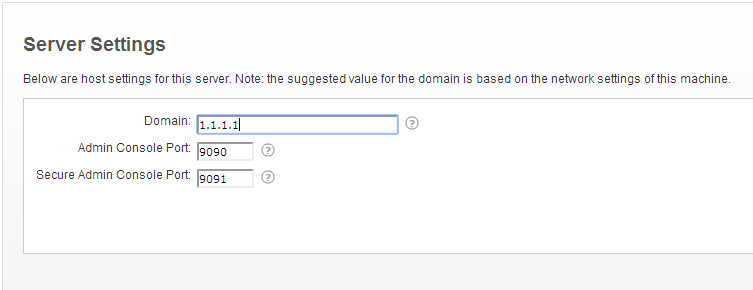
Openfire has now been installed and has already been started. Now visit http://1.1.1.1:9090/. Follow the setup wizard. On the second page I suggest you choose the domain name your server will be running on as Domain. Otherwise, set it to the Droplet’s public IP:
Now go to the next step. If you don’t have an external connection you want to use for the server, leave the database settings to embedded Database. On the next page, you’ll probably want to select Default as for the other systems you need to setup LDAP or Clearspace.
After the setup procedure finishes, you can login to the admin console using the username admin and the password you just chose.
Basic settings
Users
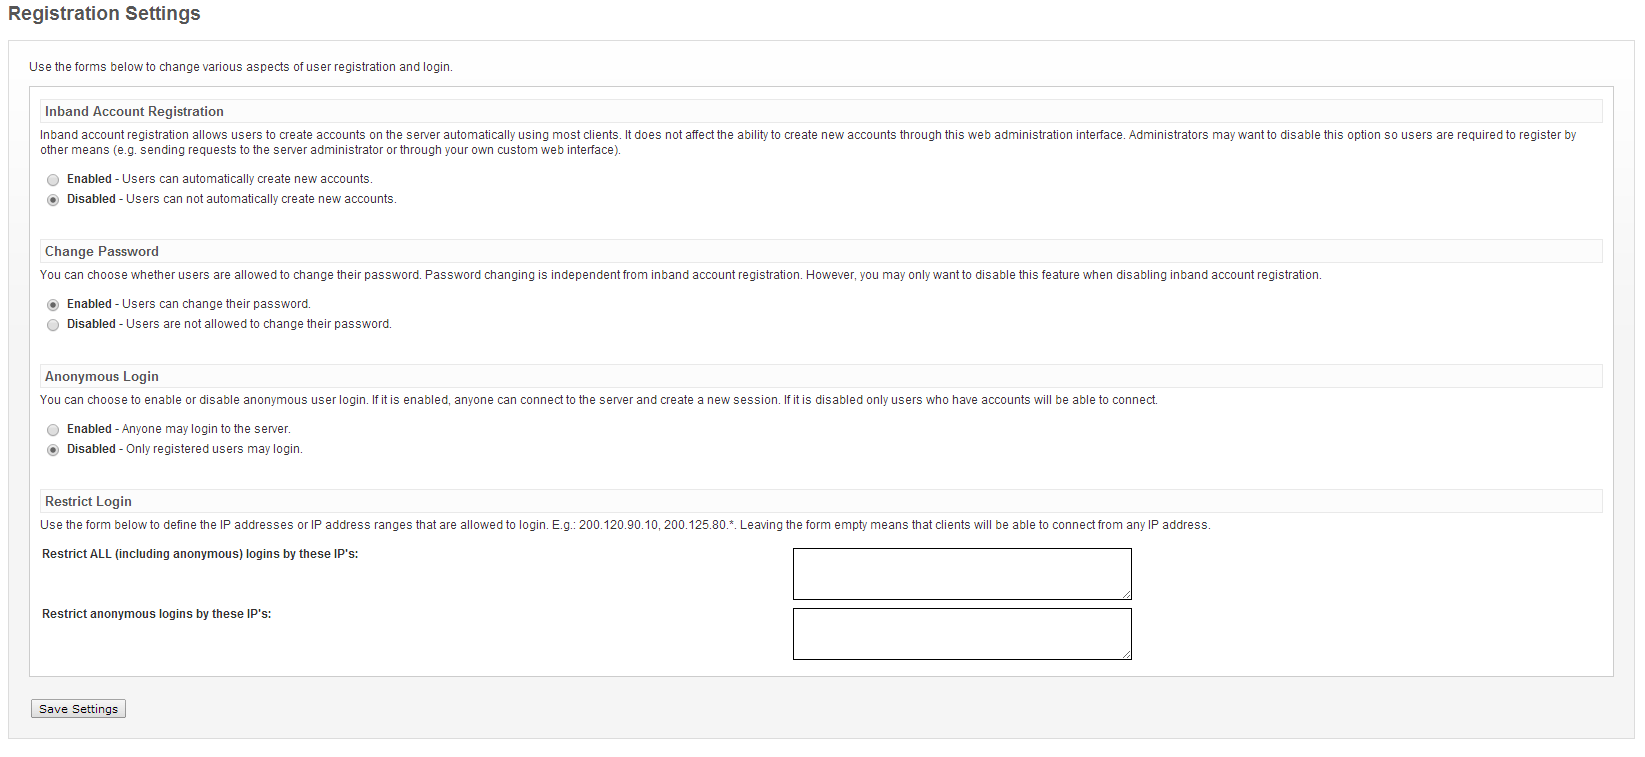
If you want to have a secured server where only logged-in users can connect, visit Server Settings -> Registration & Login and disable the appropriate options. For a fully secured server, this will look like this:
The next thing that needs to be done is adding users. Visit Users/Groups and click Create New User and fill out the form.
Group Chat
Group chat rooms can be created by visiting Group Chat -> Create New Room. The Room ID will be suffixed by @conference.HOSTNAME. The @conference can be changed by visiting Group Chat Settings. Here a new service can be created. If you now want to create a new room, you will be asked which service to use. These names are very important for clients, so make sure that they make sense.
Plugins
Plugins can also be installed by going to Plugins. There are a few already listed if you visit Available Plugins, and they can extend the server. Just click the button under Install to install a plugin and it should be installed within a few seconds. All plugins provide different options, so I won’t go into that.
Clients
To connect to your VPS, there are a lot of clients available. An incomplete list can be found at the website of the XMPP Standards Foundation. The client provided by the same company that created the Openfire server is Spark. Use whichever client fits your needs the best.
If you are writing your own client, you can use a library provided by the same company that made Openfire, Ignite Realtime. They have a library for Java called Smack. There are a lot of libraries for other languages on the internet.
Starting And Stopping Openfire
Openfire should start automatically when you start the Droplet.
If you want to stop Openfire, you can do that using:
sudo /etc/init.d/openfire stop
To start it again, execute:
sudo /etc/init.d/openfire start
<div class=“author”>Submitted by: <a href=“http://koenv.com”>Koen Vlaswinkel</a></div>
Thanks for learning with the DigitalOcean Community. Check out our offerings for compute, storage, networking, and managed databases.
About the author
Tutorial writer
Still looking for an answer?
This textbox defaults to using Markdown to format your answer.
You can type !ref in this text area to quickly search our full set of tutorials, documentation & marketplace offerings and insert the link!
Thank You,This is very very useful for me. Now i want one more help Can you tell me how to integrate xmpp server with openfire chat groups ?
I’m running into this error:
root@relay:~# sudo dpkg --install openfire.deb
dpkg-deb: error: `openfire.deb' is not a debian format archive
dpkg: error processing archive openfire.deb (--install):
subprocess dpkg-deb --control returned error exit status 2
Errors were encountered while processing:
openfire.deb
Any ideas Kamal?
@i: What command have you run to download the package? Were there any errors?
You should add a mention to open up the firewall ports: 9090 and 9091 for the web browser access and ports 5222 and 5223 for the xmpp protocol.
3 issues in these steps, you might get a warning during install saying.
Latest version at this point in time.
wget -O openfire.deb http://www.igniterealtime.org/downloadServlet?filename=openfire/openfire_3.9.3_all.deb
adduser: Warning: The home directory `/var/lib/openfire’ does not belong to the user you are currently creating.
Solution : chown -R openfire:openfire /var/lib/openfire
“admin” is the user name of the admin user and not the email which you used while setting the server.
Thanks, Kamal
I installed Openfire but he is dropping the service, and all the very moment restart. Any help on how to try to solve this?
 This work is licensed under a Creative Commons Attribution-NonCommercial- ShareAlike 4.0 International License.
Become a contributor for community
Get paid to write technical tutorials and select a tech-focused charity to receive a matching donation.

DigitalOcean Documentation
Full documentation for every DigitalOcean product.

Resources for startups and AI-native businesses
The Wave has everything you need to know about building a business, from raising funding to marketing your product.
The developer cloud
Scale up as you grow — whether you're running one virtual machine or ten thousand.

Start building today
From GPU-powered inference and Kubernetes to managed databases and storage, get everything you need to build, scale, and deploy intelligent applications.
