By Jonah Aragon and Tammy Fox

Introduction
Ajenti is an open source, web-based control panel that can be used for a large variety of server management tasks. It can install packages and run commands, and you can view basic server information such as RAM in use, free disk space, etc. All this can be accessed from a web browser. Optionally, an add-on package called Ajenti V allows you to manage multiple websites from the same control panel.
In this tutorial we will be installing the Ajenti control panel for server management and the Ajenti V add-on module that allows the creations of websites and email accounts from inside the panel.

Prerequisites
Before you can install Ajenti, you need:
- Registered domain name
- Clean Ubuntu 14.04 Droplet configured with the host name
panel.example.com(How To Set Up a Host Name with DigitalOcean explains how to set this up.) - A non-root user with sudo privileges (Initial Server Setup with Ubuntu 14.04 explains how to set this up.)
All the commands in this tutorial should be run as a non-root user. If root access is required for the command, it will be preceded by sudo. Initial Server Setup with Ubuntu 14.04 explains how to add users and give them sudo access.
Installing Ajenti
In this step, we will install the Ajenti core panel. To begin, connect to your server with SSH.
On your server, as a user with sudo access, first add the repository key. This is used to validate the sources of the Ajenti packages you will be installing.
- wget http://repo.ajenti.org/debian/key -O- | sudo apt-key add -
Then add the actual repository to your sources list:
- echo "deb http://repo.ajenti.org/ng/debian main main ubuntu" | sudo tee -a /etc/apt/sources.list
Now you can update your packages and begin the install process by running:
- sudo apt-get update && sudo apt-get install ajenti
When it prompts you to continue, type Y and press ENTER. The install process may take a few minutes. After the process is over, start the Ajenti server:
- sudo service ajenti restart
If all goes well, the last line in your console should say * started. You can continue to the next step.
Configuring Ajenti
Here we will make a few important starting modifications to your control panel. Open a web browser and browse to https://panel.your_domain_name:8000/. If you did not configure a registered domain name to point to your Droplet as panel.your_domain_name, you will need to go to https://your_server_ip:8000/ instead.
Note: You will get a privacy error (a red lock in Chrome). This is completely normal because Ajenti uses a self-signed certificate by default. There is no reason to change this, and your connection is still secure.
In Google Chrome, click the Advanced link on the Privacy error page, and then click Proceed to panel.example.com.. Once again, this is not unsafe.
Log in with these default credentials:
Username: root
Password: admin
You will now be inside your new Ajenti control panel.

Before we do anything else, click the Password option in the sidebar. Under old password type admin and then set a new password. From this moment on, to log into your control panel you will use:
Username: root
Password: your_new_password
Now click the Configure option in the left sidebar, it will be right above Password. Scroll down to the bottom, and click the Restart button. When it prompts you to restart Ajenti, click OK. This is restarting the Ajenti service. While it is doing so, your browser will display Reconnecting.... If this goes on for more than a minute, refresh your browser page.
After it restarts, log in with your new credentials and proceed to the next step.
Customizing Ajenti
The main page in Ajenti is the dashboard, and it can be customized to serve lots of useful and relevant information in an easy to read manner. By default a few widgets are already shown such as CPU Usage and Uptime. More widgets can easily be added by clicking the Add Widget button in the top right corner of the screen.

Plugins
Ajenti already has a lot of functionality built in by default, but if you want even more settings and configurable items in your panel, you can check out the Plugins section. Some plugins are enabled by default, while others aren’t, usually due to unsatisfied dependancies.
You can install disabled plugins by clicking on them in the Plugins menu and pressing the button next to the dependency it requires. Otherwise, if you later install an application manually and Ajenti has a plugin for, you can restart Ajenti and the corresponding menu should appear next time you log in.
System Management
Under the System section in the sidebar, there’s a plethora of configurable items to choose from. You can manage hard drives with the Filesystems menu, change the nameservers of your Droplet in Nameservers, add any packages and applications you’d need in the Packages section, and much more.
Filesystems menu:

Nameservers menu:

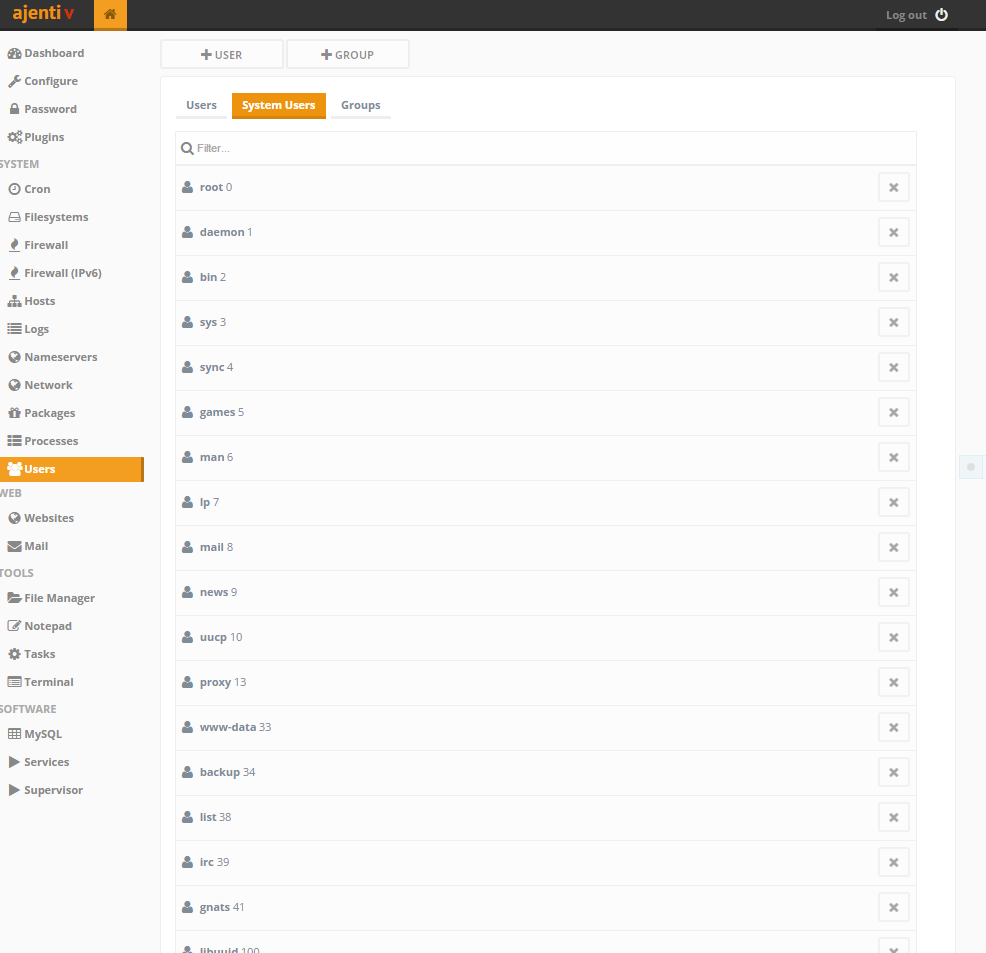
Users menu:
Packages menu:

Installing Ajenti V to Setup a Website
Optionally, you can now install Ajenti V, which will allow you to make a website. In your Ajenti control panel on the left sidebar, click the Terminal option. It’s located under the Tools section. This terminal functions as a terminal emulator in your browser for direct access to your server. Click + New at the top of the screen, and click the middle of the empty black box that appears. This will open up the terminal. It may take a moment to load.
Note: Commands run in the Ajenti terminal will be run as the root user.
Towards the bottom of the screen there is a box labeled Paste here. Click inside that and paste the following command into that box:
- apt-get install ajenti-v ajenti-v-nginx ajenti-v-mysql ajenti-v-php-fpm ajenti-v-mail ajenti-v-nodejs php5-mysql
Then press ENTER. When prompted whether or not to install the packages, type Y, and then press ENTER again. Some popups may appear on the screen such as this:

For prompts such as these, just press ENTER for the options that are preselected. No configuration is required. MySQL may ask you multiple times to enter a root password. Press ENTER when it asks to keep the current password, which is fine for the purposes of this tutorial.
When it finishes, click the X next to Terminal 0 at the top of the screen to return to the home. Go back to the Configure menu from the sidebar, and restart Ajenti with the button at the bottom of the screen. You will need to log in again.
When Ajenti restarts, you should see a Web section in the sidebar and a Websites option immediately below that. From the Websites view you can add and manage websites as well as monitor your configuration to make sure everything is working properly.

##Conclusion
Ajenti and Ajenti V are now installed on your server. To learn how to use some of their features, check out the following tutorials:
Thanks for learning with the DigitalOcean Community. Check out our offerings for compute, storage, networking, and managed databases.
Tutorial Series: Using the Ajenti Control Panel with Ajenti V
Ajenti is an open source, web-based control panel that can be used for a large variety of server management tasks. It can install packages and run commands, and you can view basic server information such as RAM in use, free disk space, etc. All this can be accessed from a web browser.
Optionally, an add-on package called Ajenti V allows you to manage multiple websites from the same control panel and easily configure email accounts for your domains.
Browse Series: 5 tutorials
About the author(s)
Sign up for DigitalOcean with this link and get a $10 credit: https://www.digitalocean.com/?refcode=fb6730f5bb99
Technical Editor, DigitalOcean
Still looking for an answer?
This textbox defaults to using Markdown to format your answer.
You can type !ref in this text area to quickly search our full set of tutorials, documentation & marketplace offerings and insert the link!
When i ran $sudo apt-get update && sudo apt-get install ajenti as a non root user who had sudo privileges i got the error
E: could not open lock file /var/lib/dpkg/lock - open (13:permission denied) E: Unable to lock the administration directory (/var/lib/dpkg/), are you root?
This comment has been deleted
after installation my cpanel is accessible thorugh https://.domainname:8000 not https://panel.domainname:8000
after following all the steps I’m getting ajenti: unrecognized service.
Before that on installing ajenti, it gave a warning w: Failed to fetch http://repo.ajenti.org/ng/debian/dists/main/InRelease Unable to find expected entry ‘ubintu/binary-amd64/Packages’ in Release file (Wrong sources.list entry or malformed file)
E: Some index files failed to download. They have been ignored, or old ones used instead. Please help
I had installed Ubuntu and Nginx, php was working fine. I installed Ajenti and the php stopped working, the browser wants to download the file. I went over the files to be modified for php-fpm and /etc/nginx/sites-available/default is no longer there. I’m going to go over the steps of installing php again but I was wondering what happened. The only thing not mentioned in the tutorial above that I experienced is that when I clicked on Websites after installing Ajenti V that there was an enable button and that it would rewrite the php. I also don’t have a domain attached at this point. But php was working before the install of Ajenti.
Thanks,
TOG
I have a wordpress site just installed on a server and now I want this, if I set it up, will my site stop working?
This comment has been deleted
Is there a way to get Ajenti to serve off of port 80 instead of port 8000? I’d like to just be able to go to https://panel.example.com instead of https://panel.example.com:8000. I tried setting the Port in the Configure menu to 80 instead of 8000 and restarted Ajenti, but that broke something and I had to manually reset the port back to 8000.
Hey Jonah, it’s a great tutorial. Can you in the future explain better how to reverse proxy nginx so I could hide the 8000 and let only some domains have acess to the ajenti panel? All my domains have acess now just adding the https:// and :8000. I’m trying to do with nginx reverse proxy but can’t understand exactly the structure of doing so
 This work is licensed under a Creative Commons Attribution-NonCommercial- ShareAlike 4.0 International License.
Become a contributor for community
Get paid to write technical tutorials and select a tech-focused charity to receive a matching donation.

DigitalOcean Documentation
Full documentation for every DigitalOcean product.

Resources for startups and AI-native businesses
The Wave has everything you need to know about building a business, from raising funding to marketing your product.
The developer cloud
Scale up as you grow — whether you're running one virtual machine or ten thousand.

Get started for free
Sign up and get $200 in credit for your first 60 days with DigitalOcean.*

*This promotional offer applies to new accounts only.