By Sreeram Venkitesh and Rachel Lee

The author selected Girls Who Code to receive a donation as part of the Write for DOnations program.
Introduction
The Devise gem is an authentication solution for Ruby on Rails applications; it helps you set up production-ready user authentication in your projects without having to do everything on your own. Devise provides many useful features such as handling user sessions and adding support for third-party sign-in with OAuth using the OmniAuth gem. Devise also comes with built-in modules for functionalities like resetting forgotten passwords, tracking sign-in count and timestamps, defining timeouts, locking accounts, and so on.
Devise makes user authentication as simple as initializing the gem and creating a User model with the required features. If you were to build user authentication from scratch, you would have to write code and tests for all the features you want, and handle all the edge cases in handling sessions, storing cookies, and keeping the data secure. By using the Devise gem, you avoid doing all of that yourself and can focus on building your app instead.
In this tutorial, you will create a minimal web application with Rails and install Devise, which will allow users to create accounts, sign in, and sign out from their accounts.
Prerequisites
To complete this tutorial, you will need:
- A local development environment for Ruby on Rails. For Linux, you can follow our tutorial How To Install Ruby on Rails with
rvmon Ubuntu 20.04 or use thervmproduct docs for installing on Mac or Windows. You can also refer to the Ruby project docs to install Ruby directly in your system. To install the Rails gem, you can use the official Rails documentation. The Devise gem requires Ruby version 2.1.0 or greater; this tutorial was tested using Ruby version 3.0.2 and Rails version 7.0.3. - Node.js installed on your machine. A few Rails features, such as the Asset Pipeline, depend on a JavaScript Runtime. Node.js provides this functionality. For Ubuntu, install Node.js using the official PPA, as explained in option 2 of How To Install Node.js on Ubuntu 20.04. For Mac OS, follow our guide How To Install Node.js and Create a Local Development Environment on MacOS.
- Familiarity with Ruby and the Ruby on Rails framework. You can check out the first few tutorials from our series Rails on Containers, or you can use the official Rails Guides.
Step 1 — Creating a New Rails Application
In this step, you will create a new Rails application and run it locally on your machine. You’ll use the rails command line utility to initialize the project.
Run the following command from a terminal:
- rails new blog
The rails new command will create a new Rails project under the directory blog, which includes a number of generated files and folders. One of these is the Gemfile, which contains the project’s dependencies. You will configure the Gemfile to use Devise in Step 3 — Installing and Configuring Devise.
Note: If you get an error saying Could not find gem, you can resolve it by changing into your project directory (cd blog) and running bundle install, which will install all the gems listed in your Gemfile.
You can open this directory in your favorite text editor or navigate to it using the terminal:
- cd blog
To start the Rails application, start the development server with the rails server command from the project directory:
- bundle exec rails server
This command will start the Rails development server. Open http://localhost:3000 in your browser to access the Rails welcome page. Rails uses port 3000 to run the application if you haven’t provided an alternate port number.
**Note:*Appending bundle exec to your command executes it in the context of the current bundle. This means only the project-specific Gemfile and the gem versions defined within it will be used. This is useful if you have different versions of the same gems installed globally.
You have now initialized a new Rails application, to which you will add user authentication in a later step. In the next step, you will replace the default homepage that Rails provides with a custom landing page, which will make it easier to navigate through the sample application once you’ve added Devise. After you create a new landing page, you’ll add links for the user to sign up and sign in to the application.
Step 2 — Creating a Landing Page
Now that you have a basic Rails application, you will replace the default page that Rails provides with your own landing page. A custom landing page will make it easier to show the user links for signing up and signing in at the root URL of the application. You will add links to sign in and sign up in later steps.
To create your landing page, you’ll need to do the following:
- Add the route in the
config/routes.rbfile. - Create a
HomeControllerwhich will handle the requests to this route. - Create a view file to be rendered when you hit the route.
You’ll begin by adding the root path to the routes.rb file that was generated when you created the project.
Using nano or your favorite text editor, open the config/routes.rb file that was generated earlier:
- nano config/routes.rb
Add the highlighted line:
Rails.application.routes.draw do
  root to: "home#index"
end
root to: defines which controller action will handle requests to the root path — in this case, the route will be http://localhost:3000, which is the default port for Rails apps. The requests to this route will be handled by the index action in the home controller. This file doesn’t exist now, so you’ll create the app/controllers/home_controller.rb file next.
Save and close config/routes.rb. Using nano, press CTRL+X to exit, Y to save, and ENTER to confirm the filename and close the file.
Next, create the app/controllers/home_controller.rb file and add the following lines:
class HomeController < ApplicationController
  def index
    render
  end
end
This is a basic HomeController with an index method that does one thing: render the view file associated with the controller action.
In this case, the view file will be the app/views/home/index.html.erb file. You’ll need to create this file as well as the home directory inside the app/views directory.
Save and close the home controller file.
Next, create the home directory in the app/views directory:
- mkdir app/views/home/
The home directory will hold all the views for a particular Rails controller.
Then, create the app/views/home/index.html.erb file and add the following lines:
<h1>Hello DigitalOcean!</h1>
app/views/home/index.html.erb is the view file that the index action of the Home controller is going to render. This is an HTML file where you can embed Ruby code. When the route defined for the particular controller action is fired, this view file is rendered in the user’s browser.
Save and close your file.
To see the changes in the root URL, open http://localhost:3000 in your browser (or refresh the page if it’s already open). The updated landing page will be similar to this:
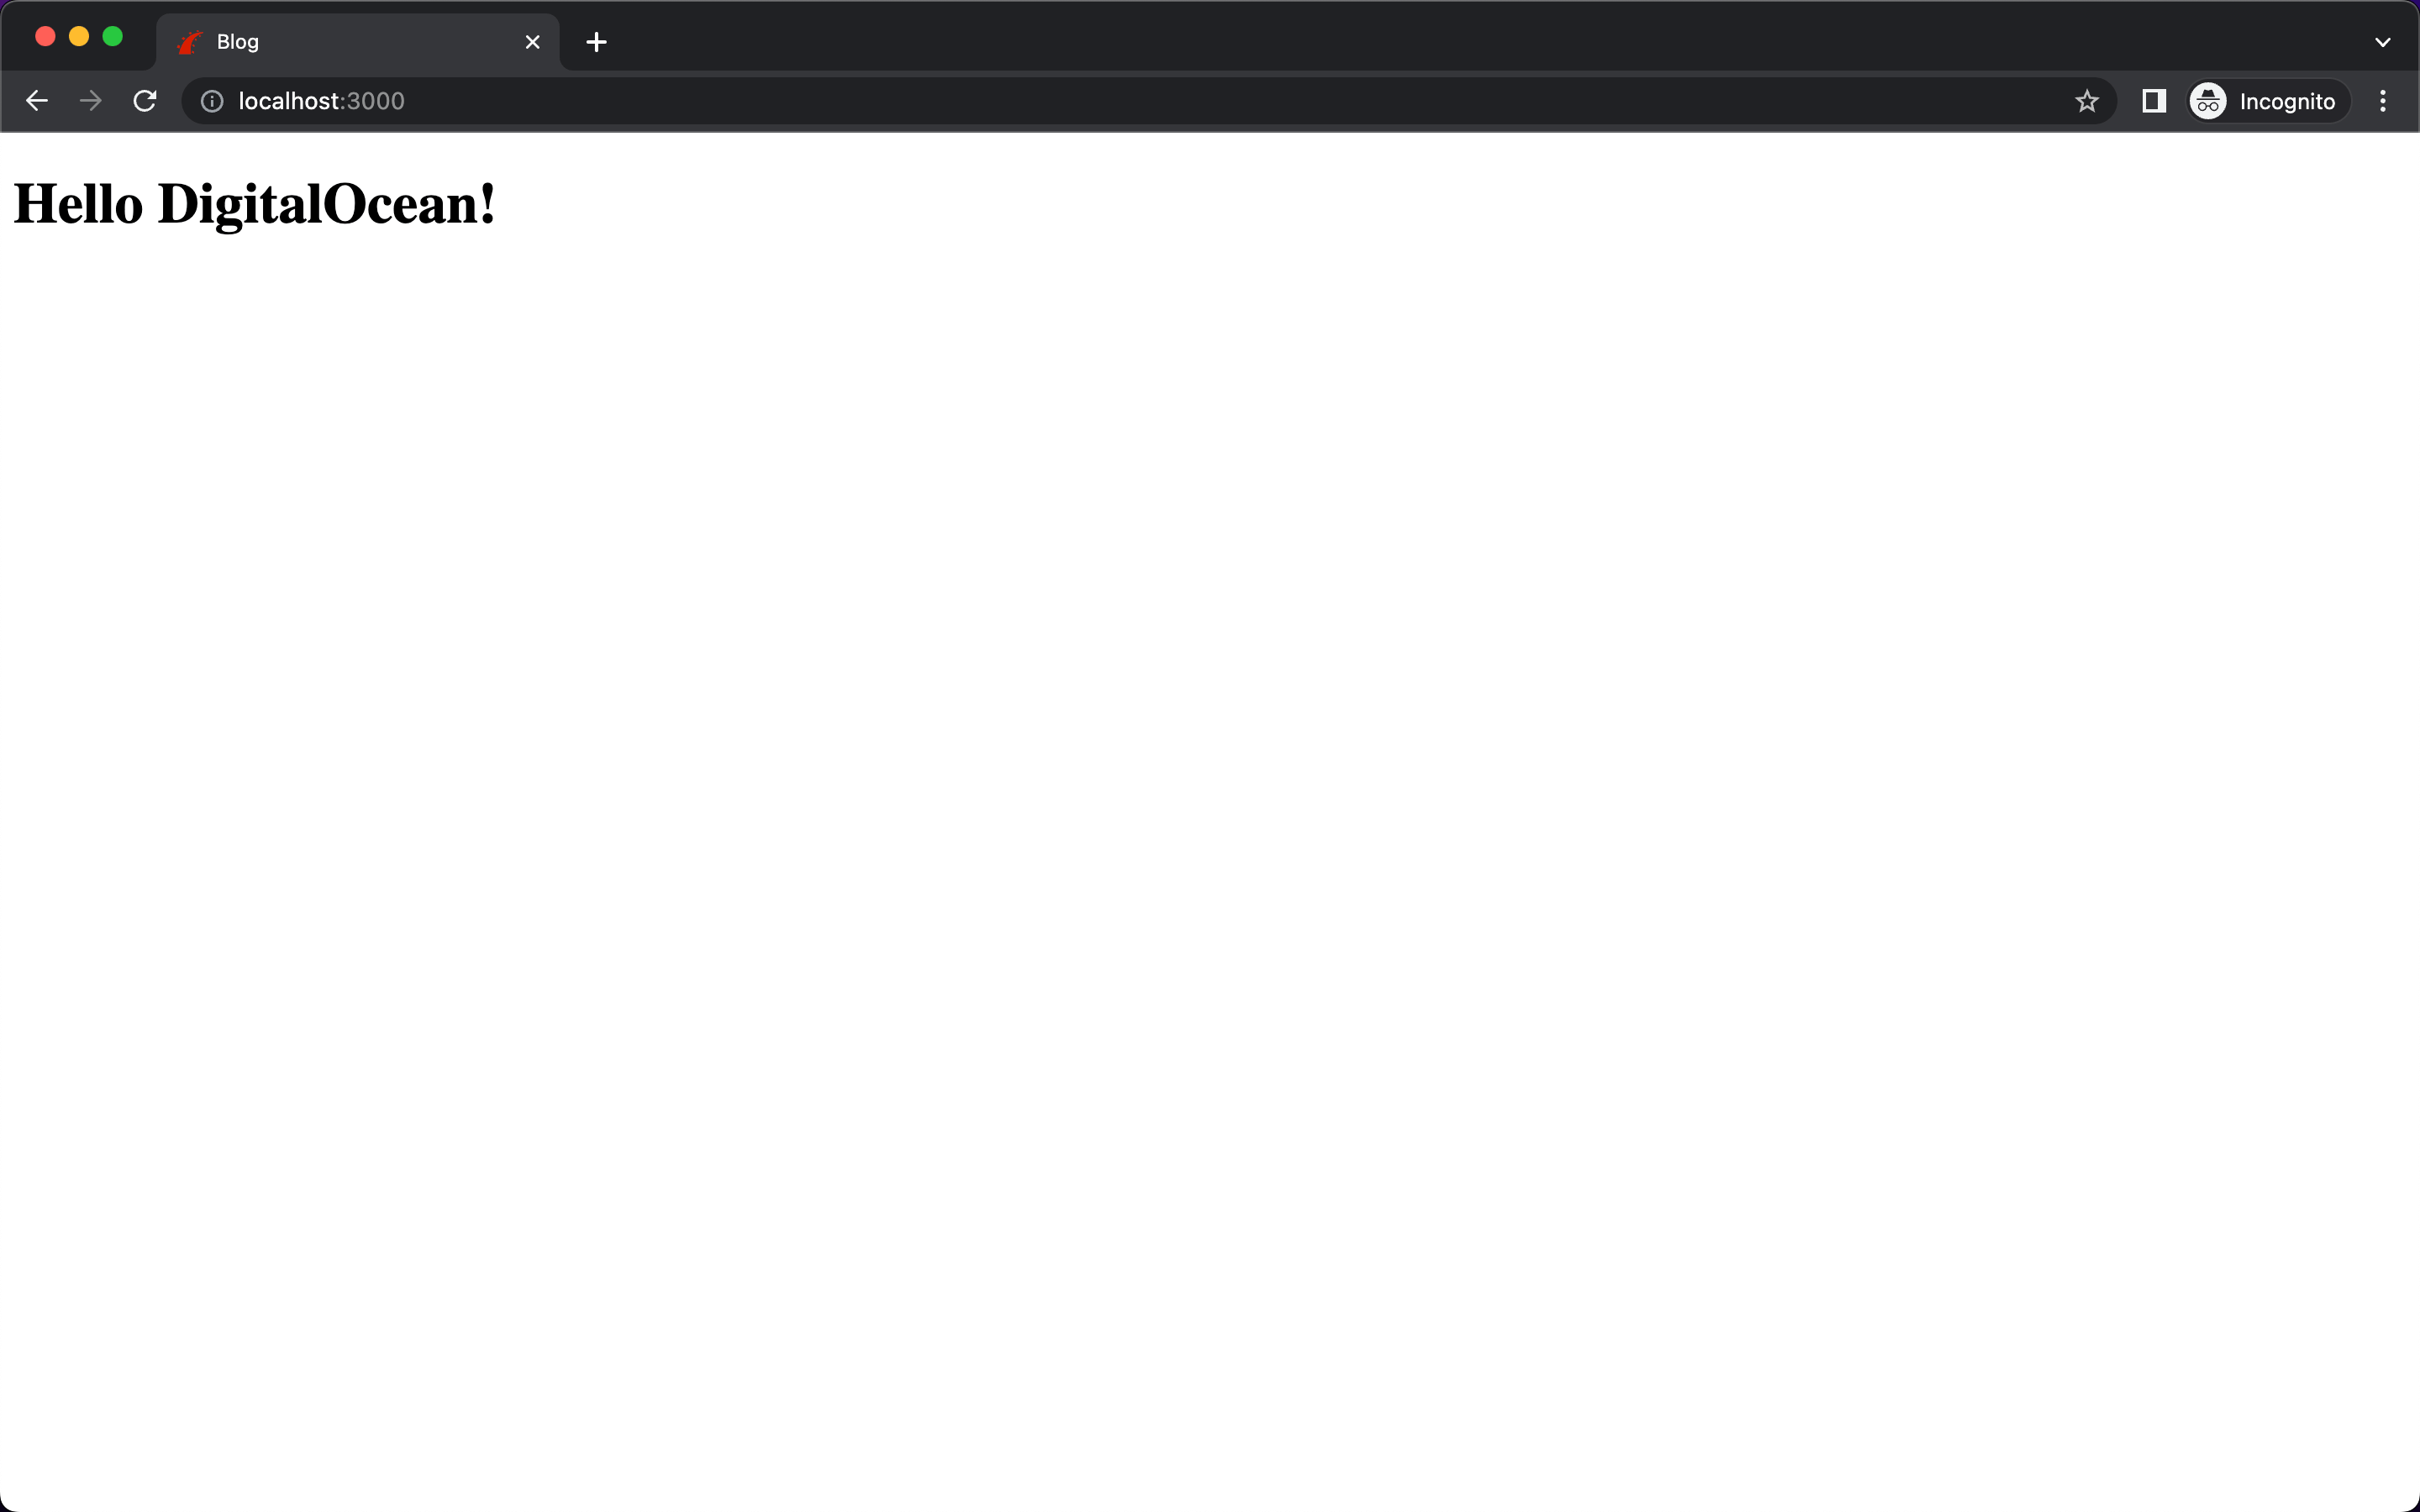
You can customize this page further if needed, but this is all that is needed for this tutorial.
Now that you have a simple Rails application with its own landing page, you will add user authentication with the Devise gem.
Step 3 — Installing and Configuring Devise
In this step, you will install and configure Devise in your Rails application so that you can use the methods and helpers that come with the gem. You will use the method user_signed_in? to check for the session information of any signed-in user stored in the browser cookies. You’ll also use the current_user helper to get the details of the account that is currently signed in. Both methods come built into Devise and you can use them directly in your application without having to write extra code. You can learn more about these helper methods from the Devise project’s GitHub page.
The first step to installing Devise is to add the gem to your Gemfile, which contains information about all the dependencies that are required to run your Ruby project. In this case, when you initialize the Rails application, the generated Gemfile already has all the basic gems required for Rails to run.
But before making changes to your Gemfile, stop the development server you started in the last step by pressing CTRL+C in the terminal where it is running.
Then, open your Gemfile for editing. To add the Devise gem, add the highlighted line towards the end of the file, but outside the development and test groups:
# ...

# Reduces boot times through caching; required in config/boot.rb
gem "bootsnap", require: false

# Use Active Storage variants [https://guides.rubyonrails.org/active_storage_overview.html#transforming-images]
# gem "image_processing", "~> 1.2"

gem "devise"

group :development, :test do
  # See https://guides.rubyonrails.org/debugging_rails_applications.html#debugging-with-the-debug-gem
  gem "debug", platforms: %i[ mri mingw x64_mingw ]
end

# ...
Save and close your file.
Next, you’ll install the newly added gem by running the bundle install command in the terminal. From your project directory (blog), run the following command:
- bundle install
This command will install the Devise gem in your project, which will allow you to use the devise command with the rails command line utility and configure the authentication.
To set up Devise in your project, run the generator command:
- bundle exec rails g devise:install
The g flag in the above command stands for generate and is used to invoke Rails generators. Generators will create files that can serve as a starting point. You can read the Rails guides for more information on Rails generators.
The previous command will generate several files, including the initializer file and the i18n locales file for Devise. The initializer file, explained in detail below, is used to configure Devise when you first start the app. i18n stands for internationalization, which is a standard to help you run your app in different languages.
At this point, some instructions will also be printed in the terminal, like so:
Output===============================================================================

Depending on your application's configuration some manual setup may be required:

  1. Ensure you have defined default url options in your environments files. Here
     is an example of default_url_options appropriate for a development environment
     in config/environments/development.rb:

       config.action_mailer.default_url_options = { host: 'localhost', port: 3000 }

     In production, :host should be set to the actual host of your application.

     * Required for all applications. *

  2. Ensure you have defined root_url to *something* in your config/routes.rb.
     For example:

       root to: "home#index"

     * Not required for API-only Applications *

  3. Ensure you have flash messages in app/views/layouts/application.html.erb.
     For example:

       <p class="notice"><%= notice %></p>
       <p class="alert"><%= alert %></p>

     * Not required for API-only Applications *

  4. You can copy Devise views (for customization) to your app by running:

       rails g devise:views

     * Not required *

===============================================================================
While this manual setup is not required for this tutorial, you will be adding flash messages for notice and alert later in this step.
You have finished installing Devise. Next, you’ll need to configure a few things in the Devise initializer file that was just generated.
When you ran the devise:install command, you generated config/initializers/devise.rb, which is the initializer file for Devise. Whenever you start your Rails application, Rails will load all the gems and plugins, and then will load all the initializer files. You can configure specific settings for different parts of your application from these initializer files. All these initializers reside in the config/initializers/ directory, and that is where the Devise gem creates its initializer, too.
Open config/initializers/devise.rb for editing. In the file, locate the Devise.setup block and add the following highlighted line (there might be other blocks of code inside the Devise.setup block, but you can ignore those):
Devise.setup do |config|
  # ...

  config.navigational_formats = ['*/*', :html, :turbo_stream]

  # ...
end
This line adds turbo_stream as a navigational format. Turbo Streams are a part of Turbo, which lets you send server-rendered HTML and render pages without using much JavaScript. You need to add this for Devise 4.8.1 to work with Rails 7; otherwise, you’d get an undefined method user_url error.
Save and close the file.
Next, you will also add the notice and alert flash messages that were highlighted in the previously printed instructions. The alert and notice tags are where the messages like “Incorrect password” and such would appear in the user interface. You can always implement custom alert messages in your application (for example, if you’re using Axios interceptors with React as your frontend), but for this tutorial, you’ll complete the bare minimum Devise setup.
Open app/views/layouts/application.html.erb for editing. Add the tags for the "notice" and "alert" messages inside the body tag, right above <%= yield %>:
...
<body>
  <p class="notice"><%= notice %></p>
  <p class="alert"><%= alert %></p>
  <%= yield %>
</body>
When the view is rendered in the browser, the <%= yield %> block will be replaced by the content from your view files. In your view file, you only had the p tag. This yield tag will be replaced with that content.
Save and close your file.
In this step, you have installed and configured Devise in your project. In the next step, you will create the user model for your application with Devise and set up user authentication.
Step 4 — Creating the User Model with Devise
You are now ready to generate the user model with Devise, which will create the necesary model file and generate a migration that you can run to create a users table in your application. Whenever someone signs up, you’ll need to create a new record in the users table in the database. With the user model, you can manipulate these database records from your frontend view.
In this step, you will generate a user model, inspect the default configuration, and then run the migration to update your database.
Since Rails is a models-view-controller (MVC) framework, each database table has a class associated with it, which can be used to work with the data in the table. In this case, if you create a users table, you can use the User model to do operations like User.first or User.find_by_email("sammy@example.com"). You can create this model by making a normal class inherited from ApplicationRecord in Rails, but generating a user model with Devise gives you many methods that you can use for authentication.
To create your Devise user, run the following generator command:
- bundle exec rails g devise user
The following output will print to the screen:
Outputinvoke  active_record
create    db/migrate/20220908152949_devise_create_users.rb
create    app/models/user.rb
invoke    test_unit
create      test/models/user_test.rb
create      test/fixtures/users.yml
insert    app/models/user.rb
route  devise_for :users
The output shows that Devise generated several files, created tests, and added routes. The first file, db/migrate/20220908152949_devise_create_users.rb, is a migration file for creating the users table in your database. A Rails migration file describes the changes that need to be made in the database. The filename of each migration will contain a timestamp so that Rails will know in which order to make those changes.
Devise also created the user model file (app/models/user.rb), along with tests for the same. The last line of the output indicates that a route was added to the existing config/routes.rb file. Devise automatically adds all the routes like /users/sign_up and /users/sign_out using the devise_for :users helper.
Before you run the migration file and create the users table in the database, let’s review these generated files. This will help you understand the configuration that Devise generated so that you know what is going on when you run the migration.
Begin by opening the migration file (db/migrate/20220908152949_devise_create_users.rb) to review the default code:
# frozen_string_literal: true

class DeviseCreateUsers < ActiveRecord::Migration[7.0]
  def change
    create_table :users do |t|
      ## Database authenticatable
      t.string :email,              null: false, default: ""
      t.string :encrypted_password, null: false, default: ""

      ## Recoverable
      t.string   :reset_password_token
      t.datetime :reset_password_sent_at

      ## Rememberable
      t.datetime :remember_created_at

      ## Trackable
      # t.integer  :sign_in_count, default: 0, null: false
      # t.datetime :current_sign_in_at
      # t.datetime :last_sign_in_at
      # t.string   :current_sign_in_ip
      # t.string   :last_sign_in_ip

      ## Confirmable
      # t.string   :confirmation_token
      # t.datetime :confirmed_at
      # t.datetime :confirmation_sent_at
      # t.string   :unconfirmed_email # Only if using reconfirmable
Devise includes many helpful options, like fields for the password reset token and the time of sending the last token, and so on. There are also lines for features like email confirmation, locking the user out after failed login attempts, and even tracking the details of login.
Since you don’t need to make any changes, close the migration file.
Devise also generated the User model file. This will be available in the app/models/ directory.
Open the app/models/user.rb model file to review the default code:
class User < ApplicationRecord
# Include default devise modules. Others available are:
# :confirmable, :lockable, :timeoutable, :trackable and :omniauthable
devise :database_authenticatable, :registerable,
       :recoverable, :rememberable, :validatable
end
A few options are added by Devise to configure how the user model works. The basic modules (database_authenticatable, registerable, recoverable, rememberable, and validatable) are already included. There are some additional options commented out, corresponding to the extra features you saw in the migration file. You can add these modules to the model file and configure the migration, depending on how much functionality you need in your application.
This is what the basic modules do:
database_authenticatable: Users can authenticate themselves with a login and password field. Their encrypted password will be stored in your database.registerable: Users can register themselves and can edit or delete their accounts.recoverable: Users can reset their password and recover their accounts if they forget their credentials.rememberable: This module remembers a user’s sessions by saving the information in a browser cookie.validatable: This module provides validations for the user’s email and password fields. (For example, your application asks for the password to be at least six characters, even though you haven’t defined any custom validations in your model.)
These basic modules are included in the User model that you just generated. You can find a full list of modules that comes with Devise in the Devise GitHub repository.
You don’t need to make any changes, so close the User model file.
Another update is that the config/routes.rb file has been modified to add a devise_for line for users:
Rails.application.routes.draw do
  devise_for :users

  root "home#index"
end
This is a useful method that defines all the required routes related to user authentication like /users/sign_in, /users/sign_out, and /users/password/new. Devise takes care of all of that for you and even keeps the routes file clean. If you want to understand how adding devise_for :users automatically translates to all these routes, you can check the source code for the method in the Devise GitHub repository.
You don’t need to make any changes here, so close the config/routes.rb file.
To learn which routes are defined in your application, you can list them by running the following command:
- bundle exec rails routes
This command prints all the application routes and the controllers these routes are being processed with. In the case of authentication, all these routes were created by Devise, and you didn’t have to add them manually.
The output will be long, but here is a snippet showing some of the routes:
| Prefix | Verb | URI Pattern | Controller#Action |
|---|---|---|---|
| new_user_session | GET | /users/sign_in(.:format) | devise/sessions#new |
| user_session | POST | /users/sign_in(.:format) | devise/sessions#create |
| destroy_user_session | DELETE | /users/sign_out(.:format) | devise/sessions#destroy |
| new_user_password | GET | /users/password/new(.:format) | devise/passwords#new |
| edit_user_password | GET | /users/password/edit(.:format) | devise/passwords#edit |
| user_password | PATCH | /users/password(.:format) | devise/passwords#update |
| PUT | /users/password(.:format) | devise/passwords#update | |
| POST | /users/password(.:format) | devise/passwords#create | |
| cancel_user_registration | GET | /users/cancel(.:format) | devise/registrations#cancel |
The routes listed in the output are the routes that were added by Devise when you included the devise_for :users line in your routes file. These are the routes for actions like sign in, sign up, reset password, and so on.
Now that you’ve reviewed the files and configuration generated by Devise, you can run the migration that you generated at the start of this step with the following command:
- bundle exec rails db:migrate
The above command will make all the changes in each of the migration files to your database. The changes need to be made one after another, just like they’re defined in the files. Rails needs to know the sequence in which the migrations should run, which is why the files are created with timestamps in their names.
Output like the following will print to the screen:
Output== 20220908152949 DeviseCreateUsers: migrating ================================
-- create_table(:users)
 -> 0.0040s
-- add_index(:users, :email, {:unique=>true})
 -> 0.0012s
-- add_index(:users, :reset_password_token, {:unique=>true})
 -> 0.0011s
== 20220908152949 DeviseCreateUsers: migrated (0.0074s) =======================
Once the migration has been run, your database is set up. You’ve done everything you need to set up user authentication in your project.
At this point, restart your Rails server:
- bundle exec rails server
The initializer file mentioned earlier is loaded only when Rails is booting. You need to restart the server so that Rails can load the new Devise initializer file and set up everything for user authentication to work.
Go to http://localhost:3000/users/sign_up in your browser, where you will find a sign-up form to create an account by entering an email and password. (In the next step, you will add buttons for signing up and signing in to the landing page so that it’s easier for the reader to navigate to this URL.)

To test out the authentication, enter a test email like sammy@example.com and a password.
Once you sign up, you will be redirected to the root page, which displays Hello DigitalOcean! as well as a message saying that you have successfully signed up, like so:
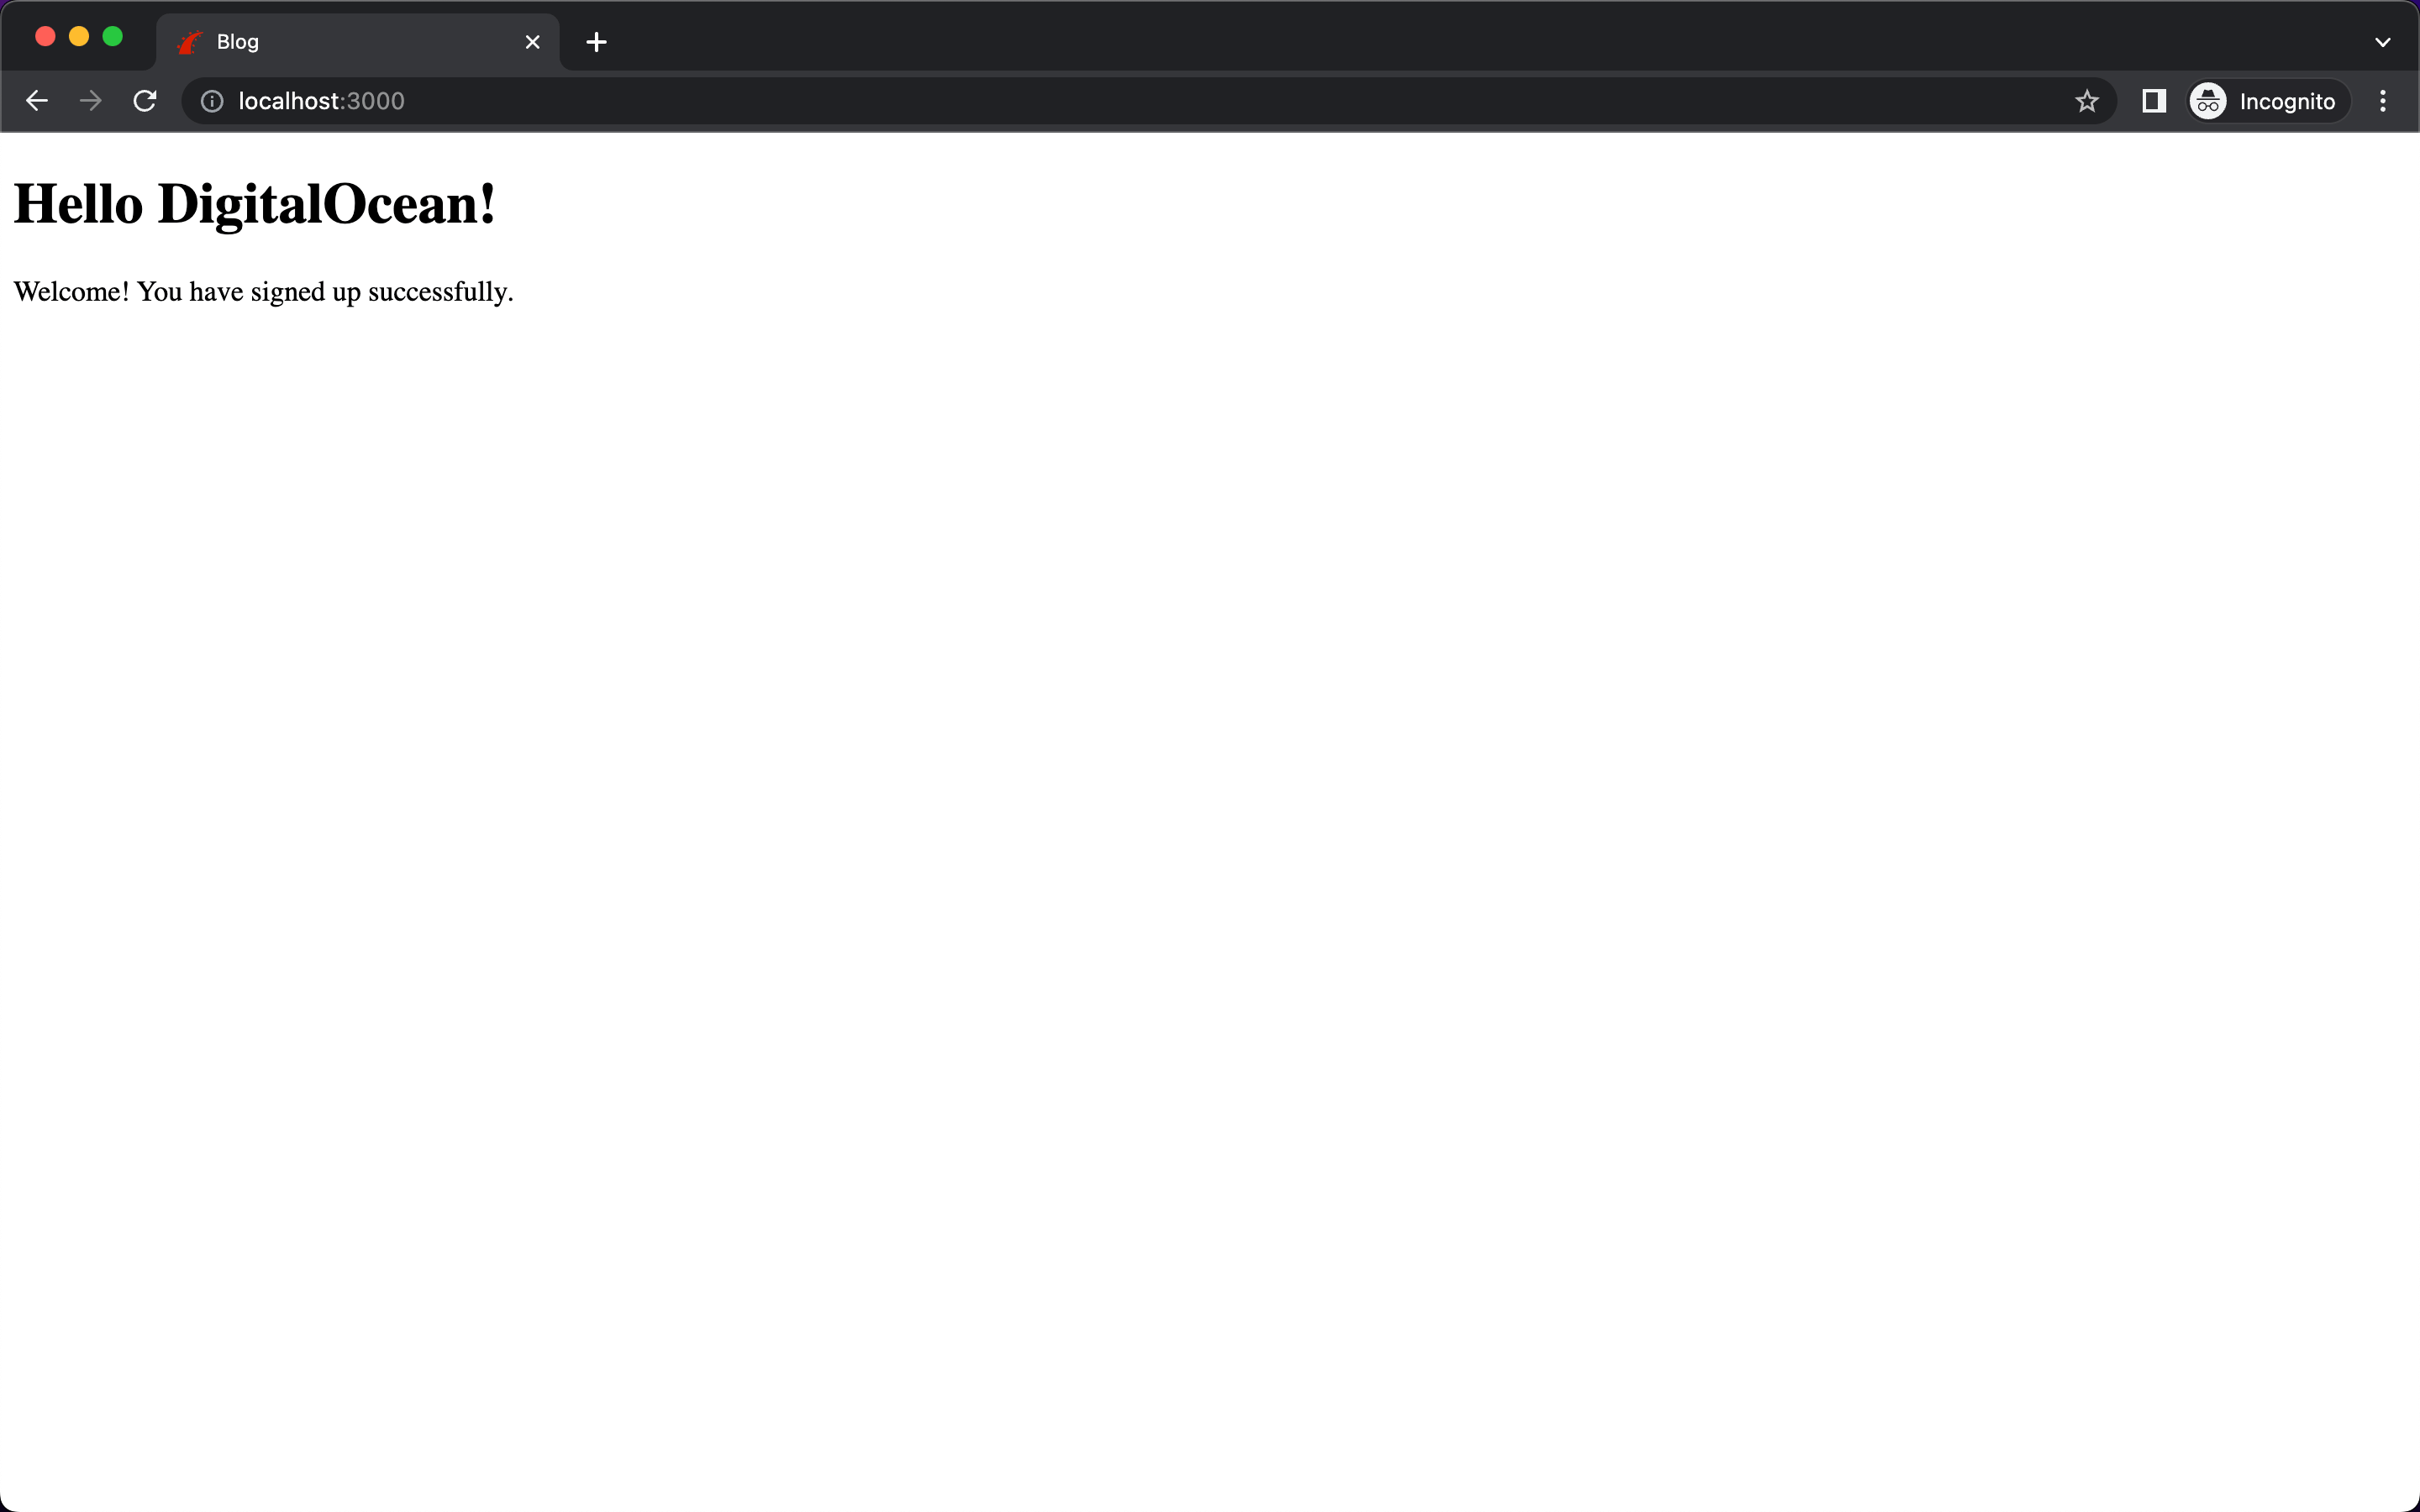
This sign-up success notice is rendered in the <p class="notice"><%= notice %></p> tag that you had added in the application.html.erb file.
At this point, you have configured user authentication with Devise in your project and signed up using a sample account. You configured Devise to meet the needs of your application, while Devise generated the routes, views, and controllers that facilitate this user sign-up experience.
Now that you’ve confirmed that the sign up process works as expected, your next step is to add this authentication to the landing page you created in Step 2. In the next step, you’ll link the sign-up page with the landing page so that users won’t have to navigate to a specific URL in order to sign up, like you had to do here.
Step 5 — Linking Authentication to the Landing Page
You have all the functionality set up in your project, but you still need to connect the pages Devise created with your landing page. In the previous step, you manually visited the /users/sign_up page to sign in. In this step, you’ll link all the pages together by adding the required links to your landing page. You will also conditionally show users the links to sign in or sign out of the application based on their status.
You will accomplish this with a few helper methods from Devise. The Devise gem comes with many helper methods that you can use without having to implement everything by yourself. This makes the code easier to read as well as maintain.
You’ll begin by adding code to check if the user is signed in. If they are, landing page will display their email and a link to sign out of the application. If the user is not signed in, the landing page will display a link to go to the sign-in page.
Open the app/views/home/index.html.erb file for editing and add the highlighted lines:
<% if user_signed_in? %>
 <div> Welcome <%= current_user.email %> </div>
  <%= button_to "Sign out", destroy_user_session_path, method: :delete %>
<% else %>
  <%= button_to "Sign in", new_user_session_path %>
<% end %>
<h1>Hello DigitalOcean!</h1>
user_signed_in? comes from the helper methods associated with Devise’s controllers. It checks whether the user is signed in or not and returns a boolean true or false value. You can use this result to program other functionality in your app, like showing the user’s account information if they’re signed in. For more details about this helper method, you can check the source code in the Devise GitHub Repository.
current_user is a Devise helper that accesses the details of the user who is currently signed in to the application. For instance, if you sign in with sammy@example.com, the current_user helper would return the user model for sammy@example.com. So, when using current_user.email, you would get sammy@example.com as the result. By using Devise, you avoid having to implement this logic from scratch, saving you time and effort.
Finally, with this code, you added Sign in and Sign out buttons to the landing page. Depending on the result of the user_signed_in? helper method, you will show the option to either sign in or sign out using the newly added Sign in and Sign out buttons.
You are using the button_to method to define a button that takes the user to a specific route. You are also using helper methods to get these routes: destroy_user_session_path resolves to /users/sign_out and new_user_session_path resolves to /users/sign_in. (You can review the full list of route URL helpers by running bundle exec rails routes as mentioned in a previous step.)
Save and close the file.
Refresh your page in the browser to review the changes.
If you haven’t already tried signing up for your application, you can visit the /users/sign_in route by clicking the Sign in button on your page. From here, you can proceed to create a new account by clicking on the Sign up link at the bottom. Enter a test email like sammy@example.com and a password. Once you’ve signed up, you’re taken to the landing page again. Now the landing page shows the email address of the currently signed-in user, along with a Sign out button, as shown here:
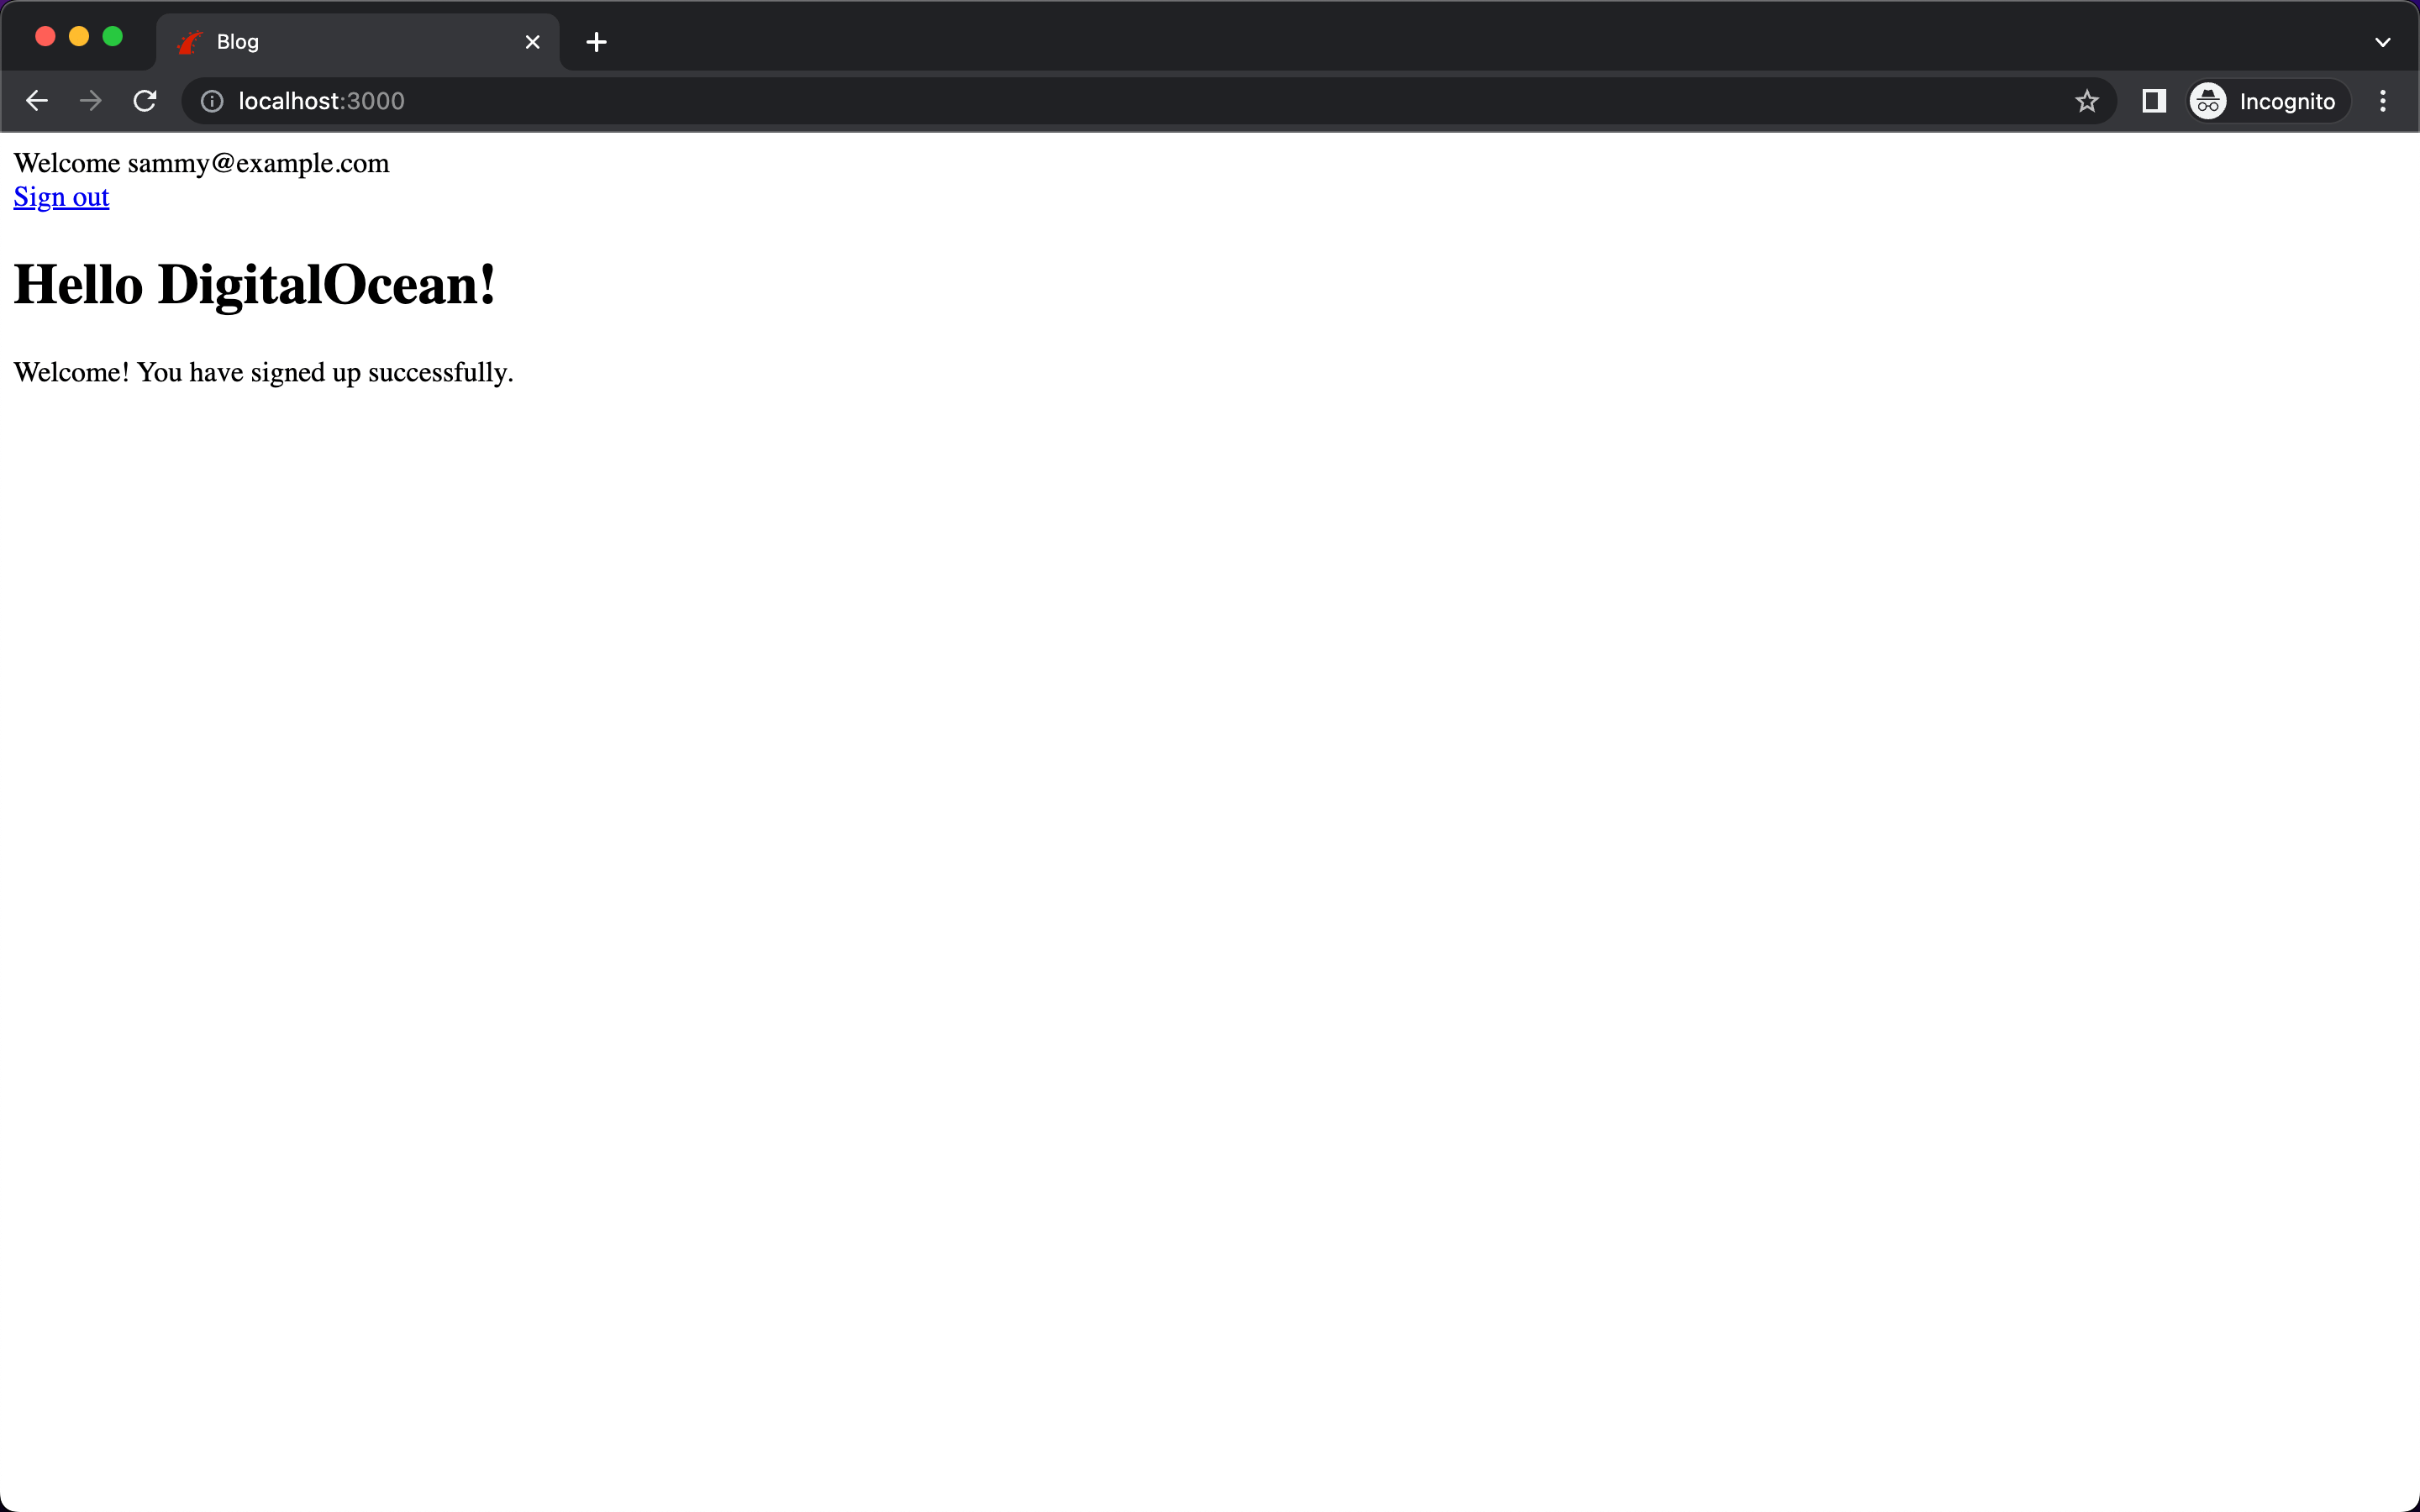
You also get a message saying, You have signed up successfully.
And with that, you have successfully integrated the Devise gem and set up user authentication in your application.
Conclusion
In this tutorial, you used Devise to add user authentication to a Rails app. Using Devise’s helper methods, you created an app where users can create accounts, sign up, and sign out.
To get a better understanding of Devise and additional helpers and methods, check out the README file on the Devise GitHub repository. As a next step to this tutorial, you can try to conditionally render the “Hello World!” greeting on the page with something like Hello username depending on whether the user is signed in or not.
You can find the code for this project in the DigitalOcean Community GitHub repo.
Thanks for learning with the DigitalOcean Community. Check out our offerings for compute, storage, networking, and managed databases.
About the author(s)
Still looking for an answer?
This textbox defaults to using Markdown to format your answer.
You can type !ref in this text area to quickly search our full set of tutorials, documentation & marketplace offerings and insert the link!
This is freaking awesome. Thank you for sharing this. I was looking for something like this and this came up the first on Google. Very concise. I mean Rails is awesome anyway. lol
 This work is licensed under a Creative Commons Attribution-NonCommercial- ShareAlike 4.0 International License.
Become a contributor for community
Get paid to write technical tutorials and select a tech-focused charity to receive a matching donation.

DigitalOcean Documentation
Full documentation for every DigitalOcean product.

Resources for startups and AI-native businesses
The Wave has everything you need to know about building a business, from raising funding to marketing your product.
The developer cloud
Scale up as you grow — whether you're running one virtual machine or ten thousand.

Start building today
From GPU-powered inference and Kubernetes to managed databases and storage, get everything you need to build, scale, and deploy intelligent applications.
