By hitjethva and Easha Abid

Introduction
Okteto is a development platform used to streamline the development process for Kubernetes applications. It allows developers to build and test their applications directly in Kubernetes clusters without setting up complex local development environments. Okteto enables live updates to applications running in Kubernetes clusters, allowing developers to see their code changes reflected in real time without needing to rebuild or redeploy their applications.
In this tutorial, you will create a Python application and deploy it on Kubernetes using Okteto.
Prerequisites
Before you begin this tutorial, you’ll need the following:
- A Kubernetes 1.28 cluster. In this tutorial, the setup will use a DigitalOcean Kubernetes cluster with at least 3 nodes (4CPUs and 16GBs each)
kubectlinstalled and configured to communicate with your cluster.- A Docker Hub account.
- Docker running on your local machine.
- A license is mandatory to use Okteto. Sign up for Okteto free 30-day trial to get a license key.
- The Helm package manager is installed on your local machine. To do this, complete Step 1 of the How To Install Software on Kubernetes Clusters with the Helm 3 Package Manager tutorial.
- A fully registered domain name pointed at the Load Balancer used by the Nginx Ingress. You will need to create an
Arecord with the name*and Load Balancer IP.
Step 1 - Create a Python Application
First, you need to ensure that Python is installed on your Ubuntu system. You can check this by opening a terminal and typing:
python3 --version
If Python is installed, this command will display the version of Python. If not, you can install it using the following command:
sudo apt install python3 python3-venv python3-pip -y
Next, create a directory to store your application code and other configurations.
mkdir my-app
Next, navigate to your application directory and create a virtual environment to isolate your project dependencies.
cd my-app
python3 -m venv python-env
Next, activate the virtual environment using the following command.
source python-env/bin/activate
Next, create a new Python file for your application. For example, create a simple app.py file:
nano app.py
Add the following code:
from flask import Flask

app = Flask(__name__)

@app.route('/')
def hello():
    return "Hello, This is a simple Python App!"

if __name__ == '__main__':
    app.run(debug=True, host='0.0.0.0')
Next, install the Flask web framework.
pip install flask
Now, run your Python application using the following command.
python3 app.py
You will see the following output.
Output * Running on all addresses (0.0.0.0)
 * Running on http://127.0.0.1:5000
 * Running on http://172.20.10.2:5000
Press CTRL+C to quit
 * Restarting with stat
 * Debugger is active!
 * Debugger PIN: 311-959-468
Now that the Flask application is running locally, and you can verify it using curl:
curl -X GET -H "Content-Type: application/json" http://localhost:5000
You should receive the following response from the Flask application.
OutputHello, This is a simple Python App!
When you’re done working on your project, you can deactivate the virtual environment by running:
deactivate
At this point, you have created a Python application and tested it locally.
Step 2 - Dockerize Python Application
Dockerizing a Python application involves creating a Docker image that contains the Python environment and dependencies required to run the application.
First, create a file named Dockerfile in the root directory of your Python application.
nano Dockerfile
Add the following content:
# Use an official Python runtime as a parent image
FROM python:3.8-slim

# Set the working directory in the container
WORKDIR /app

# Copy the current directory contents into the container at /app
ADD . /app

# Install any needed dependencies specified in requirements.txt
RUN pip install flask

# Make port 5000 available to the world outside this container
EXPOSE 5000

# Define environment variable
ENV NAME DockerizedPythonApp

# Run app.py when the container launches
CMD ["python3", "./app.py"]
In this Dockerfile:
FROM python:3.8-slim: Specifies the base image to use. You’re using an official Python image with Python 3.8 installed.WORKDIR /app: Sets the working directory within the container to/app.ADD . /app: Copies the current directory’s contents into the container’s/appdirectory.RUN pip install flask: Installs Flask framework.EXPOSE 5000: Exposes port5000to allow incoming connections.CMD ["python3", "app.py"]: Specifies the command to run when the container starts. In this case, it runsapp.py.
Now, run the following command to build the image based on the instructions in your Dockerfile.
docker build -t my-app .
After building the Docker image, you can run your application in a container using the built image:
docker run -dit -p 5000:5000 my-app:latest
This command runs a container from the my-app image and maps the container port to a host port 5000.
You can verify your running app container using the docker ps command.
docker ps
The output will be:
OutputCONTAINER ID   IMAGE           COMMAND              CREATED         STATUS         PORTS                                       NAMES
761c54c77411   my-app:latest   "python3 ./app.py"   3 seconds ago   Up 3 seconds   0.0.0.0:5000->5000/tcp, :::5000->5000/tcp   pedantic_wescoff
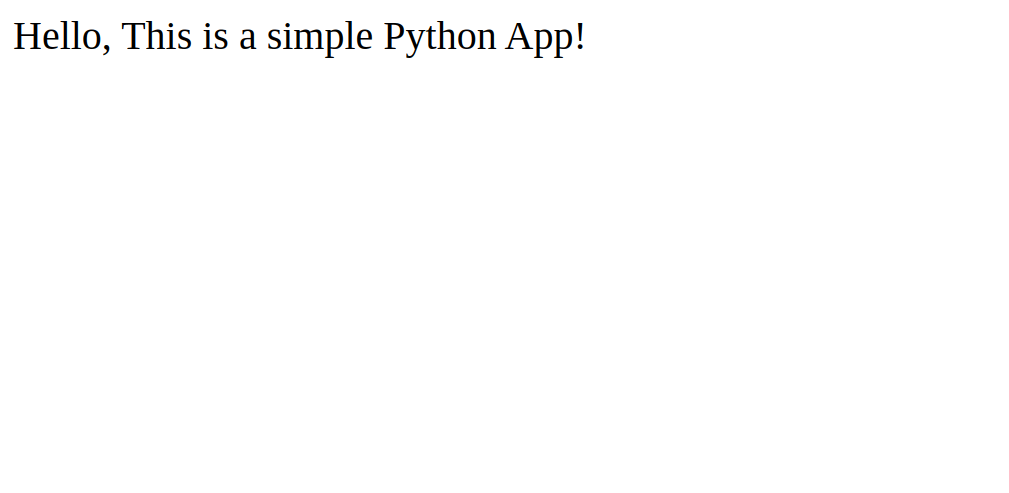
Open a web browser or use curl to access the application using the URL http://your-server-ip:5000. You should see the message Hello, This is a simple Python App! indicating that your Python application is running inside the Docker container.
Till now, you have successfully dockerized your Python application.
Step 3 - Push Python Docker Image to DockerHub Registry
First, you need to have a DockerHub account. If you don’t have one, you can create it on the DockerHub website.
Use the docker login command to log in to Docker Hub. You’ll be prompted to enter your Docker Hub username and password.
docker login
The output of this command will be:
OutputLogin with your Docker ID to push and pull images from Docker Hub. If you don't have a Docker ID, head over to https://hub.docker.com to create one.
Username: username@gmail.com
Password:
WARNING! Your password will be stored unencrypted in /root/.docker/config.json.
Configure a credential helper to remove this warning. See
https://docs.docker.com/engine/reference/commandline/login/#credentials-store

Login Succeeded
Before pushing the image to Docker Hub, you also need to tag it with your Docker Hub username and the desired repository name.
docker tag my-app yourusername/my-app:latest
You can now push your Docker image to Docker Hub using the docker push command.
docker push yourusername/my-app:latest
After pushing the image, you can verify that it’s available on Docker Hub by searching for it using the Docker Hub CLI.
docker search yourusername/my-app
Your Python app Docker image is now available on Docker Hub and can be pulled by others or deployed to various environments.
Step 4 - Create Kubernetes Manifests to Deploy Python Application
Now, you will need to create a Kubernetes manifests file using Okteto to define the deployment, service, and ingress resources for an application called my-app.
nano k8s.yaml
Add the following configuration to the file.
apiVersion: apps/v1
kind: Deployment
metadata:
  name: my-app
spec:
  selector:
    matchLabels:
      app: my-app
  template:
    metadata:
      labels:
        app: my-app
    spec:
      containers:
      - image: yourusername/my-app
        name: my-app

---

apiVersion: v1
kind: Service
metadata:
  name: my-app
spec:
  type: ClusterIP
  ports:
  - name: "my-app"
    port: 5000
  selector:
    app: my-app

---

apiVersion: networking.k8s.io/v1
kind: Ingress
metadata:
  name: my-app
  annotations:
    dev.okteto.com/generate-host: my-app
spec:
  rules:
    - http:
        paths:
          - backend:
              service:
                name: my-app
                port:
                  number: 5000
            path: /
            pathType: ImplementationSpecific
The above file deploys an application named my-app using Okteto, exposes it internally via a ClusterIP service on port 5000, and sets up an Ingress resource to route HTTP traffic to the application. Okteto-specific annotations are used to enable certain features provided by Okteto, such as automatic hostname generation.
Step 5 - Install Okteto Using Helm
First, you need to add the Okteto Helm repository to your Helm client.
helm repo add okteto https://charts.okteto.com
Once you’ve added the Okteto Helm repository, you should update your Helm repositories to ensure you have the latest information about available charts:
helm repo update
Next, create a config.yaml for Okteto.
nano config.yaml
Add your Okteto license key, subdomain, and other configuration as shown below:
license: INSERTYOURKEYHERE
subdomain: okteto.example.com

buildkit:
  persistence:
    enabled: true

registry:
  storage:
    filesystem:
      persistence:
        enabled: true
Note:
Replace the license key with your valid Okteto license key and okteto.example.com with your domain name.
Now, install the latest version of Okteto using the config.yaml configuration file.
helm install okteto okteto/okteto -f config.yaml --namespace okteto --create-namespace
Once the Okteto is installed, you will get the following output.
OutputNAME: okteto
LAST DEPLOYED: Tue Mar 12 20:27:21 2024
NAMESPACE: okteto
STATUS: deployed
REVISION: 1
TEST SUITE: None
NOTES:
Congratulations! Okteto is successfully installed!

Follow these steps to complete your domain configuration:

1. Create a wildcard A record "*.okteto.example.com", pointing it to the Okteto NGINX ingress controller External-IP:

   $ kubectl get service -l=app.kubernetes.io/name=ingress-nginx,app.kubernetes.io/component=controller --namespace=okteto

2. Access your Okteto instance at `https://okteto.okteto.example.com/login#token=88f8cc11`
Note:
Remember the Personal Access Tokens 88f8cc11 from the above output. You will need it to authenticate Okteto.
Wait for some time then fetch the IP address that DigitalOcean has dynamically allocated to the NGINX Ingress you’ve just installed and configured as a part of Okteto:
kubectl get service -l=app.kubernetes.io/name=ingress-nginx,app.kubernetes.io/component=controller --namespace=okteto
You will see the following output.
OutputNAME                              TYPE           CLUSTER-IP      EXTERNAL-IP    PORT(S)                      AGE
okteto-ingress-nginx-controller   LoadBalancer   10.101.31.239   45.76.14.191   80:31150/TCP,443:31793/TCP   3m21s
You need to take the EXTERNAL-IP address and add it to your DNS for the domain you have chosen to use. This is done by creating an A record with the name *.
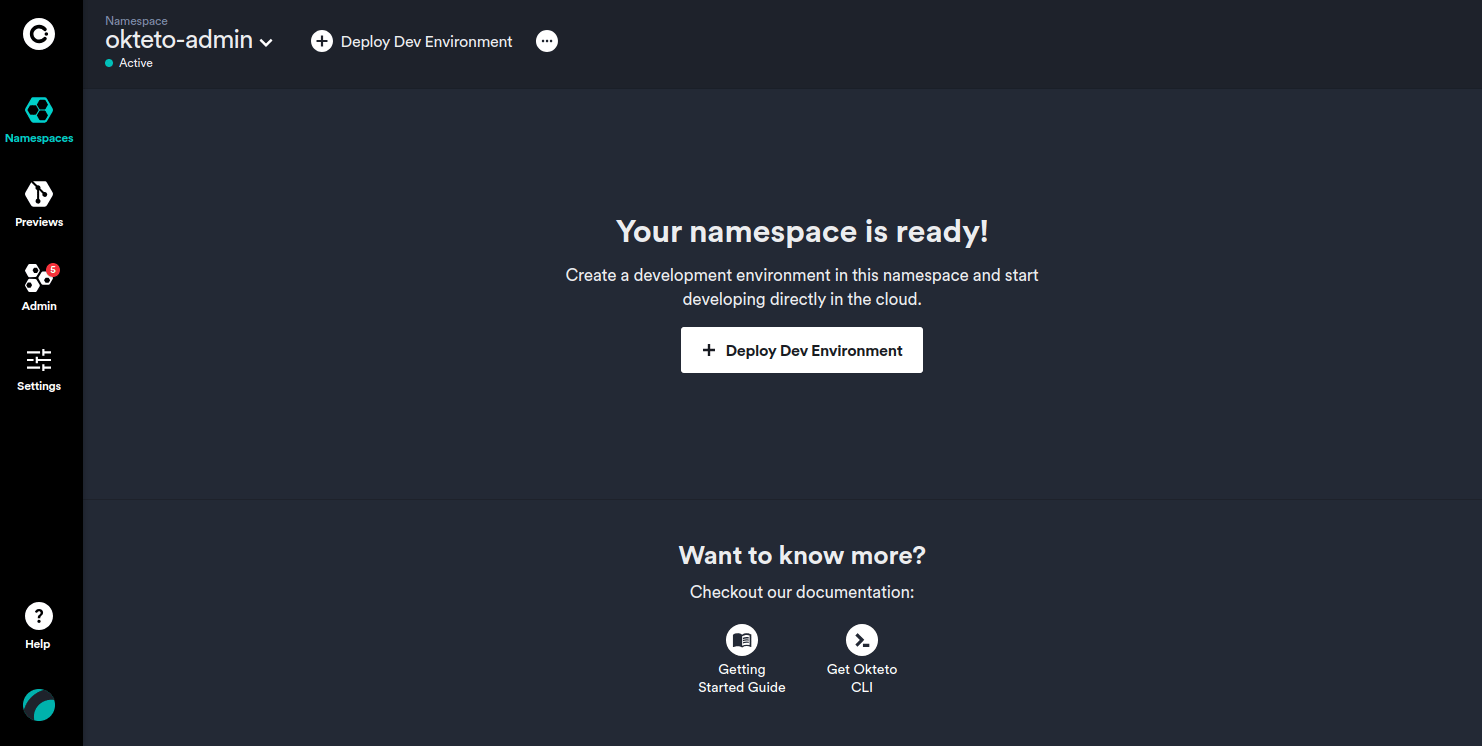
Now, open your web browser and access your Okteto instance at https://okteto.okteto.example.com/login#token=88f8cc11.
Step 6 - Install and Configure the Okteto CLI
The Okteto CLI is an open-source command line tool that allows you to develop your applications directly on Kubernetes.
You can install the Okteto CLI on Linux and macOS using curl. Open your terminal and run the following command:
sudo curl https://get.okteto.com -sSfL | sh
Once the installation is complete, you can verify that the Okteto CLI is installed correctly by running the following command:
okteto version
This command will display the version of the Okteto CLI installed on your system.
Outputokteto version 2.25.2
Next, you will need to use your Personal Access Tokens to authenticate with the Okteto CLI.
okteto context use https://okteto.okteto.example.com --token 88f8cc11 --insecure-skip-tls-verify
Its output will be:
Output ✓ Using okteto-admin @ okteto.okteto.example.com
Next, run the following command to verify that your Okteto CLI is configured.
okteto context list
This gives the following output:
OutputName                                      Namespace     Builder                                 Registry
https://okteto.okteto.example.com *      okteto-admin  tcp://buildkit.okteto.example.com:443  registry.okteto.example.com
vke-4b7aaaa6-78fa-4a19-9fb3-cf7b8c1ec678  default       docker                                  -
Step 7 - Create your Okteto Manifest
To start developing the Python application, you will need to create an Okteto manifest file and define the configuration for your development environment.
Let’s create an okteto.yaml file for a simple Python application.
nano okteto.yaml
Add the following configuration.
deploy:
  - kubectl apply -f k8s.yaml

dev:
  my-app:
    command: bash
    environment:
      - FLASK_ENV=development
    sync:
      - .:/app
    reverse:
      - 9000:9000
    volumes:
      - /root/.cache/pip
In the above file,
deploy: This section defines the deployment configuration. When you runokteto uporokteto deploy, Okteto will execute thekubectl apply -f k8s.yamlcommand to deploy the Kubernetes resources defined in thek8s.yamlfile. This allows you to specify your deployment configuration separately from your development environment configuration.command: bash: Specifies the command to run when the development environment starts.environment: Specifies environment variables to set in the development environment. In this case, it setsFLASK_ENVto development.sync: Specifies folders to synchronize between your local machine and the development environment. It syncs the current directory(.)with/appinside the development environment.reverse: Specifies port forwarding rules to expose ports from the development environment to your local machine. In this case, it forwards port9000from the development environment to port9000on your local machine.volumes: Specifies additional volumes to mount into the development environment. In this case, it mounts the/root/.cache/pipdirectory, which might be used to cache pip packages, into the development environment.
Now, deploy your Python application to the Kubernetes cluster using the following command.
okteto deploy
After successful deployment, you will see the following output.
Outputdeployment.apps/my-app created
service/my-app created
ingress.networking.k8s.io/my-app created
 i  There are no available endpoints for 'Okteto'.
    Follow this link to know more about how to create public endpoints for your application:
    https://www.okteto.com/docs/cloud/ssl/
 ✓  Development environment 'Okteto' successfully deployed
 i  Run 'okteto up' to activate your development container
Next, go back to your web browser and refresh the Okteto dashboard. You will see your deployed application:
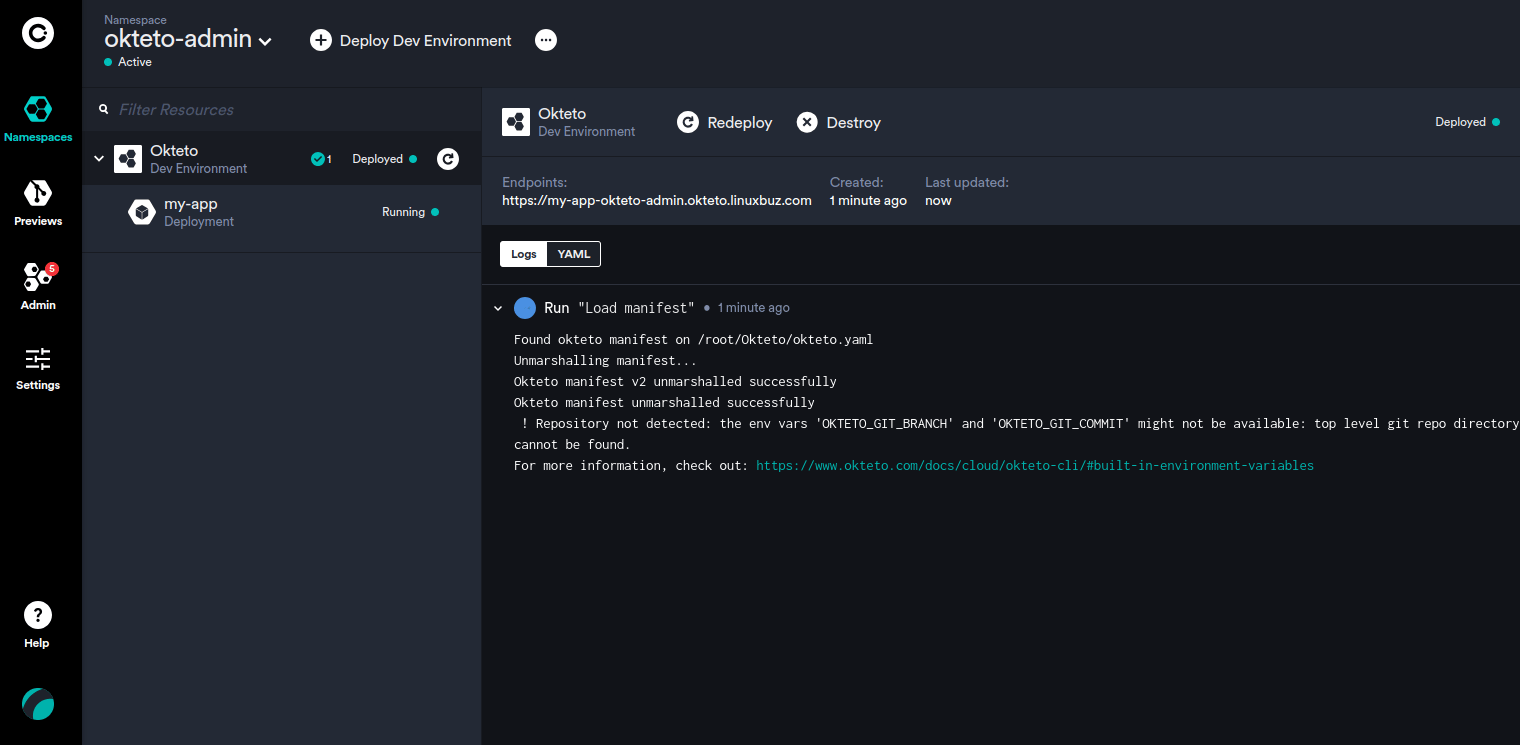
You can also access your Python application using the URL https://my-app-okteto-admin.okteto.example.com.
Step 8 - Develop Python application Directly on Kubernetes
In this section, you will use the okteto up command to deploy a Python application directly on Kubernetes. This command will synchronize your local code with the development environment. You can modify the code using your preferred IDE or text editor on your local machine, and the changes will be automatically synchronized with the development environment in Kubernetes.
Let’s start the development environment using Okteto:
okteto up
This command will create a development environment based on the configurations specified in the okteto.yaml file.
Output i  Using okteto-admin @ okteto.okteto.example.com as context
 i  'Okteto' was already deployed. To redeploy run 'okteto deploy' or 'okteto up --deploy'
 i  Build section is not defined in your okteto manifest
 ✓  Persistent volume successfully attached
 ✓  Images successfully pulled
 ✓  Files synchronized
    Context:   okteto.okteto.example.com
    Namespace: okteto-admin
    Name:      my-app
    Reverse:   9000 <- 9000
root@my-app-okteto-7767588c8d-ndzj7:/app#
Next, run your Python application:
python3 app.py
You will see the following output.
Output * Serving Flask app 'app'
 * Debug mode: on
WARNING: This is a development server. Do not use it in a production deployment. Use a production WSGI server instead.
 * Running on all addresses (0.0.0.0)
 * Running on http://127.0.0.1:5000
 * Running on http://10.244.97.92:5000
Press CTRL+C to quit
 * Restarting with stat
 * Debugger is active!
 * Debugger PIN: 126-620-675
Now, edit your app.py application file:
nano app.py
Modify the following line:
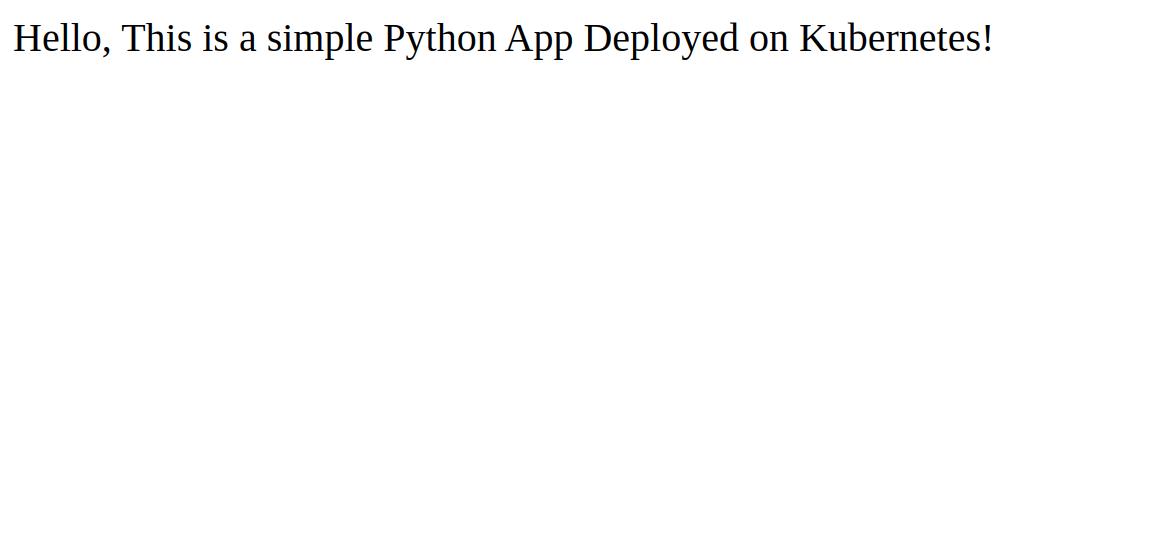
return "Hello, This is a simple Python App Deployed on Kubernetes"
Save and close the file. Okteto will automatically detect the code changes and apply them instantly to Kubernetes.
Go back to your web browser and reload the page for your Python application. You will see your modified application on the following screen.
Conclusion
In this tutorial, you have created a basic Python application and deployed it on the Kubernetes cluster using Okteto. The Okteto’s ability to synchronize local code changes with the development environment in real-time allows for rapid development iterations and immediate feedback on code changes. Overall, Okteto empowers developers to focus on building high-quality Python applications without worrying about the complexities of Kubernetes infrastructure.
The author selected FreeBSD Foundation to receive a donation as part of the Write for DOnations program.
Thanks for learning with the DigitalOcean Community. Check out our offerings for compute, storage, networking, and managed databases.
About the author(s)
Still looking for an answer?
This textbox defaults to using Markdown to format your answer.
You can type !ref in this text area to quickly search our full set of tutorials, documentation & marketplace offerings and insert the link!
 This work is licensed under a Creative Commons Attribution-NonCommercial- ShareAlike 4.0 International License.
Become a contributor for community
Get paid to write technical tutorials and select a tech-focused charity to receive a matching donation.

DigitalOcean Documentation
Full documentation for every DigitalOcean product.

Resources for startups and AI-native businesses
The Wave has everything you need to know about building a business, from raising funding to marketing your product.
The developer cloud
Scale up as you grow — whether you're running one virtual machine or ten thousand.

Start building today
From GPU-powered inference and Kubernetes to managed databases and storage, get everything you need to build, scale, and deploy intelligent applications.
