By Jeremy Morris and Lisa Tagliaferri

Introduction
If you have followed along in the Django Development series, you’ve started a Django application, connected your application to MySQL, and created the database models for the Posts and Comments data within your blog web application.
In this tutorial, we will connect to and enable the Django admin site so that you can manage your blog website. The Django admin site comes pre-built with a user interface that is designed to allow you and other trusted individuals to manage content for the website.
It is worth noting that Django’s official documentation points out that although this is ideal for an organization’s internal use, it is not recommended to build a web application around an automatically generated Django admin interface. If you find that your interface needs to be more process-centric or proves to abstract away the implementation details of database tables and fields, it would be best for you to write your own views for the admin side.
Prerequisites
This tutorial is part of the Django Development series and is a continuation of that series.
If you have not followed along with this series, we are making the following assumptions:
- You have Django version 4 or higher installed.
- You have connected your Django app to a database. We are using MySQL, and you can achieve this connection by following part two of the Django series, “How To Create a Django App and Connect it to a Database.”
- You are working with a Unix-based operating system, preferably an Ubuntu 22.04 cloud server as this is the system we have tested on. If you would like to set up Django on a similar environment, please refer to our tutorial, “How To Install Django and Set Up a Development Environment on Ubuntu 22.04.
As this tutorial is largely dealing with the Django Admin Interface, you may be able to follow along even if you have a somewhat different setup.
Step 1 — Enable the Admin
Whenever we begin doing work in Python and Django, we should activate our Python virtual environment and move into our app’s root directory. If you followed along with the series, you can achieve this by typing the following.
- cd ~/my_blog_app
- . env/bin/activate
In order to enable the Django Admin, we need to ensure that our app is part of the list of INSTALLED_APPS in the settings.py file.
Navigate to the directory of the settings file:
- cd ~/my_blog_app/blog/blog/
From here, open the settings.py file. If it’s not already there, add django.contrib.admin to the list of INSTALLED_APPS, using a text editor like nano.
- nano settings.py
The INSTALLED_APPS section of the file should be similar to the file below. Our app in the list is the one on the top, 'blogsite', but if you created an app of a different name, ensure that that app is listed in this file as demonstrated.
...
# Application definition
INSTALLED_APPS = [
    'blogsite',
    'django.contrib.admin',
    'django.contrib.auth',
    'django.contrib.contenttypes',
    'django.contrib.sessions',
    'django.contrib.messages',
    'django.contrib.staticfiles',
]
...
Be sure to save and close the file if you made changes. In nano, you can do this by typing CTRL and X then Y and then ENTER.
We can now open the urls.py file, again with nano or another text editor.
- nano urls.py
Under the comment at the top, the file should resemble the following.
…
"""
from django.contrib import admin
from django.urls import path

urlpatterns = [
    path('admin/', admin.site.urls),
]
If the file is different from what is above, copy and paste the lines above into your urls.py file.
Now that we have ensured that our Django web project has the appropriate code in the settings.py and urls.py files, we know our application will have access to the admin models and admin user interface.
Step 2 — Verify that Admin is an Installed App
We should next migrate the models to the database so that it picks up the newly added Admin models.
Navigate to the directory where the manage.py file is located.
- cd ~/my_blog_app/blog
Remember to run the migrate command whenever you make any changes to the models, like so.
- python manage.py migrate
If we did not make any changes to the files above, we should receive output similar to the following upon running the migrate command.
OutputOperations to perform:
  Apply all migrations: admin, auth, blogsite, contenttypes, sessions
Running migrations:
  No migrations to apply.
Otherwise, the output should indicate that Django made the migrations needed to support our app.
We can now start the server by running the following command. You can replace 0.0.0.0 with your IP address.
- python manage.py runserver 0.0.0.0:8000
Then navigate to the admin panel’s URL in a browser of your choice. Be sure to input your server’s IP address.
http://your-server-ip:8000/admin/
You will receive a login screen similar to this.
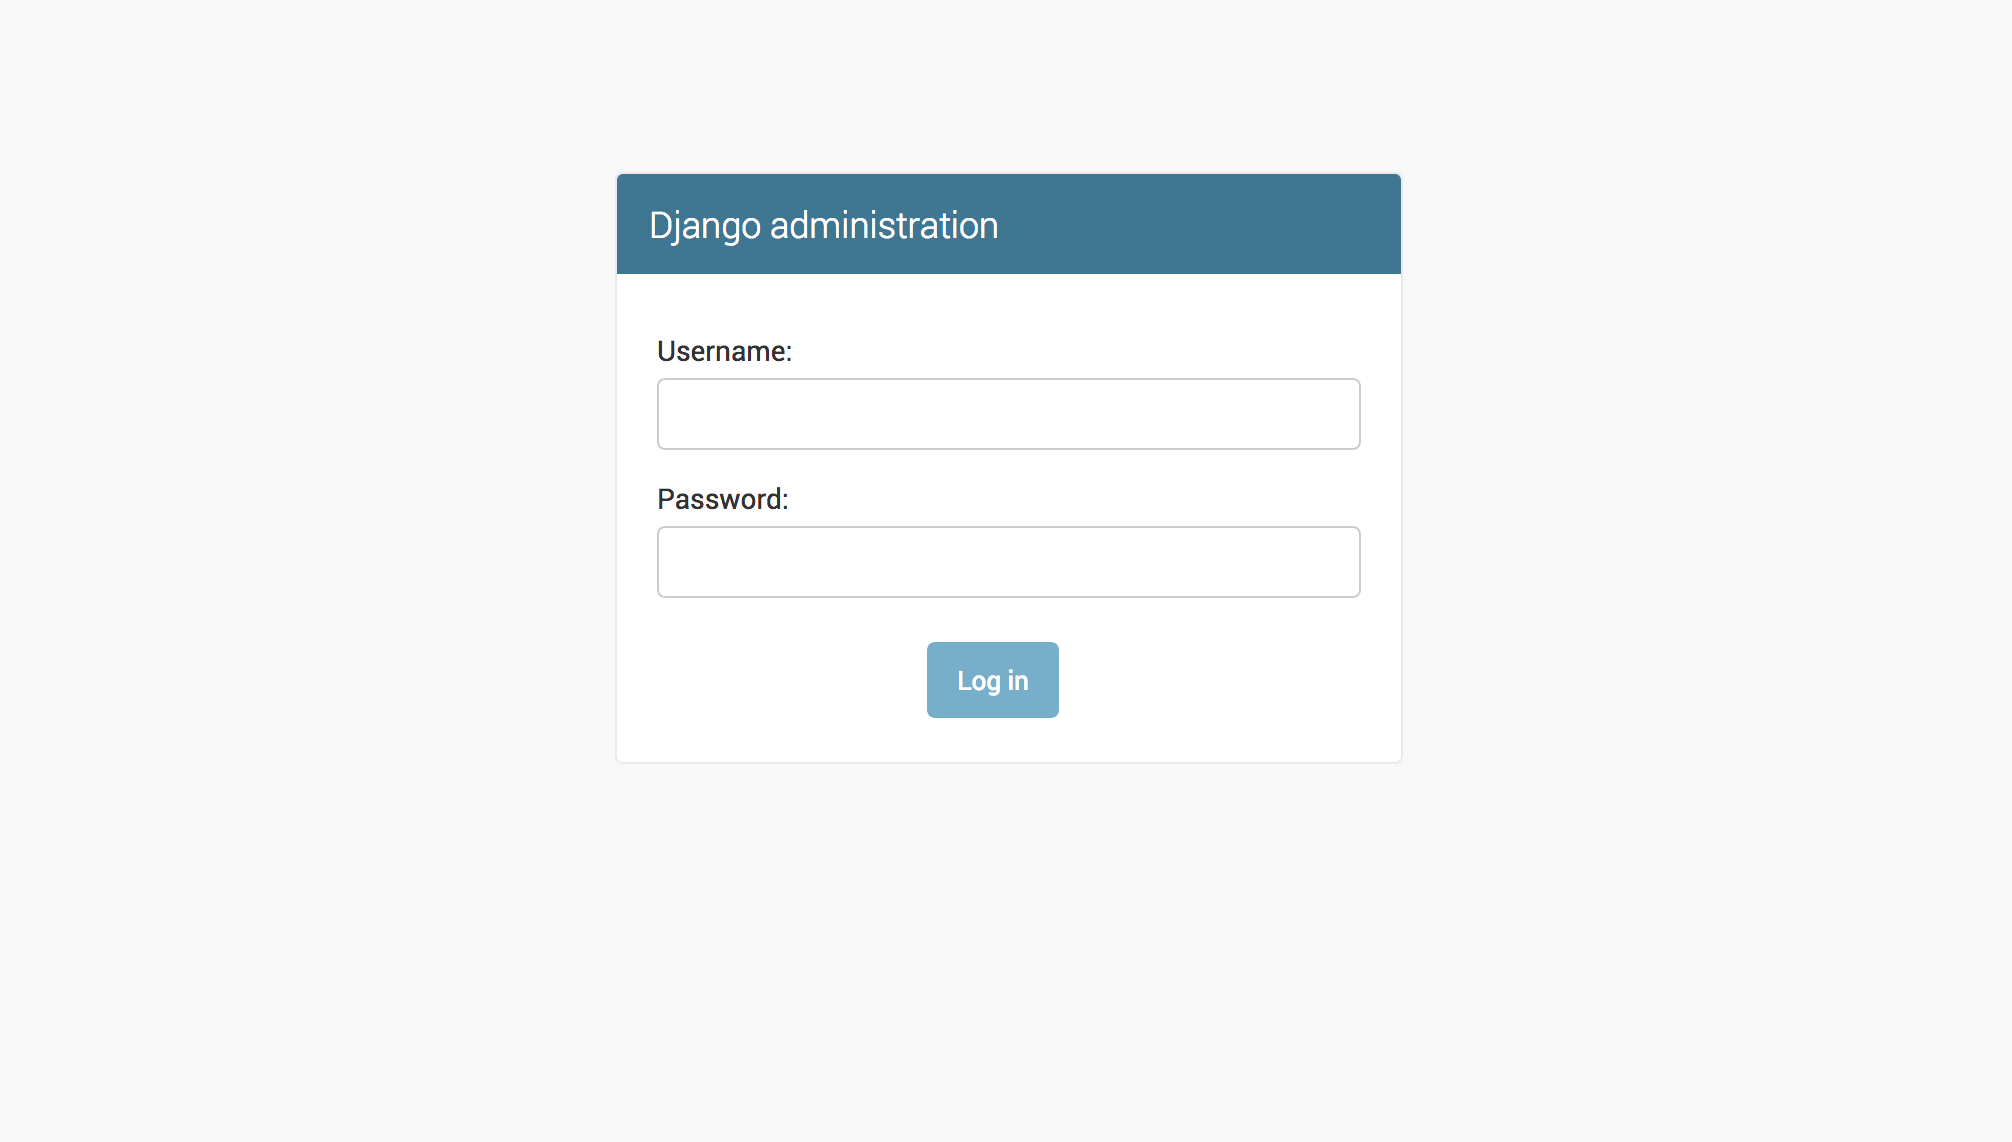
Getting to this screen lets us know that we have successfully enabled the admin app.
Though we have enabled the app, we may not have set up a Django administration account yet. We can create the admin account in order to login in the next step.
Step 3 — Create Admin Super-User Account
If you already have set up an admin account and can log into your admin page, you can skip this step.
Open a new terminal to connect to the server, or disable the Django app by pressing CTRL and C so that we can work on our server terminal’s programming environment.
Django allows you to generate a super-user account, which we can do by running the manage.py file to start the super-user creation process.
- python manage.py createsuperuser
Once we do so, we’ll be prompted to fill in details for our username, email, and password. In this tutorial, we’ll make an admin account with the username admin_user, the email sammy@example.com and the password admin123. You should fill this information in with your own preferences and be sure to use a secure password that you’ll remember.
OutputUsername (leave blank to use 'root'): admin_user
Email address: sammy@example.com
Then put in your password twice when you see the Password: prompt. You will not receive output from the keystrokes of your password when you enter it. Press enter after each prompt to confirm your password.
OutputPassword:
Password (again):
At this point, we now have an admin account with the username admin_user and the password admin123.
Let’s log in and investigate what exists on our admin page.
If needed, run the Django app again with python manage.py runserver 0.0.0.0:8000 and then navigate once more to the URL http://your-server-ip:8000/admin/ to get to the admin login page. Then log in with the username and password and password you just created.
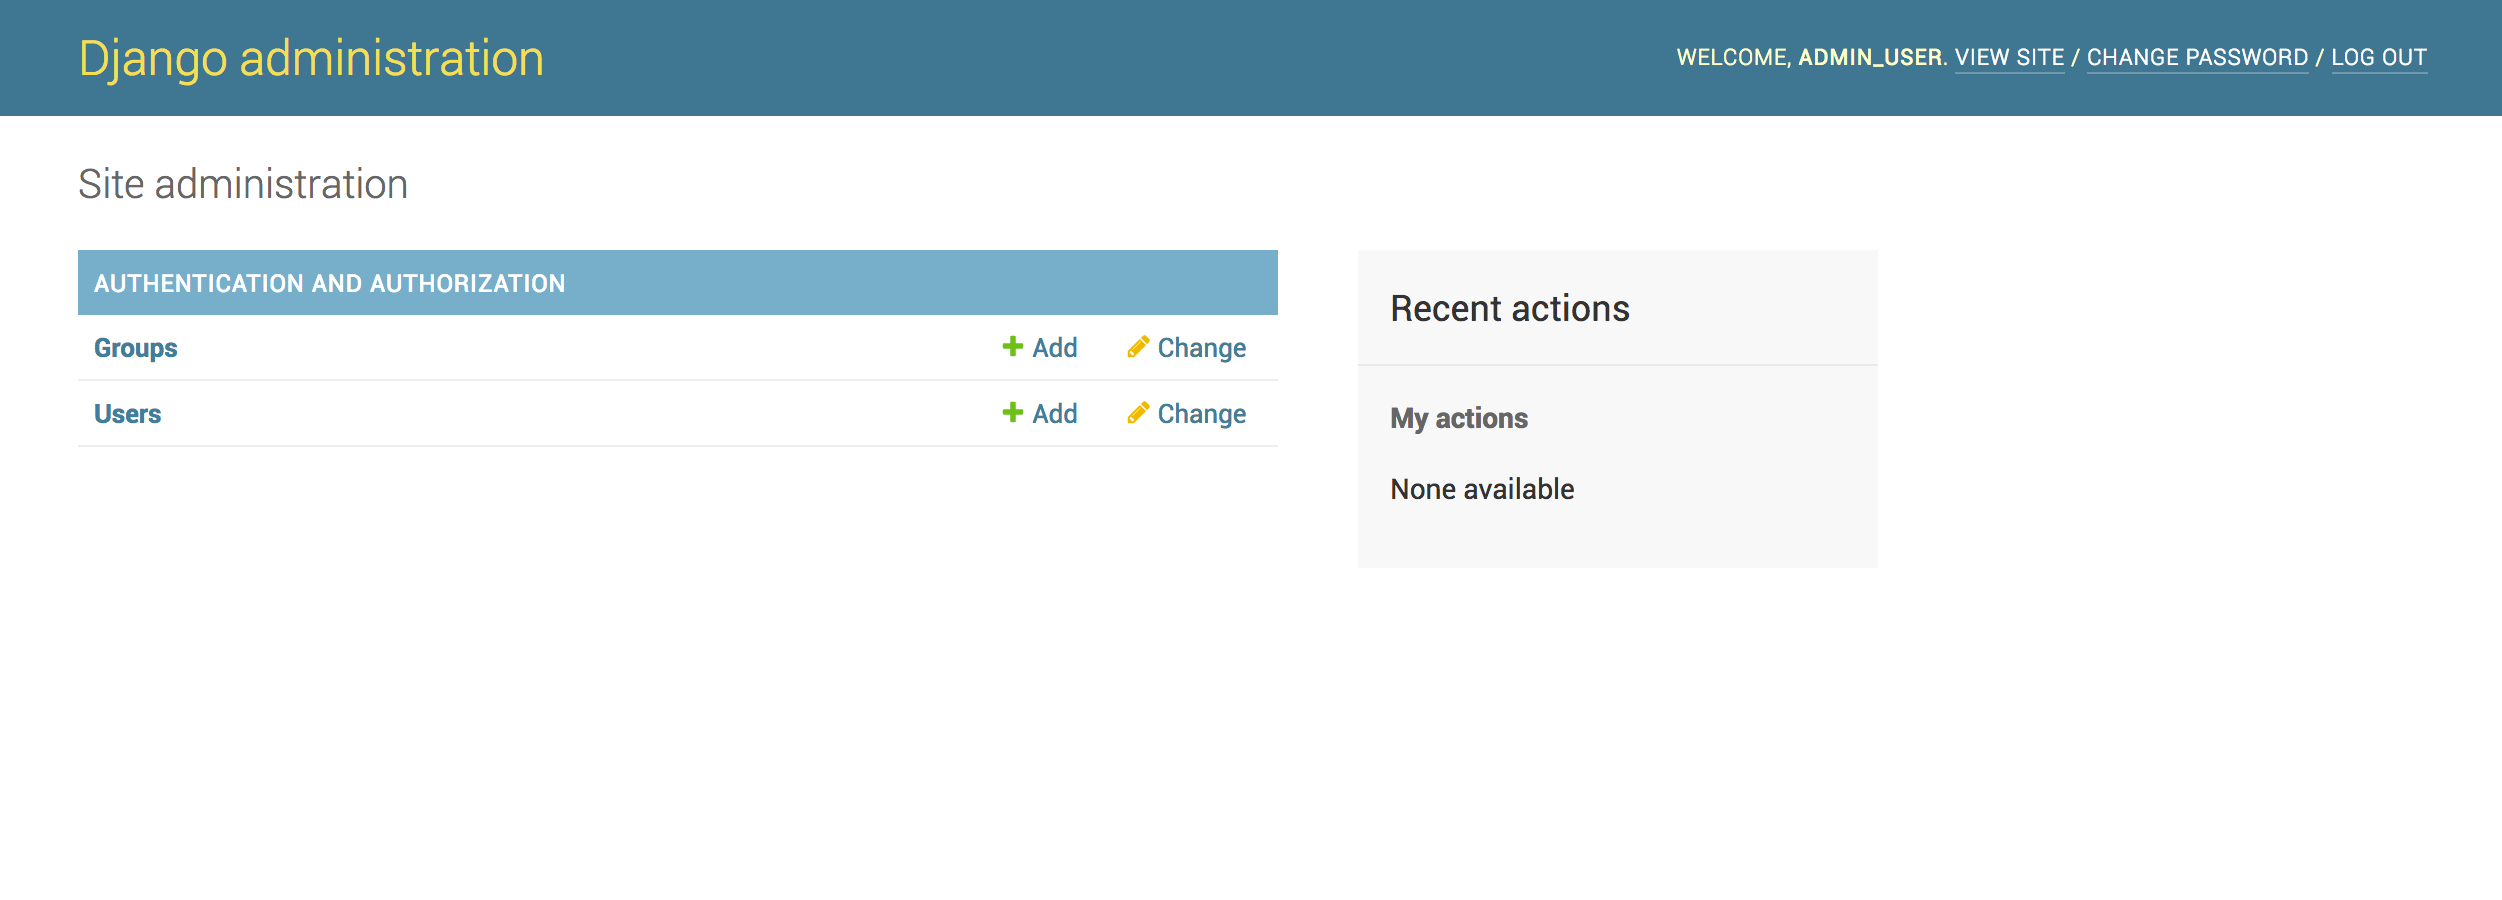
After a successful login, you’ll receive the following page.
Next, we will need to work on connecting our blog app to the admin panel.
Step 4 — Create URL Patterns for Post and Comment
In the previous step, we successfully logged into the admin interface, but you may have noticed that our blog app is not yet available there. To populate our admin interface with the blog app, we need to add and register it with the associated models Post and Comment.
To do this, we’ll create an empty file called urls.py, in the blogsite directory, like so:
- touch ~/my_blog_app/blog/blogsite/urls.py
In this file, we will add the URL pattern for our blog application so that we can access it via the admin interface.
Navigate to the location of that urls.py file we’ve just created.
- cd ~/my_blog_app/blog/blogsite/
Then open the file with nano, for instance.
- nano urls.py
Add the following lines of code to the file.
from django.urls import path
from . import views
urlpatterns = [
    path('$/', views.posts, name='posts'),
    path('$/', views.comments, name='comments'),
]
These are the URL pattern expressions needed to allow our application to access the views for Posts and Comments. We have not created those views yet, but will cover this later on in the series.
Step 5 — Connect the Blog App to Admin
Connecting our blog to the admin interface will allow us to see links for both the Posts and Comments inside the admin dashboard. Right now, the dashboard currently just displays links for Groups and Users.
To connect the two together, we need to register our Posts and Comments models inside of the admin file of blogsite.
Navigate to the blogsite directory:
- cd ~/my_blog_app/blog/blogsite
Then, open the admin.py file in a text editor of your choice.
- nano admin.py
The file will be populated with an import statement and a comment.
from django.contrib import admin

# Register your models here.
You should edit the file so that it contains the following code in order to support our app.
from django.contrib import admin
from blogsite.models import Post
from blogsite.models import Comment


admin.site.register(Post)
admin.site.register(Comment)
When you are satisfied with the file, save and exit.
You have now registered the Post and Comment models inside of the admin panel. This will enable the admin interface to pick these models up and show them to the user that is logged into and viewing the admin dashboard.
Step 6 — Verify that Blog App has Been Added to Admin
Now that you’ve added the relevant Python code, run the server. Open http://your-server-ip:8000/admin and log in to the admin using your credentials if you’re not logged in already. In this tutorial, we’ve been logging in with the username admin_user and password admin123.
Now that you’ve logged in, you should be served the following webpage. If it has not changed from before, you may need to refresh your browser.
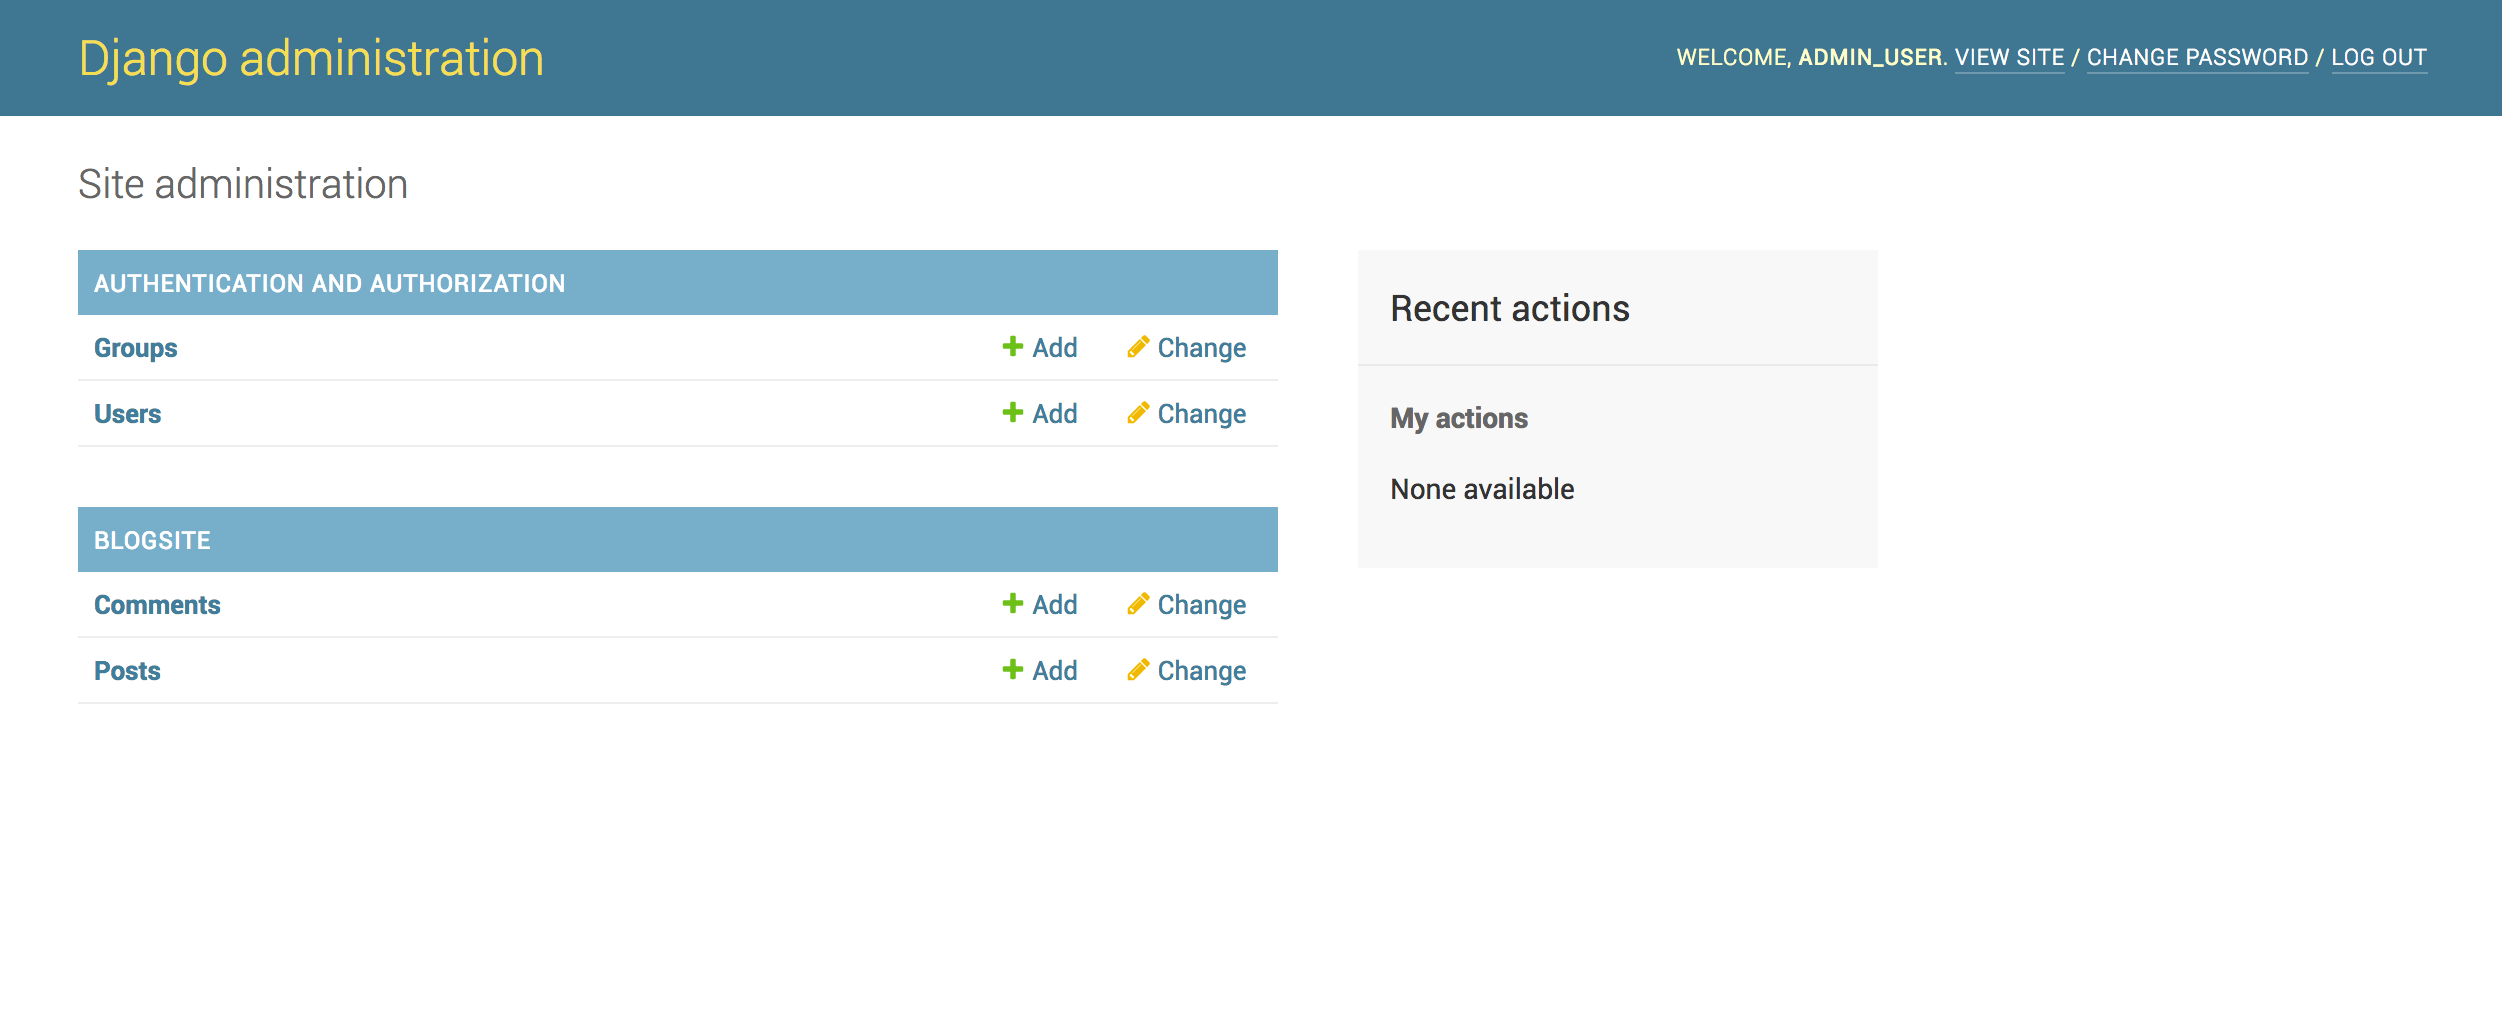
This verifies that we have now connected our app, blogsite, to the Django admin dashboard.
When you are done with testing your app, you can press CTRL + C to stop running the Django server. This will return you to your programming environment.
When you are ready to leave your Python environment, you can run the deactivate command:
- deactivate
Deactivating your programming environment will put you back to the terminal command prompt.
Conclusion
In this tutorial, you have successfully enabled the admin interface, created an admin login, and registered the Post and Comment models with the admin.
The Django admin interface is how you will be able to create posts and monitor comments with your blog.
Coming up in the series, we will be creating the views for the blog application.
Thanks for learning with the DigitalOcean Community. Check out our offerings for compute, storage, networking, and managed databases.
Tutorial Series: Django Development
Django is a free and open-source web framework written in Python. Django’s core principles are scalability, re-usability and rapid development. It is also known for its framework-level consistency and loose coupling, allowing for individual components to be independent of one another. Don’t repeat yourself (DRY programming) is an integral part of Django principles.
Browse Series: 5 tutorials
About the author(s)
Software Engineer at DigitalOcean
Community and Developer Education expert. Former Senior Manager, Community at DigitalOcean. Focused on topics including Ubuntu 22.04, Ubuntu 20.04, Python, Django, and more.
Still looking for an answer?
This textbox defaults to using Markdown to format your answer.
You can type !ref in this text area to quickly search our full set of tutorials, documentation & marketplace offerings and insert the link!
Nice explanation, your whole django tutorial is excellent. I hope you’ll continue with tutorial soon. I’m completely new to Django, and I’ve installed version 2.0. Everything works as you’ve described in tutorial, except that no data (post or comment) is saved to database when I enter it in admin interface.
I appreciate the efforts you people put in to share blogs on such kind of topics, it was indeed helpful. Keep Posting!
This comment has been deleted
 This work is licensed under a Creative Commons Attribution-NonCommercial- ShareAlike 4.0 International License.
Become a contributor for community
Get paid to write technical tutorials and select a tech-focused charity to receive a matching donation.

DigitalOcean Documentation
Full documentation for every DigitalOcean product.

Resources for startups and AI-native businesses
The Wave has everything you need to know about building a business, from raising funding to marketing your product.
The developer cloud
Scale up as you grow — whether you're running one virtual machine or ten thousand.

Start building today
From GPU-powered inference and Kubernetes to managed databases and storage, get everything you need to build, scale, and deploy intelligent applications.
