By Dave Berning and Timothy Nolan

The author selected Open Sourcing Mental Illness to receive a donation as part of the Write for DOnations program.
Introduction
Vue.js is a popular JavaScript framework for creating user interfaces. Created in 2014 by Evan You (formally of Google), Vue.js is often described as a combination of React and Angular, borrowing the prop-driven development of React and the templating power of Angular. This makes Vue an accessible framework for beginners to pick up, especially since it focuses on traditional HTML and CSS, rather than being a CSS-in-JS framework like React or relying on TypeScript (a superset of JavaScript) like Angular does.
When starting a new project, it’s best to familiarize yourself with the technology’s tools and features. One important tool for Vue.js development is its command line interface (CLI) known as Vue CLI 3. The Vue CLI offers a number of useful features that enhance the Vue development experience, but the main feature is its ability to generate and pre-configure a new single-page application with the vue create command.
By the end of this tutorial, you will have a working Vue.js application running on a local Node server. This local server uses hot module reloading via Webpack to provide immediate feedback, rendered in-browser as you work. Along the way, you will create .vue single-file components (SFC), such as a header and a footer. All of this you can save as a solid foundation for any future Vue projects.
Prerequisites
To follow this tutorial, you will need the following:
-
Node.js version
10.6.0or greater installed on your computer. To install this on macOS or Ubuntu 18.04, follow the steps in How To Install Node.js and Create a Local Development Environment on macOS or the Installing Using a PPA section of How To Install Node.js on Ubuntu 18.04 -
You will also need a basic knowledge of JavaScript, HTML, and CSS, which you can find in our How To Build a Website With HTML series, How To Build a Website With CSS series, and in How To Code in JavaScript.
Step 1 — Downloading Vue CLI 3
To download Vue CLI 3, you will need to run a command either via npm or Yarn, whichever you prefer. npm or Node Package Manager is a way to download and manage other people’s code to use in your project as a dependency. Yarn, on the other hand, executes NPM commands under the hood but provides additional features like caching. It’s up to personal preference regarding which one to use. However, it is important to note that it’s not recommended to mix commands. It’s best to be consistent with one or the other for the duration of your project.
Moving forward, this tutorial will use npm commands. The following command will download the necessary Vue CLI files from the registrar, which in this case is the npm (Node Package Manager) service:
- npm i -g @vue/cli
Note: On some systems, installing an npm package globally can result in a permission error, which will interrupt the installation. Since it is a security best practice to avoid using sudo with npm install, you can instead resolve this by changing npm’s default directory. If you encounter an EACCES error, follow the instructions at the official npm documentation.
You install this globally in order to use the CLI anywhere on your machine. If you don’t install this globally, it will only work in the directory that you installed it at. In the case of the command options, i means “install” and -g is a flag to install the code globally on your computer.
To verify if Vue CLI 3 was properly installed, run the following:
- vue --version
You will receive the following output with a version number. Your version number may differ, but if you receive a response with a version number, you’ve properly installed Vue CLI 3:
Output@vue/cli 4.5.6
To update Vue CLI 3, run the previous commands in this section, and the latest version will be installed.
At this point, you have successfully downloaded npm globally along with the Vue CLI tool that you will use in the next section to create a generated Vue.js project.
Step 2 — Generating a Single-Page Application
As you develop Vue.js applications, you may find that manually configuring a project is not the most productive use of your time, since configuring a new Vue.js project from scratch can take hours. This is the true power of Vue CLI: It provides you with a pre-generated template that is based on your specifications. Because of this, it’s already configured so you can start developing your website or application right away. Vue CLI 3 will ask you a few questions via a command line prompt about your project, download the required files, and pre-configure it for you so you are ready to work as soon as it’s done.
To generate a single-page application, navigate to the directory you’d like your Vue project in, then run the following:
- vue create vue-starter-project
The highlighted section of the command is the name of the root directory of the project. This will be the name of the folder that contains all of your Vue.js project files. This can be whatever you’d like, but in the case of this tutorial, you will use vue-starter-project.
Once you type out that command, continue by pressing Enter. You will then receive the following prompt:
Vue CLI v4.5.6
? Please pick a preset:
  Default ([Vue 2] babel, eslint)
  Default (Vue 3 Preview) ([Vue 3] babel, eslint)
❯ Manually select features
If you do not want to configure your project and opt for the defaults, you can do so with either Vue 2 or Vue 3. For the purpose of this tutorial though, it’s recommended to manually select your features. By selecting specific features, you will see how each option you selected was installed by the CLI.
Select Manually select features with ENTER. Immediately you’ll receive a number of different options, including: Choose Vue version, TypeScript, Router, and Vuex. Notice that some of these items are already selected (the bubble is filled in). You may select as many or as few as you’d like. However, for this tutorial, select the following by pressing <space> on the entry:
...
 ◉ Choose Vue version
 ◉ Babel
 ◉ TypeScript
 ◯ Progressive Web App (PWA) Support
 ◉ Router
 ◉ Vuex
 ◉ CSS Pre-processors
 ◉ Linter / Formatter
❯◯ Unit Testing
 ◯ E2E Testing
Once you have your options selected, press the ENTER key. The CLI will ask you further questions regarding each of the features you selected for your project, in order. The first question will ask which version of Vue you’d like to use: 2.x or 3.x. You’ll use Vue 3 for this tutorial, but you may want to use Vue 2 if you want greater support from the Vue Community:
...
? Choose a version of Vue.js that you want to start the project with
  2.x
❯ 3.x (Preview)
The next question is regarding TypeScript integration. If you are not familiar with TypeScript, that’s alright. This option was intentionally selected to illustrate how Vue CLI 3 downloads what you defined as required for unique project. This tutorial will not use the class-style syntax, but will use Babel alongside TypeScript.
When encountering the following, enter N:
...
Use class-style component syntax? (y/N) N
In the following prompt, enter Y:
...
? Use Babel alongside TypeScript (required for modern mode, auto-detected polyfills, transpiling JSX)? (Y/n) Y
Next, Vue CLI will ask about history mode. History mode will make each route its own URL. This means you will not have the /#/ (hash) in your application’s URL. If you do use history mode, you will need a Node server to run your project. This is not a problem, because Vue CLI 3 provides you with a Node server.
Type Y to answer yes to history mode:
...
? Use history mode for router? (Requires proper server setup for index fallback in production) (Y/n) Y
The next question is regarding CSS pre-processors such as Sass or LESS. A CSS pre-processor is CSS with added features like nesting and variables. The browser cannot read this, so when the project is built, Node will compile all of your SCSS or LESS code to traditional CSS. Since you are using Node to build your project, it’s recommended to select Sass/SCSS (with node-sass) as your pre-processor. Later on, you’ll add lang attributes in your .vue components to enable SCSS on a per component basis:
...
? Pick a CSS pre-processor (PostCSS, Autoprefixer and CSS Modules are supported by default):
  Sass/SCSS (with dart-sass)
❯ Sass/SCSS (with node-sass)
  Less
  Stylus
After that, you will receive some questions regarding the linter style. A linter is a program that evaluates your code as you develop your application. This linter can enforce a number of syntactical rules during development. In addition to this, your integrated development environment (IDE) can read this configuration file and format your code on save. This will keep your code consistent no matter who works on your project and what operating system or IDE a developer is using.
For this tutorial, choose ESLint + Standard config:
...
? Pick a linter / formatter config:
  ESLint with error prevention only
  ESLint + Airbnb config
❯ ESLint + Standard config
  ESLint + Prettier
  TSLint (deprecated)
This selects a set of rules for ESLint to enforce. These configurations include options like the use of trailing commas, semi-colons at the end of a line, or using const over var in JavaScript.
The next option is selecting when you want ESLint to format your code. This can be either on save or when you commit your code to a service like GitHub, GitLab, or BitBucket. It’s recommended to select Lint on save so you can review any changes before committing to version control:
...
? Pick additional lint features: (Press <space> to select, <a> to toggle all, <i> to invert selection)
❯◉ Lint on save
 ◯ Lint and fix on commit
Once you select your lint features, Vue CLI will ask you about how you want to store these configurations, whether in dedicated files or in the package.json. It’s considered standard practive to store configurations in their own files for a few reasons. One, configurations are easier to share between projects this way, and two, you’ll be keeping your package.json as legible as possible by only defining the important information about your app:
...
? Where do you prefer placing config for Babel, ESLint, etc.? (Use arrow keys)
❯ In dedicated config files
  In package.json
Once you are done, the CLI tool will ask if you want to save this selection as a preset for future projects. This is useful if you are generating projects for your employer and you want everything to stay consistent.
Go ahead and save this configuraion as a preset; Vue CLI will ask you to rename it. Name it DigitalOcean Vue Tutorial Series:
...
? Save this as a preset for future projects? Yes
? Save preset as: DigitalOcean Vue Tutorial Series
Now you can use these exact same settings for a future project.
At this point, you will have something along the lines of this in your terminal summarizing all of your options:
? Please pick a preset: Manually select features
? Check the features needed for your project: Choose Vue version, Babel, TS, Router, Vuex, CSS Pre-processors, Linter
? Choose a version of Vue.js that you want to start the project with 3.x (Preview)
? Use class-style component syntax? No
? Use Babel alongside TypeScript (required for modern mode, auto-detected polyfills, transpiling JSX)? Yes
? Use history mode for router? (Requires proper server setup for index fallback in production) Yes
? Pick a CSS pre-processor (PostCSS, Autoprefixer and CSS Modules are supported by default): Sass/SCSS (with node-sass)
? Pick a linter / formatter config: Standard
? Pick additional lint features: Lint on save
? Where do you prefer placing config for Babel, ESLint, etc.? In dedicated config files
? Save this as a preset for future projects? (y/N)
Press ENTER, and Vue CLI will start creating your app.
When completed, cd (change directory) in your project name (vue-starter-project):
- cd vue-starter-project
Next, start the application with npm run serve. This will run your project at a port on your localhost, usually :8080. If it’s a different port, the CLI will tell you:
- npm run serve
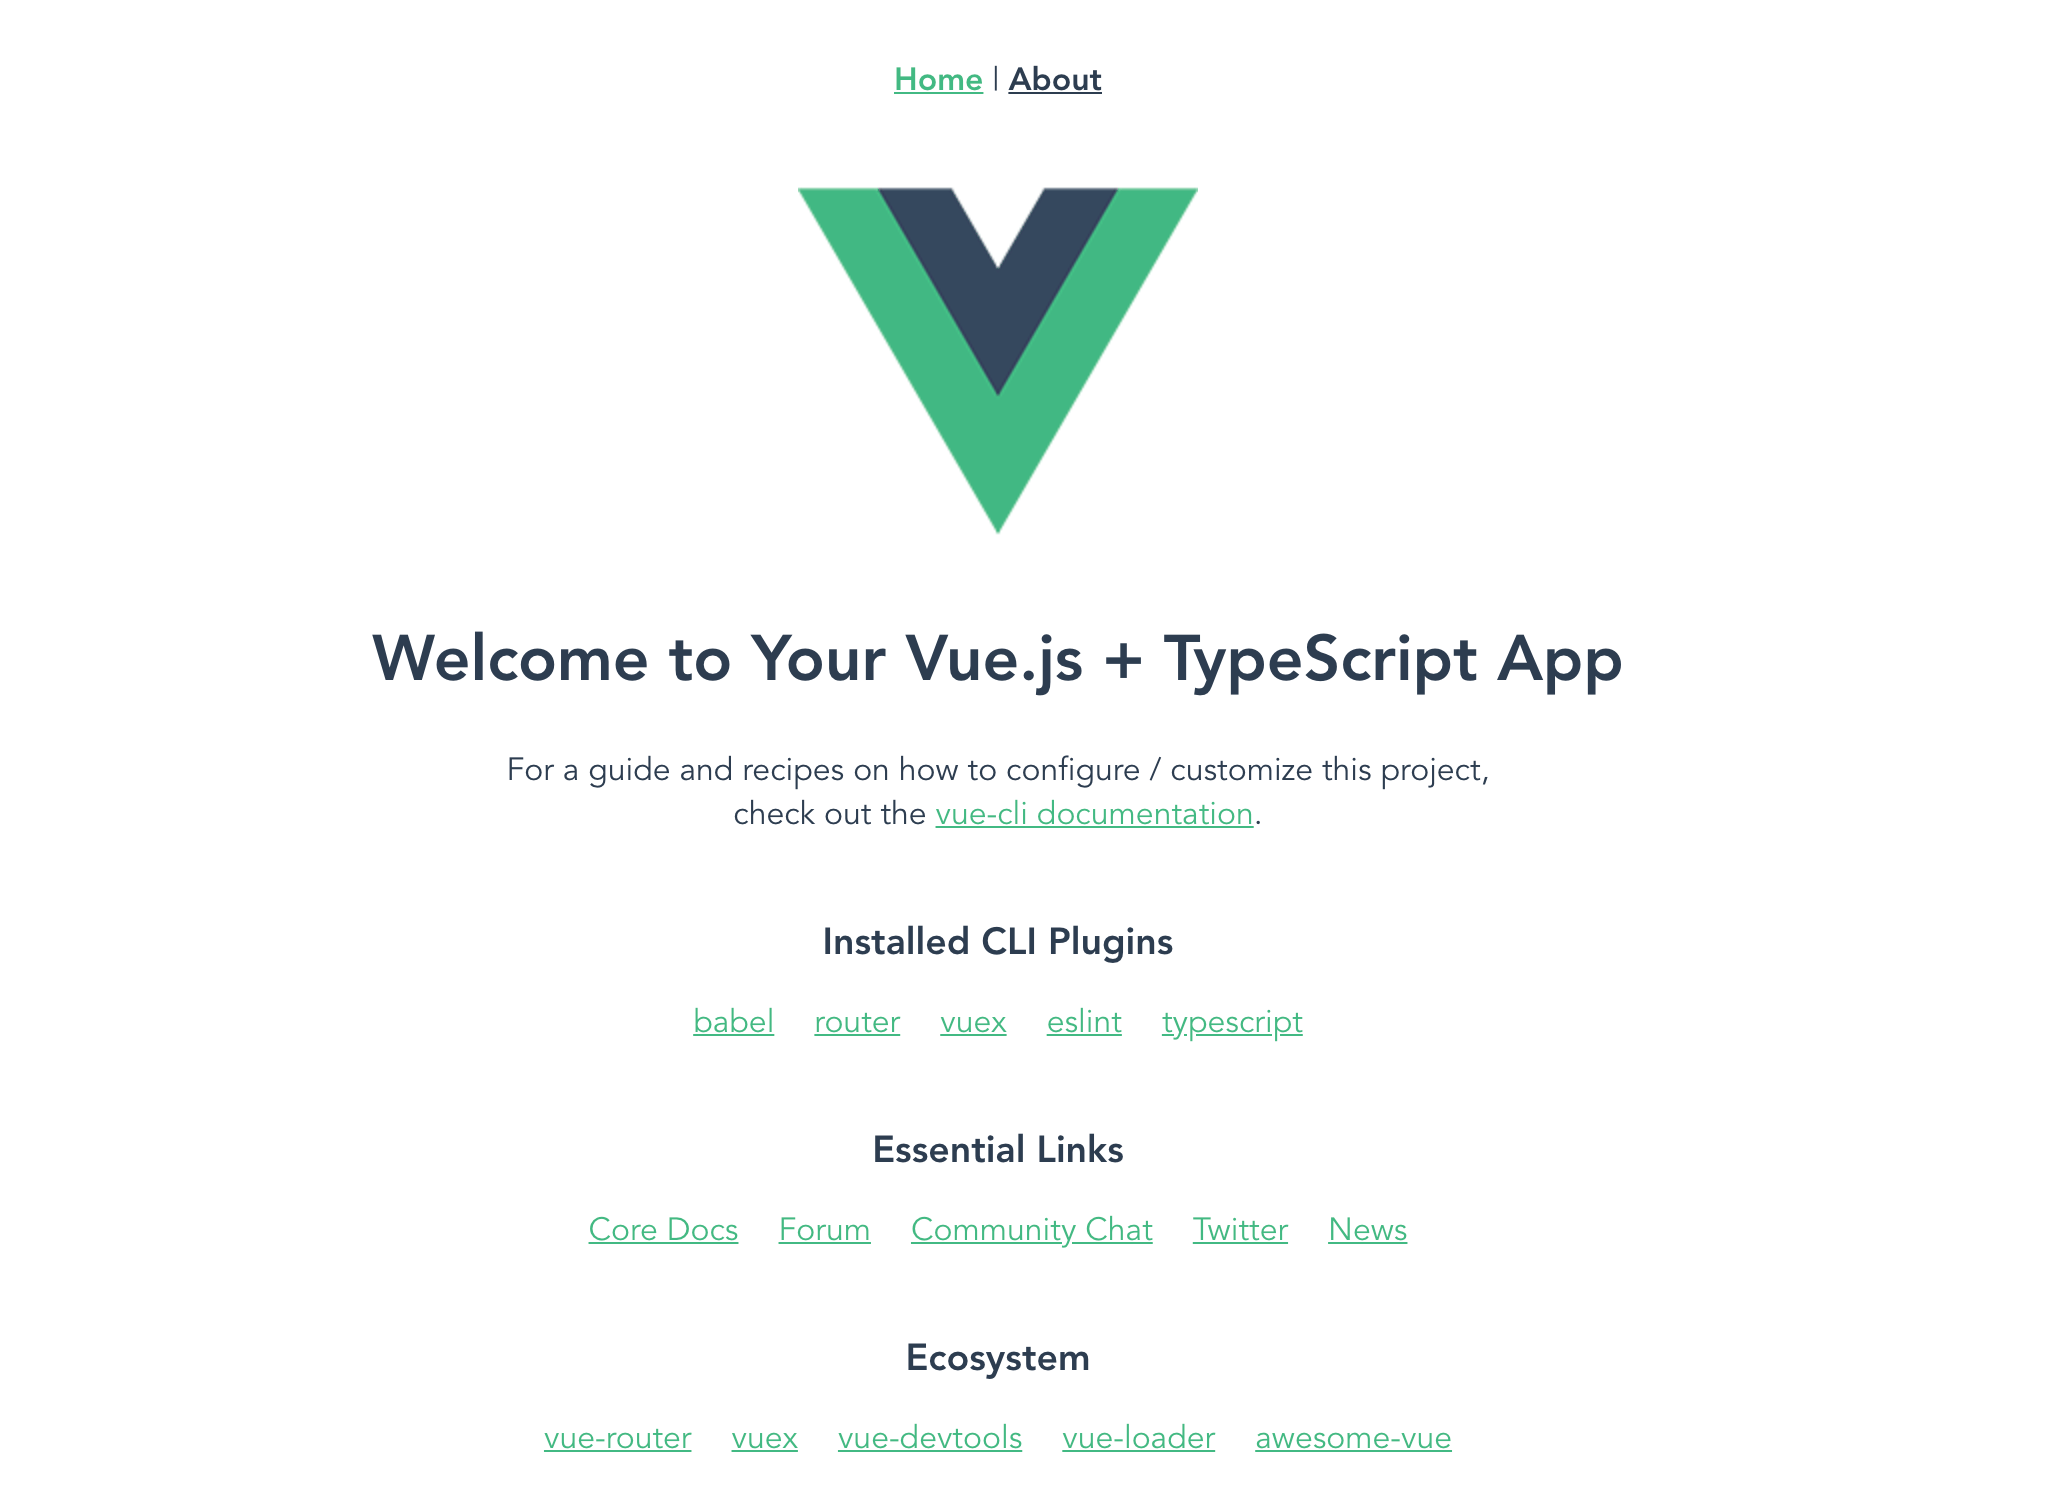
You do not need to download dependencies, as the CLI already did that for you. To view your generated project, open your browser of choice and visit localhost:8080 in the URL bar. You will find a welcome screen with the Vue logo and the technologies you’ve selected in the previous steps.
You can leave this server running throughout this tutorial to monitor your changes.
In this section, you selected a number of options specific to the project you are creating. Vue CLI downloaded all of the code needed and pre-configured it for you. You can now start working in the generated code base, including creating your own single-file .vue components.
Step 3 — Creating a Header Component
Now that you have a single-page application running on a Node server, make some changes to this by creating a standard header and footer. These AppHeader.vue and AppFooter.vue components will be imported in such a way that they’ll be present on each route.
In a new terminal window, navigate into the root of your vue-starter-project folder and list out the files with the following command:
- ls
You will receive the following output:
OutputREADME.md babel.config.js node_modules package-lock.json package.json public src tsconfig.json
You can also view the contents of your project by opening your project in your editor of choice, such as Visual Studio Code. In either case, you will have access to a number of different files and directories. These config files in the root directory have been created because of the selections made during the intial generation of this project. The option In dedicated config files told Vue CLI to create config.js files for each service you are using, such as Babel, TypeScript, and ESLint. In addition to these files, there are a number of directories. This tutorial will go over these as you get to them.
First, create a .vue file in the components directory and name it AppHeader.vue. You can do this right-clicking in the components directory and creating a new file in IDEs like VS Code. If you prefer terminal commands, you can do this in your computer’s terminal with the bash command touch:
- touch src/components/AppHeader.vue
In this step, you are creating a single-file component that will contain all of the HTML, JavaScript, and SCSS that this chunk of code needs. Every .vue component contains three basic concerns or sections: <template>, <script>, and <style>. In this case, template is the component’s HTML.
Open up the new file in your text editor.
In this file, create a header by using the <header> tag inside of <template>. Inside of this <header>, add the Vue.js logo and a <p> element with the content My Vue.js Application:
<template>
  <header>
    <img alt="Vue logo" src="../assets/logo.png" height="50">
    <p>My Vue.js Application</p>
  </header>
</template>
Keep your development server running throughout development. If you close or cancel the server process, you will not be able to view your application in the browser.
Save the file.
At this point, when you open your browser, you will not see the HTML rendered. That is because you need to import the newly created AppHeader.vue component into a component that is already mounted. Since App.vue is your main entry point, it’s best to import it there so our header appears on every route.
Open up the App.vue file in your text editor, then delete the div with the ID of nav and add the following highlighted code:
<template>
  <app-header />
  <router-view/>
</template>

<script>
import AppHeader from '@/components/AppHeader.vue'

export default {
  components: {
    AppHeader
  }
}
</script>
When you import using ES6, you are essentially creating a variable to later reference in your code. In this case, you are storing the code from AppHeader.vue into a variable called AppHeader. You need to register it via the components property before you can use it.
Once it’s imported, you deleted the #nav in the template and added <app-header /> before the <router-view />. This renders the component in the HTML.
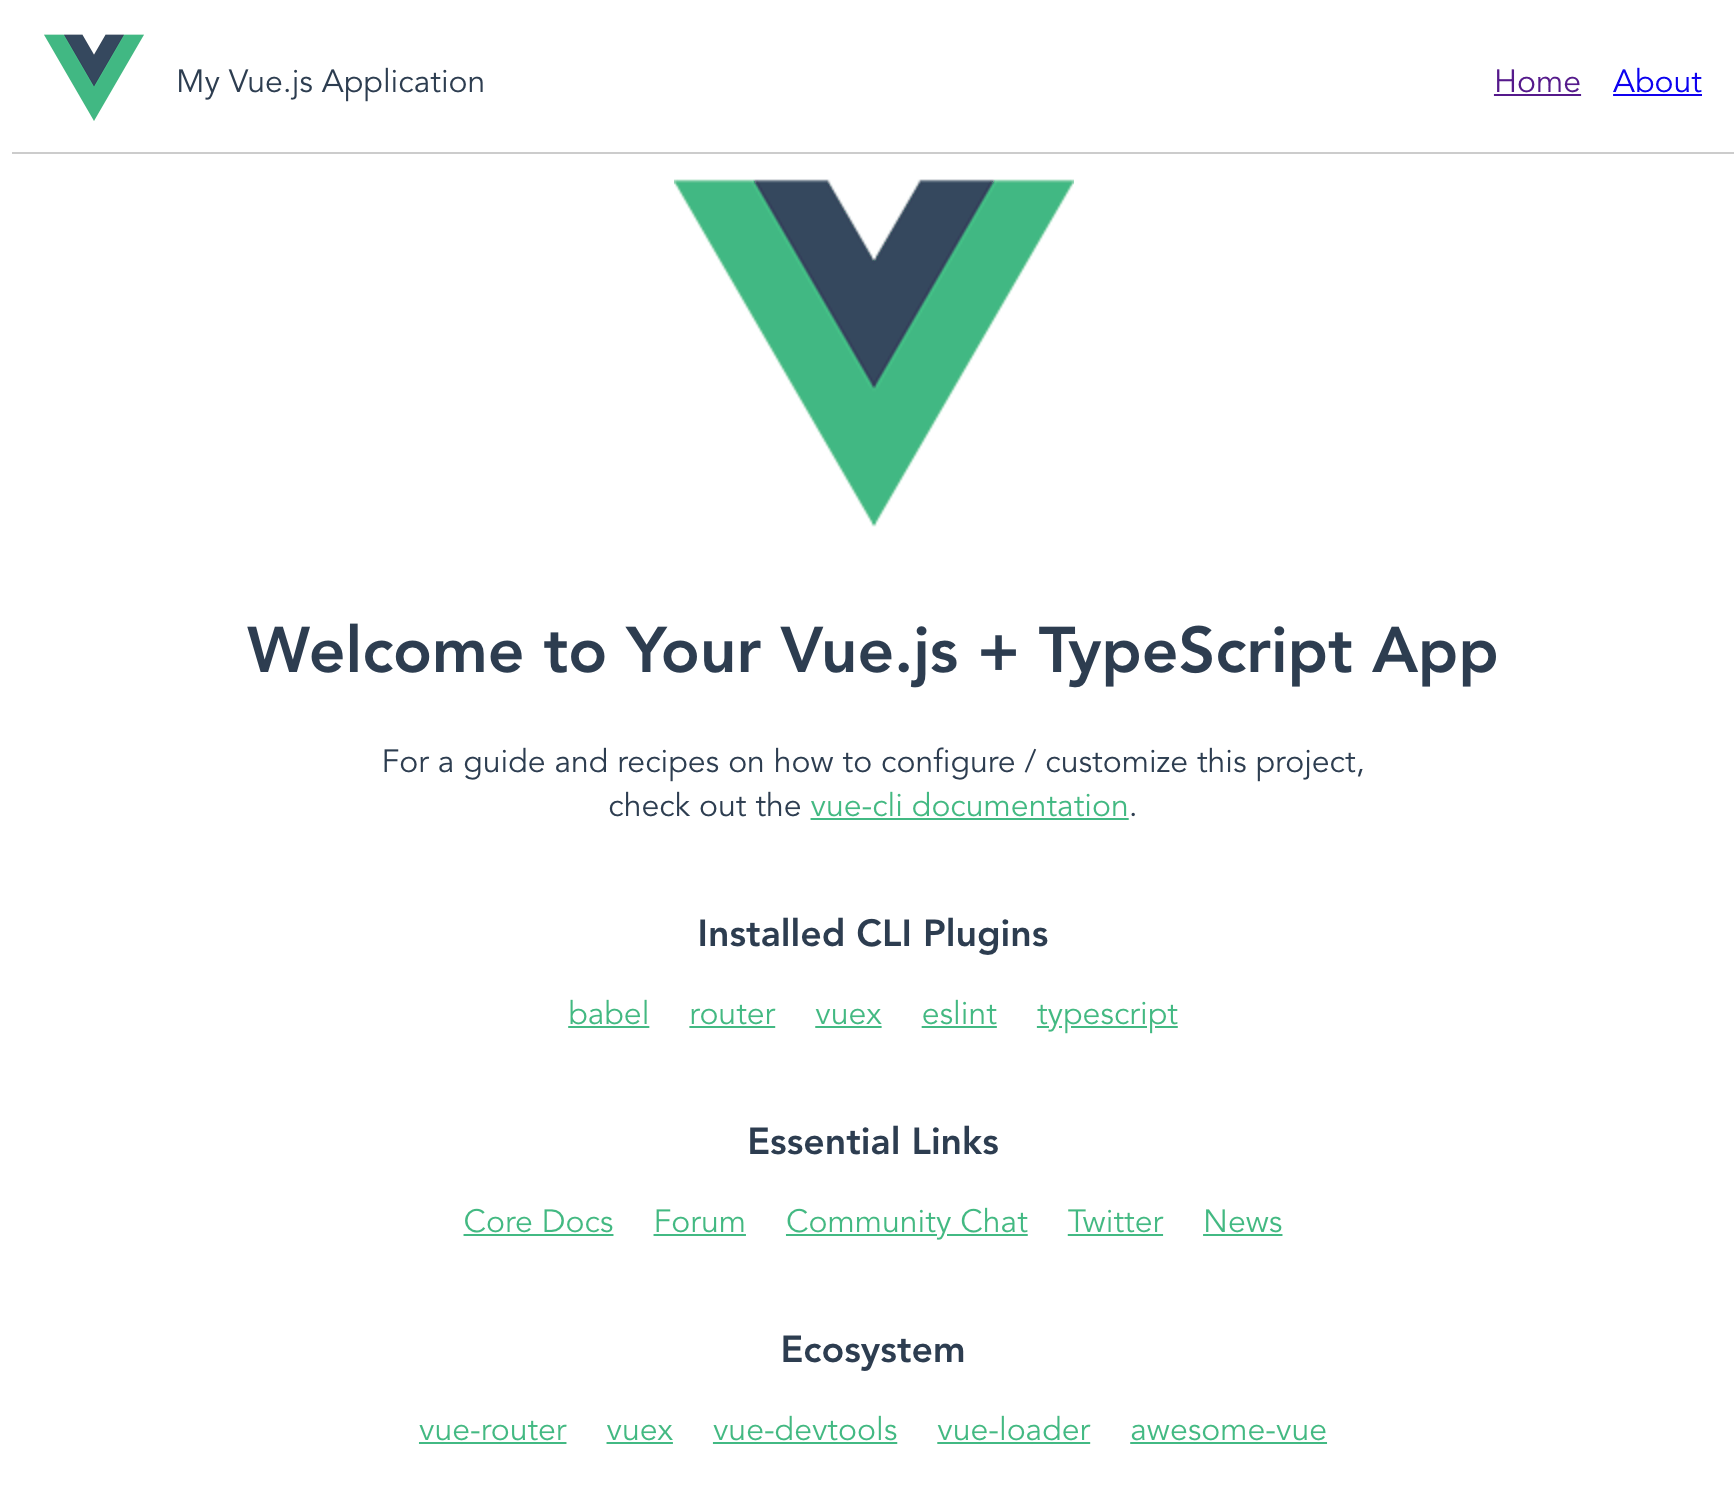
After completing this step, save any unsaved file and open your browser back to localhost:8080. Thanks to hot module reloading, you will now find your newly created header at the top of the page:

You’ve now created a single-file Vue component, used import to bring it into a mounted component, and monitored the change with hot module reloading (HMR). Moving forward, you will extend the functionality of components through the use of child components. You will also use SCSS (the pre-processor you selected earlier) on a per component basis with the lang attribute.
Now that the header is imported properly into the application, return to AppHeader.vue in your text editor. Add navigation underneath <p>My Vue.js Application</p> by adding the following highlighted code:
<template>
  <header>
    <img alt="Vue logo" src="../assets/logo.png" height="50">
    <p>My Vue.js Application</p>
    <nav>
      <ul>
        <li><router-link to="/">Home</router-link></li>
        <li><router-link to="/about">About</router-link></li>
      </ul>
    </nav>
  </header>
</template>
Now, style this to make it look more like a traditional navigation bar. Create a <style> tag at the end of the file.
<template>
  <header>
    <img alt="Vue logo" src="../assets/logo.png" height="50">
    <p>My Vue.js Application</p>
    <nav>
      <ul>
        <li><router-link to="/">Home</router-link></li>
        <li><router-link to="/about">About</router-link></li>
      </ul>
    </nav>
  </header>
</template>

<style lang="scss">
</style>
During the inital setup, you selected the Sass/SCSS (with node-sass) option. This is why you added on the lang="scss" attribute to your style tag. If you are unfamiliar with SCSS, it’s recommended to view their official documentation for specifics on when to use nesting or variables.
This lang attribute will give you the ability to write SCSS in your single-file component. Add the following highlighted contents in the style element:
...
<style lang="scss">
  header {
    display: flex;
    border-bottom: 1px solid #ccc;
    padding: .5rem 1rem;

    p {
      margin-left: 1rem;
    }
  }

  nav {
    margin-left: auto;

    ul {
      list-style: none;
    }

    ul li {
      display: inline-flex;
      margin-left: 1rem;
    }
  }
</style>
This SCSS creates a horizontal navigation bar with declarations such as display: inline-flex (using Flexbox) and spaces each item out with margin-left auto. To separate the header from the rest of the content, some padding is applied with padding: .5rem 1rem along with a bottom border using border-bottom: 1px solid #ccc. You may notice that the p styles are inside of the header SCSS block. In traditional CSS, that is not allowed, but thanks for SCSS, you can do that. This is refered to as nesting. In this case, the p inside the header is the same as selecting header p in traditional CSS.
Save your file and navigate to localhost:8080 in your browser to find the new style:
You now have created and styled your header component. Next, you will create the footer component.
Step 4 — Creating the Footer Component
Now that you have a header, you will complete your example application with a footer. In the same components directory, create a new file with the name AppFooter.vue. The process of creating this component is the same as creating the AppHeader.vue. You can create the file in your editor or through the touch base command.
- touch src/components/AppFooter.vue
As before, import this into your App.vue file. Open up App.vue and add the following highlighted code:
<template>
  <app-header />
  <router-view/>
  <app-footer />
</template>

<script>
import AppHeader from '@/components/AppHeader.vue'
import AppFooter from '@/components/AppFooter.vue'

export default {
  components: {
    AppHeader,
    AppFooter
  }
}
</script>
...
This time, you’re importing the component after the router-view tag.
Save the file, then open up AppFooter.vue. In your AppFooter.vue file, use the <footer> HTML tag with a paragraph:
<template>
<footer>
<p>Copyright © "current year" </p>
</footer>
</template>
You now have a basic footer. Continue to expand on this to include the current year programmatically. This will be dynamic depending on what the year is. To achieve this, you will create a computed property. A computed property is a reactive value calculated with JavaScript.
In Vue 3, you need to wrap your properties in the setup() function and return these values. Essentially, you are telling Vue to construct this component and provide the template to these reactive computed properties.
To create a computed property, you’ll first need to deconstruct the computed function from the vue library. You will store this computed function and its value into a const. In Vue 3, you need to pass an anonymous function that returns a value:
const year = computed(() => new Date().getFullYear())
To add the setup function to your file, add the following script to the end of AppFooter.vue:
...
<script>
import { computed } from 'vue'

export default {
  setup () {
    const year = computed(() => new Date().getFullYear())
  }
}
</script>
After that, you will need to provide access to the computed property you created for the <template> to consume and render. Return an object with the year property and value in your setup() function:
...
setup () {
  const year = computed(() => new Date().getFullYear())
  return { year }
}
...
To use this value in the <template>, use interpolation with double curly braces. This is sometimes referred to the “moustache syntax”:
<template>
<footer>
<p>Copyright © {{ year }}</p>
</footer>
</template>
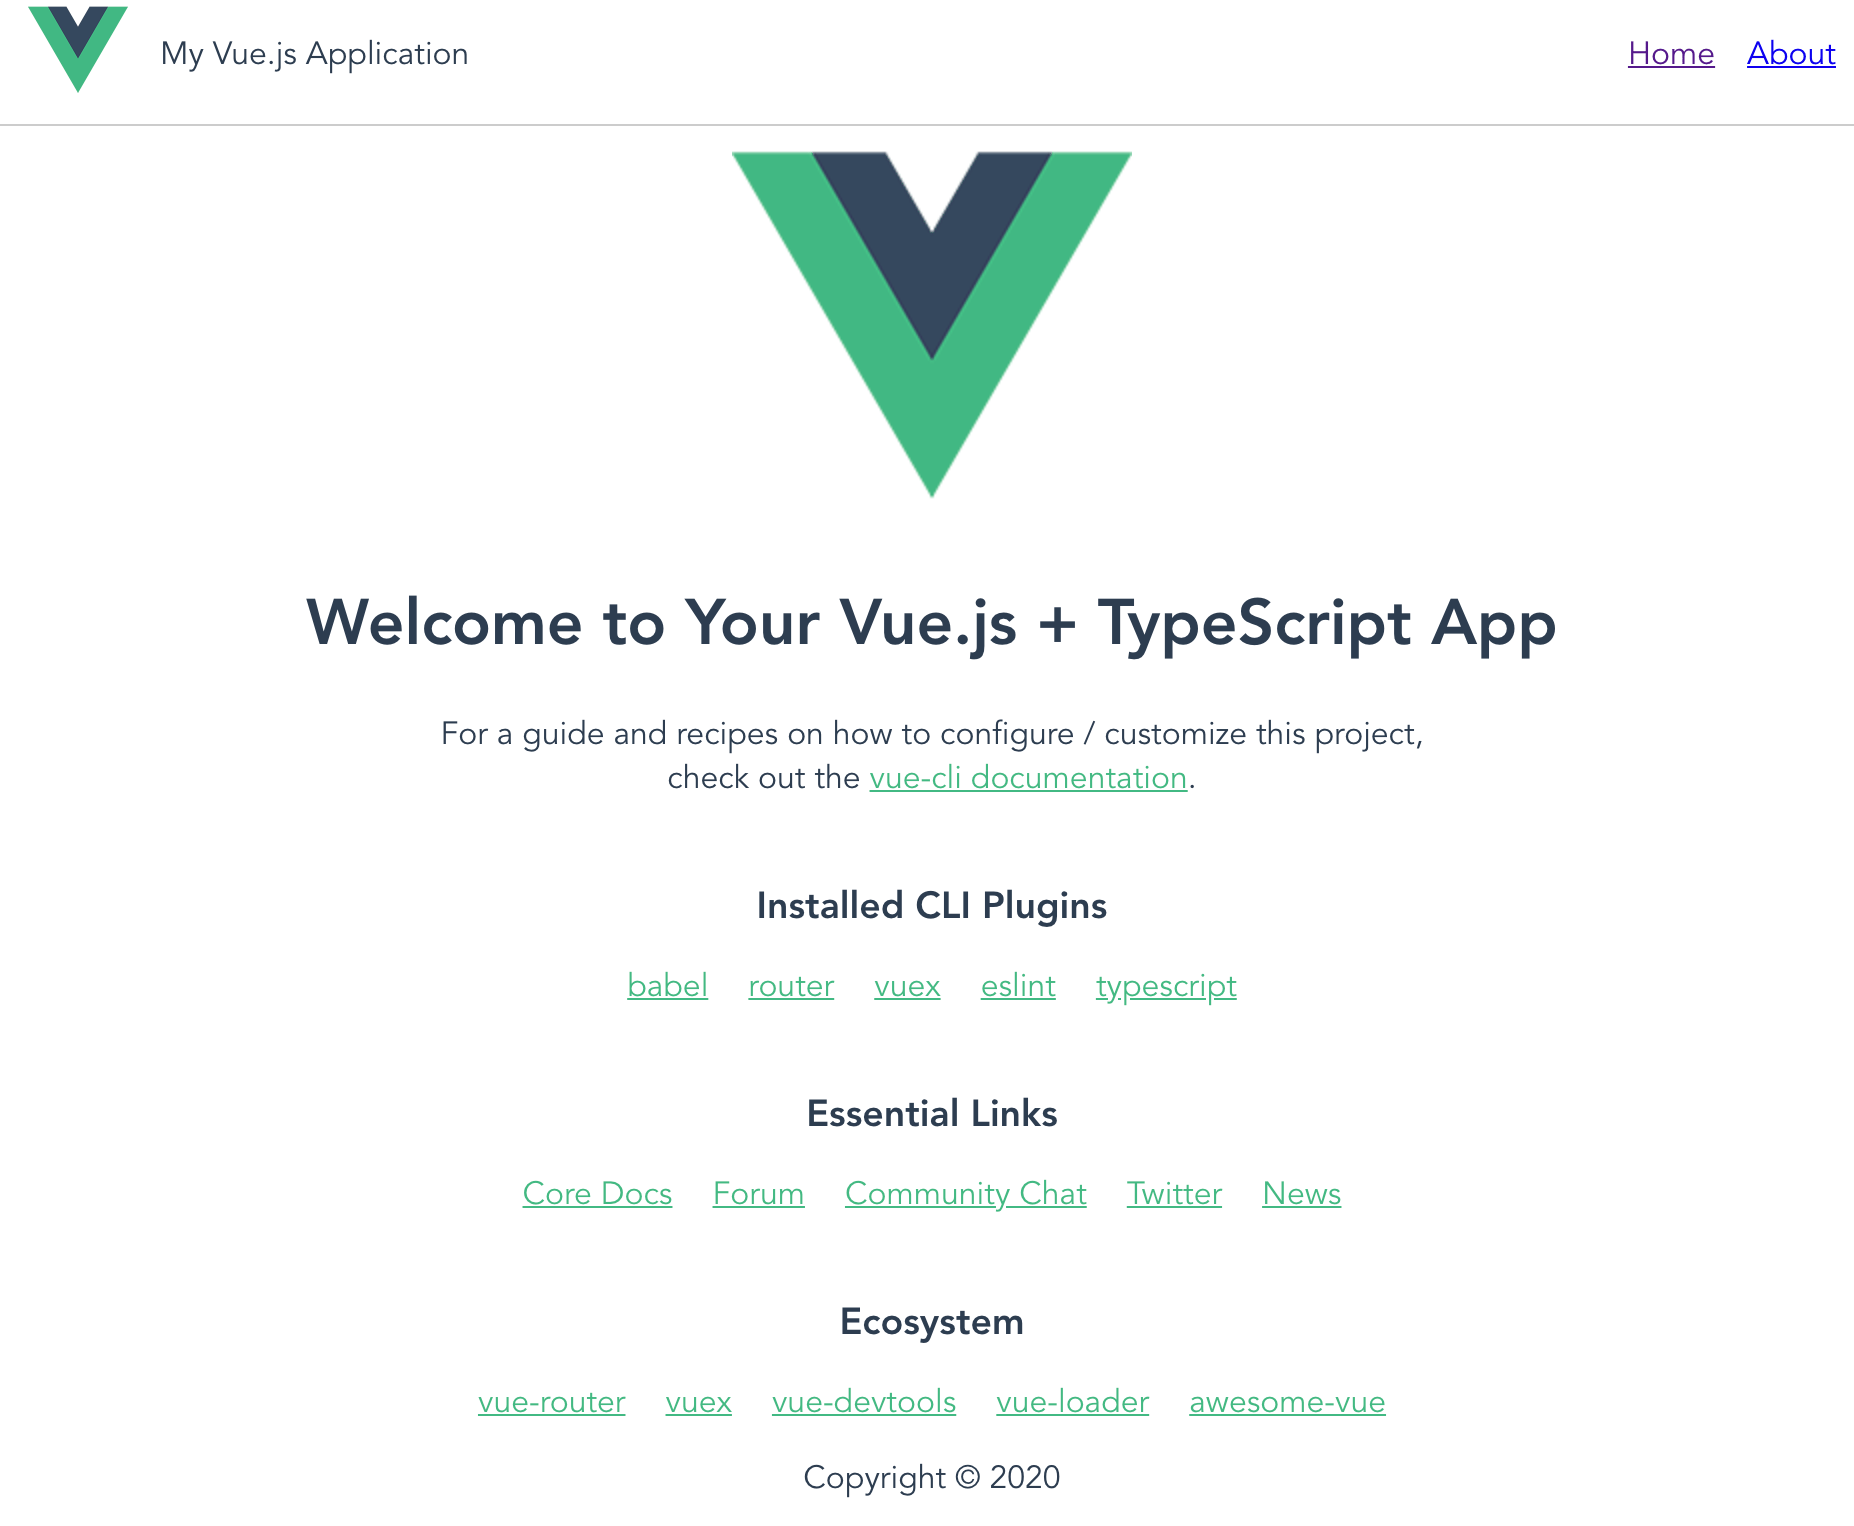
Save the file. You will now have the current year in your footer:
Conclusion
In this tutorial, you downloaded the Vue CLI and created your own single-file components with AppHeader.vue and AppFooter.vue. You successfully generated a Vue.js Single Page Application (SPA) with selected features from the initial setup, and learned how all of those pieces come together. In addition, you’ve now reviewed the basic architecture of most SPAs and can use that knowledge to futher expand this project.
Vue.js is a growing ecosystem with a number of tools at your disposable. These tools can help you quickly get started and save time by storing options as a preset. This is just the start of what Vue.js has to offer, but the CLI is perhaps one of the most important tools you will use in your Vue.js journey.
For more information on Vue.js and Vue CLI 3, it’s recommended to read through their documentation. The CLI tool specifically has many additional features that weren’t covered in this tutorial. For more tutorials on Vue, check out the Vue Topic Page.
Thanks for learning with the DigitalOcean Community. Check out our offerings for compute, storage, networking, and managed databases.
Tutorial Series: How To Develop Websites with Vue.js
This series provides a starting point for building websites with the front-end JavaScript framework Vue.js. Created in 2014 by Evan You (formally of Google), Vue.js is often described as a combination of React and Angular, borrowing the prop-driven development of React and the templating power of Angular. By the end of this series, you will have the tools to develop websites that focus on traditional HTML and CSS, while still taking advantage of the robustness and scalability of a front-end framework.
About the author(s)
I'm a software engineer from Cincinnati. I work on TypeScript apps with Vue.js. Currently a Senior Front-End Engineer at Enodo, based in Chicago.
Former Senior Technical Editor at DigitalOcean, fiction writer and podcaster elsewhere, always searching for the next good nautical pun! Areas of expertise include Node.js, PostgreSQL, CSS, JavaScript.
Still looking for an answer?
This textbox defaults to using Markdown to format your answer.
You can type !ref in this text area to quickly search our full set of tutorials, documentation & marketplace offerings and insert the link!
This is a great tutorial and clearly explained how to bring in single file components.
The only problem I had was creating a new project with vue create and choosing the node-sass CSS pre-processor, which gave me the following error during the installation: npm ERR! gyp ERR! stack Error: Can’t find Python executable “python”, you can set the PYTHON env variable. Python 3.8 is installed on my Ubunto 20.04 and I’ve added export PYTHON=/usr/bin/python3.8 (and variations thereof) to my ~/.bashrc file but still cannot get this to work.
Great tutorial with clear steps and clear explanations. Thank you.
 This work is licensed under a Creative Commons Attribution-NonCommercial- ShareAlike 4.0 International License.
Become a contributor for community
Get paid to write technical tutorials and select a tech-focused charity to receive a matching donation.

DigitalOcean Documentation
Full documentation for every DigitalOcean product.

Resources for startups and AI-native businesses
The Wave has everything you need to know about building a business, from raising funding to marketing your product.
The developer cloud
Scale up as you grow — whether you're running one virtual machine or ten thousand.

Start building today
From GPU-powered inference and Kubernetes to managed databases and storage, get everything you need to build, scale, and deploy intelligent applications.
