By Justin Ellingwood, Savic and Caitlin Postal
Not using Ubuntu 20.04?
Choose a different version or distribution.
How To Install Apache Tomcat 10 on Ubuntu 20.04
Introduction
Apache Tomcat is a web server and servlet container that is used to serve Java applications. It’s an open source implementation of the Jakarta Servlet, Jakarta Server Pages, and other technologies of the Jakarta EE platform.
In this tutorial, you’ll deploy Apache Tomcat 10 on Ubuntu 20.04. You will install Tomcat 10, set up users and roles, and navigate the admin user interface.
Prerequisites
- One Ubuntu 20.04 server with a sudo non-root user and a firewall, which you can set up by following the Ubuntu 20.04 Initial Server Setup.
Step 1 — Installing Tomcat
In this section, you will set up Tomcat 10 on your server. To begin, you will download its latest version and set up a separate user and appropriate permissions for it. You will also install the Java Development Kit (JDK).
For security purposes, Tomcat should run under a separate, unprivileged user. Run the following command to create a user called tomcat:
- sudo useradd -m -d /opt/tomcat -U -s /bin/false tomcat
By supplying /bin/false as the user’s default shell, you ensure that it’s not possible to log in as tomcat.
You’ll now install the JDK. First, update the package manager cache by running:
- sudo apt update
Then, install the JDK by running the following command:
- sudo apt install default-jdk
Answer y when prompted to continue with the installation.
When the installation finishes, check the version of the available Java installation:
- java -version
The output should be similar to this:
Outputopenjdk version "11.0.14" 2022-01-18
OpenJDK Runtime Environment (build 11.0.14+9-Ubuntu-0ubuntu2.20.04)
OpenJDK 64-Bit Server VM (build 11.0.14+9-Ubuntu-0ubuntu2.20.04, mixed mode, sharing)
To install Tomcat, you’ll need the latest Core Linux build for Tomcat 10, which you can get from the downloads page. Select the latest Core Linux build, ending in .tar.gz. At the time of writing, the latest version was 10.0.20.
First, navigate to the /tmp directory:
- cd /tmp
Download the archive using wget by running the following command:
- wget https://dlcdn.apache.org/tomcat/tomcat-10/v10.0.20/bin/apache-tomcat-10.0.20.tar.gz
The wget command downloads resources from the Internet.
Then, extract the archive you downloaded by running:
- sudo tar xzvf apache-tomcat-10*tar.gz -C /opt/tomcat --strip-components=1
Since you have already created a user, you can now grant tomcat ownership over the extracted installation by running:
- sudo chown -R tomcat:tomcat /opt/tomcat/
- sudo chmod -R u+x /opt/tomcat/bin
Both commands update the settings of your tomcat installation. To learn more about these commands and what they do, visit Linux Permissions Basics and How to Use Umask on a VPS.
In this step, you installed the JDK and Tomcat. You also created a separate user for it and set up permissions over Tomcat binaries. You will now configure credentials for accessing your Tomcat instance.
Step 2 — Configuring Admin Users
To gain access to the Manager and Host Manager pages, you’ll define privileged users in Tomcat’s configuration. You will need to remove the IP address restrictions, which disallows all external IP addresses from accessing those pages.
Tomcat users are defined in /opt/tomcat/conf/tomcat-users.xml. Open the file for editing with the following command:
- sudo nano /opt/tomcat/conf/tomcat-users.xml
Add the following lines before the ending tag:
<role rolename="manager-gui" />
<user username="manager" password="manager_password" roles="manager-gui" />

<role rolename="admin-gui" />
<user username="admin" password="admin_password" roles="manager-gui,admin-gui" />
Replace highlighted passwords with your own. When you’re done, save and close the file.
Here you define two user roles, manager-gui and admin-gui, which allow access to Manager and Host Manager pages, respectively. You also define two users, manager and admin, with relevant roles.
By default, Tomcat is configured to restrict access to the admin pages, unless the connection comes from the server itself. To access those pages with the users you just defined, you will need to edit config files for those pages.
To remove the restriction for the Manager page, open its config file for editing:
- sudo nano /opt/tomcat/webapps/manager/META-INF/context.xml
Comment out the Valve definition, as shown:
...
<Context antiResourceLocking="false" privileged="true" >
  <CookieProcessor className="org.apache.tomcat.util.http.Rfc6265CookieProcessor"
                   sameSiteCookies="strict" />
<!--  <Valve className="org.apache.catalina.valves.RemoteAddrValve"
         allow="127\.\d+\.\d+\.\d+|::1|0:0:0:0:0:0:0:1" /> -->
  <Manager sessionAttributeValueClassNameFilter="java\.lang\.(?:Boolean|Integer|Long|Number|String)|org\.apache\.catalina\.filters\.Csr>
</Context>
Save and close the file, then repeat for Host Manager:
- sudo nano /opt/tomcat/webapps/host-manager/META-INF/context.xml
You have now defined two users, manager and admin, which you will later use to access restricted parts of the management interface. You’ll now create a systemd service for Tomcat.
Step 3 — Creating a systemd service
systemd serviceThe systemd service that you will now create will keep Tomcat quietly running in the background. The systemd service will also restart Tomcat automatically in case of an error or failure.
Tomcat, being a Java application itself, requires the Java runtime to be present, which you installed with the JDK in step 1. Before you create the service, you need to know where Java is located. You can look that up by running the following command:
- sudo update-java-alternatives -l
The output will be similar to this:
Outputjava-1.11.0-openjdk-amd64 1111 /usr/lib/jvm/java-1.11.0-openjdk-amd64
Note the path where Java resides, listed in the last column. You’ll need the path momentarily to define the service.
You’ll store the tomcat service in a file named tomcat.service, under /etc/systemd/system. Create the file for editing by running:
- sudo nano /etc/systemd/system/tomcat.service
Add the following lines:
[Unit]
Description=Tomcat
After=network.target

[Service]
Type=forking

User=tomcat
Group=tomcat

Environment="JAVA_HOME=/usr/lib/jvm/java-1.11.0-openjdk-amd64"
Environment="JAVA_OPTS=-Djava.security.egd=file:///dev/urandom"
Environment="CATALINA_BASE=/opt/tomcat"
Environment="CATALINA_HOME=/opt/tomcat"
Environment="CATALINA_PID=/opt/tomcat/temp/tomcat.pid"
Environment="CATALINA_OPTS=-Xms512M -Xmx1024M -server -XX:+UseParallelGC"

ExecStart=/opt/tomcat/bin/startup.sh
ExecStop=/opt/tomcat/bin/shutdown.sh

RestartSec=10
Restart=always

[Install]
WantedBy=multi-user.target
Modify the highlighted value of JAVA_HOME if it differs from the one you noted previously.
Here, you define a service that will run Tomcat by executing the startup and shutdown scripts it provides. You also set a few environment variables to define its home directory (which is /opt/tomcat as before) and limit the amount of memory that the Java VM can allocate (in CATALINA_OPTS). Upon failure, the Tomcat service will restart automatically.
When you’re done, save and close the file.
Reload the systemd daemon so that it becomes aware of the new service:
sudo systemctl daemon-reload
You can then start the Tomcat service by typing:
sudo systemctl start tomcat
Then, look at its status to confirm that it started successfully:
sudo systemctl status tomcat
The output will look like this:
Output● tomcat.service - Tomcat
     Loaded: loaded (/etc/systemd/system/tomcat.service; disabled; vendor preset: enabled)
     Active: active (running) since Fri 2022-03-11 14:37:10 UTC; 2s ago
    Process: 4845 ExecStart=/opt/tomcat/bin/startup.sh (code=exited, status=0/SUCCESS)
   Main PID: 4860 (java)
      Tasks: 15 (limit: 1132)
     Memory: 90.1M
     CGroup: /system.slice/tomcat.service
             └─4860 /usr/lib/jvm/java-1.11.0-openjdk-amd64/bin/java -Djava.util.logging.config.file=/opt/tomcat/conf/logging.properties ...
Press q to exit the command.
To enable Tomcat starting up with the system, run the following command:
- sudo systemctl enable tomcat
In this step, you identified where Java resides and enabled systemd to run Tomcat in the background. You’ll now access Tomcat through your web browser.
Step 4 — Accessing the Web Interface
Now that the Tomcat service is running, you can configure the firewall to allow connections to Tomcat. Then, you will be able to access its web interface.
Tomcat uses port 8080 to accept HTTP requests. Run the following command to allow traffic to that port:
- sudo ufw allow 8080
In your browser, you can now access Tomcat by navigating to the IP address of your server:
http://your_server_ip:8080
You’ll see the default Tomcat welcome page:
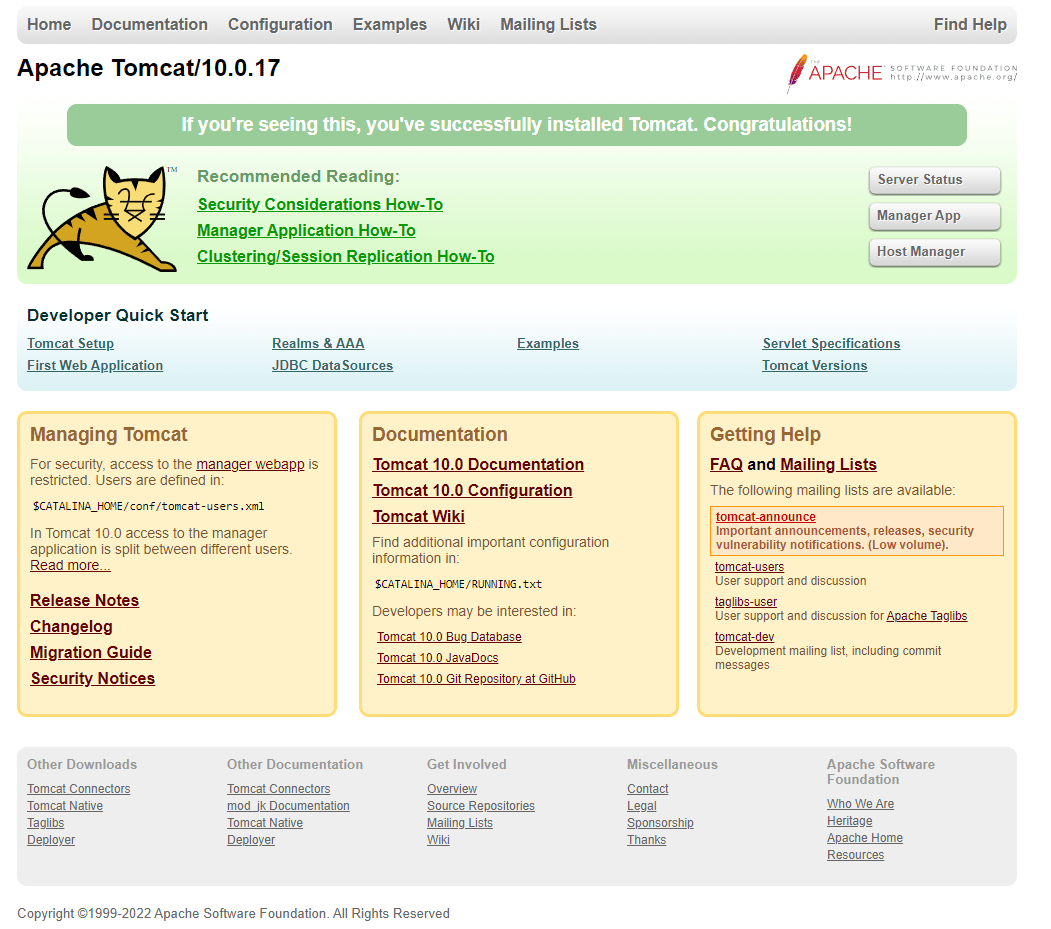
You’ve now verified that the Tomcat service is working.
Press on the Manager App button on the right. You’ll be prompted to enter the account credentials that you defined in a previous step.
You should see a page that looks like this:
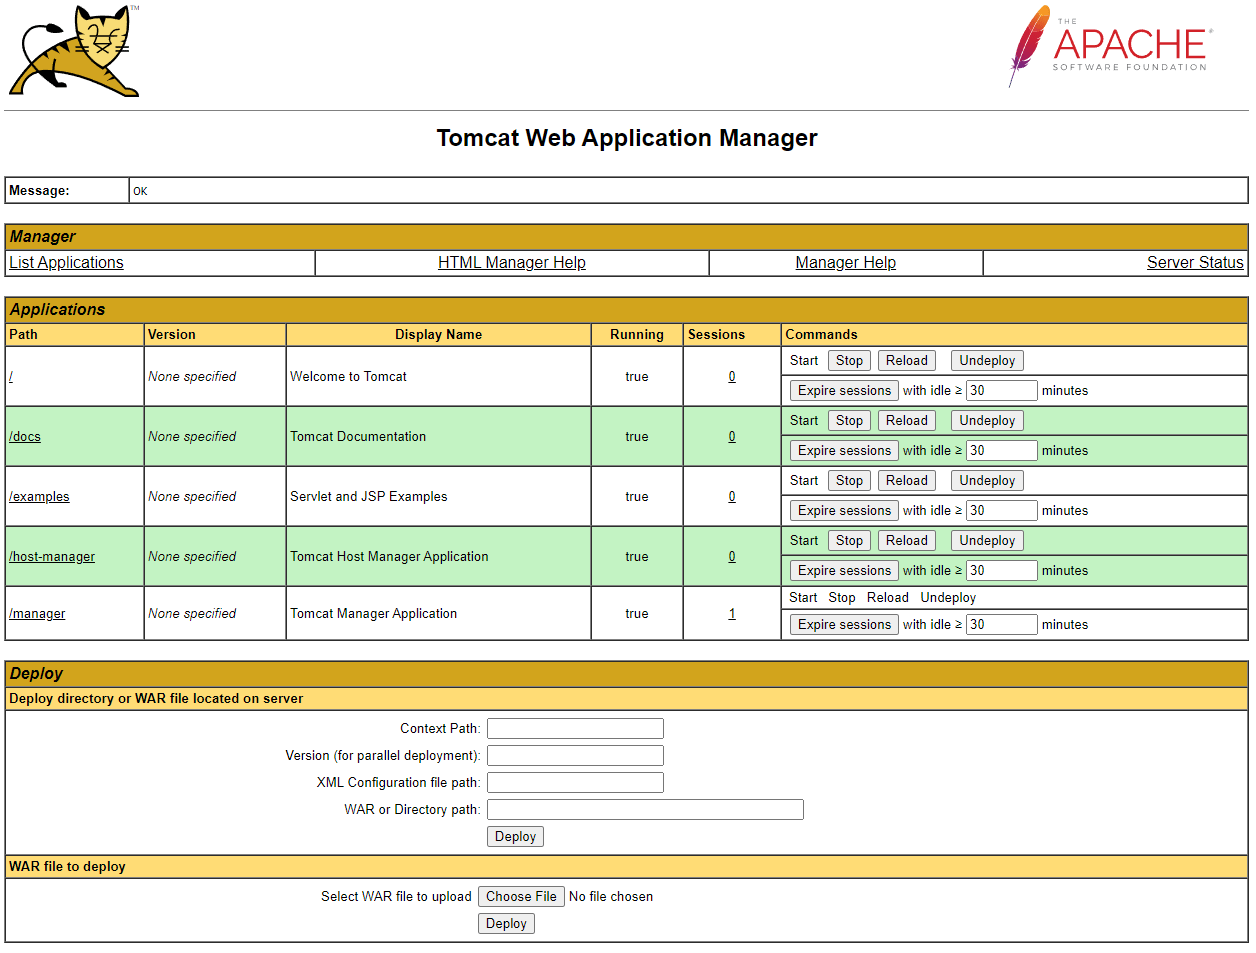
The Web Application Manager is used to manage your Java applications. You can start, stop, reload, deploy, and undeploy them from here. You can also run some diagnostics on your apps (for example, to find memory leaks). Information about your server is available at the very bottom of this page.
Now, take a look at the Host Manager, accessible by pressing its button on the main page:
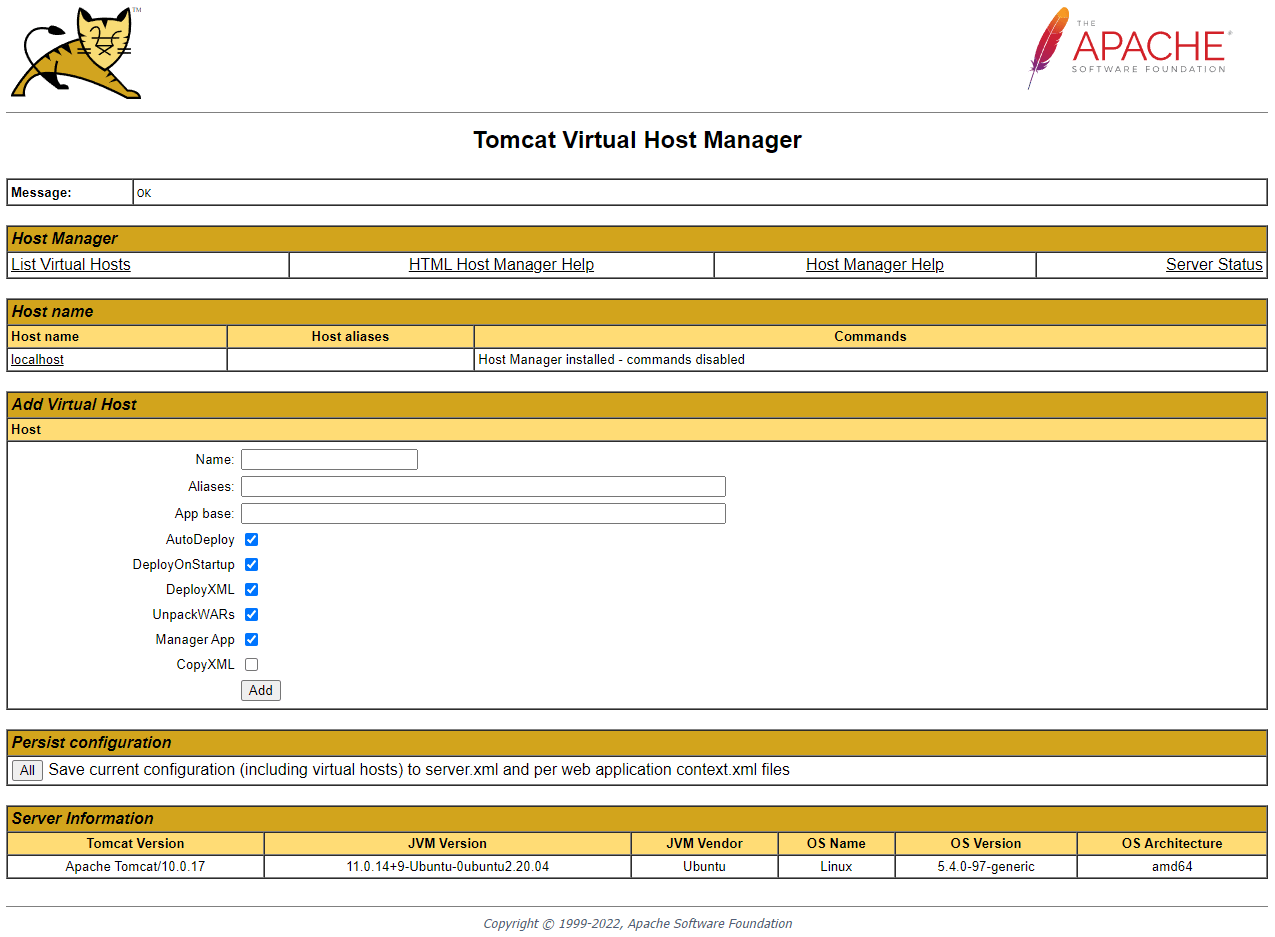
Here, you can add virtual hosts to serve your applications from. Keep in mind that this page is not accessible by users who don’t have the admin-gui role assigned, such as manager.
Conclusion
You installed Tomcat 10 on your Ubuntu 20.04 server and configured it to be accessible remotely with management accounts. You can now use it to deploy your Java applications, based on Jakarta EE technologies. You can learn more about Java apps by visiting the official docs.
Currently, your Tomcat installation is functional, but its traffic is not encrypted. This means that all data, including sensitive items like passwords, are sent in plain text that can be intercepted and read by other parties on the internet. To prevent this from happening, you can add a domain name to your server and install a TLS certificate on it with this tutorial on securing Tomcat 10 with Apache or Nginx. For more on encryption, see An Introduction to Let’s Encrypt. To add a domain to a DigitalOcean Droplet, follow this guide on How To Add Domains.
Thanks for learning with the DigitalOcean Community. Check out our offerings for compute, storage, networking, and managed databases.
About the author(s)
Former Senior Technical Writer at DigitalOcean, specializing in DevOps topics across multiple Linux distributions, including Ubuntu 18.04, 20.04, 22.04, as well as Debian 10 and 11.
Expert in cloud topics including Kafka, Kubernetes, and Ubuntu.
Still looking for an answer?
This textbox defaults to using Markdown to format your answer.
You can type !ref in this text area to quickly search our full set of tutorials, documentation & marketplace offerings and insert the link!
The wget https://dlcdn.apache.org/tomcat/tomcat-10/v10.0.20/bin/apache-tomcat-10.0.20.tar.gz link is not working.
I searched from “https://archive.apache.org/dist/tomcat/tomcat-10/v10.0.20/” the originak link and replaced it, after that it worked.
Currently working link is: https://archive.apache.org/dist/tomcat/tomcat-10/v10.0.20/bin/apache-tomcat-10.0.20.tar.gz
Note: If you prefer other version of Tomcat you can download from the “https://archive.apache.org/dist/” archive.
Hello,
This tutorial isn’t working. First, I have the error below,
vagrant@tomcat2:/opt/tomcat/bin$ sudo systemctl status tomcat ● tomcat.service - Apache Tomcat Web Application Container Loaded: loaded (/etc/systemd/system/tomcat.service; disabled; vendor preset: enabled) Active: activating (auto-restart) (Result: exit-code) since Fri 2023-02-10 12:23:15 UTC; 5s ago Process: 5053 ExecStart=/opt/tomcat/bin/startup.sh (code=exited, status=2) Main PID: 5053 (code=exited, status=2)
Feb 10 12:23:15 tomcat2 startup.sh[5053]: /opt/tomcat/bin/catalina.sh: 504: cannot create /opt/tomcat/logs/catalina.out: Permission denied Feb 10 12:23:15 tomcat2 systemd[1]: tomcat.service: Main process exited, code=exited, status=2/INVALIDARGUMENT Feb 10 12:23:15 tomcat2 systemd[1]: tomcat.service: Failed with result ‘exit-code’. sudo
I created the logs file and granted 777 permission sudo chmod 777 /opt/tomcat/logs
The service came up but port 8080 was not opened. I opened it with the sudo ufw 8080, I still can’t connect to my tomcat server.
Have you tested the above script to make sure that is it working?
If after following this process and you’re unable to connect, simply update your java version to at least 9 for tomcat 10.1*. And go back to this process to update the JAVA_ENVIRONMENT “sudo update-java-alternatives -l”
Good tutorial, but 1 mistake.
After you navigated to the /tmp directory, you forgot to navigate back to the root directory after downloading and extracting the tomcat archive file.
For anyone following the tutorial, after running the following command sudo tar xzvf apache-tomcat-10*tar.gz -C /opt/tomcat --strip-components=1, run cd ~ to navigate back to the root directory, then proceed with the rest of the tutorial.
Happy coding!
This comment has been deleted
I’ve commented out the valves but am still getting this message when trying to upload a WAR. Any ideas? “By default the Manager is only accessible from a browser running on the same machine as Tomcat. If you wish to modify this restriction, you’ll need to edit the Manager’s context.xml file.”
I think that this method of installing Tomcat is flawed and should not be used. We should use apt to install apps on Ubuntu. Besides of automatically doing most of what is described here, in a correct manner (because even copying and pasting can be done wrong), this method doesn’t support easy updates with apt-upadate and apt-upgrade. I guess that the reason for not installing directly from apt by just typing “sudo apt install tomcat” (and boom!) is that the version of tomcat will be a bit older. It is still a better choice and anyway, a smarter approach would be to expand the Ubuntu repository to include reliable sources for newer version of tomcat and then use “apt install tomcat”. I used this complexed method on my production server and I regret it and can’t change because it is a risk of messing up a production server with many users. When upgrading from “apt upgrade” all of the webapps that were installed are still there in the newer version. There are other symptoms i.e the log files will be inside the opt/tomcat folder rather than in the usual path. I ask the author to link from the guide to another guide that explains how to upgrade to a newer version of tomcat. Thank you very much.
 This work is licensed under a Creative Commons Attribution-NonCommercial- ShareAlike 4.0 International License.
Become a contributor for community
Get paid to write technical tutorials and select a tech-focused charity to receive a matching donation.

DigitalOcean Documentation
Full documentation for every DigitalOcean product.

Resources for startups and AI-native businesses
The Wave has everything you need to know about building a business, from raising funding to marketing your product.
The developer cloud
Scale up as you grow — whether you're running one virtual machine or ten thousand.

Start building today
From GPU-powered inference and Kubernetes to managed databases and storage, get everything you need to build, scale, and deploy intelligent applications.
