Not using Ubuntu 20.04?
Choose a different version or distribution.
Introduction
Django is a free and open-source web framework written in Python with its core principles being scalability, re-usability and rapid development. It is also known for its framework-level consistency and loose coupling, allowing for individual components to be independent of one another.
In this tutorial, we will set up a Django environment for development purposes on an Ubuntu 20.04 server. For a live website, you will have additional considerations, including connecting to a database, setting up a domain name, and adding layers of security. We have a variety of tutorials on Django that can help support you as you build under our Django tag.
Prerequisites
In order to complete this tutorial, you will need:
-
A non-root user account with
sudoprivileges, which you can achieve by following and completing the initial server setup for Ubuntu 20.04 tutorial. -
Python 3 set up with a virtual programming environment. You can get this set up via our Python 3 installation guide.
Step 1 — Installing Django
There are several ways to install Django, the Python package manager pip within a virtual environment.
While in the server’s home directory, we’ll create the directory that will contain our Django application. Run the following command to create a directory called django-apps, or another name of your choice. Then navigate to the directory.
- mkdir django-apps
- cd django-apps
While inside the django-apps directory, create your virtual environment. We’ll call it the generic env, but you should use a name that is meaningful for you and your project.
- virtualenv env
Now, activate the virtual environment with the following command:
- . env/bin/activate
You’ll know it’s activated once the prefix is changed to (env), which will look similar to the following, depending on what directory you are in:
-
Within the environment, install the Django package using pip. Installing Django allows us to create and run Django applications.
- pip install django
Once installed, verify your Django installation by running a version check:
- django-admin --version
This, or something similar, will be the resulting output:
Output3.0.6
With Django installed on your server, we can move on to creating a test project to make sure everything is working correctly. We’ll be creating a skeleton web application.
Step 2 — Adjusting Firewall Settings
If you followed our initial server setup tutorial or have a firewall running on your server, we’ll need to open the port we’ll be using in our server’s firewall. For the UFW firewall, you can open the port with the following command:
- sudo ufw allow 8000
If you’re using DigitalOcean Firewalls, you can select HTTP from the inbound rules. You can read more about DigitalOcean Firewalls and creating rules for them by modifying the inbound rules.
Step 3 — Starting the Project
We now can generate an application using django-admin, a command line utility for administration tasks in Python. Then we can use the startproject command to create the project directory structure for our test website.
While in the django-apps directory, run the following command:
- django-admin startproject testsite
Note: Running the django-admin startproject <projectname> command will name both project directory and project package the <projectname> and create the project in the directory in which the command was run. If the optional <destination> parameter is provided, Django will use the provided destination directory as the project directory, and create manage.py and the project package within it.
Now we can look to see what project files were just created. Navigate to the testsite directory then list the contents of that directory to see what files were created:
- cd testsite
- ls
Outputmanage.py testsite
You will notice output that shows this directory contains a file named manage.py and a folder named testsite. The manage.py file is similar to django-admin and puts the project’s package on sys.path. This also sets the DJANGO_SETTINGS_MODULE environment variable to point to your project’s settings.py file.
You can view the manage.py script in your terminal by running the less command like so:
- less manage.py
When you’re finished reading the script, press q, to quit viewing the file.
Now navigate to the testsite directory to view the other files that were created:
- cd testsite/
Then run the following command to list the contents of the directory:
- ls
You will see four files:
Output__init__.py asgi.py settings.py urls.py wsgi.py
Let’s go over what each of these files are:
__init__.pyacts as the entry point for your Python project.asgi.pycontains the configuration for the optional deployment to the Asynchronous Server Gateway Interface or ASGI, which provides a standard for apps that are either synchronous and asynchronous, and is considered to be a successor of WSGI (see below).settings.pydescribes the configuration of your Django installation and lets Django know which settings are available.urls.pycontains aurlpatternslist, that routes and maps URLs to theirviews.wsgi.pycontains the configuration for the Web Server Gateway Interface or WSGI, which provides a standard for synchronous Python apps.
Note: Although default files are generated, you still have the ability to tweak the asgi.py or wsgi.py files at any time to fit your deployment needs.
Step 4 — Configuring Django
Now we can start the server and view the website on a designated host and port by running the runserver command.
We’ll need to add your server ip address to the list of ALLOWED_HOSTS in the settings.py file located in ~/test_django_app/testsite/testsite/.
As stated in the Django docs, the ALLOWED_HOSTS variable contains “a list of strings representing the host/domain names that this Django site can serve. This is a security measure to prevent HTTP Host header attacks, which are possible even under many seemingly-safe web server configurations.”
You can use your favorite text editor to add your IP address. For example, if you’re using nano, run the following command:
- nano ~/django-apps/testsite/testsite/settings.py
Once you run the command, you’ll want to navigate to the Allowed Hosts Section of the document and add your server’s IP address inside the square brackets within single or double quotes.
"""
Django settings for testsite project.

Generated by 'django-admin startproject' using Django 2.0.
...
"""
...
# SECURITY WARNING: don't run with debug turned on in production!
DEBUG = True

# Edit the line below with your server IP address
ALLOWED_HOSTS = ['your-server-ip']
...
You can save the change and exit nano by holding down the CTRL + x keys and then pressing the y key. Next, we’ll go on to access our web app via a browser.
Finally, let’s create an administrative user so that you can use the Djano admin interface. Let’s do this with the createsuperuser command:
- python manage.py createsuperuser
You will be prompted for a username, an email address, and a password for your user.
Step 5 — Accessing the Django Web App
With our configuration completed, be sure to navigate back to the directory where manage.py is located:
- cd ~/django-apps/testsite/
Now, run the following command replacing the your-server-ip text with the IP of your server:
- python manage.py runserver your-server-ip:8000
Finally, you can navigate to the below link to see what your skeleton website looks like, again replacing the highlighted text with your server’s actual IP:
http:/
Once the page loads, you’ll see the following:
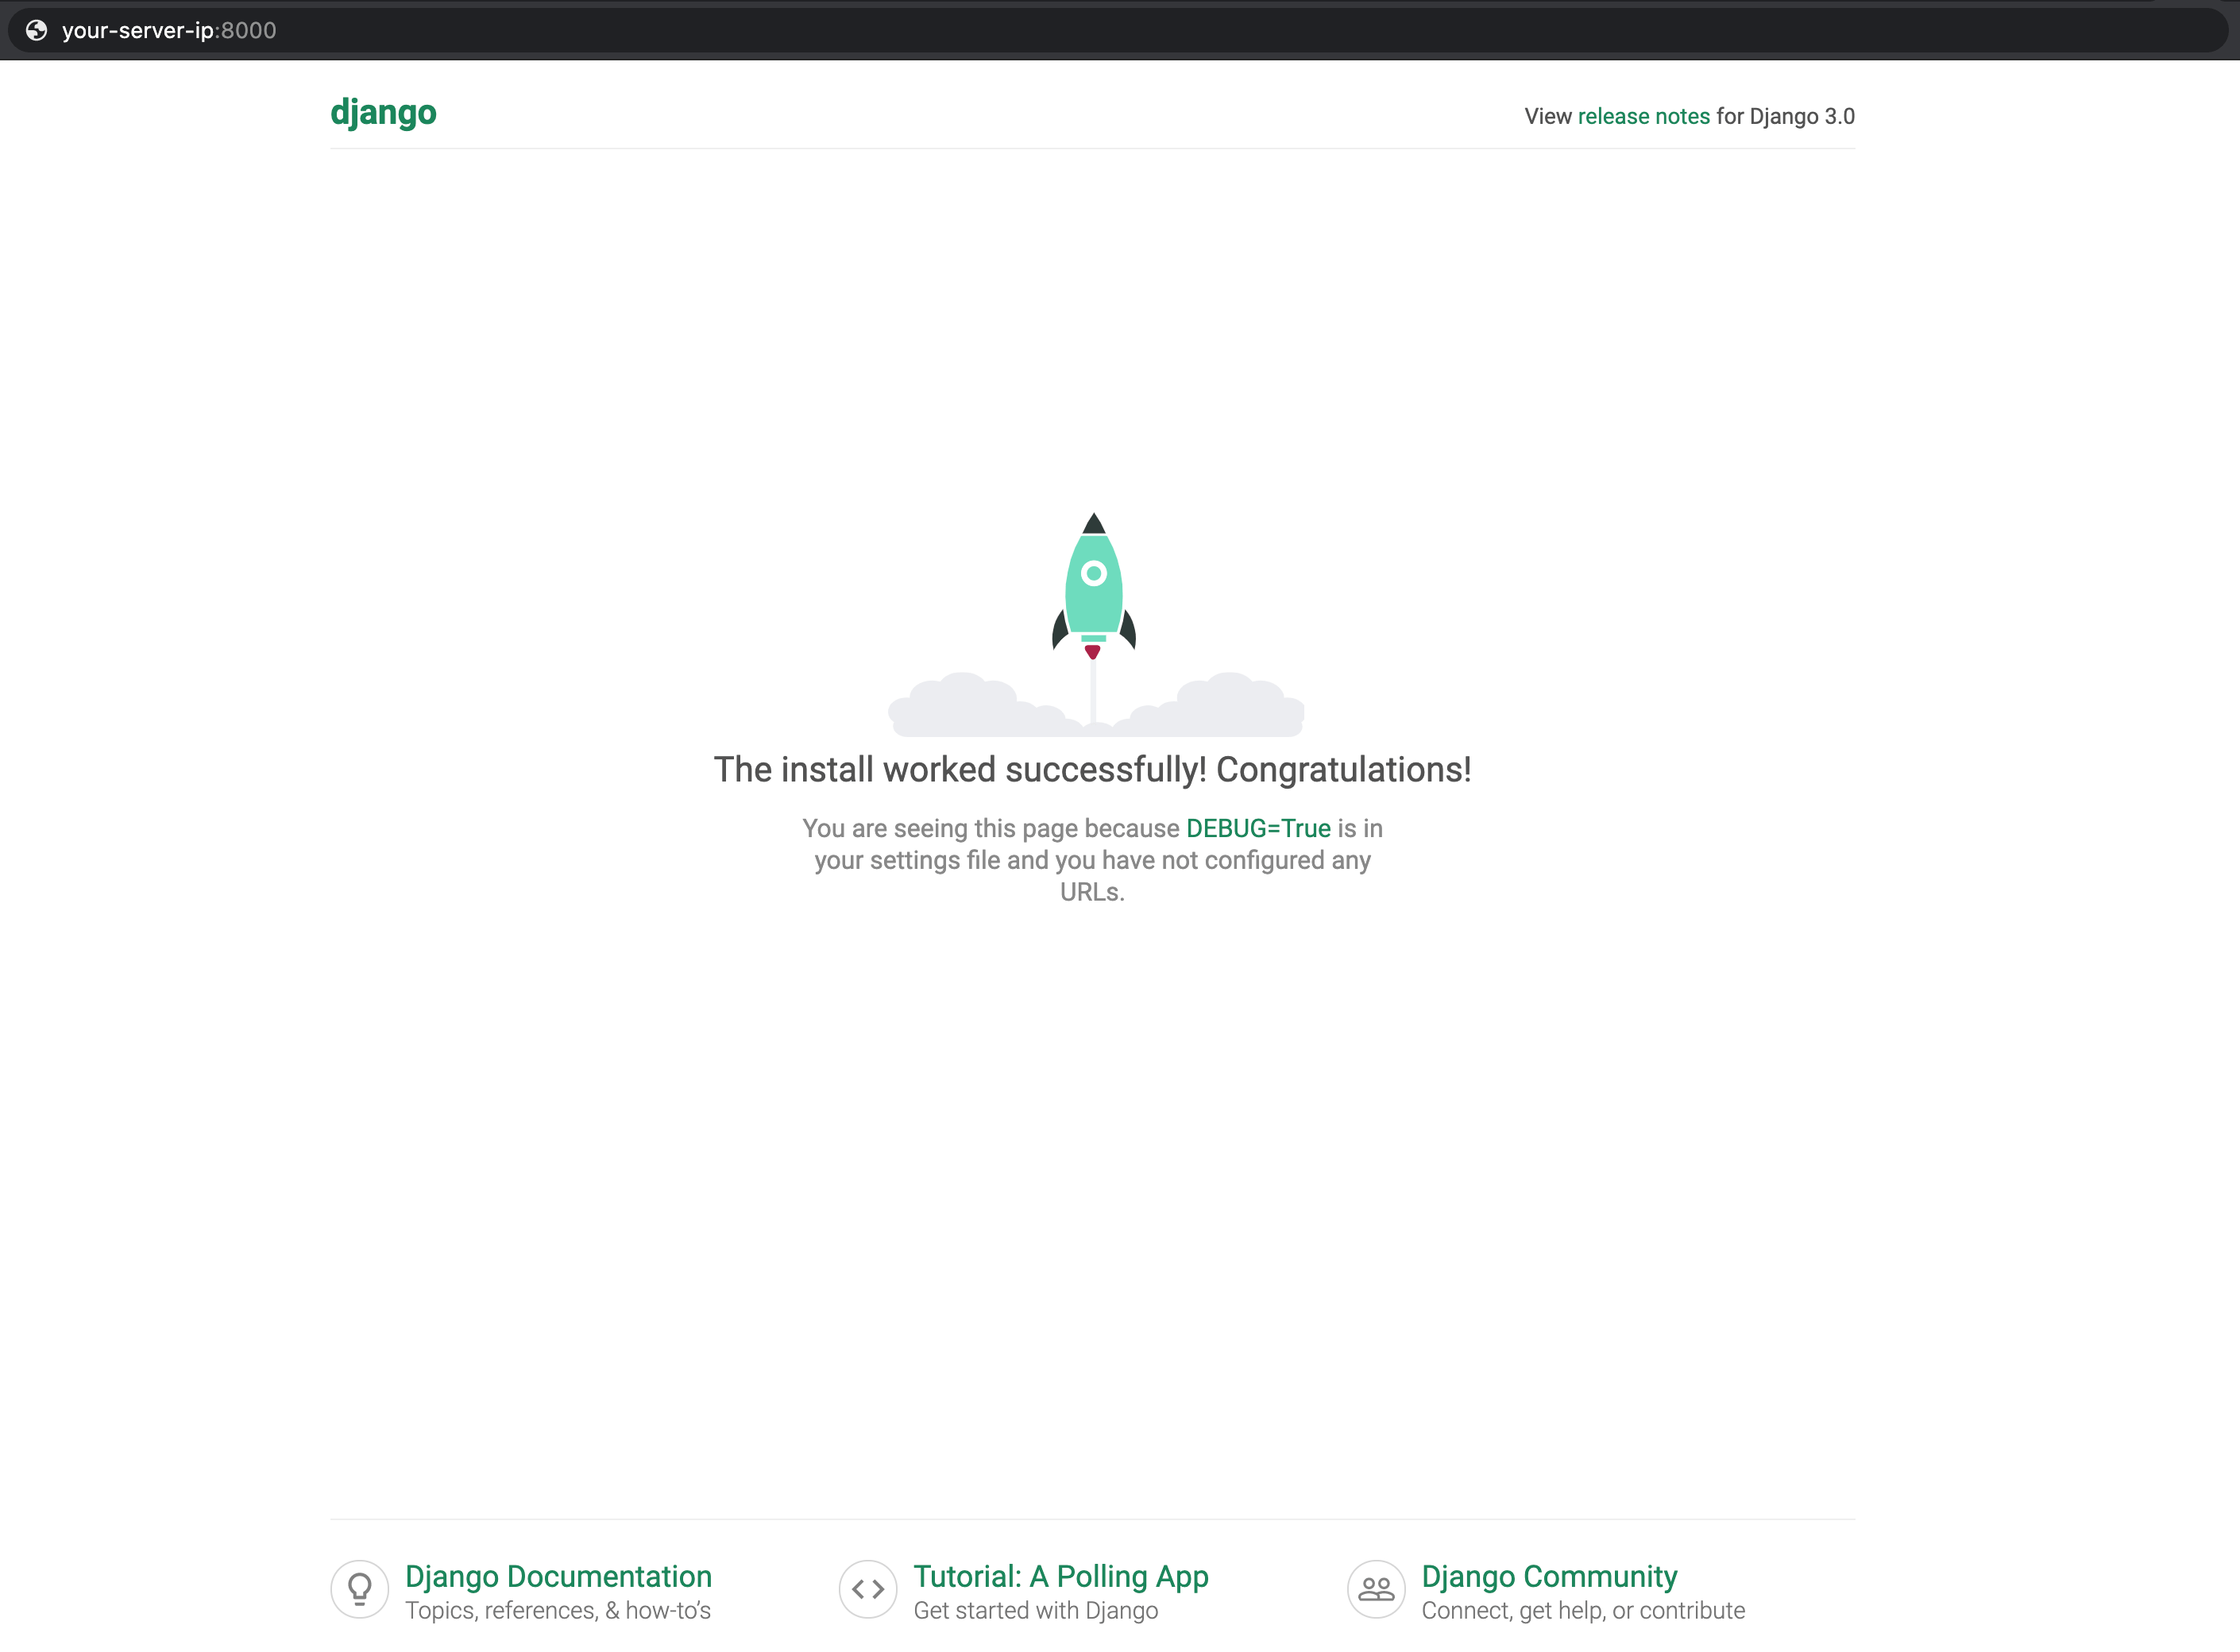
This confirms that Django was properly installed and our test project is working correctly.
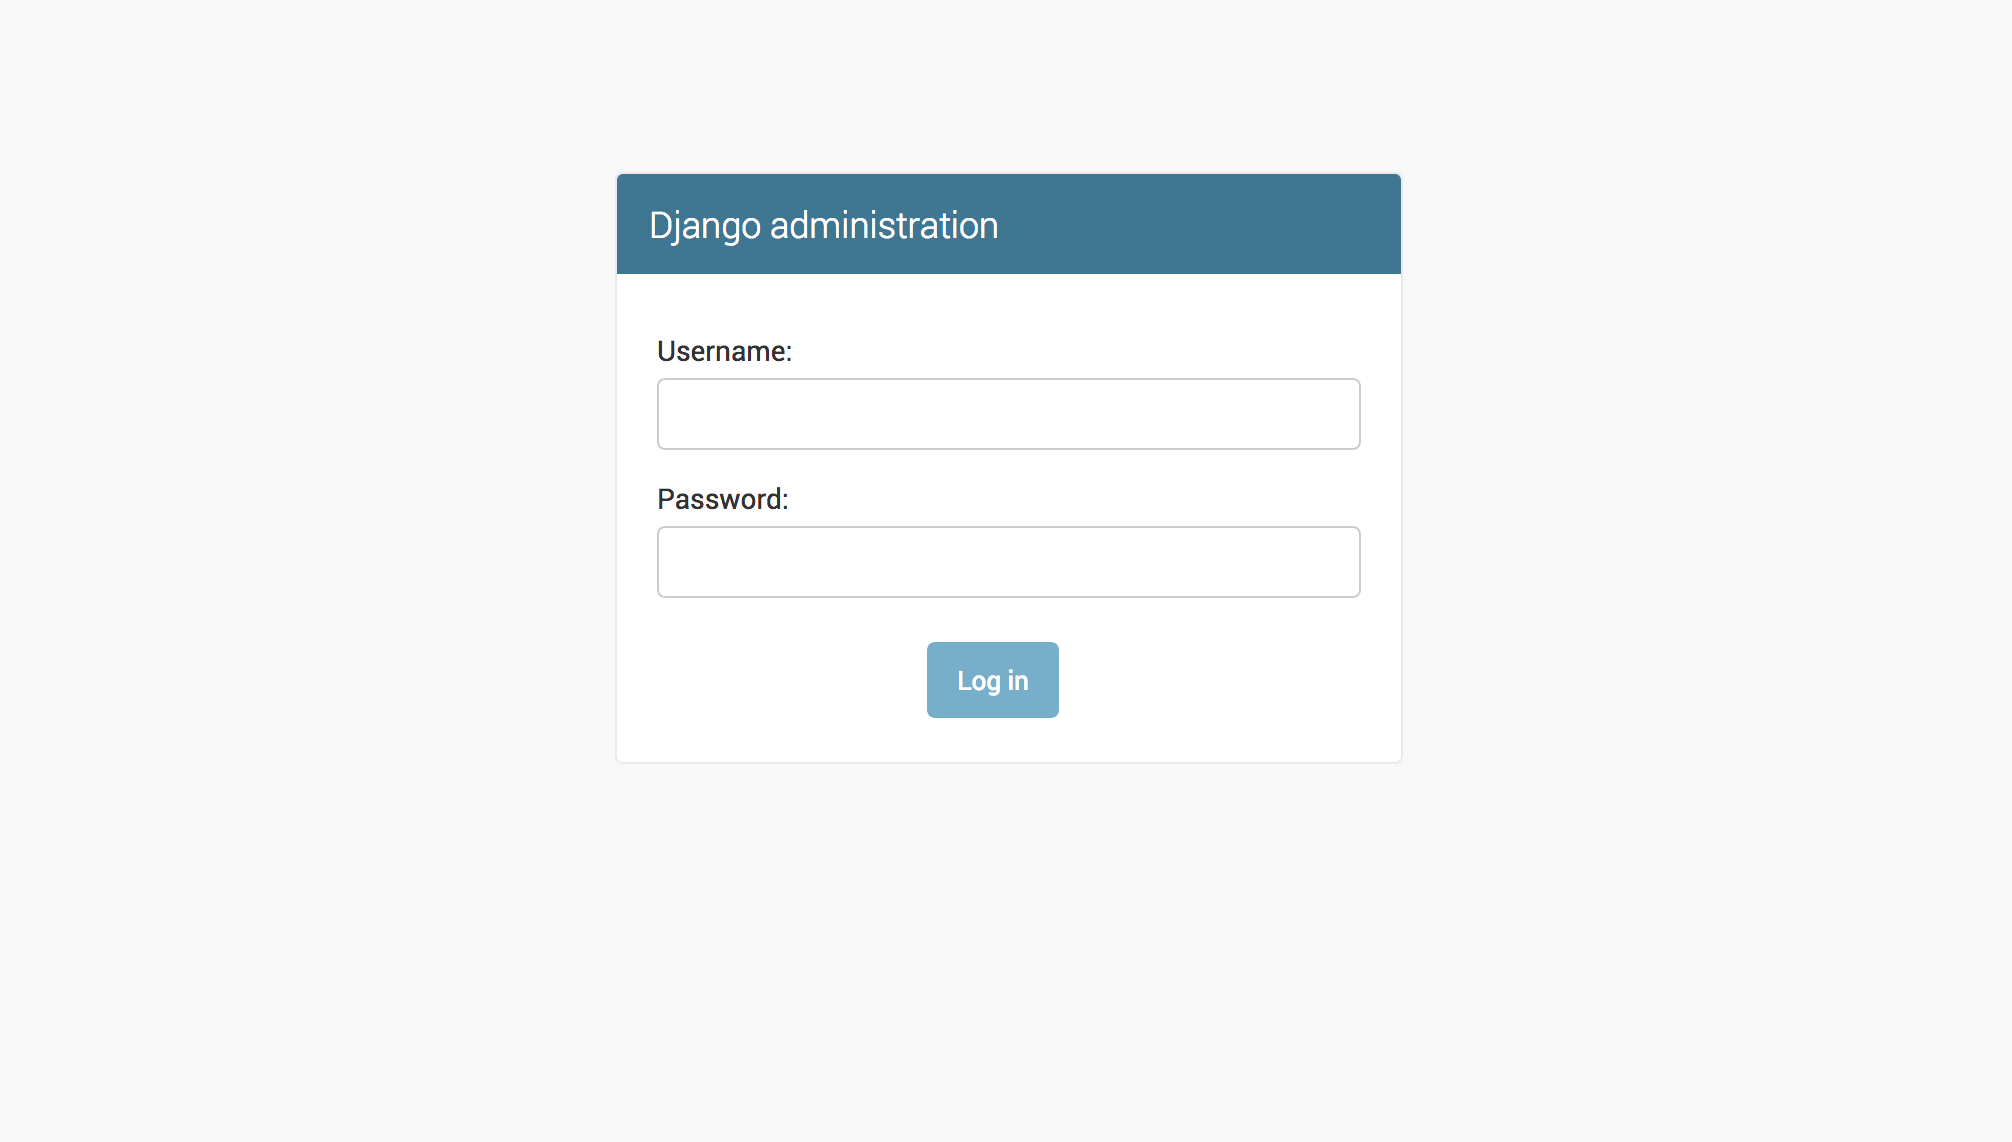
To access the admin interface, add /admin/ to the end of your URL:
http://your_server_ip:8000/admin/
This will take you to a login screen:
If you enter the admin username and password that you just created, you will have access to the main admin section of the site:
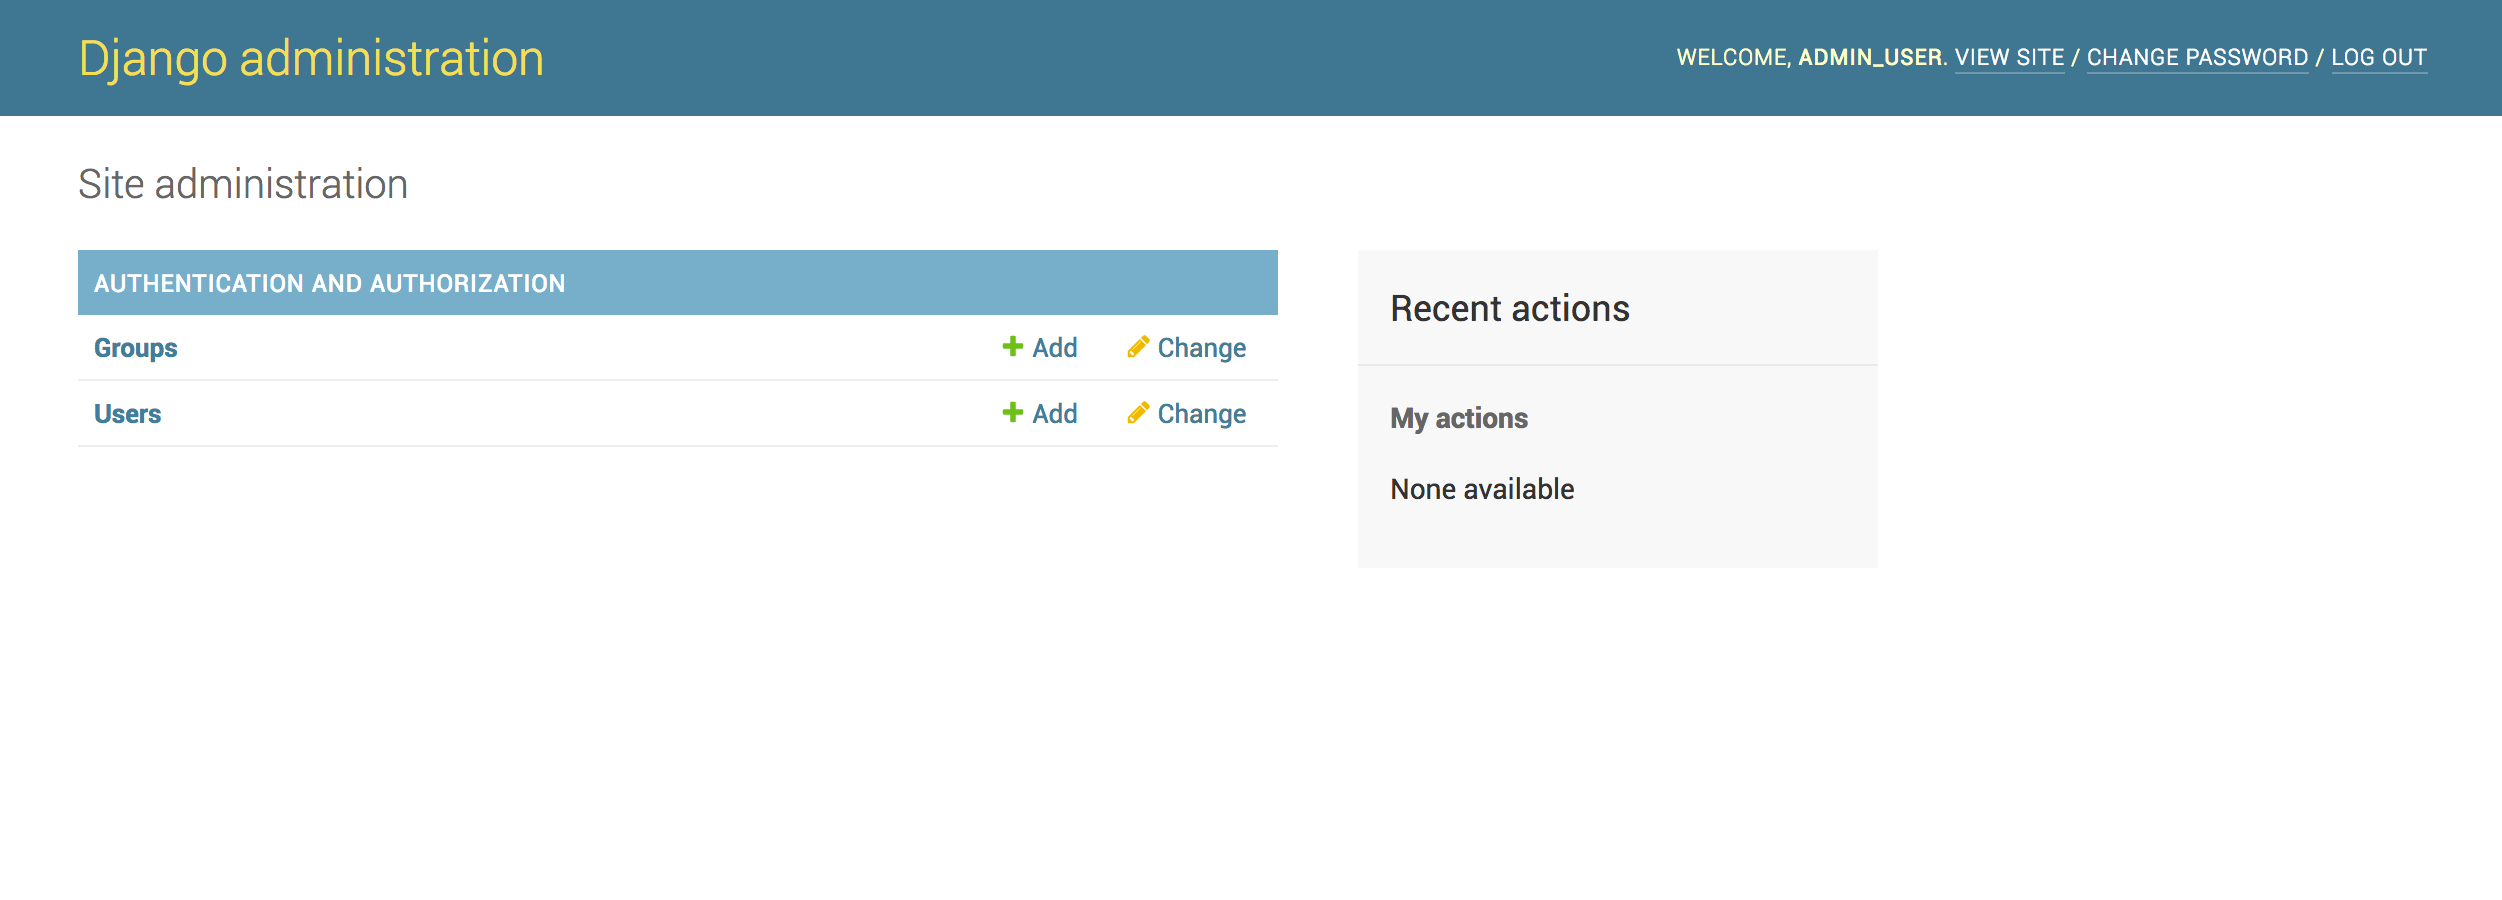
For more information about working with the Django admin interface, please see “How To Enable and Connect the Django Admin Interface.”
When you are done with testing your app, you can press CTRL + C to stop the runserver command. This will return you to your programming environment.
When you are ready to leave your Python environment, you can run the deactivate command:
- deactivate
Deactivating your programming environment will put you back to the terminal command prompt.
Conclusion
In this tutorial you have successfully installed Django and set up a development environment to begin working on your Django app.
You now have the foundation needed to get started building Django web applications.
Thanks for learning with the DigitalOcean Community. Check out our offerings for compute, storage, networking, and managed databases.
About the author
Community and Developer Education expert. Former Senior Manager, Community at DigitalOcean. Focused on topics including Ubuntu 22.04, Ubuntu 20.04, Python, Django, and more.
Still looking for an answer?
This textbox defaults to using Markdown to format your answer.
You can type !ref in this text area to quickly search our full set of tutorials, documentation & marketplace offerings and insert the link!
Hi, I don’t know if it is just me, but there seems to be the
python manage.py migrate step
missing, before the
python manage.py createsuperuser step ?
Hi, thanks for the tutorial. It’s very easy to follow.
During Step 1 it says “While in the server’s home directory, we’ll create the directory that will contain our Django application.” Rather than being in the server’s home directory, should we instead be in the directory for the non-root user account that has sudo privileges? This directory would be /home/user.
To create the folder django-apps within the home directory we would need to run sudo mkdir django-apps rather then mkdir django-apps as it says in the tutorial.
Thanks
I have another question! within step 1 when we create a virtual environment the tutorial says to use the command virtualenv env. Should this instead be python3 -m venv env? The 2nd version is the command used to create a virtual environment in the Python 3 installation guide.
 This work is licensed under a Creative Commons Attribution-NonCommercial- ShareAlike 4.0 International License.
Become a contributor for community
Get paid to write technical tutorials and select a tech-focused charity to receive a matching donation.

DigitalOcean Documentation
Full documentation for every DigitalOcean product.

Resources for startups and AI-native businesses
The Wave has everything you need to know about building a business, from raising funding to marketing your product.
The developer cloud
Scale up as you grow — whether you're running one virtual machine or ten thousand.

Start building today
From GPU-powered inference and Kubernetes to managed databases and storage, get everything you need to build, scale, and deploy intelligent applications.
