By Justin Ellingwood and Alex Garnett
Not using Ubuntu 20.04?
Choose a different version or distribution.
Introduction
Jenkins is an open source automation server intended to automate repetitive technical tasks involved in the continuous integration and delivery of software. With a robust ecosystem of plugins and broad support, Jenkins can handle a diverse set of workloads to build, test, and deploy applications.
In previous guides, we installed Jenkins on an Ubuntu 20.04 server and configured Jenkins with SSL using an Nginx reverse proxy. In this guide, we will demonstrate how to set up Jenkins to automatically test an application when changes are pushed to a repository.
For this tutorial, we will be integrating Jenkins with GitHub so that Jenkins is notified when new code is pushed to the repository. When Jenkins is notified, it will checkout the code and then test it within Docker containers to isolate the test environment from the Jenkins host machine. We will be using an example Node.js application to show how to define the CI/CD process for a project.
Prerequisites
To follow along with this guide, you will need an Ubuntu 20.04 server with at least 1G of RAM configured with a secure Jenkins installation. To properly secure the web interface, you will need to assign a domain name to the Jenkins server. Follow these guides to learn how to set up Jenkins in the expected format:
- How To Install Jenkins on Ubuntu 20.04
- How to Install Nginx on Ubuntu 20.04
- How to Secure Nginx with Let’s Encrypt on Ubuntu 20.04
- How to Configure Jenkins with SSL using an Nginx Reverse Proxy
To best control our testing environment, we will run our application’s tests within Docker containers. After Jenkins is up and running, install Docker on the server by following steps one and two of this guide:
When you have completed the above guides, you can continue on with this article.
Add the Jenkins User to the Docker Group
After following the prerequisites, both Jenkins and Docker are installed on your server. However, by default, the Linux user responsible for running the Jenkins process cannot access Docker.
To fix this, we need to add the jenkins user to the docker group using the usermod command:
- sudo usermod -aG docker jenkins
You can list the members of the docker group to confirm that the jenkins user has been added successfully:
- grep docker /etc/group
Outputdocker:x:999:sammy,jenkins
In order for the Jenkins to use its new membership, you need to restart the process:
- sudo systemctl restart jenkins
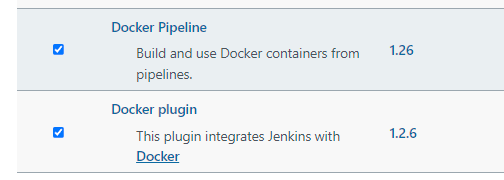
If you installed Jenkins with the default plugins, you may need to check to ensure that the docker and docker-pipeline plugins are also enabled. To do so, click Manage Jenkins from the sidebar, and then Manage Plugins from the next menu. Click on the Available tab of the plugin menu to search for new plugins, and type docker into the search bar. If both Docker Pipeline and Docker plugin are returned as options, and they are unselected, select both, and when prompted, allow Jenkins to restart with the new plugins enabled.
This should take approximately a minute and the page will refresh afterward.
Create a Personal Access Token in GitHub
In order for Jenkins to watch your GitHub projects, you will need to create a Personal Access Token in our GitHub account.
Begin by visiting GitHub and signing into your account if you haven’t already done so. Afterwards, click on your user icon in the upper-right hand corner and select Settings from the drop down menu:

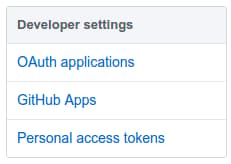
On the page that follows, locate the Developer settings section of the left-hand menu and click Personal access tokens:
Click on Generate new token button on the next page:

You will be taken to a page where you can define the scope for your new token.
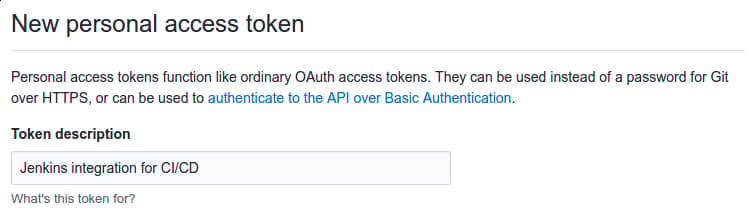
In the Token description box, add a description that will allow you to recognize it later:
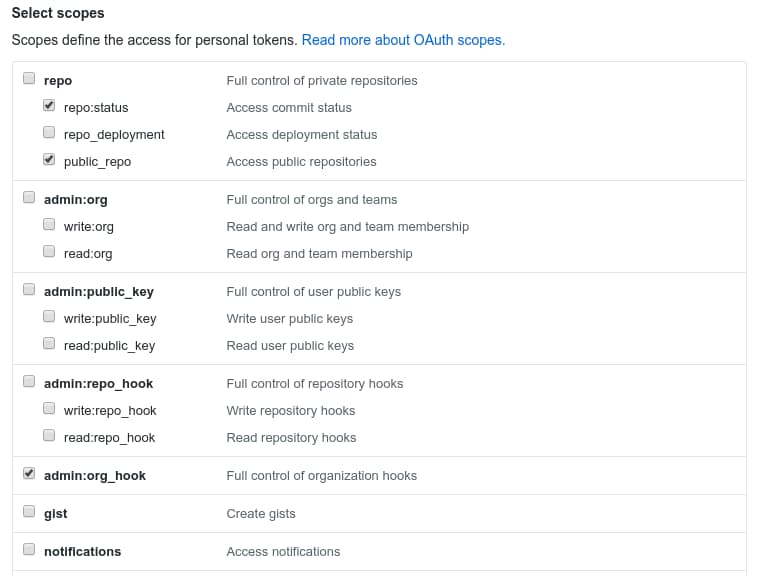
In the Select scopes section, check the repo:status, repo:public_repo and admin:org_hook boxes. These will allow Jenkins to update commit statuses and to create webhooks for the project. If you are using a private repository, you will need to select the general repo permission instead of the repo subitems:
When you are finished, click Generate token at the bottom.
You will be redirected back to the Personal access tokens index page and your new token will displayed:
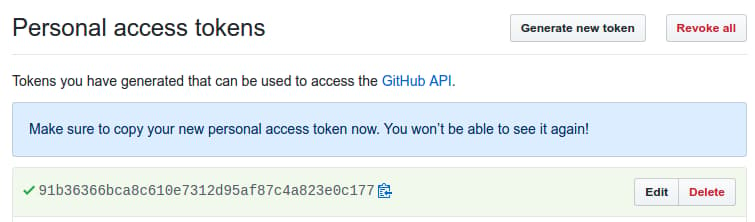
Copy the token now so that we can reference it later. As the message indicates, there is no way to retrieve the token once you leave this page.
Note: As mentioned in the screenshot above, for security reasons, there is no way to redisplay the token once you leave this page. If you lose your token, delete the current token from your GitHub account and then create a new one.
Now that you have a personal access token for your GitHub account, we can configure Jenkins to watch your project’s repository.
Add the GitHub Personal Access Token to Jenkins
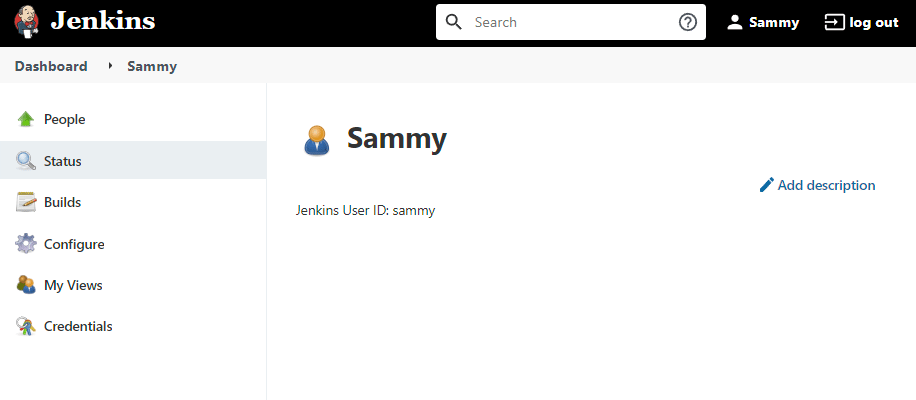
Now that we have a token, we need to add it to our Jenkins server so it can automatically set up webhooks. Log into your Jenkins web interface using the administrative account you configured during installation.
Click on your username in the top-right corner to access your user settings, and from there, click Credentials in the left-hand menu. :
On the next page, click the arrow next to (global) within the Jenkins scope. In the box that appears, click Add credentials:
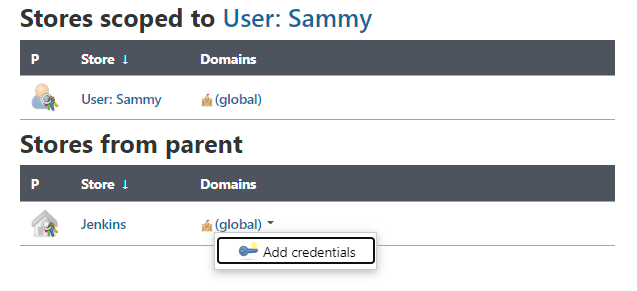
You will be taken to a form to add new credentials.
Under the Kind drop down menu, select Secret text. In the Secret field, paste your GitHub personal access token. Fill out the Description field so that you will be able to identify this entry at a later date. You can leave the Scope as Global and the ID field blank:
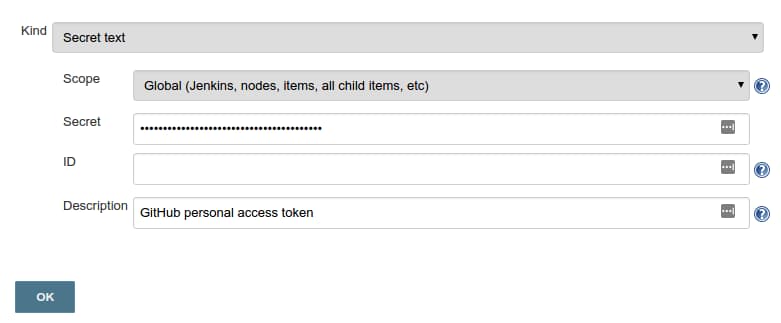
Click the OK button when you are finished.
You will now be able to reference these credentials from other parts of Jenkins to aid in configuration.
Set Up Jenkins Access to GitHub
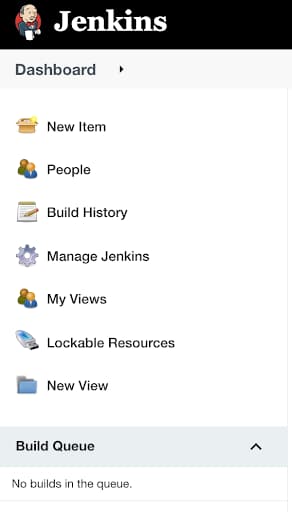
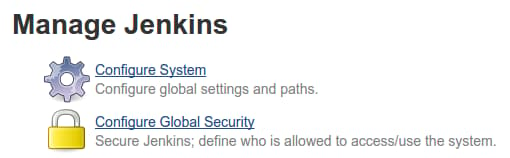
Back in the main Jenkins dashboard, click Manage Jenkins in the left hand menu:
In the list of links on the following page, click Configure System:
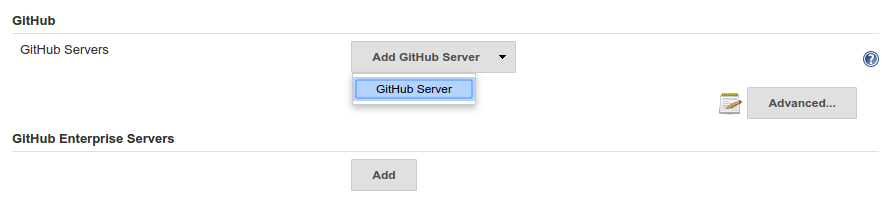
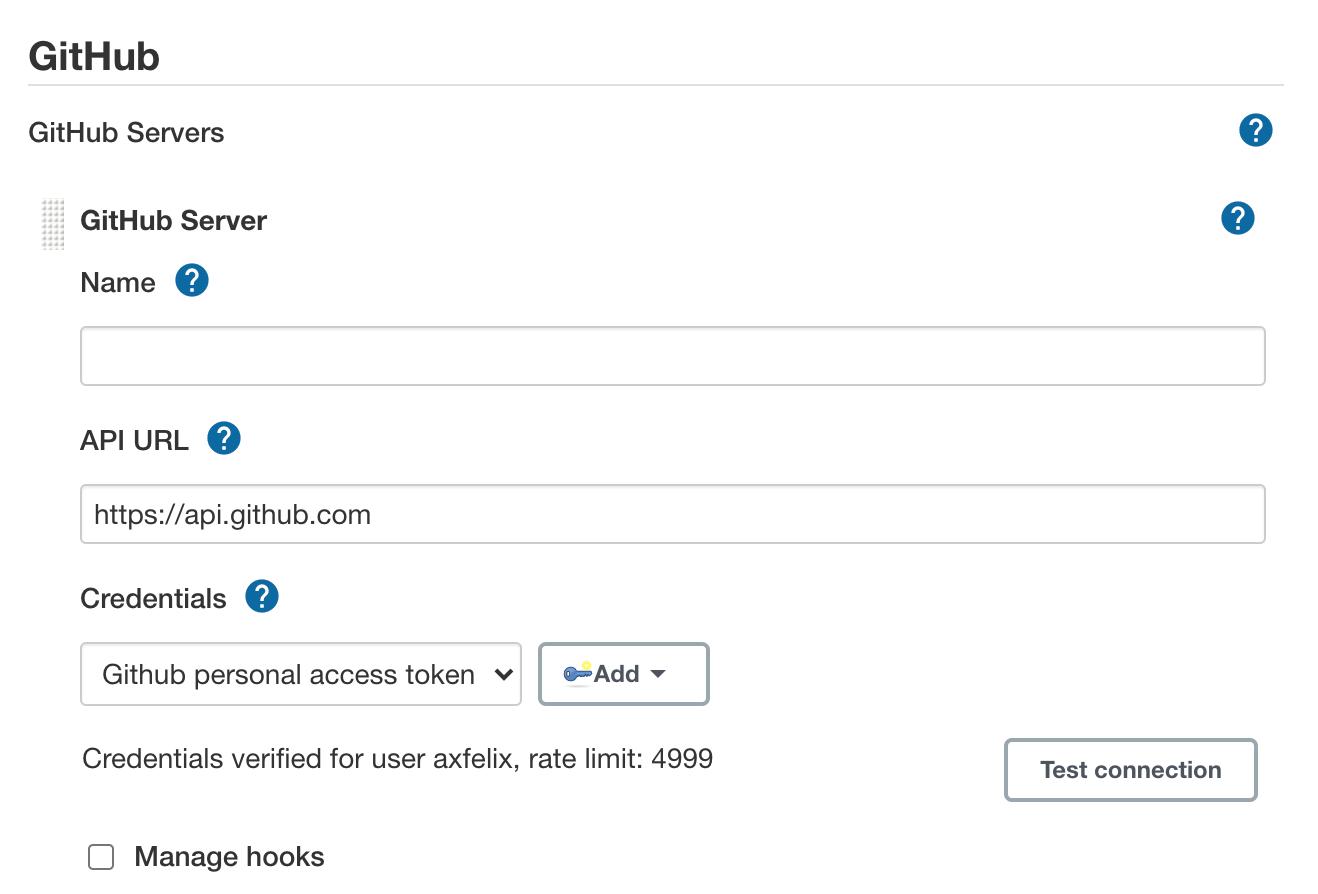
Scroll through the options on the next page until you find the GitHub section. Click the Add GitHub Server button and then select GitHub Server:
The section will expand to prompt for some additional information. In the Credentials drop down menu, select your GitHub personal access token that you added in the last section:
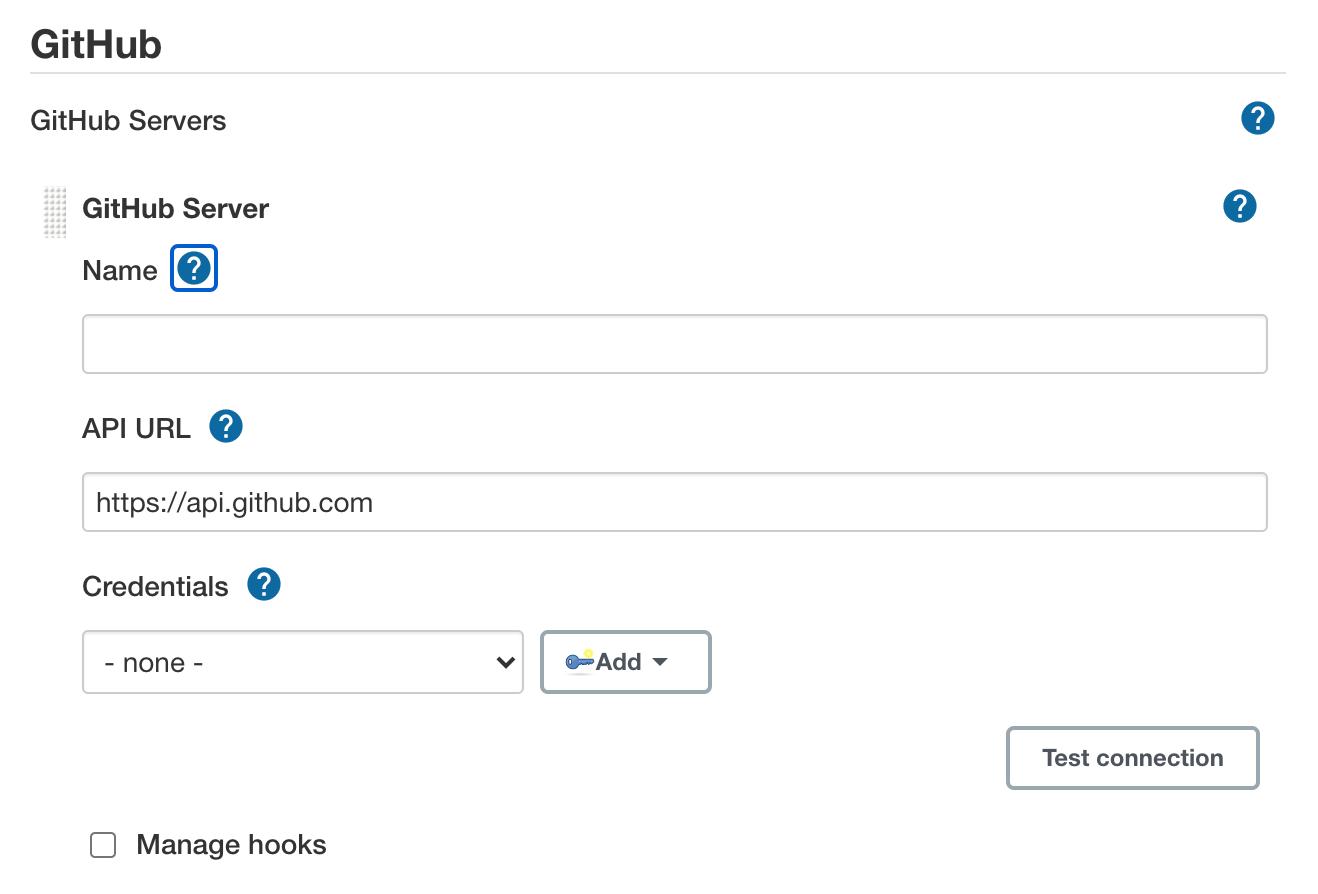
Click the Test connection button. Jenkins will make a test API call to your account and verify connectivity:
When you are finished, click the Save button to implement your changes.
Set Up the Demonstration Application in your GitHub Account
To demonstrate how to use Jenkins to test an application, we will be using a “hello world” program created with Hapi.js. Because we are setting up Jenkins to react to pushes to the repository, you need to have your own copy of the demonstration code.
Visit the project repository and click the Fork button in the upper-right corner to make a copy of the repository in your account:

A copy of the repository will be added to your account.
The repository contains a package.json file that defines the runtime and development dependencies, as well as how to run the included test suite. The dependencies can be installed by running npm install and the tests can be run using npm test.
We’ve added a Jenkinsfile to the repo as well. Jenkins reads this file to determine the actions to run against the repository to build, test, or deploy. It is written using the declarative version of the Jenkins Pipeline DSL.
The Jenkinsfile included in the hello-hapi repository looks like this:
#!/usr/bin/env groovy

pipeline {

    agent {
        docker {
            image 'node'
            args '-u root'
        }
    }

    stages {
        stage('Build') {
            steps {
                echo 'Building...'
                sh 'npm install'
            }
        }
        stage('Test') {
            steps {
                echo 'Testing...'
                sh 'npm test'
            }
        }
    }
}
The pipeline contains the entire definition that Jenkins will evaluate. Inside, we have an agent section that specifies where the actions in the pipeline will execute. To isolate our environments from the host system, we will be testing in Docker containers, specified by the docker agent.
Since Hapi.js is a framework for Node.js, we will be using the node Docker image as our base. We specify the root user within the container so that the user can simultaneously write to both the attached volume containing the checked out code, and to the volume the script writes its output to.
Next, the file defines two stages, i.e., logical divisions of work. We’ve named the first one “Build” and the second “Test”. The build step prints a diagnostic message and then runs npm install to obtain the required dependencies. The test step prints another message and then run the tests as defined in the package.json file.
Now that you have a repository with a valid Jenkinsfile, we can set up Jenkins to watch this repository and run the file when changes are introduced.
Create a New Pipeline in Jenkins
Next, we can set up Jenkins to use the GitHub personal access token to watch our repository.
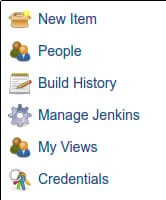
Back in the main Jenkins dashboard, click New Item in the left hand menu:
Enter a name for your new pipeline in the Enter an item name field. Afterwards, select Pipeline as the item type:

Click the OK button at the bottom to move on.
On the next screen, check the GitHub project box. In the Project url field that appears, enter your project’s GitHub repository URL.
Note: Make sure to point to your fork of the Hello Hapi application so that Jenkins will have permission to configure webhooks.

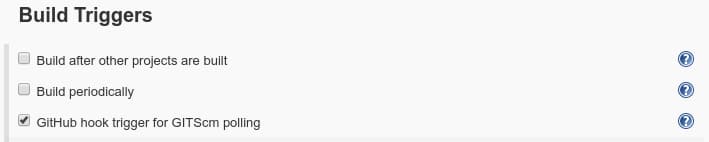
Next, in the Build Triggers section, check the GitHub hook trigger for GITScm polling box:
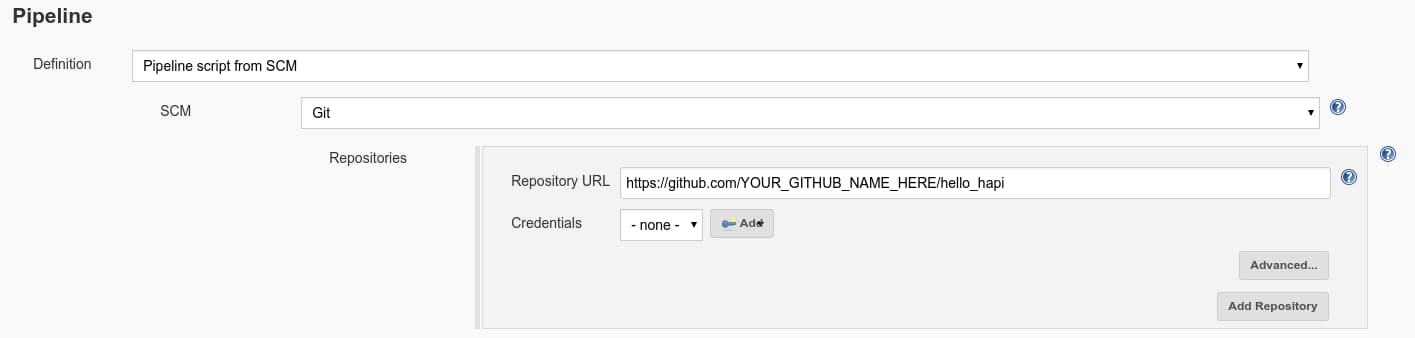
In the Pipeline section, we need to tell Jenkins to run the pipeline defined in the Jenkinsfile in our repository. Change the Definition type to Pipeline script from SCM.
In the new section that appears, choose Git in the SCM menu. In the Repository URL field that appears, enter the URL to your fork of the repository again:
Note: Again, make sure to point to your fork of the Hello Hapi application.
Note: Our example references a Jenkinsfile available within a public repository. If your project is not publicly accessible, you will need to use the add credentials button to add additional access to the repository. You can add a personal access token as we did with the hooks configuration earlier.
When you are finished, click the Save button at the bottom of the page.
Performing an Initial Build and Configuring the Webhooks
Jenkins does not automatically configure webhooks when you define the pipeline for the repository in the interface. In order to trigger Jenkins to set up the appropriate hooks, we need to perform a manual build the first time.
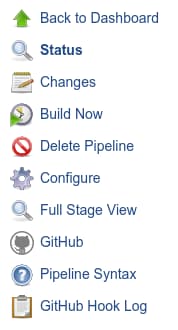
In your pipeline’s main page, click Build Now in the left hand menu:
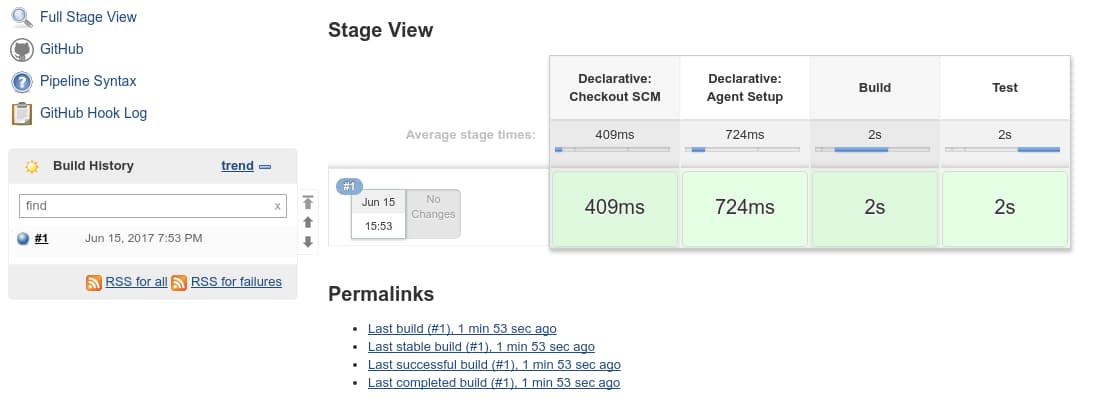
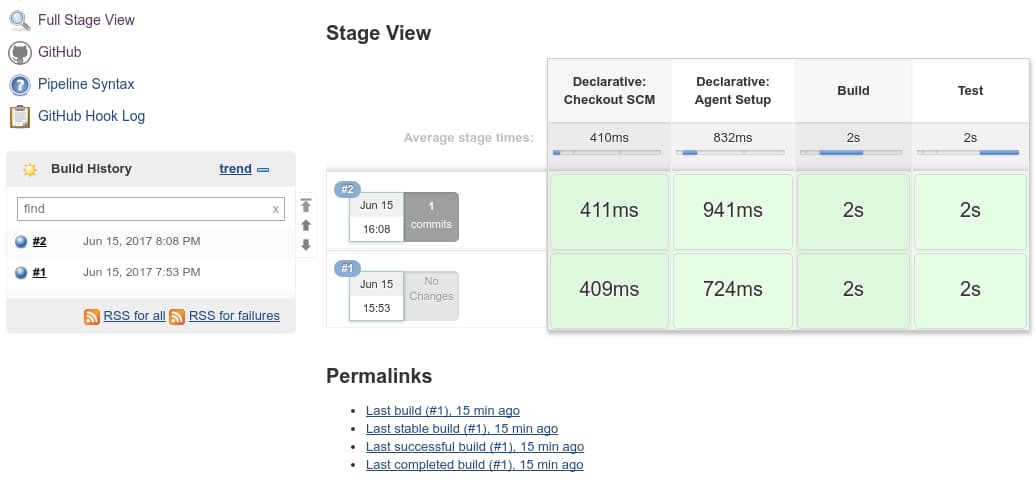
A new build will be scheduled. In the Build History box in the lower left corner, a new build should appear in a moment. Additionally, a Stage View will begin to be drawn in the main area of the interface. This will track the progress of your testing run as the different stages are completed:
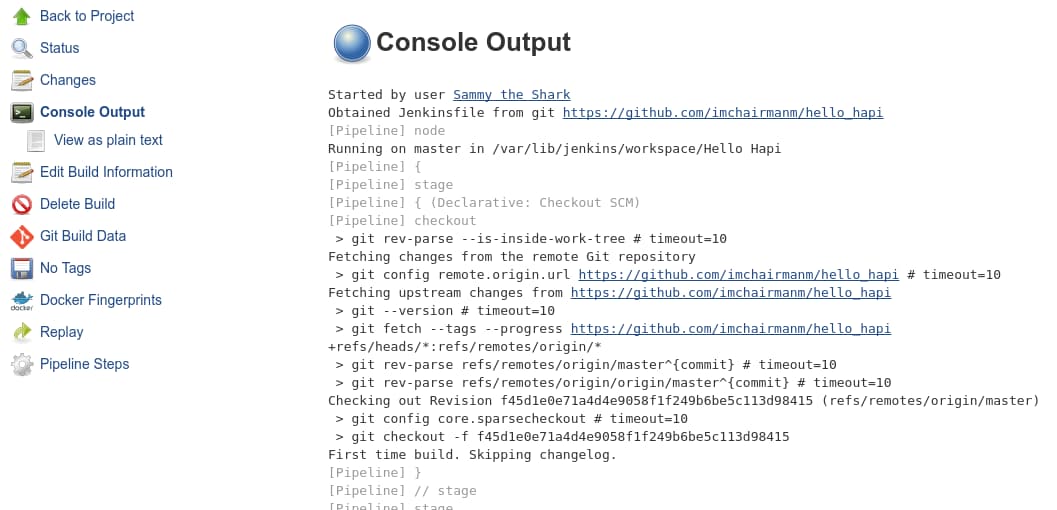
In the Build History box, click on the number associated with the build to go to the build detail page. From here, you can click the Console Output button in the left hand menu to see details of the steps that were run:
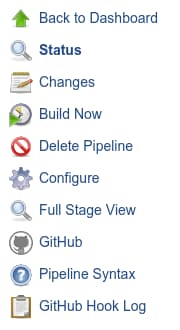
Click the Back to Project item in the left hand menu when you are finished in order to return to the main pipeline view.
Now that we’ve built the project once, we can have Jenkins create the webhooks for our project. Click Configure in the left hand menu of the pipeline:
No changes are necessary on this screen, just click the Save button at the bottom. Now that the Jenkins has information about the project from the initial build process, it will register a webhook with our GitHub project when you save the page.
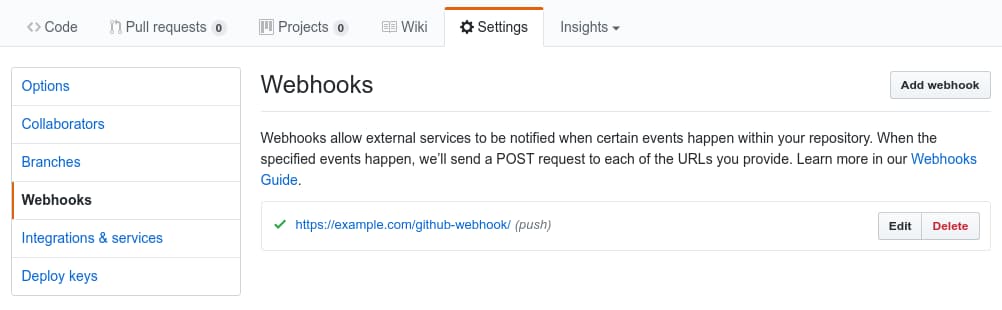
You can verify this by going to your GitHub repository and clicking the Settings button. On the next page, click Webhooks from the side menu. You should see your Jenkins server webhook in the main interface:
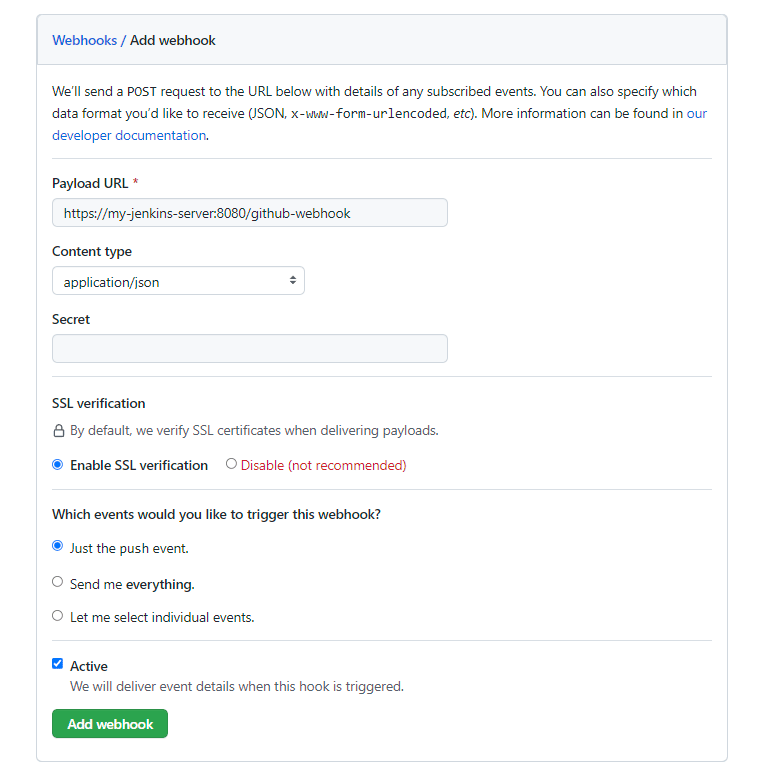
If for any reason Jenkins failed to register the hook (for example, due to upstream API changes or outages between Jenkins and Github), you can quickly add one yourself by clicking Add webhook and ensuring that the Payload URL is set to https://my-jenkins-server:8080/github-webhook and the Content type is set to application/json, then clicking Add webhook again at the bottom of the prompt.
Now, when you push new changes to your repository, Jenkins will be notified. It will then pull the new code and retest it using the same procedure.
To approximate this, in our repository page on GitHub, you can click the Create new file button to the left of the green Clone or download button:

On the next page, choose a filename and some dummy contents:
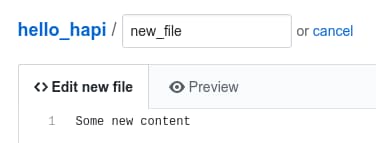
Click the Commit new file button at the bottom when you are finished.
If you return to your Jenkins interface, you will see a new build automatically started:
You can kick off additional builds by making commits to a local copy of the repository and pushing it back up to GitHub.
Conclusion
In this guide, we configured Jenkins to watch a GitHub project and automatically test any new changes that are committed. Jenkins pulls code from the repository and then runs the build and testing procedures from within isolated Docker containers. The resulting code can be deployed or stored by adding additional instructions to the same Jenkinsfile.
To learn more about GitHub Actions, refer to GitHub’s documentation.
Thanks for learning with the DigitalOcean Community. Check out our offerings for compute, storage, networking, and managed databases.
About the author(s)
Former Senior Technical Writer at DigitalOcean, specializing in DevOps topics across multiple Linux distributions, including Ubuntu 18.04, 20.04, 22.04, as well as Debian 10 and 11.
Former Senior DevOps Technical Writer at DigitalOcean. Expertise in topics including Ubuntu 22.04, Linux, Rocky Linux, Debian 11, and more.
Still looking for an answer?
This textbox defaults to using Markdown to format your answer.
You can type !ref in this text area to quickly search our full set of tutorials, documentation & marketplace offerings and insert the link!
 This work is licensed under a Creative Commons Attribution-NonCommercial- ShareAlike 4.0 International License.
Become a contributor for community
Get paid to write technical tutorials and select a tech-focused charity to receive a matching donation.

DigitalOcean Documentation
Full documentation for every DigitalOcean product.

Resources for startups and AI-native businesses
The Wave has everything you need to know about building a business, from raising funding to marketing your product.
The developer cloud
Scale up as you grow — whether you're running one virtual machine or ten thousand.

Start building today
From GPU-powered inference and Kubernetes to managed databases and storage, get everything you need to build, scale, and deploy intelligent applications.
