By Erin Glass
Senior Manager, DevEd

Introduction
This tutorial will introduce you to styling the HTML Content Division element—or <div> element—using CSS. The <div> element can be used to structure the layout of a page and break up a webpage into separate components for individual styling. In this tutorial, you will create and style <div> elements, as well as learn how to add and style other elements inside a <div> container. These skills will prepare you to use <div> elements as layout tools later on in the series when you begin recreating the demonstration website.
The <div> element is used by adding opening and closing </div> tags to an HTML document. On its own, the <div> element typically has little visual effect on the presentation of a webpage. To specify the size, color, and other properties of a <div> element, you can assign it style rules using CSS.
Prerequisites
To follow this tutorial, make sure you have set up the necessary files and folders as instructed in a previous tutorial in this series How To Set Up You CSS and HTML Practice Project.
Exploring the <div> Element in Practice
<div> Element in PracticeLet’s try a hands-on exercise to study how the <div> element works. Erase everything in your styles.css file (if you added content from previous tutorials). Next, add the following CSS rule for the <div> tag selector:
div {
 background-color: green;
 height: 100px;
 width: 100px;
}
Save the styles.css file. Next, return to your index.html file, erase everything that’s there (except for the first line of code: <link rel="stylesheet" href="css/styles.css">) and add the following code snippet:
<div></div>
Notice that the <div> element has opening and closing tags but does not require any content. Save the index.html file and reload it in your browser. (For instructions on loading an HTML file, please visit our tutorial step How To View An Offline HTML File In Your Browser).
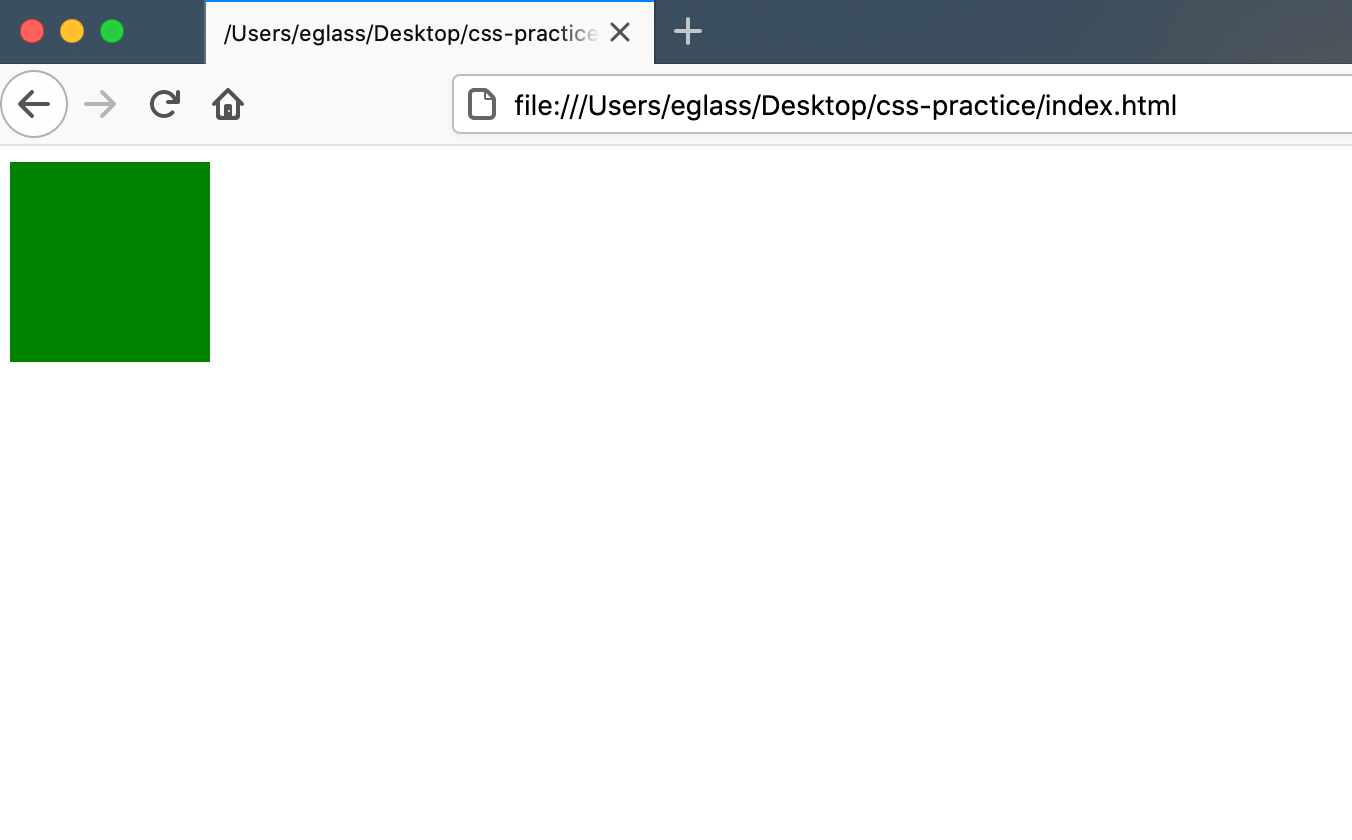
Your webpage should display a green box 100 pixels wide and 100 pixels tall as specified by the CSS rule:
Now that you have a styling rule for your <div> element, every <div> element you add to your page will be styled in the precisely the same manner. However, when creating a website, it is unlikely that you will want all of your HTML <div> elements to be styled in the same way. For this reason, developers often create classes that they can use to style <div> elements in different ways.
To practice creating classes for <div> elements, erase the CSS rule you just created and add the following new three CSS rulesets to the styles.css file:
.div-1 {
  background-color: blue;
  height: 50px;
  width: 50px;
}

.div-2 {
  background-color: red;
  height: 100px;
  width: 100px;
}

.div-3 {
  background-color: yellow;
  height: 200px;
  width: 200px;
}
In this code snippet, you have created styling rules for three different classes: div-1, div-2, and div-3. Note that you have added a . before the class selector as required when declaring CSS rules for classes.
Save the styles.css file and return to your index.html file. Erase the <div> element you just created and, add the three <div> elements to your index.html file, applying a class to each one that corresponds to the CSS class selectors that you defined in styles.css:
<div class="div-1"></div>
<div class="div-2"></div>
<div class="div-3"></div>
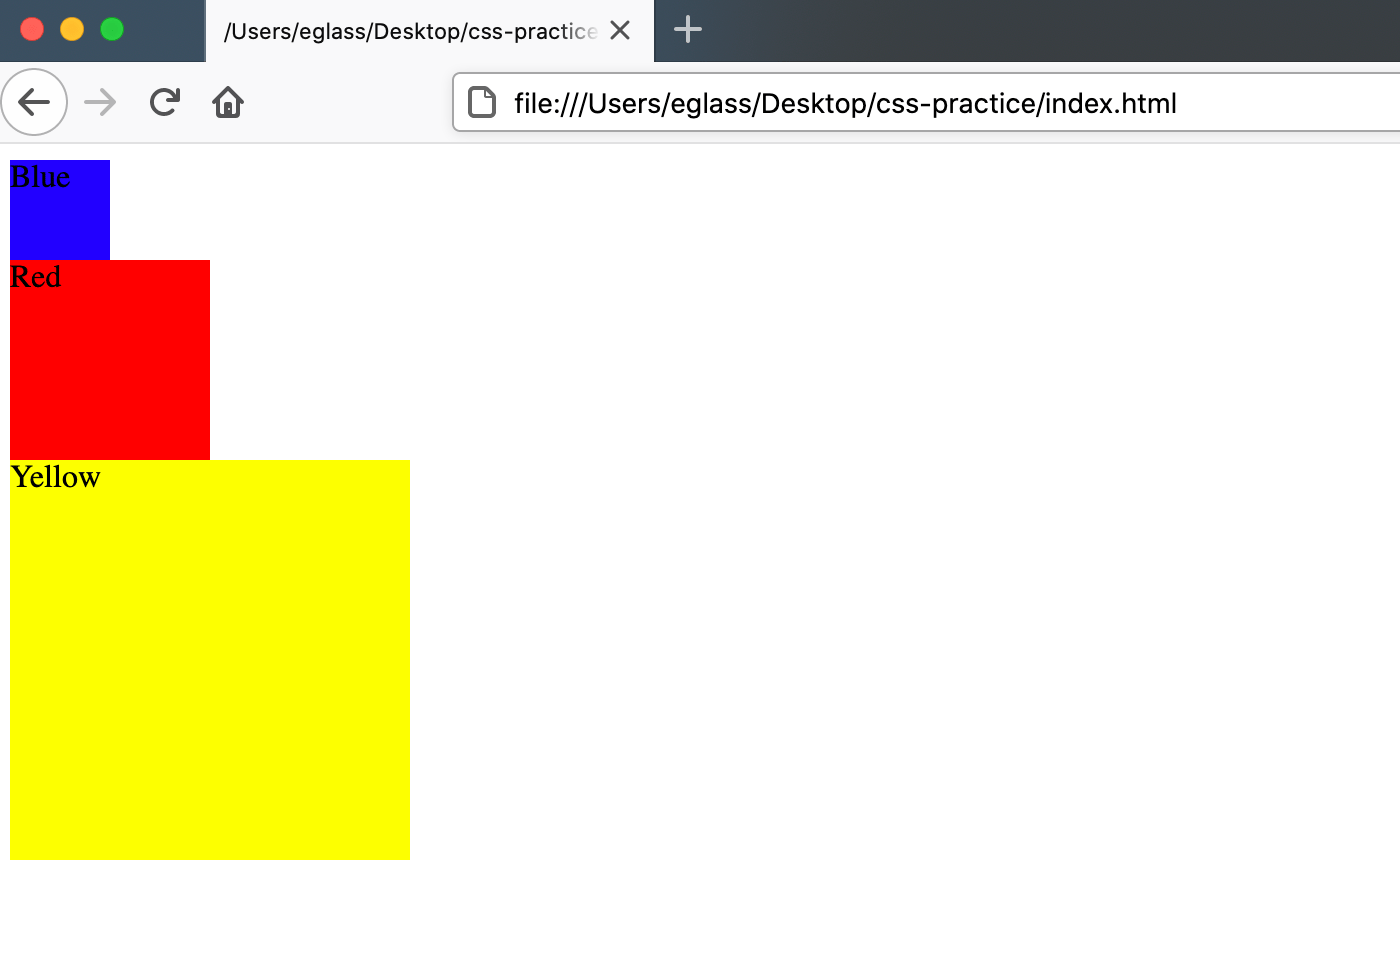
Note that you have added the class as an attribute to the <div> tag by adding the class attribute and class name to each opening <div> tag. Save the file and reload it in your browser. You should receive something like this:

Your webpage should display three <div> elements, each styled with a different color and size according to their assigned CSS style rules. Note that each <div> element starts on its own new line as <div> elements are block-level elements and have this default behavior.
Adding and Styling Text in a <div> Container
<div> ContainerYou can put text inside a <div> container by inserting text in between the opening and closing <div> tags. Try adding text inside each of the <div> elements in your index.html file:
<div class="div-1">Blue</div>
<div class="div-2">Red</div>
<div class="div-3">Yellow</div>
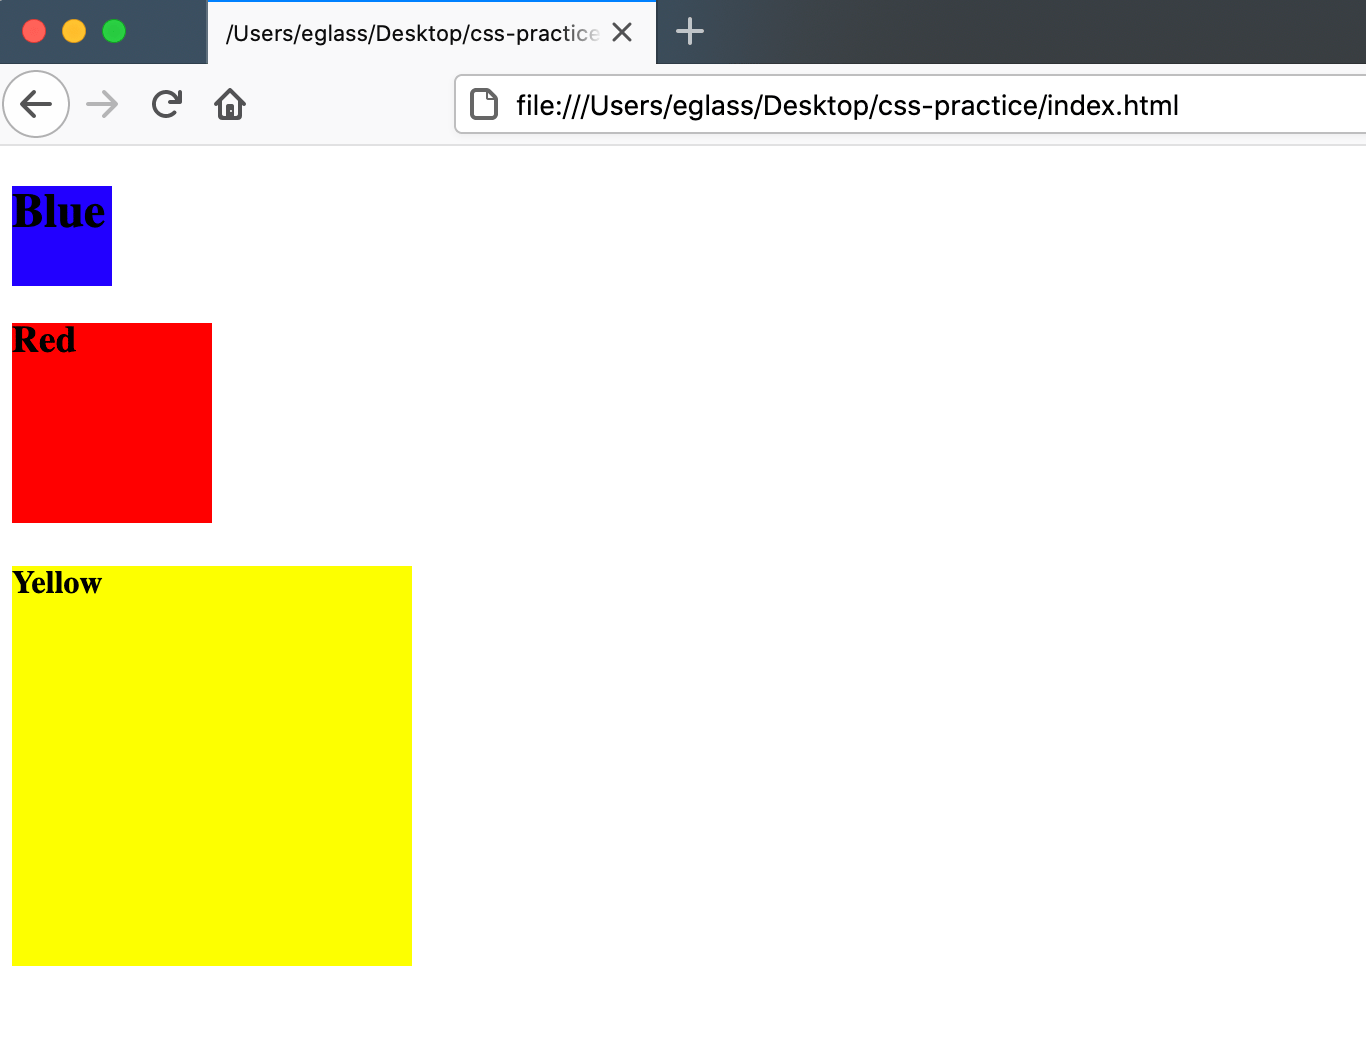
Save the file and reload it in your browser. You should now have text displayed in each of your <div> containers:
You can add additional HTML elements to your text inside the <div> elements. For example, try adding the HTML heading tags (<h2> to <h4>) to your text inside the <div> tags in your index.html file:
<div class="div-1"><h2>Blue</h2></div>
<div class="div-2"><h3>Red</h3></div>
<div class="div-3"><h4>Yellow</h4></div>
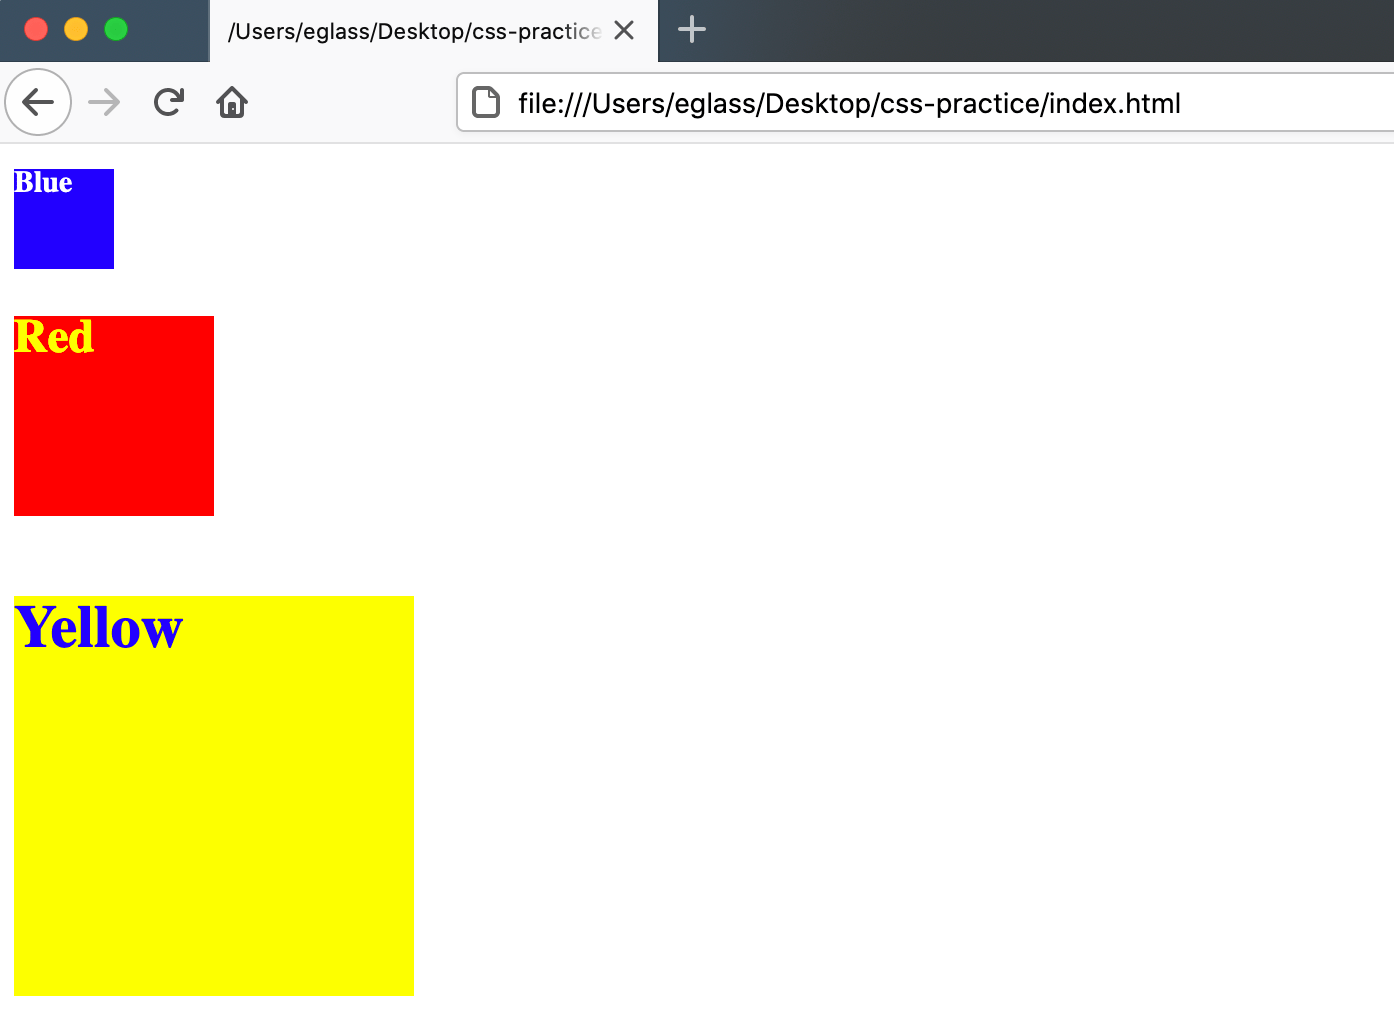
Save the file and reload it in your browser. The text inside the <div> containers should now be styled according to the default properties of the <h1> to <h4> tags:
Note that the <div> elements have also adjusted their positions slightly. This repositioning is caused by the default margin properties of the <h2> through <h4> elements. You’ll learn more about margins in the next tutorial on the CSS Box Model, but for now it is fine to ignore them
To style text inside the <div> containers, you can specify text property values in the rulesets for your <div> classes. Try adding the properties and values to your rulesets in your styles.css file as highlighted in the in the following code snippet:
.div-1 {
  background-color: blue;
  height: 50px;
  width: 50px;
  font-size: 10px;
  color: white; iu
}

.div-2 {
  background-color: red;
  height: 100px;
  width: 100px;
  font-size: 20px;
  color: yellow;
}

.div-3 {
  background-color: yellow;
  height: 200px;
  width: 200px;
  font-size:30px;
  color: blue;
}
Save your styles.css file and reload the index.html file in your browser. The text inside the <div> containers should now be styled according to the CSS rules in your styles.css file:
Conclusion
In this tutorial you explored how to style the color and size of a <div> element and how to add and style text inside a <div> element. You will use the <div> element to control the layout of a page when you begin building the website. In the next tutorial, you will learn about the CSS Box Model, and how to use it to adjust the size of an element’s content, padding, borders, and margin.
Thanks for learning with the DigitalOcean Community. Check out our offerings for compute, storage, networking, and managed databases.
Tutorial Series: How To Build a Website With CSS
This tutorial is part of a series on creating and customizing this website with CSS, a stylesheet language used to control the presentation of websites. You may follow the entire series to recreate the demonstration website and gain familiarity with CSS or use the methods described here for other CSS website projects.
Before proceeding, we recommend that you have some knowledge of HTML, the standard markup language used to display documents in a web browser. If you don’t have familiarity with HTML, you can follow the first ten tutorials of our series How To Build a Website With HTML before starting this series.
Browse Series: 20 tutorials
About the author
Open source advocate and lover of education, culture, and community.
Still looking for an answer?
This textbox defaults to using Markdown to format your answer.
You can type !ref in this text area to quickly search our full set of tutorials, documentation & marketplace offerings and insert the link!
 This work is licensed under a Creative Commons Attribution-NonCommercial- ShareAlike 4.0 International License.
Become a contributor for community
Get paid to write technical tutorials and select a tech-focused charity to receive a matching donation.

DigitalOcean Documentation
Full documentation for every DigitalOcean product.

Resources for startups and AI-native businesses
The Wave has everything you need to know about building a business, from raising funding to marketing your product.
The developer cloud
Scale up as you grow — whether you're running one virtual machine or ten thousand.

Start building today
From GPU-powered inference and Kubernetes to managed databases and storage, get everything you need to build, scale, and deploy intelligent applications.
