
Introduction
When developing a Ruby on Rails application, you may find you have application tasks that should be performed asynchronously. Processing data, sending batch emails, or interacting with external APIs are all examples of work that can be done asynchronously with background jobs. Using background jobs can improve your application’s performance by offloading potentially time-intensive tasks to a background processing queue, freeing up the original request/response cycle.
Sidekiq is one of the more widely used background job frameworks that you can implement in a Rails application. It is backed by Redis, an in-memory key-value store known for its flexibility and performance. Sidekiq uses Redis as a job management store to process thousands of jobs per second.
In this tutorial, you will add Redis and Sidekiq to an existing Rails application. You will create a set of Sidekiq worker classes and methods to handle:
- A batch upload of endangered shark information to the application database from a CSV file in the project repository.
- The removal of this data.
When you are finished, you will have a demo application that uses workers and jobs to process tasks asynchronously. This will be a good foundation for you to add workers and jobs to your own application, using this tutorial as a jumping off point.
Prerequisites
To follow this tutorial, you will need:
- A local machine or development server running Ubuntu 18.04. Your development machine should have a non-root user with administrative privileges and a firewall configured with
ufw. For instructions on how to set this up, see our Initial Server Setup with Ubuntu 18.04 tutorial. - Node.js and npm installed on your local machine or development server. This tutorial uses Node.js version 10.17.0 and npm version 6.11.3. For guidance on installing Node.js and npm on Ubuntu 18.04, follow the instructions in the “Installing Using a PPA” section of How To Install Node.js on Ubuntu 18.04.
- The Yarn package manager installed on your local machine or development server. You can following the installation instructions in the official documentation.
- Ruby, rbenv, and Rails installed on your local machine or development server, following Steps 1-4 in How To Install Ruby on Rails with rbenv on Ubuntu 18.04. This tutorial uses Ruby 2.5.1, rbenv 1.1.2, and Rails 5.2.3.
- SQLite installed, following Step 1 of How To Build a Ruby on Rails Application. This tutorial uses SQLite 3 3.22.0.
- Redis installed, following Steps 1-3 of How To Install and Secure Redis on Ubuntu 18.04. This tutorial uses Redis 4.0.9.
Step 1 — Cloning the Project and Installing Dependencies
Our first step will be to clone the rails-bootstrap repository from the DigitalOcean Community GitHub account. This repository includes the code from the setup described in How To Add Bootstrap to a Ruby on Rails Application, which explains how to add Bootstrap to an existing Rails 5 project.
Clone the repository into a directory called rails-sidekiq:
- git clone https://github.com/do-community/rails-bootstrap.git rails-sidekiq
Navigate to the rails-sidekiq directory:
- cd rails-sidekiq
In order to work with the code, you will first need to install the project’s dependencies, which are listed in its Gemfile. You will also need to add the sidekiq gem to the project to work with Sidekiq and Redis.
Open the project’s Gemfile for editing, using nano or your favorite editor:
- nano Gemfile
Add the gem anywhere in the main project dependencies (above development dependencies):
. . .
# Reduces boot times through caching; required in config/boot.rb
gem 'bootsnap', '>= 1.1.0', require: false
gem 'sidekiq', '~>6.0.0'

group :development, :test do
. . .
Save and close the file when you are finished adding the gem.
Use the following command to install the gems:
- bundle install
You will see in the output that the redis gem is also installed as a requirement for sidekiq.
Next, you will install your Yarn dependencies. Because this Rails 5 project has been modified to serve assets with webpack, its JavaScript dependencies are now managed by Yarn. This means that it’s necessary to install and verify the dependencies listed in the project’s package.json file.
Run yarn install to install these dependencies:
- yarn install
Next, run your database migrations:
- rails db:migrate
Once your migrations have finished, you can test the application to ensure that it is working as expected. Start your server in the context of your local bundle with the following command if you are working locally:
- bundle exec rails s
If you are working on a development server, you can start the application with:
- bundle exec rails s --binding=your_server_ip
Navigate to localhost:3000 or http://your_server_ip:3000. You will see the following landing page:
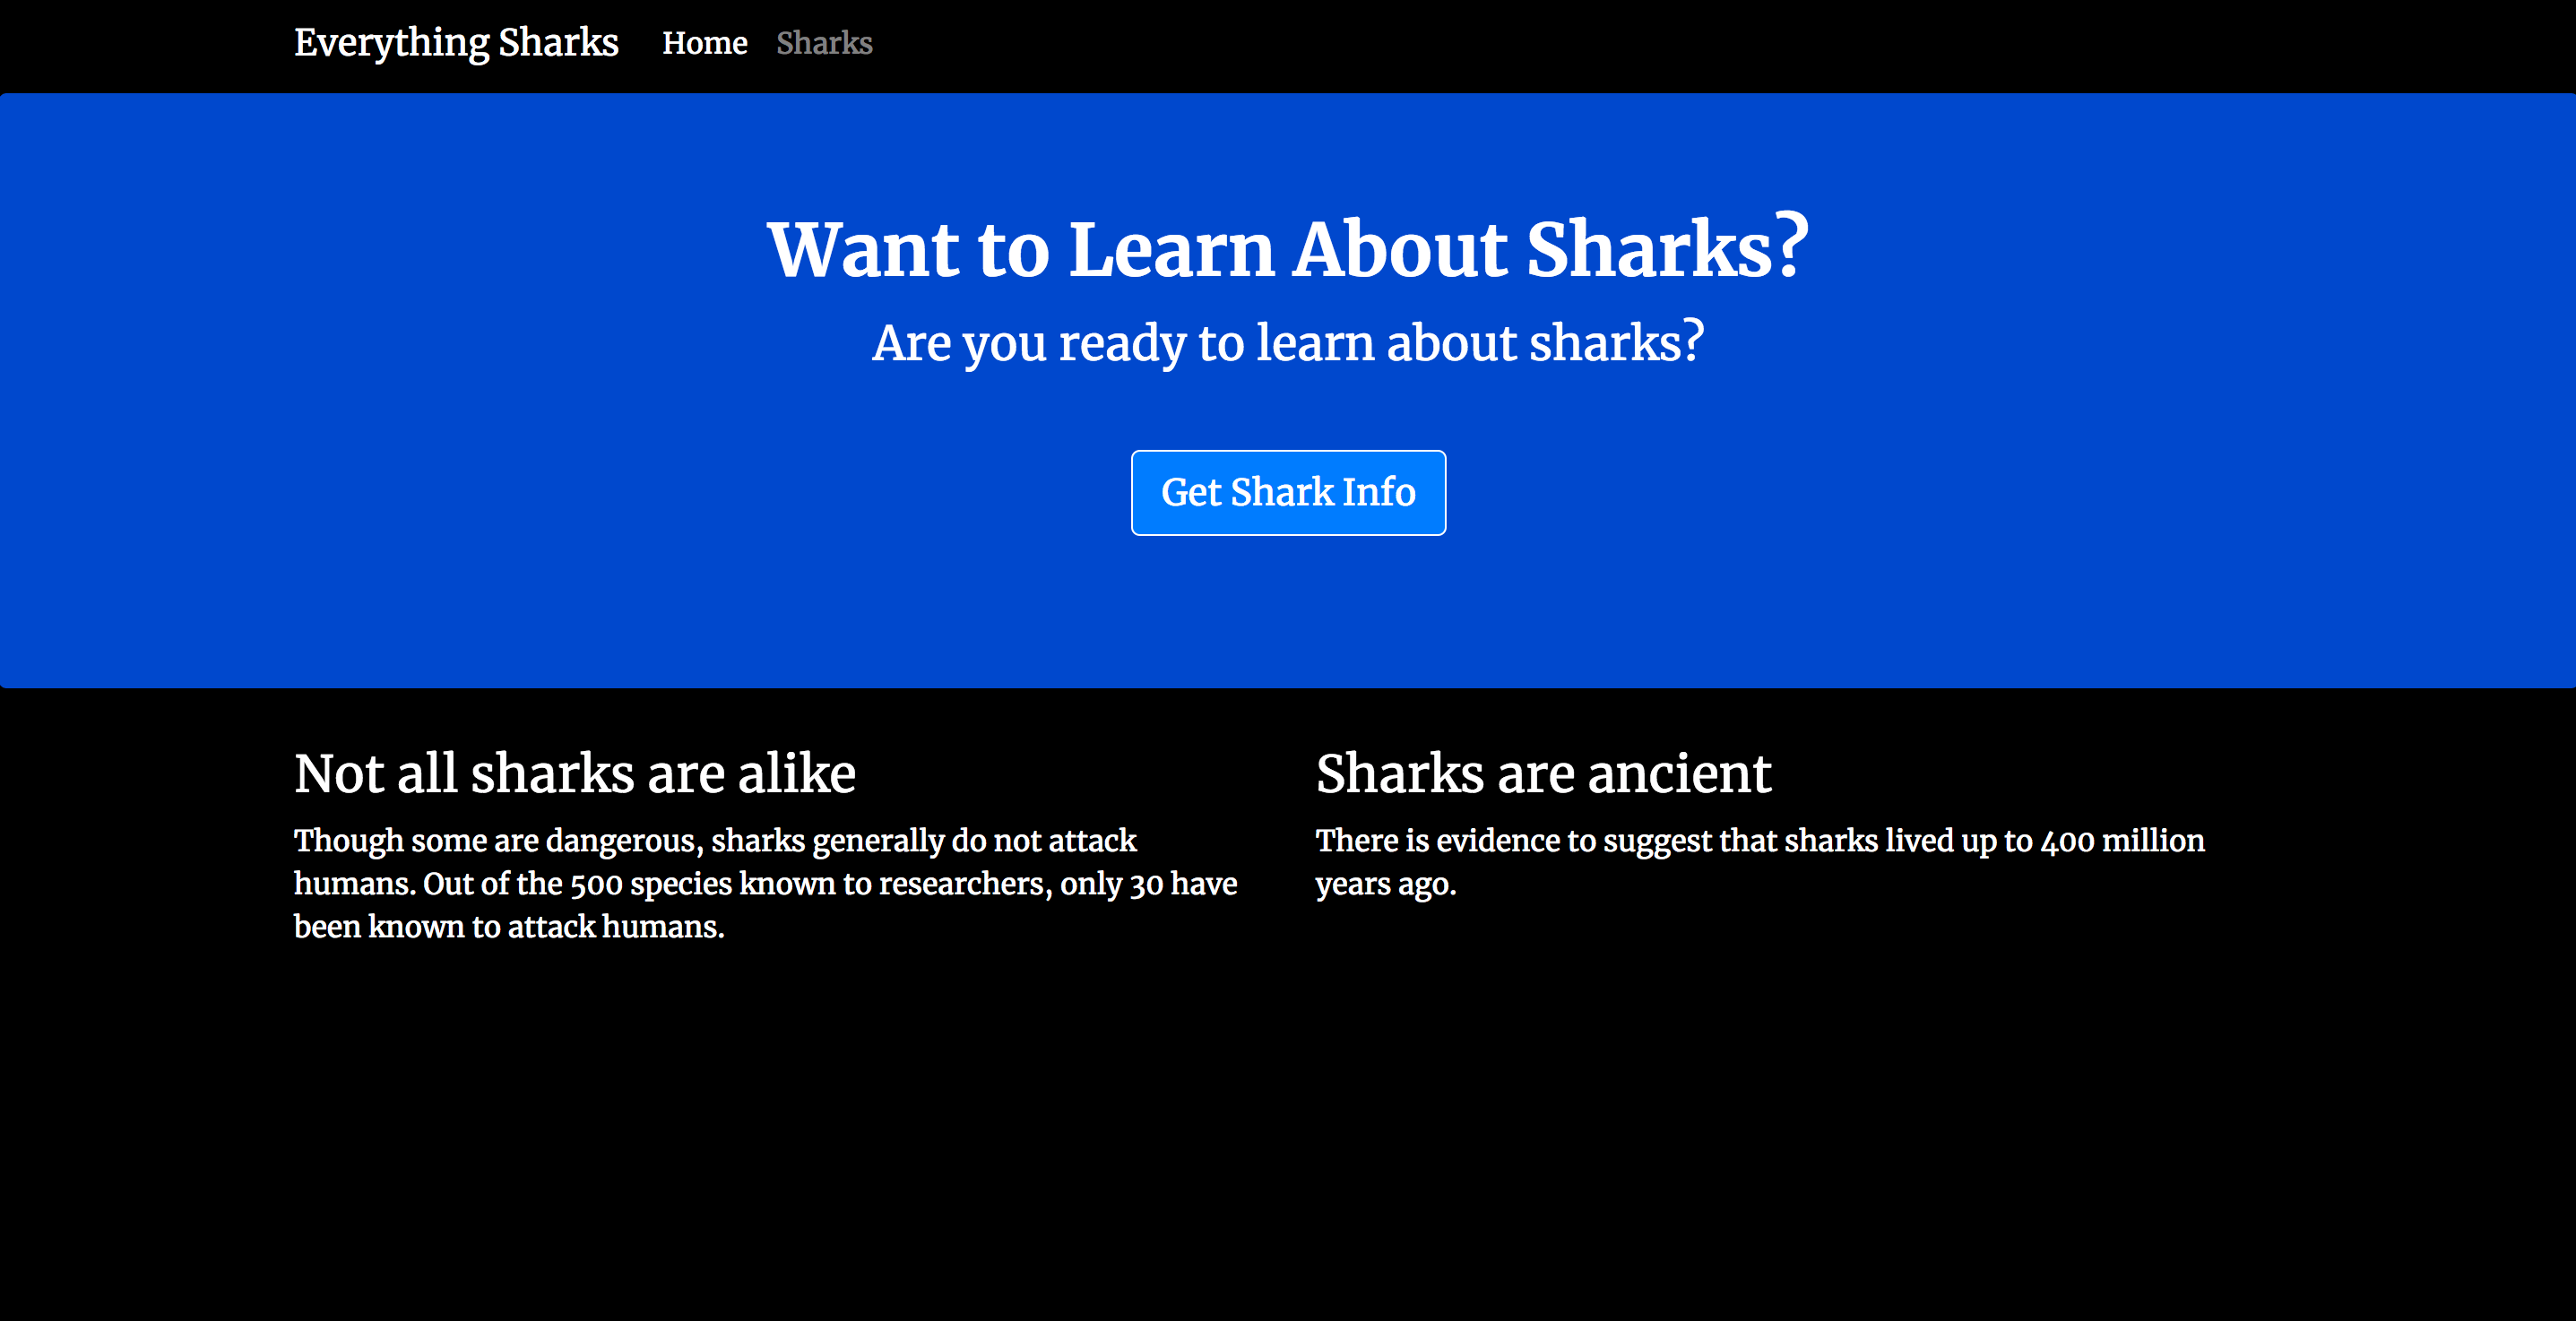
To create a new shark, click on the Get Shark Info button, which will take you to the sharks/index route:

To verify that the application is working, we can add some demo information to it. Click on New Shark. You will be prompted for a username (sammy) and password (shark), thanks to the project’s authentication settings.
On the New Shark page, input “Great White” into the Name field and “Scary” into the Facts field:

Click on the Create Shark button to create the shark. Once you see that your shark has been created, you can kill the server with CTRL+C.
You have now installed the necessary dependencies for your project and tested its functionality. Next, you can make a few changes to the Rails application to work with your endangered sharks resources.
Step 2 — Generating a Controller for Endangered Shark Resources
To work with our endangered shark resources, we will add a new model to the application and a controller that will control how information about endangered sharks is presented to users. Our ultimate goal is to make it possible for users to upload a large batch of information about endangered sharks without blocking our application’s overall functionality, and to delete that information when they no longer need it.
First, let’s create an Endangered model for our endangered sharks. We’ll include a string field in our database table for the shark name, and another string field for the International Union for the Conservation of Nature (IUCN) categories that determine the degree to which each shark is at risk.
Ultimately, our model structure will match the columns in the CSV file that we will use to create our batch upload. This file is located in the db directory, and you can check its contents with the following command:
- cat db/sharks.csv
The file contains a list of 73 endangered sharks and their IUCN statuses - vu for vulnerable, en for endangered, and cr for critically endangered.
Our Endangered model will correlate with this data, allowing us to create new Endangered instances from this CSV file. Create the model with the following command:
- rails generate model Endangered name:string iucn:string
Next, generate an Endangered controller with an index action:
- rails generate controller endangered index
This will give us a starting point to build out our application’s functionality, though we will also need to add custom methods to the controller file that Rails has generated for us.
Open that file now:
- nano app/controllers/endangered_controller.rb
Rails has provided us with a skeletal outline that we can begin to fill in.
First, we’ll need to determine what routes we require to work with our data. Thanks to the generate controller command, we have an index method to begin with. This will correlate to an index view, where we will present users with the option to upload endangered sharks.
However, we will also want to deal with cases where users may have already uploaded the sharks; they will not need an upload option in this case. We will somehow need to assess how many instances of the Endangered class already exist, since more than one indicates that the batch upload has already occurred.
Let’s start by creating a set_endangered private method that will grab each instance of our Endangered class from the database. Add the following code to the file:
class EndangeredController < ApplicationController
  before_action :set_endangered, only: [:index, :data]

  def index
  end

  private

    def set_endangered
      @endangered = Endangered.all
    end

end
Note that the before_action filter will ensure that the value of @endangered is only set for the index and data routes, which will be where we handle the endangered shark data.
Next, add the following code to the index method to determine the correct path for users visiting this part of the application:
class EndangeredController < ApplicationController
  before_action :set_endangered, only: [:index, :data]

  def index
    if @endangered.length > 0
      redirect_to endangered_data_path
    else
      render 'index'
    end
  end
. . .
If there are more than 0 instances of our Endangered class, we will redirect users to the data route, where they can view information about the sharks they’ve created. Otherwise, they will see the index view.
Next, below the index method, add a data method, which will correlate to a data view:
. . .
  def index
    if @endangered.length > 0
      redirect_to endangered_data_path
    else
      render 'index'
    end
  end

  def data
  end
. . .
Next, we will add a method to handle the data upload itself. We’ll call this method upload, and it will call a Sidekiq worker class and method to perform the data upload from the CSV file. We will create the definition for this worker class, AddEndangeredWorker, in the next step.
For now, add the following code to the file to call the Sidekiq worker to perform the upload:
. . .
  def data
  end

  def upload
    csv_file = File.join Rails.root, 'db', 'sharks.csv'
    AddEndangeredWorker.perform_async(csv_file)
    redirect_to endangered_data_path, notice: 'Endangered sharks have been uploaded!'
  end
. . .
By calling the perform_async method on the AddEndangeredWorker class, using the CSV file as an argument, this code ensures that the shark data and upload job get passed to Redis. The Sidekiq workers that we will set up monitor the job queue and will respond when new jobs arise.
After calling perform_async, our upload method redirects to the data path, where users will be able to see the uploaded sharks.
Next, we’ll add a destroy method to destroy the data. Add the following code below the upload method:
. . .
  def upload
    csv_file = File.join Rails.root, 'db', 'sharks.csv'
    AddEndangeredWorker.perform_async(csv_file)
    redirect_to endangered_data_path, notice: 'Endangered sharks have been uploaded!'
  end

  def destroy
    RemoveEndangeredWorker.perform_async
    redirect_to root_path
  end
. . .
Like our upload method, our destroy method includes a perform_async call on a RemoveEndangeredWorker class – the other Sidekiq worker that we will create. After calling this method, it redirects users to the root application path.
The finished file will look like this:
class EndangeredController < ApplicationController
  before_action :set_endangered, only: [:index, :data]

  def index
    if @endangered.length > 0
      redirect_to endangered_data_path
    else
      render 'index'
    end
  end

  def data
  end

  def upload
    csv_file = File.join Rails.root, 'db', 'sharks.csv'
    AddEndangeredWorker.perform_async(csv_file)
    redirect_to endangered_data_path, notice: 'Endangered sharks have been uploaded!'
  end

  def destroy
    RemoveEndangeredWorker.perform_async
    redirect_to root_path
  end

  private

    def set_endangered
      @endangered = Endangered.all
    end

end
Save and close the file when you are finished editing.
As a final step in solidifying our application’s routes, we will modify the code in config/routes.rb, the file where our route declarations live.
Open that file now:
- nano config/routes.rb
The file currently looks like this:
Rails.application.routes.draw do
  get 'endangered/index'
  get 'home/index'
  resources :sharks do
          resources :posts
  end
  root 'home#index'
  # For details on the DSL available within this file, see http://guides.rubyonrails.org/routing.html
end
We will need to update the file to include the routes that we’ve defined in our controller: data, upload, and destroy. Our data route will match with a GET request to retrieve the shark data, while our upload and destroy routes will map to POST requests that upload and destroy that data.
Add the following code to the file to define these routes:
Rails.application.routes.draw do
  get 'endangered/index'
  get 'endangered/data', to: 'endangered#data'
  post 'endangered/upload', to: 'endangered#upload'
  post 'endangered/destroy', to: 'endangered#destroy'
  get 'home/index'
  resources :sharks do
          resources :posts
  end
  root 'home#index'
  # For details on the DSL available within this file, see http://guides.rubyonrails.org/routing.html
end
Save and close the file when you are finished editing.
With your Endangered model and controller in place, you can now move on to defining your Sidekiq worker classes.
Step 3 — Defining Sidekiq Workers
We have called perform_async methods on our Sidekiq workers in our controller, but we still need to create the workers themselves.
First, create a workers directory for the workers:
- mkdir app/workers
Open a file for the AddEndangeredWorker worker:
- nano app/workers/add_endangered_worker.rb
In this file, we will add code that will allow us to work with the data in our CSV file. First, add code to the file that will create the class, include the Ruby CSV library, and ensure that this class functions as a Sidekiq Worker:
class AddEndangeredWorker
  require 'csv'
  include Sidekiq::Worker
  sidekiq_options retry: false

end
We’re also including the retry: false option to ensure that Sidekiq does not retry the upload in the case of failure.
Next, add the code for the perform function:
class AddEndangeredWorker
  require 'csv'
  include Sidekiq::Worker
  sidekiq_options retry: false

  def perform(csv_file)
    CSV.foreach(csv_file, headers: true) do |shark|
    Endangered.create(name: shark[0], iucn: shark[1])
  end
 end

end
The perform method receives arguments from the perform_async method defined in the controller, so it’s important that the argument values are aligned. Here, we pass in csv_file, the variable we defined in the controller, and we use the foreach method from the CSV library to read the values in the file. Setting headers: true for this loop ensures that the first row of the file is treated as a row of headers.
The block then reads the values from the file into the columns we set for our Endangered model: name and iucn. Running this loop will create Endangered instances for each of the entries in our CSV file.
Once you have finished editing, save and close the file.
Next, we will create a worker to handle deleting this data. Open a file for the RemoveEndangeredWorker class:
- nano app/workers/remove_endangered_worker.rb
Add the code to define the class, and to ensure that it uses the CSV library and functions as a Sidekiq Worker:
class RemoveEndangeredWorker
  include Sidekiq::Worker
  sidekiq_options retry: false

end
Next, add a perform method to handle the destruction of the endangered shark data:
class RemoveEndangeredWorker
  include Sidekiq::Worker
  sidekiq_options retry: false

  def perform
    Endangered.destroy_all
  end

end
The perform method calls destroy_all on the Endangered class, which will remove all instances of the class from the database.
Save and close the file when you are finished editing.
With your workers in place, you can move on to creating a layout for your endangered views, and templates for your index and data views, so that users can upload and view endangered sharks.
Step 4 — Adding Layouts and View Templates
In order for users to enjoy their endangered shark information, we will need to address two things: the layout for the views defined in our endangered controller, and the view templates for the index and data views.
Currently, our application makes use of an application-wide layout, located at app/views/layouts/application.html.erb, a navigation partial, and a layout for sharks views. The application layout checks for a content block, which allows us to load different layouts based on which part of the application our user is engaging with: for the home index page, they will see one layout, and for any views relating to individual sharks, they will see another.
We can repurpose the sharks layout for our endangered views since this format will also work for presenting shark data in bulk.
Copy the sharks layout file over to create an endangered layout:
- cp app/views/layouts/sharks.html.erb app/views/layouts/endangered.html.erb
Next, we’ll work on creating the view templates for our index and data views.
Open the index template first:
- nano app/views/endangered/index.html.erb
Delete the boilerplate code and add the following code instead, which will give users some general information about the endangered categories and present them with the option to upload information about endangered sharks:
<p id="notice"><%= notice %></p>

<h1>Endangered Sharks</h1>

<p>International Union for Conservation of Nature (ICUN) statuses: <b>vu:</b> Vulnerable, <b>en:</b> Endangered, <b>cr:</b> Critically Endangered </p>

<br>

  <%= form_tag endangered_upload_path do %>
  <%= submit_tag "Import Endangered Sharks" %>
  <% end %>

  <br>

<%= link_to 'New Shark', new_shark_path, :class => "btn btn-primary btn-sm" %> <%= link_to 'Home', home_index_path, :class => "btn btn-primary btn-sm" %>
A form_tag makes the data upload possible by pointing a post action to the endangered_upload_path – the route we defined for our uploads. A submit button, created with the submit_tag, prompts users to "Import Endangered Sharks".
In addition to this code, we’ve included some general information about ICUN codes, so that users can interpret the data they will see.
Save and close the file when you are finished editing.
Next, open a file for the data view:
- nano app/views/endangered/data.html.erb
Add the following code, which will add a table with the endangered shark data:
<p id="notice"><%= notice %></p>

<h1>Endangered Sharks</h1>

<p>International Union for Conservation of Nature (ICUN) statuses: <b>vu:</b> Vulnerable, <b>en:</b> Endangered, <b>cr:</b> Critically Endangered </p>

<div class="table-responsive">
<table class="table table-striped table-dark">
  <thead>
    <tr>
      <th>Name</th>
      <th>IUCN Status</th>
      <th colspan="3"></th>
    </tr>
  </thead>

  <tbody>
    <% @endangered.each do |shark| %>
      <tr>
        <td><%= shark.name %></td>
        <td><%= shark.iucn %></td>
      </tr>
    <% end %>
  </tbody>
</table>
</div>

<br>

  <%= form_tag endangered_destroy_path do %>
  <%= submit_tag "Delete Endangered Sharks" %>
  <% end %>

  <br>

<%= link_to 'New Shark', new_shark_path, :class => "btn btn-primary btn-sm" %> <%= link_to 'Home', home_index_path, :class => "btn btn-primary btn-sm" %>
This code includes the ICUN status codes once again, and a Bootstrap table for the outputted data. By looping through our @endangered variable, we output the name and ICUN status of each shark to the table.
Below the table, we have another set of form_tags and submit_tags, which post to the destroy path by offering users the option to "Delete Endangered Sharks".
Save and close the file when you are finished editing.
The last modification we’ll make to our views will be in the index view associated with our home controller. You may recall that this view is set as the root of the application in config/routes.rb.
Open this file for editing:
- nano app/views/home/index.html.erb
Find the column in the row that states Sharks are ancient:
. . .
        <div class="col-lg-6">
            <h3>Sharks are ancient</h3>
            <p>There is evidence to suggest that sharks lived up to 400 million years ago.
            </p>
        </div>
    </div>
</div>
Add the following code to the file:
. . .
        <div class="col-lg-6">
            <h3>Sharks are ancient and SOME are in danger</h3>
            <p>There is evidence to suggest that sharks lived up to 400 million years ago. Without our help, some could disappear soon.</p>
            <p><%= button_to 'Which Sharks Are in Danger?', endangered_index_path, :method => :get,  :class => "btn btn-primary btn-sm"%>
            </p>
        </div>
    </div>
</div>
We’ve included a call to action for users to learn more about endangered sharks, by first sharing a strong message, and then adding a button_to helper that submits a GET request to our endangered index route, giving users access to that part of the application. From there, they will be able to upload and view endangered shark information.
Save and close the file when you are finished editing.
With your code in place, you are ready to start the application and upload some sharks!
Step 5 — Starting Sidekiq and Testing the Application
Before we start the application, we’ll need to run migrations on our database and start Sidekiq to enable our workers. Redis should already be running on the server, but we can check to be sure. With all of these things in place, we’ll be ready to test the application.
First, check that Redis is running:
- systemctl status redis
You should see output like the following:
Output● redis-server.service - Advanced key-value store
   Loaded: loaded (/lib/systemd/system/redis-server.service; enabled; vendor preset: enabled)
   Active: active (running) since Tue 2019-11-12 20:37:13 UTC; 1 weeks 0 days ago
Next, run your database migrations:
- rails db:migrate
You can now start Sidekiq in the context of your current project bundle by using the bundle exec sidekiq command:
- bundle exec sidekiq
You will see output like this, indicating that Sidekiq is ready to process jobs:
Output

               m,
               `$b
          .ss,  $$:         .,d$
          `$$P,d$P'    .,md$P"'
           ,$$$$$b/md$$$P^'
         .d$$$$$$/$$$P'
         $$^' `"/$$$'       ____  _     _      _    _
         $:     ,$$:       / ___|(_) __| | ___| | _(_) __ _
         `b     :$$        \___ \| |/ _` |/ _ \ |/ / |/ _` |
                $$:         ___) | | (_| |  __/   <| | (_| |
                $$         |____/|_|\__,_|\___|_|\_\_|\__, |
              .d$$                                       |_|


2019-11-19T21:43:00.540Z pid=17621 tid=gpiqiesdl INFO: Running in ruby 2.5.1p57 (2018-03-29 revision 63029) [x86_64-linux]
2019-11-19T21:43:00.540Z pid=17621 tid=gpiqiesdl INFO: See LICENSE and the LGPL-3.0 for licensing details.
2019-11-19T21:43:00.540Z pid=17621 tid=gpiqiesdl INFO: Upgrade to Sidekiq Pro for more features and support: http://sidekiq.org
2019-11-19T21:43:00.540Z pid=17621 tid=gpiqiesdl INFO: Booting Sidekiq 6.0.3 with redis options {:id=>"Sidekiq-server-PID-17621", :url=>nil}
2019-11-19T21:43:00.543Z pid=17621 tid=gpiqiesdl INFO: Starting processing, hit Ctrl-C to stop
Open a second terminal window, navigate to the rails-sidekiq directory, and start your application server.
If you are running the application locally, use the following command:
- bundle exec rails s
If you are working with a development server, run the following:
- bundle exec rails s --binding=your_server_ip
Navigate to localhost:3000 or http://your_server_ip:3000 in the browser. You will see the following landing page:

Click on the Which Sharks Are in Danger? button. Since you have not uploaded any endangered sharks, this will take you to the endangered index view:

Click on Import Endangered Sharks to import the sharks. You will see a status message telling you that the sharks have been imported:

You will also see the beginning of the import. Refresh your page to see the entire table:

Thanks to Sidekiq, our large batch upload of endangered sharks has succeeded without locking up the browser or interfering with other application functionality.
Click on the Home button at the bottom of the page, which will bring you back to the application main page:
From here, click on Which Sharks Are in Danger? again. This will now take you directly to the data view, since you already uploaded the sharks.
To test the delete functionality, click on the Delete Endangered Sharks button below the table. You should be redirected to the home application page once again. Clicking on Which Sharks Are in Danger? one last time will take you back to the index view, where you will have the option to upload sharks again:
Your application is now running with Sidekiq workers in place, which are ready to process jobs and ensure that users have a good experience working with your application.
Conclusion
You now have a working Rails application with Sidekiq enabled, which will allow you to offload costly operations to a job queue managed by Sidekiq and backed by Redis. This will allow you to improve your site’s speed and functionality as you develop.
If you would like to learn more about Sidekiq, the docs are a good place to start.
To learn more about Redis, check out our library of Redis resources. You can also learn more about running a managed Redis cluster on DigitalOcean by looking at the product documentation.
Thanks for learning with the DigitalOcean Community. Check out our offerings for compute, storage, networking, and managed databases.
Tutorial Series: Rails on Containers
This series covers how to build and containerize a Ruby on Rails application. It walks through common development tasks – adding nested resources, a JavaScript framework (Stimulus.js), Bootstrap stylings, and Sidekiq and Redis to handle background jobs – before moving on to showing you how to containerize a Rails application for development.
Browse Series: 7 tutorials
About the author
Former Developer at DigitalOcean community. Expertise in areas including Ubuntu, Docker, Ruby on Rails, Debian, and more.
Still looking for an answer?
This textbox defaults to using Markdown to format your answer.
You can type !ref in this text area to quickly search our full set of tutorials, documentation & marketplace offerings and insert the link!
Thanks For this awesome tutorial But in my case one functionality not working i have Import CSV file using click Import Endangered Sharks button but CSV file not imported successfully & not show any data endangered/data page. please help me how to solve this problem.
 This work is licensed under a Creative Commons Attribution-NonCommercial- ShareAlike 4.0 International License.
Become a contributor for community
Get paid to write technical tutorials and select a tech-focused charity to receive a matching donation.

DigitalOcean Documentation
Full documentation for every DigitalOcean product.

Resources for startups and AI-native businesses
The Wave has everything you need to know about building a business, from raising funding to marketing your product.
The developer cloud
Scale up as you grow — whether you're running one virtual machine or ten thousand.

Start building today
From GPU-powered inference and Kubernetes to managed databases and storage, get everything you need to build, scale, and deploy intelligent applications.
