By Ari Birnbaum and Kathryn Hancox

The author selected the COVID-19 Relief Fund to receive a donation as part of the Write for DOnations program.
Introduction
Developing a Django application can be a convenient experience because it’s structured to be flexible and scalable. This premise extends to Django’s security-oriented settings that can help you prepare your project for production. But there are several ways to further secure your project.
Breaking up your settings will allow you to set up different configurations based on the environment. Leveraging .env for setting environment variables or hiding confidential settings will ensure you don’t release any details that may compromise your project. And changing default URLs and other settings will help you avoid common security vulnerabilities.
While implementing these strategies might seem time-consuming at first, developing a practical workflow will allow you to deploy releases of your project without compromising on security or your productivity.
In this tutorial, you will leverage a security-oriented workflow for your Django project by implementing and configuring environment-based settings, .env, and Django’s built-in security settings. These features all complement each other and will result in a version of your Django project that is ready for different approaches you may take to deployment.
Prerequisites
Before you begin this guide, you’ll need the following:
- A pre-existing Django project. If you don’t already have one set up, you can use our How To Install Django and Set Up a Development Environment tutorial for setup. In that tutorial, you’ll use the
testsiteproject from this tutorial as an example.- For your Django project, you’ll also need Python 3 installed. You can install it by following Step 1 of our tutorial, How To Install Python 3 and Set Up a Programming Environment on an Ubuntu 20.04 Server.
- A Let’s Encrypt certificate. If you don’t already have one set up, you can use our How To Secure Nginx with Let’s Encrypt on Ubuntu 20.04 tutorial for setup.
- To use the Let’s Encrypt certificate, you’ll need Nginx installed. You can install it by following our tutorial How To Install Nginx on Ubuntu 20.04.
- This Django Development tutorial series is a great way to get familiar with Django’s file structure and its core settings.
Note: If you’re using an existing Django project, you may have different requirements. This tutorial suggests a particular project structure; however, you can also use each of the sections of this tutorial individually as needed.
Step 1 — Restructuring Django’s Settings
Before you get into the nit and grit of securing your Django project, you’ll need to go into your project’s directory and activate your virtual environment:
- cd django-apps
- . env/bin/activate
In this first step, you’ll start by rearranging your settings.py file into environment-specific configurations. This is a good practice when you need to move a project between different environments, for example, development and production. This arrangement will mean less reconfiguration for different environments; instead, you’ll use an environment variable to switch between configurations, which will be discussed later in the tutorial.
Create a new directory called settings in your project’s subdirectory:
- mkdir testsite/testsite/settings
(As per the prerequisites, this tutorial uses testsite, but you can substitute your project’s name in here.)
This directory will replace your current settings.py configuration file; all of your environment-based settings will be in separate files contained in this folder.
In your new settings folder, create three Python files:
- cd testsite/testsite/settings
- touch base.py development.py production.py
The development.py file will contain settings you’ll normally use during development. And production.py will contain settings for use on a production server. You should keep these separate because the production configuration will use settings that will not work in a development environment; for example, forcing the use of HTTPS, adding headers, and using a production database.
The base.py settings file will contain settings that development.py and production.py will inherit from. This is to reduce redundancy and to help keep your code cleaner. These Python files will be replacing settings.py, so you’ll now remove settings.py to avoid confusing Django.
While still in your settings directory, rename settings.py to base.py with the following command:
- mv ../settings.py base.py
You’ve just completed the outline of your new environment-based settings directory. Your project won’t understand your new configuration yet, so next, you’ll fix this.
Step 2 — Using django-environ
django-environCurrently, Django will not recognize your new settings directory or its internal files. So, before you continue working with your environment-based settings, you need to make Django work with django-environ. This is a dependency that loads environment variables from a .env file. This means that Django will look inside a .env file in your project’s root directory to determine which settings configuration it will use.
Go to your project’s root directory and then use the ls command to list the directory’s content:
- cd ../../
- ls
The files in your project’s root directory should look like this:
Outputdb.sqlite3 manage.py testsite
Install django-environ:
- pip install django-environ
Now you need to configure Django to use .env. You’ll edit two files to do this: manage.py, for development, and wsgi.py, for production.
Start by opening manage.py for editing using nano or your preferred text editor:
- nano manage.py
Add the following highlighted code:
import os
import sys
<^>import environ

environ.Env.read_env()<^>

def main():
    os.environ.setdefault('DJANGO_SETTINGS_MODULE', 'testsite.settings')

    try:
        from django.core.management import execute_from_command_line
    except ImportError as exc:
        raise ImportError(
            "Couldn't import Django. Are you sure it's installed and "
            "available on your PYTHONPATH environment variable? Did you "
            "forget to activate a virtual environment?"
        ) from exc
    execute_from_command_line(sys.argv)


if __name__ == '__main__':
    main()
Save and close manage.py by pressing CTRL+X, pressing Y to save, and then pressing ENTER.
Next open wsgi.py for editing:
- nano testsite/wsgi.py
Add the following highlighted lines:
import os
<^>import environ

environ.Env.read_env()<^>

from django.core.wsgi import get_wsgi_application

os.environ.setdefault('DJANGO_SETTINGS_MODULE', 'testsite.settings')

application = get_wsgi_application()
Save and close the file by pressing CTRL+X, pressing Y to save, and then pressing ENTER.
The code you’ve added to both of these files does two things. First, whenever Django runs—manage.py for running development, wsgi.py for production—you’re telling it to look for your .env file. If the file exists, you instruct Django to use the settings file that .env recommends; otherwise, you use the development configuration by default.
Finally, you’ll create a .env in the current directory:
- nano .env
Now add in the following line to set the environment to development:
DJANGO_SETTINGS_MODULE="testsite.settings.development"
Save and close the file by pressing CTRL+X, pressing Y to save, and then pressing ENTER.
Note: Add .env to your .gitignore file, so it is never included in your commits; you’ll use this file to contain data such as passwords and API keys that you do not want visible publicly. Every environment your project is running on will have its own .env with settings for that specific environment.
It is recommended to create a .env.example to include in your project, so you can easily create a new .env wherever you need one.
So, by default Django will use testsite.settings.development, but if you change DJANGO_SETTINGS_MODULE to testsite.settings.production for example, it will start using your production configuration. Next, you’ll populate your development.py and production.py settings configurations.
Step 3 — Creating Development and Production Settings
Next, you’ll open your base.py and add the configuration you want to modify for each environment in the separate development.py and production.py files. The production.py will need to use your production database credentials, so ensure you have those available.
Note: It is up to you to determine which settings you need to configure, based on environment. This tutorial will only cover a common example for production and development settings (that is, security settings and separate database configurations).
In this tutorial, you’re using the Django project from the prerequisite tutorial as the example project. You’ll move settings from base.py to development.py. Begin by opening development.py:
- nano testsite/settings/development.py
Then add the following code:
import os
from .base import *

DEBUG = True

DATABASES = {
    'default': {
        'ENGINE': 'django.db.backends.sqlite3',
        'NAME': os.path.join(BASE_DIR, 'db.sqlite3'),
    }
}
Save and close the file by pressing CTRL+X, pressing Y to save, and then pressing ENTER.
First, you will import from base.py—this file inherits settings from base.py. Then you’ll transfer the settings you want to modify for the development environment. In this case, the settings specific to development are as follows: DEBUG, which you need to be True in development, but not in production; and DATABASES, a local database instead of a production database. You’re using an SQLite database here for development.
Note: For security purposes, Django’s DEBUG output will never display any settings that may contain the strings API, KEY, PASS, SECRET, SIGNATURE, or TOKEN.
This is to ensure secrets will not be revealed if you accidentally deploy a project to production with DEBUG still enabled.
With that being said, never deploy a project publicly with DEBUG enabled. It will only ever put the security of your project at risk.
Next, you’ll add to production.py. Open the file with the following command:
- nano testsite/settings/production.py
Then add the following code. Production will be similar to development.py, but with a different database configuration and DEBUG set to False:
import os
from .base import *
import environ

env = environ.Env()
environ.Env.read_env()

DEBUG = False

ALLOWED_HOSTS = []

DATABASES = {
    'default': {
        'ENGINE': env('SQL_ENGINE', default='django.db.backends.sqlite3'),
        'NAME': env('SQL_DATABASE', default=os.path.join(BASE_DIR, 'db.sqlite3')),
        'USER': env('SQL_USER', default='user'),
        'PASSWORD': env('SQL_PASSWORD', default='password'),
        'HOST': env('SQL_HOST', default='localhost'),
        'PORT': env('SQL_PORT', default=''),
    }
}
Save and close the file by pressing CTRL+X, pressing Y to save, and then pressing ENTER.
For the example database configuration given, you can use .env to configure each of the given credentials, with defaults included. Assuming you’ve already set up a database for the production version of your project, please use your configuration instead of the example provided.
You have now configured your project to use different settings based on DJANGO_SETTINGS_MODULE in .env. Given the example settings you’ve used, when you set your project to use production settings, DEBUG becomes False, ALLOWED_HOSTS is defined, and you start using a different database that you’ve (already) configured on your server.
Step 4 — Working with Django’s Security Settings
Django includes security settings ready for you to add to your project. In this step, you’ll add security settings to your project that are considered essential for any production project. These settings are intended for use when your project is available to the public. It’s not recommended to use any of these settings in your development environment; hence, in this step, you’re limiting these settings to the production.py configuration.
For the most part, these settings are going to enforce the use of HTTPS for various web features, such as session cookies, CSRF cookies, upgrading HTTP to HTTPS, and so on. Therefore, if you haven’t already set up your server with a domain pointing to it, hold off on this section for now. If you need to set up your server ready for deployment, check out the Conclusion for suggested articles on this.
First open production.py:
- nano testsite/settings/production.py
In your file, add the highlighted settings that work for your project, according to the explanations following the code:
import os
from .base import *
import environ

env = environ.Env()
environ.Env.read_env()

DEBUG = False

ALLOWED_HOSTS = ['your_domain', 'www.your_domain']

DATABASES = {
    'default': {
        'ENGINE': env('SQL_ENGINE', default='django.db.backends.sqlite3'),
        'NAME': env('SQL_DATABASE', default=os.path.join(BASE_DIR, 'db.sqlite3')),
        'USER': env('SQL_USER', default='user'),
        'PASSWORD': env('SQL_PASSWORD', default='password'),
        'HOST': env('SQL_HOST', default='localhost'),
        'PORT': env('SQL_PORT', default=''),
    }
}

SECURE_SSL_REDIRECT = True

SESSION_COOKIE_SECURE = True

CSRF_COOKIE_SECURE = True

SECURE_BROWSER_XSS_FILTER = True
ALLOWED_HOSTSis a list of strings that represent the host/domain names that your project can serve. This is a security measure to prevent an attacker from poisoning caches and DNS. Find more details aboutALLOWED_HOSTSin the Django documentation.SECURE_SSL_REDIRECTredirects all HTTP requests to HTTPS (unless exempt). This means your project will always try to use an encrypted connection. You will need to have SSL configured on your server for this to work. Note that if you have Nginx or Apache configured to do this already, this setting will be redundant.SESSION_COOKIE_SECUREtells the browser that cookies can only be handled over HTTPS. This means cookies your project produces for activities, such as logins, will only work over an encrypted connection.CSRF_COOKIE_SECUREis the same asSESSION_COOKIE_SECUREbut applies to your CSRF token. CSRF tokens protect against cross-site request forgery. Django CSRF protection does this by ensuring any forms submitted (for logins, signups, and so on) to your project were created by your project and not a third party.SECURE_BROWSER_XSS_FILTERsets theX-XSS-Protection: 1; mode=blockheader on all responses that do not already have it. This ensures third parties cannot inject scripts into your project. For example, if a user stores a script in your database using a public field, when that script is retrieved and displayed to other users it will not run.
Save and close the file by pressing CTRL+X, pressing Y to save, and then pressing ENTER.
If you would like to read more about the different security settings available within Django, check out their documentation.
Warning: Django’s documentation states you shouldn’t rely completely on SECURE_BROWSER_XSS_FILTER. Never forget to validate and sanitize input.
Additional Settings
The following settings are for supporting HTTP Strict Transport Security (HSTS)—this means that your entire site must use SSL at all times.
SECURE_HSTS_SECONDSis the amount of time in seconds HSTS is set for. If you set this for an hour (in seconds), every time you visit a web page on your website, it tells your browser that for the next hour HTTPS is the only way you can visit the site. If during that hour you visit an insecure part of your website, the browser will show an error and the insecure page will be inaccessible.SECURE_HSTS_PRELOADonly works ifSECURE_HSTS_SECONDSis set. This header instructs the browser to preload your site. This means that your website will be added to a hard-coded list, which is implemented in popular browsers, like Firefox and Chrome. This requires that your website is always encrypted. It is important to be careful with this header. If at anytime you decide not to use encryption for your project, it can take weeks to be manually removed from the HSTS preload list.SECURE_HSTS_INCLUDE_SUBDOMAINSapplies the HSTS header to all subdomains. Enabling this header means that bothyour_domainandunsecure.your_domainwill require encryption, even ifunsecure.your_domainis not related to this Django project.
Warning: Incorrectly configuring these additional settings can break your site for a significant amount of time.
Please read the Django documentation on HSTS before implementing these settings.
It is necessary to consider how these settings will work with your own Django project; overall, the configuration discussed here is a good foundation for most Django projects. Next, you’ll review some further usage of .env.
Step 5 — Using django-environ for Secrets
django-environ for SecretsThe final part of this tutorial will help you leverage django-environ. This will allow you to hide certain information, such as your project’s SECRET_KEY or the admin’s login URL. This is a great idea if you intend to publish your code on platforms like GitHub or GitLab, since these secrets won’t be published. Instead, whenever you initially set up your project on a local environment or a server, you can create a new .env file and define those secret variables.
You must hide your SECRET_KEY so you’ll start working on that in this section.
Open your .env file in the root directory of your project:
- nano .env
And add the following line, making sure to replace your_secret_key with your own secret strings:
DJANGO_SETTINGS_MODULE="testsite.settings.development"
SECRET_KEY="your_secret_key"
Then save and close the file by pressing CTRL+X, pressing Y to save, and then pressing ENTER.
Next, open base.py:
- nano testsite/settings/base.py
Update the SECRET_KEY variable like so:
. . .
<^>import environ

env = environ.Env()
environ.Env.read_env()<^>

SECRET_KEY = env('SECRET_KEY')
. . .
Note: SECRET_KEY should not be replaced with the actual secret key. The SECRET_KEY variable should be left as is, and the actual secret key should be added to the .env file.
Then save and close the file by pressing CTRL+X, pressing Y to save, and then pressing ENTER. Your project will now use the SECRET_KEY located in .env.
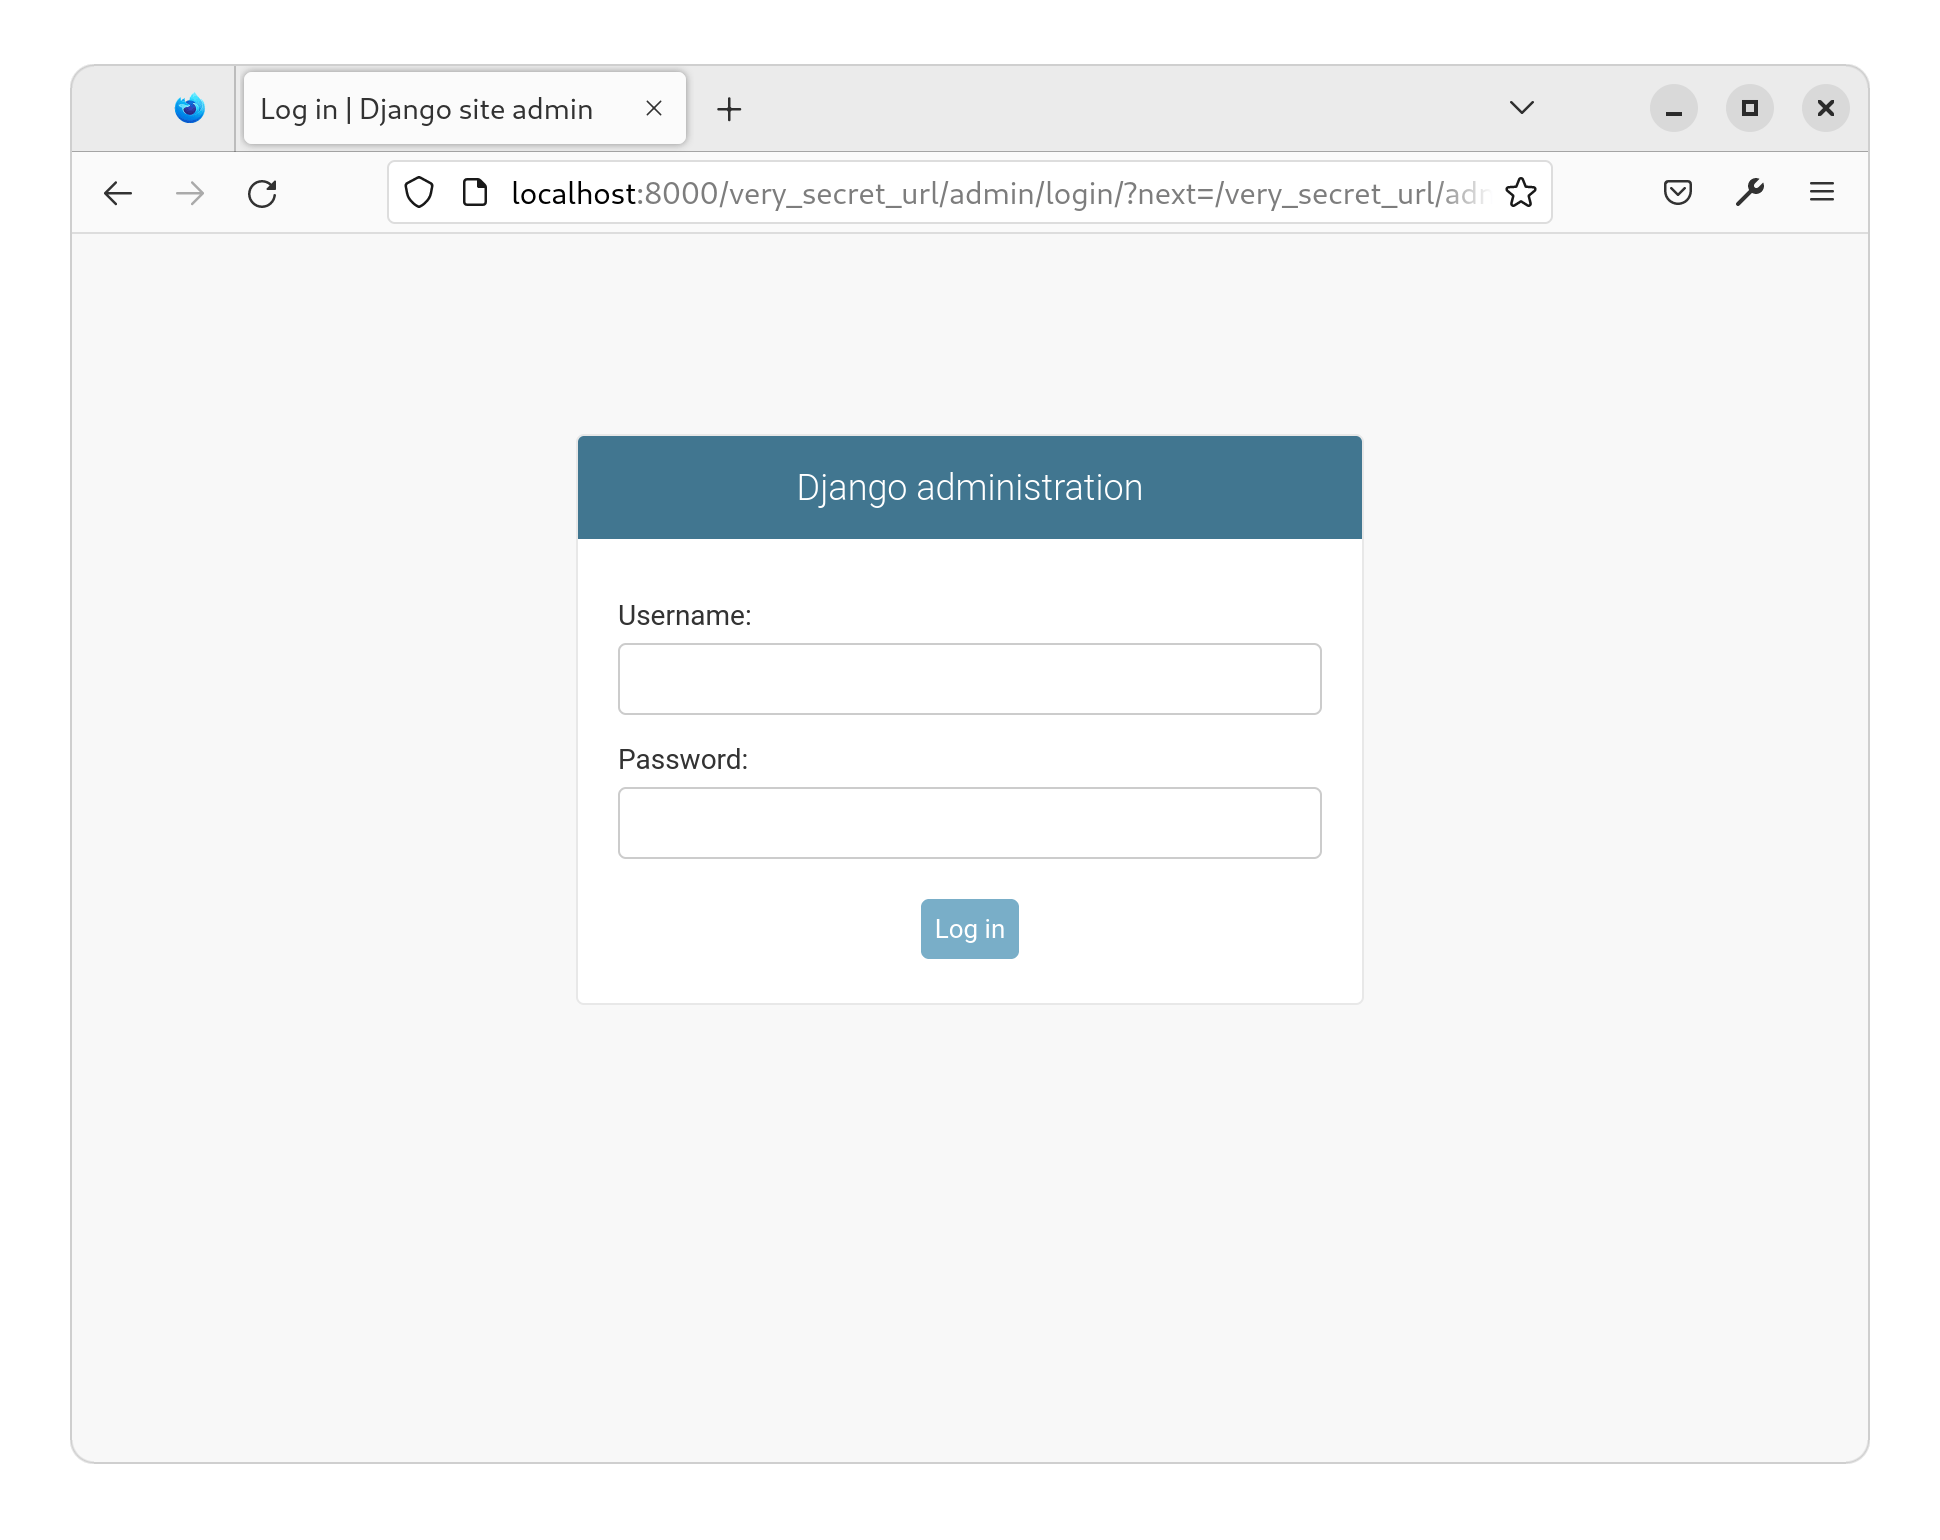
Lastly, you’ll hide your admin URL by adding a long string of random characters to it. So instead of going to your_domain/admin, you’ll go to your_domain/very_secret_url/admin. This will ensure bots and strangers alike will have a hard time finding your admin URL and therefore will have a harder time trying to brute force your admin login.
Open .env again:
- nano .env
And add a SECRET_ADMIN_URL variable:
DJANGO_SETTINGS_MODULE="testsite.settings.development"
SECRET_KEY="your_secret_key"
SECRET_ADMIN_URL="very_secret_url"
Save and close the file by pressing CTRL+X, pressing Y to save, and then pressing ENTER.
Now you’ll tell Django to hide your admin URL with SECRET_ADMIN_URL:
- nano testsite/urls.py
Note: Don’t forget to replace very_secret_url with your own secret URL.
If you want to use random strings for this variable, Python provides a fantastic secrets.py library for generating such strings. The examples they give are great ways to create small Python programs for generating secure random strings.
Edit the admin URL like so:
from django.contrib import admin
from django.urls import path
<^>import environ

env = environ.Env()
environ.Env.read_env()<^>

urlpatterns = [
    path(env('SECRET_ADMIN_URL') + '/admin/', admin.site.urls),
]
Save and close the file by pressing CTRL+X, pressing Y to save, and then pressing ENTER.
You can now find the admin login page at /very_secret_url/admin/ instead of just /admin/:
Conclusion
In this tutorial, you have configured your current Django project for easy use with different environments. Your project now leverages django-environ for handling secrets and settings. And your production settings now have Django’s built-in security features enabled.
If you’ve enabled all the recommended security components and re-implemented settings as directed, your project has these key features:
- SSL/HTTPS for all communications (for example, subdomains, cookies, CSRF).
- XSS (cross-site scripting) attacks prevention.
- CSRF (cross-site request forgery) attacks prevention.
- Concealed project secret key.
- Concealed admin login URL, preventing brute-force attacks.
- Separate settings for development and production.
If you are interested in learning more about Django, check out our tutorial series on Django development.
Also, if you haven’t already put your project into production, here is a tutorial on How To Set Up Django with Postgres, Nginx, and Gunicorn on Ubuntu 20.04. You can also check out our Django topic page for further tutorials.
And, of course, please read over Django’s settings documentation, for further information.
Thanks for learning with the DigitalOcean Community. Check out our offerings for compute, storage, networking, and managed databases.
About the author(s)
CS Student at Stevens Institute of Technology.
Former Senior Technical Editor at DigitalOcean, with a strong focus on DevOps and System Administration content. Areas of expertise include Terraform, PyTorch, Python, and Django.
Still looking for an answer?
This textbox defaults to using Markdown to format your answer.
You can type !ref in this text area to quickly search our full set of tutorials, documentation & marketplace offerings and insert the link!
This comment has been deleted
Hello! Should I activate virtualenvironment and do all this stuff in it?
Not working for me. It doesn’t seem like dotenv is loading the .env file into the os environment. I also notice that it looks like in your manage.py modifications, the call to dotenv.load doesn’t even occur until the process is completed (main() is called and then only after you call dotenv.load?
Perhaps dotenv set variables don’t persist to other modules being called?
The following code in your wsgi.py and manage.py seems to be redundant.
if os.getenv('DJANGO_SETTINGS_MODULE'):
    os.environ['DJANGO_SETTINGS_MODULE'] = os.getenv('DJANGO_SETTINGS_MODULE')
You check if a value for the environment variable exists and overwrite it with itself.
In the file wsgi.py this testsite.settings.development’ should be testsite.settings.production’
weren’t the author telling us that this file was for production??!!
This comment has been deleted
This comment has been deleted
Thank you all again for the feedback, we’ve revised the article to address the redundancy and errors. We appreciate your patience and hope you find the revised version useful!
In production it will not work if you are using Gunicorn. I manage it by adding in the gunicorn.service the follow line:
...

[Service]
...
EnvironmentFile=/path/to/your/.env
ExecStart=
...
please I also suggest to delete in your guide the <^> in all snippet code
 This work is licensed under a Creative Commons Attribution-NonCommercial- ShareAlike 4.0 International License.
Become a contributor for community
Get paid to write technical tutorials and select a tech-focused charity to receive a matching donation.

DigitalOcean Documentation
Full documentation for every DigitalOcean product.

Resources for startups and AI-native businesses
The Wave has everything you need to know about building a business, from raising funding to marketing your product.
The developer cloud
Scale up as you grow — whether you're running one virtual machine or ten thousand.

Start building today
From GPU-powered inference and Kubernetes to managed databases and storage, get everything you need to build, scale, and deploy intelligent applications.
