By Kathleen Juell and Jamon Camisso

Introduction
When building modern, stateless applications, containerizing your application’s components is the first step in deploying and scaling on distributed platforms. If you have used Docker Compose in development, you will have modernized and containerized your application by:
- Extracting necessary configuration information from your code.
- Offloading your application’s state.
- Packaging your application for repeated use.
You will also have written service definitions that specify how your container images should run.
To run your services on a distributed platform like Kubernetes, you will need to translate your Compose service definitions to Kubernetes objects. This will allow you to scale your application with resiliency. One tool that can speed up the translation process to Kubernetes is kompose, a conversion tool that helps developers move Compose workflows to container orchestrators like Kubernetes or OpenShift.
In this tutorial, you will translate Compose services to Kubernetes objects using kompose. You will use the object definitions that kompose provides as a starting point and make adjustments to ensure that your setup will use Secrets, Services, and PersistentVolumeClaims in the way that Kubernetes expects. By the end of the tutorial, you will have a single-instance Rails application with a PostgreSQL database running on a Kubernetes cluster. This setup will mirror the functionality of the code described in Containerizing a Ruby on Rails Application for Development with Docker Compose and will be a good starting point to build out a production-ready solution that will scale with your needs.
Prerequisites
- A Kubernetes 1.19+ cluster with role-based access control (RBAC) enabled. This setup will use a DigitalOcean Kubernetes cluster, but you are free to create a cluster using another method.
- The
kubectlcommand-line tool installed on your local machine or development server and configured to connect to your cluster. You can read more about installingkubectlin the official documentation. - Docker installed on your local machine or development server. If you are working with Ubuntu 20.04, follow Steps 1 and 2 of How To Install and Use Docker on Ubuntu 20.04; otherwise, follow the official documentation for information about installing on other operating systems. Be sure to add your non-root user to the
dockergroup, as described in Step 2 of the linked tutorial. - A Docker Hub account. For an overview of how to set this up, refer to this introduction to Docker Hub.
Step 1 — Installing kompose
To begin using kompose, navigate to the project’s GitHub Releases page, and copy the link to the current release (version 1.22.0 as of this writing). Paste this link into the following curl command to download the latest version of kompose:
- curl -L https://github.com/kubernetes/kompose/releases/download/v1.22.0/kompose-linux-amd64 -o kompose
For details about installing on non-Linux systems, please refer to the installation instructions.
Make the binary executable:
- chmod +x kompose
Move it to your PATH:
- sudo mv ./kompose /usr/local/bin/kompose
To verify that it has been installed properly, you can do a version check:
- kompose version
If the installation was successful, you will see output like the following:
Output1.22.0 (955b78124)
With kompose installed and ready to use, you can now clone the Node.js project code that you will be translating to Kubernetes.
Step 2 — Cloning and Packaging the Application
To use our application with Kubernetes, we will need to clone the project code and package the application so that the kubelet service can pull the image.
Our first step will be to clone the rails-sidekiq repository from the DigitalOcean Community GitHub account. This repository includes the code from the setup described in Containerizing a Ruby on Rails Application for Development with Docker Compose, which uses a demo Rails application to demonstrate how to set up a development environment using Docker Compose. You can find more information about the application itself in the series Rails on Containers.
Clone the repository into a directory called rails_project:
- git clone https://github.com/do-community/rails-sidekiq.git rails_project
Navigate to the rails_project directory:
- cd rails_project
Now checkout the code for this tutorial from the compose-workflow branch:
- git checkout compose-workflow
OutputBranch 'compose-workflow' set up to track remote branch 'compose-workflow' from 'origin'.
Switched to a new branch 'compose-workflow'
The rails_project directory contains files and directories for a shark information application that works with user input. It has been modernized to work with containers: sensitive and specific configuration information has been removed from the application code and refactored to be injected at runtime, and the application’s state has been offloaded to a PostgreSQL database.
For more information about designing modern, stateless applications, please see Architecting Applications for Kubernetes and Modernizing Applications for Kubernetes.
The project directory includes a Dockerfile with instructions for building the application image. Let’s build the image now so that you can push it to your Docker Hub account and use it in your Kubernetes setup.
Using the docker build command, build the image with the -t flag, which allows you to tag it with a memorable name. In this case, tag the image with your Docker Hub username and name it rails-kubernetes or a name of your own choosing:
- docker build -t your_dockerhub_user/rails-kubernetes .
The . in the command specifies that the build context is the current directory.
It will take a minute or two to build the image. Once it is complete, check your images:
- docker images
You will see the following output:
OutputREPOSITORY                                TAG                 IMAGE ID            CREATED             SIZE
your_dockerhub_user/rails-kubernetes     latest              24f7e88b6ef2        2 days ago          606MB
alpine                                    latest              d6e46aa2470d        6 weeks ago         5.57MB
Next, log in to the Docker Hub account you created in the prerequisites:
- docker login -u your_dockerhub_user
When prompted, enter your Docker Hub account password. Logging in this way will create a ~/.docker/config.json file in your user’s home directory with your Docker Hub credentials.
Push the application image to Docker Hub with the docker push command. Remember to replace your_dockerhub_user with your own Docker Hub username:
- docker push your_dockerhub_user/rails-kubernetes
You now have an application image that you can pull to run your application with Kubernetes. The next step will be to translate your application service definitions to Kubernetes objects.
Step 3 — Translating Compose Services to Kubernetes Objects with kompose
Our Docker Compose file, here called docker-compose.yml, lays out the definitions that will run our services with Compose. A service in Compose is a running container, and service definitions contain information about how each container image will run. In this step, we will translate these definitions to Kubernetes objects by using kompose to create yaml files. These files will contain specs for the Kubernetes objects that describe their desired state.
We will use these files to create different types of objects: Services, which will ensure that the Pods running our containers remain accessible; Deployments, which will contain information about the desired state of our Pods; a PersistentVolumeClaim to provision storage for our database data; a ConfigMap for environment variables injected at runtime; and a Secret for our application’s database user and password. Some of these definitions will be in the files kompose will create for us, and others we will need to create ourselves.
First, we will need to modify some of the definitions in our docker-compose.yml file to work with Kubernetes. We will include a reference to our newly-built application image in our app service definition and remove the bind mounts, volumes, and additional commands that we used to run the application container in development with Compose. Additionally, we’ll redefine both containers’ restart policies to be in line with the behavior Kubernetes expects.
If you have followed the steps in this tutorial and checked out the compose-workflow branch with git, then you should have a docker-compose.yml file in your working directory.
If you don’t have a docker-compose.yml then be sure to visit the previous tutorial in this series, Containerizing a Ruby on Rails Application for Development with Docker Compose, and paste the contents from the linked section into a new docker-compose.yml file.
Open the file with nano or your favorite editor:
- nano docker-compose.yml
The current definition for the app application service looks like this:
. . .
services:
  app:
    build:
      context: .
      dockerfile: Dockerfile
    depends_on:
      - database
      - redis
    ports:
      - "3000:3000"
    volumes:
      - .:/app
      - gem_cache:/usr/local/bundle/gems
      - node_modules:/app/node_modules
    env_file: .env
    environment:
      RAILS_ENV: development
. . .
Make the following edits to your service definition:
- Replace the
build:line withimage: your_dockerhub_user/rails-kubernetes - Remove the following
context: ., anddockerfile: Dockerfilelines. - Remove the
volumeslist.
The finished service definition will now look like this:
. . .
services:
  app:
    image: your_dockerhub_user/rails-kubernetes
    depends_on:
      - database
      - redis
    ports:
      - "3000:3000"
    env_file: .env
    environment:
      RAILS_ENV: development
. . .
Next, scroll down to the database service definition and make the following edits:
- Remove the
- ./init.sql:/docker-entrypoint-initdb.d/init.sqlvolume line. Instead of using values from the local SQL file, we will pass the values for ourPOSTGRES_USERandPOSTGRES_PASSWORDto the database container using the Secret we will create in Step 4. - Add a
ports:section that will make PostgreSQL available inside your Kubernetes cluster on port 5432. - Add an
environment:section with aPGDATAvariable that points to a directory inside/var/lib/postgresql/data. This setting is required when PostgreSQL is configured to use block storage, since the database engine expects to find its data files in a sub-directory.
The database service definition should look like this when you are finished editing it:
. . .
  database:
    image: postgres:12.1
    volumes:
      - db_data:/var/lib/postgresql/data
    ports:
      - "5432:5432"
    environment:
      PGDATA: /var/lib/postgresql/data/pgdata
. . .
Next, edit the redis service definition to expose its default TCP port by adding a ports: section with the default 6379 port. Adding the ports: section will make Redis available inside your Kubernetes cluster. Your edited redis service should resemble the following:
. . .
  redis:
    image: redis:5.0.7
    ports:
      - "6379:6379"
After editing the redis section of the file, continue to the sidekiq service definition. Just as with the app service, you’ll need to switch from building a local docker image to pulling from Docker Hub. Make the following edits to your sidekiq service definition:
- Replace the
build:line withimage: your_dockerhub_user/rails-kubernetes - Remove the following
context: ., anddockerfile: Dockerfilelines. - Remove the
volumeslist.
. . .
  sidekiq:
    image: your_dockerhub_user/rails-kubernetes
    depends_on:
      - app
      - database
      - redis
    env_file: .env
    environment:
        RAILS_ENV: development
    entrypoint: ./entrypoints/sidekiq-entrypoint.sh
Finally, at the bottom of the file, remove the gem_cache and node_modules volumes from the top-level volumes key. The key will now look like this:
. . .
volumes:
  db_data:
Save and close the file when you are finished editing.
For reference, your completed docker-compose.yml file should contain the following:
version: '3'

services:
  app:
    image: your_dockerhub_user/rails-kubernetes
    depends_on:
        - database
        - redis
    ports:
        - "3000:3000"
    env_file: .env
    environment:
        RAILS_ENV: development

  database:
    image: postgres:12.1
    volumes:
        - db_data:/var/lib/postgresql/data
    ports:
        - "5432:5432"
    environment:
        PGDATA: /var/lib/postgresql/data/pgdata

  redis:
    image: redis:5.0.7
    ports:
        - "6379:6379"

  sidekiq:
    image: your_dockerhub_user/rails-kubernetes
    depends_on:
        - app
        - database
        - redis
    env_file: .env
    environment:
        RAILS_ENV: development
    entrypoint: ./entrypoints/sidekiq-entrypoint.sh

volumes:
  db_data:
Before translating our service definitions, we will need to write the .env file that kompose will use to create the ConfigMap with our non-sensitive information. Please see Step 2 of Containerizing a Ruby on Rails Application for Development with Docker Compose for a longer explanation of this file.
In that tutorial, we added .env to our .gitignore file to ensure that it would not copy to version control. This means that it did not copy over when we cloned the rails-sidekiq repository in Step 2 of this tutorial. We will therefore need to recreate it now.
Create the file:
- nano .env
kompose will use this file to create a ConfigMap for our application. However, instead of assigning all of the variables from the app service definition in our Compose file, we will only add settings for the PostgreSQL and Redis. We will assign the database name, username, and password separately when we manually create a Secret object in Step 4.
Add the following port and database name information to the .env file. Feel free to rename your database if you would like:
DATABASE_HOST=database
DATABASE_PORT=5432
REDIS_HOST=redis
REDIS_PORT=6379
Save and close the file when you are finished editing.
You are now ready to create the files with your object specs. kompose offers multiple options for translating your resources. You can:
- Create
yamlfiles based on the service definitions in yourdocker-compose.ymlfile withkompose convert. - Create Kubernetes objects directly with
kompose up. - Create a Helm chart with
kompose convert -c.
For now, we will convert our service definitions to yaml files and then add to and revise the files that kompose creates.
Convert your service definitions to yaml files with the following command:
- kompose convert
After you run this command, kompose will output information about the files it has created:
OutputINFO Kubernetes file "app-service.yaml" created
INFO Kubernetes file "database-service.yaml" created
INFO Kubernetes file "redis-service.yaml" created
INFO Kubernetes file "app-deployment.yaml" created
INFO Kubernetes file "env-configmap.yaml" created
INFO Kubernetes file "database-deployment.yaml" created
INFO Kubernetes file "db-data-persistentvolumeclaim.yaml" created
INFO Kubernetes file "redis-deployment.yaml" created
INFO Kubernetes file "sidekiq-deployment.yaml" created
These include yaml files with specs for the Rails application Service, Deployment, and ConfigMap, as well as for the db-data PersistentVolumeClaim and PostgreSQL database Deployment. Also included are files for Redis and Sidekiq respectively.
To keep these manifests out of the main directory for your Rails project, create a new directory called k8s-manifests and then use the mv command to move the generated files into it:
- mkdir k8s-manifests
- mv *.yaml k8s-manifests
Finally, cd into the k8s-manifests directory. We’ll work from inside this directory from now on to keep things tidy:
- cd k8s-manifests
These files are a good starting point, but in order for our application’s functionality to match the setup described in Containerizing a Ruby on Rails Application for Development with Docker Compose we will need to make a few additions and changes to the files that kompose has generated.
Step 4 — Creating Kubernetes Secrets
In order for our application to function in the way we expect, we will need to make a few modifications to the files that kompose has created. The first of these changes will be generating a Secret for our database user and password and adding it to our application and database Deployments. Kubernetes offers two ways of working with environment variables: ConfigMaps and Secrets. kompose has already created a ConfigMap with the non-confidential information we included in our .env file, so we will now create a Secret with our confidential information: our database name, username and password.
The first step in manually creating a Secret will be to convert the data to base64, an encoding scheme that allows you to uniformly transmit data, including binary data.
First convert the database name to base64 encoded data:
- echo -n 'your_database_name' | base64
Note down the encoded value.
Next convert your database username:
- echo -n 'your_database_username' | base64
Again record the value you see in the output.
Finally, convert your password:
- echo -n 'your_database_password' | base64
Take note of the value in the output here as well.
Open a file for the Secret:
- nano secret.yaml
Note: Kubernetes objects are typically defined using YAML, which strictly forbids tabs and requires two spaces for indentation. If you would like to check the formatting of any of your yaml files, you can use a linter or test the validity of your syntax using kubectl create with the --dry-run and --validate flags:
- kubectl create -f your_yaml_file.yaml --dry-run --validate=true
In general, it is a good idea to validate your syntax before creating resources with kubectl.
Add the following code to the file to create a Secret that will define your DATABASE_NAME, DATABASE_USER and DATABASE_PASSWORD using the encoded values you just created. Be sure to replace the highlighted placeholder values here with your encoded database name, username and password:
apiVersion: v1
kind: Secret
metadata:
  name: database-secret
data:
  DATABASE_NAME: your_database_name
  DATABASE_PASSWORD: your_encoded_password
  DATABASE_USER: your_encoded_username
We have named the Secret object database-secret, but you are free to name it anything you would like.
These secrets are used with the Rails application so that it can connect to PostgreSQL. However, the database itself needs to be initialized with these same values. So next, copy the three lines and paste them at the end of the file. Edit the last three lines and change the DATABASE prefix for each variable to POSTGRES. Finally change the POSTGRES_NAME variable to read POSTGRES_DB.
Your final secret.yaml file should contain the following:
apiVersion: v1
kind: Secret
metadata:
  name: database-secret
data:
  DATABASE_NAME: your_database_name
  DATABASE_PASSWORD: your_encoded_password
  DATABASE_USER: your_encoded_username
  POSTGRES_DB: your_database_name
  POSTGRES_PASSWORD: your_encoded_password
  POSTGRES_USER: your_encoded_username
Save and close this file when you are finished editing. As you did with your .env file, be sure to add secret.yaml to your .gitignore file to keep it out of version control.
With secret.yaml written, our next step will be to ensure that our application and database Deployments both use the values that we added to the file. Let’s start by adding references to the Secret to our application Deployment.
Open the file called app-deployment.yaml:
- nano app-deployment.yaml
The file’s container specifications include the following environment variables defined under the env key:
apiVersion: apps/v1
kind: Deployment
. . .
    spec:
      containers:
        - env:
            - name: DATABASE_HOST
              valueFrom:
                configMapKeyRef:
                  key: DATABASE_HOST
                  name: env
            - name: DATABASE_PORT
              valueFrom:
                configMapKeyRef:
                  key: DATABASE_PORT
                  name: env
            - name: RAILS_ENV
              value: development
            - name: REDIS_HOST
              valueFrom:
                configMapKeyRef:
                  key: REDIS_HOST
                  name: env
            - name: REDIS_PORT
              valueFrom:
                configMapKeyRef:
                  key: REDIS_PORT
                  name: env
. . .
We will need to add references to our Secret so that our application will have access to those values. Instead of including a configMapKeyRef key to point to our env ConfigMap, as is the case with the existing values, we’ll include a secretKeyRef key to point to the values in our database-secret secret.
Add the following Secret references after the - name: REDIS_PORT variable section:
. . .
    spec:
      containers:
        - env:
        . . .
            - name: REDIS_PORT
              valueFrom:
                configMapKeyRef:
                  key: REDIS_PORT
                  name: env
            - name: DATABASE_NAME
              valueFrom:
                secretKeyRef:
                  name: database-secret
                  key: DATABASE_NAME
            - name: DATABASE_PASSWORD
              valueFrom:
                secretKeyRef:
                  name: database-secret
                  key: DATABASE_PASSWORD
            - name: DATABASE_USER
              valueFrom:
                secretKeyRef:
                  name: database-secret
                  key: DATABASE_USER
. . .
Save and close the file when you are finished editing. As with your secrets.yaml file, be sure to validate your edits using kubectl to ensure there are no issues with spaces, tabs, and indentation:
- kubectl create -f app-deployment.yaml --dry-run --validate=true
Outputdeployment.apps/app created (dry run)
Next, we’ll add the same values to the database-deployment.yaml file.
Open the file for editing:
- nano database-deployment.yaml
In this file, we will add references to our Secret for following variable keys: POSTGRES_DB, POSTGRES_USER and POSTGRES_PASSWORD. The postgres image makes these variables available so that you can modify the initialization of your database instance. The POSTGRES_DB creates a default database that is available when the container starts. The POSTGRES_USER and POSTGRES_PASSWORD together create a privileged user that can access the created database.
Using the these values means that the user we create has access to all of the administrative and operational privileges of that role in PostgreSQL. When working in production, you will want to create a dedicated application user with appropriately scoped privileges.
Under the POSTGRES_DB, POSTGRES_USER and POSTGRES_PASSWORD variables, add references to the Secret values:
apiVersion: apps/v1
kind: Deployment
. . .
    spec:
      containers:
        - env:
            - name: PGDATA
              value: /var/lib/postgresql/data/pgdata
            - name: POSTGRES_DB
              valueFrom:
                secretKeyRef:
                  name: database-secret
                  key: POSTGRES_DB
            - name: POSTGRES_PASSWORD
              valueFrom:
                secretKeyRef:
                  name: database-secret
                  key: POSTGRES_PASSWORD
            - name: POSTGRES_USER
              valueFrom:
                secretKeyRef:
                  name: database-secret
                  key: POSTGRES_USER
. . .
Save and close the file when you are finished editing. Again be sure to lint your edited file using kubectl with the --dry-run --validate=true arguments.
With your Secret in place, you can move on to creating the database Service and ensuring that your application container only attempts to connect to the database once it is fully set up and initialized.
Step 5 — Modifying the PersistentVolumeClaim and Exposing the Application Frontend
Before running our application, we will make two final changes to ensure that our database storage will be provisioned properly and that we can expose our application frontend using a LoadBalancer.
First, let’s modify the storage resource defined in the PersistentVolumeClaim that kompose created for us. This Claim allows us to dynamically provision storage to manage our application’s state.
To work with PersistentVolumeClaims, you must have a StorageClass created and configured to provision storage resources. In our case, because we are working with DigitalOcean Kubernetes, our default StorageClass provisioner is set to dobs.csi.digitalocean.com — DigitalOcean Block Storage.
We can check this by typing:
- kubectl get storageclass
If you are working with a DigitalOcean cluster, you will see the following output:
OutputNAME                         PROVISIONER                 RECLAIMPOLICY   VOLUMEBINDINGMODE   ALLOWVOLUMEEXPANSION   AGE
do-block-storage (default)   dobs.csi.digitalocean.com   Delete          Immediate           true                   76m
If you are not working with a DigitalOcean cluster, you will need to create a StorageClass and configure a provisioner of your choice. For details about how to do this, please see the official documentation.
When kompose created db-data-persistentvolumeclaim.yaml, it set the storage resource to a size that does not meet the minimum size requirements of our provisioner. We will therefore need to modify our PersistentVolumeClaim to use the minimum viable DigitalOcean Block Storage unit: 1GB. Please feel free to modify this to meet your storage requirements.
Open db-data-persistentvolumeclaim.yaml:
- nano db-data-persistentvolumeclaim.yaml
Replace the storage value with 1Gi:
apiVersion: v1
kind: PersistentVolumeClaim
metadata:
  creationTimestamp: null
  labels:
    io.kompose.service: db-data
  name: db-data
spec:
  accessModes:
    - ReadWriteOnce
  resources:
    requests:
      storage: 1Gi
status: {}
Also note the accessMode: ReadWriteOnce means that the volume provisioned as a result of this Claim will be read-write only by a single node. Please see the documentation for more information about different access modes.
Save and close the file when you are finished.
Next, open app-service.yaml:
- nano app-service.yaml
We are going to expose this Service externally using a DigitalOcean Load Balancer. If you are not using a DigitalOcean cluster, please consult the relevant documentation from your cloud provider for information about their load balancers. Alternatively, you can follow the official Kubernetes documentation on setting up a highly available cluster with kubeadm, but in this case you will not be able to use PersistentVolumeClaims to provision storage.
Within the Service spec, specify LoadBalancer as the Service type:
apiVersion: v1
kind: Service
. . .
spec:
  type: LoadBalancer
  ports:
. . .
When we create the app Service, a load balancer will be automatically created, providing us with an external IP where we can access our application.
Save and close the file when you are finished editing.
With all of our files in place, we are ready to start and test the application.
Note:
If you would like to compare your edited Kubernetes manifests to a set of reference files to be certain that your changes match this tutorial, the companion Github repository contains a set of tested manifests. You can compare each file individually, or you can also switch your local git branch to use the kubernetes-workflow branch.
If you opt to switch branches, be sure to copy your secrets.yaml file into the new checked out version since we added it to .gitignore earlier in the tutorial.
Step 6 — Starting and Accessing the Application
It’s time to create our Kubernetes objects and test that our application is working as expected.
To create the objects we’ve defined, we’ll use kubectl create with the -f flag, which will allow us to specify the files that kompose created for us, along with the files we wrote. Run the following command to create the Rails application and PostgreSQL database, Redis cache, and Sidekiq Services and Deployments, along with your Secret, ConfigMap, and PersistentVolumeClaim:
- kubectl create -f app-deployment.yaml,app-service.yaml,database-deployment.yaml,database-service.yaml,db-data-persistentvolumeclaim.yaml,env-configmap.yaml,redis-deployment.yaml,redis-service.yaml,secret.yaml,sidekiq-deployment.yaml
You receive the following output, indicating that the objects have been created:
Outputdeployment.apps/app created
service/app created
deployment.apps/database created
service/database created
persistentvolumeclaim/db-data created
configmap/env created
deployment.apps/redis created
service/redis created
secret/database-secret created
deployment.apps/sidekiq created
To check that your Pods are running, type:
- kubectl get pods
You don’t need to specify a Namespace here, since we have created our objects in the default Namespace. If you are working with multiple Namespaces, be sure to include the -n flag when running this kubectl create command, along with the name of your Namespace.
You will see output similar to the following while your database container is starting (the status will be either Pending or ContainerCreating):
OutputNAME                       READY   STATUS    RESTARTS   AGE
app-854d645fb9-9hv7w       1/1     Running   0          23s
database-c77d55fbb-bmfm8   0/1     Pending   0          23s
redis-7d65467b4d-9hcxk     1/1     Running   0          23s
sidekiq-867f6c9c57-mcwks   1/1     Running   0          23s
Once the database container is started, you will have output like this:
OutputNAME                       READY   STATUS    RESTARTS   AGE
app-854d645fb9-9hv7w       1/1     Running   0          30s
database-c77d55fbb-bmfm8   1/1     Running   0          30s
redis-7d65467b4d-9hcxk     1/1     Running   0          30s
sidekiq-867f6c9c57-mcwks   1/1     Running   0          30s
The Running STATUS indicates that your Pods are bound to nodes and that the containers associated with those Pods are running. READY indicates how many containers in a Pod are running. For more information, please consult the documentation on Pod lifecycles.
Note:
If you see unexpected phases in the STATUS column, remember that you can troubleshoot your Pods with the following commands:
- kubectl describe pods your_pod
- kubectl logs your_pod
Now that your application is up and running, the last step that is required is to run Rails’ database migrations. This step will load a schema into the PostgreSQL database for the demo application.
To run pending migrations you’ll exec into the running application pod and then call the rake db:migrate command.
First, find the name of the application pod with the following command:
- kubectl get pods
Find the pod that corresponds to your application like the highlighted pod name in the following output:
OutputNAME                       READY   STATUS    RESTARTS   AGE
app-854d645fb9-9hv7w       1/1     Running   0          30s
database-c77d55fbb-bmfm8   1/1     Running   0          30s
redis-7d65467b4d-9hcxk     1/1     Running   0          30s
sidekiq-867f6c9c57-mcwks   1/1     Running   0          30s
With that pod name noted down, you can now run the kubectl exec command to complete the database migration step.
Run the migrations with this command:
- kubectl exec your_app_pod_name -- rake db:migrate
You should receive output similar to the following, which indicates that the database schema has been loaded:
Output== 20190927142853 CreateSharks: migrating =====================================
-- create_table(:sharks)
   -> 0.0190s
== 20190927142853 CreateSharks: migrated (0.0208s) ============================

== 20190927143639 CreatePosts: migrating ======================================
-- create_table(:posts)
   -> 0.0398s
== 20190927143639 CreatePosts: migrated (0.0421s) =============================

== 20191120132043 CreateEndangereds: migrating ================================
-- create_table(:endangereds)
   -> 0.8359s
== 20191120132043 CreateEndangereds: migrated (0.8367s) =======================
With your containers running and data loaded, you can now access the application. To get the IP for the app LoadBalancer, type:
- kubectl get svc
You will receive output like the following:
OutputNAME         TYPE           CLUSTER-IP      EXTERNAL-IP      PORT(S)          AGE
app          LoadBalancer   10.245.73.142   your_lb_ip     3000:31186/TCP   21m
database     ClusterIP      10.245.155.87   <none>           5432/TCP         21m
kubernetes   ClusterIP      10.245.0.1      <none>           443/TCP          21m
redis        ClusterIP      10.245.119.67   <none>           6379/TCP         21m
The EXTERNAL_IP associated with the app service is the IP address where you can access the application. If you see a <pending> status in the EXTERNAL_IP column, this means that your load balancer is still being created.
Once you see an IP in that column, navigate to it in your browser: http://your_lb_ip:3000.
You should see the following landing page:
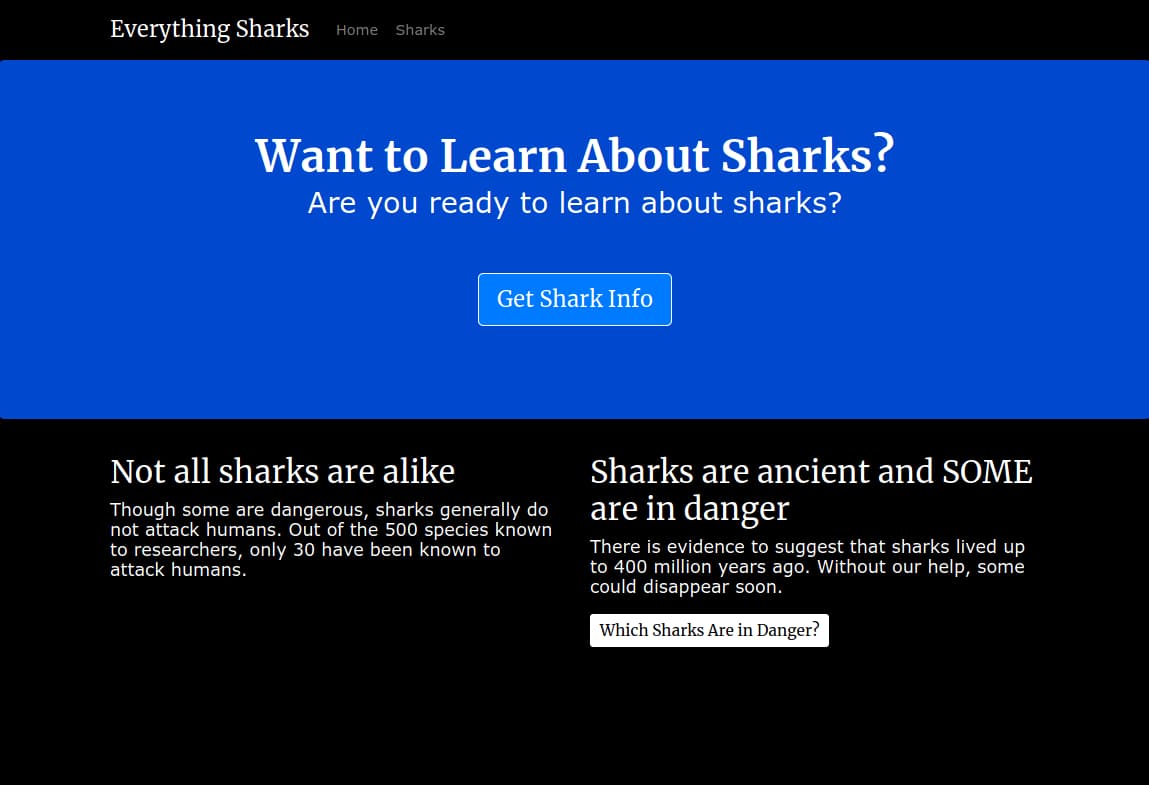
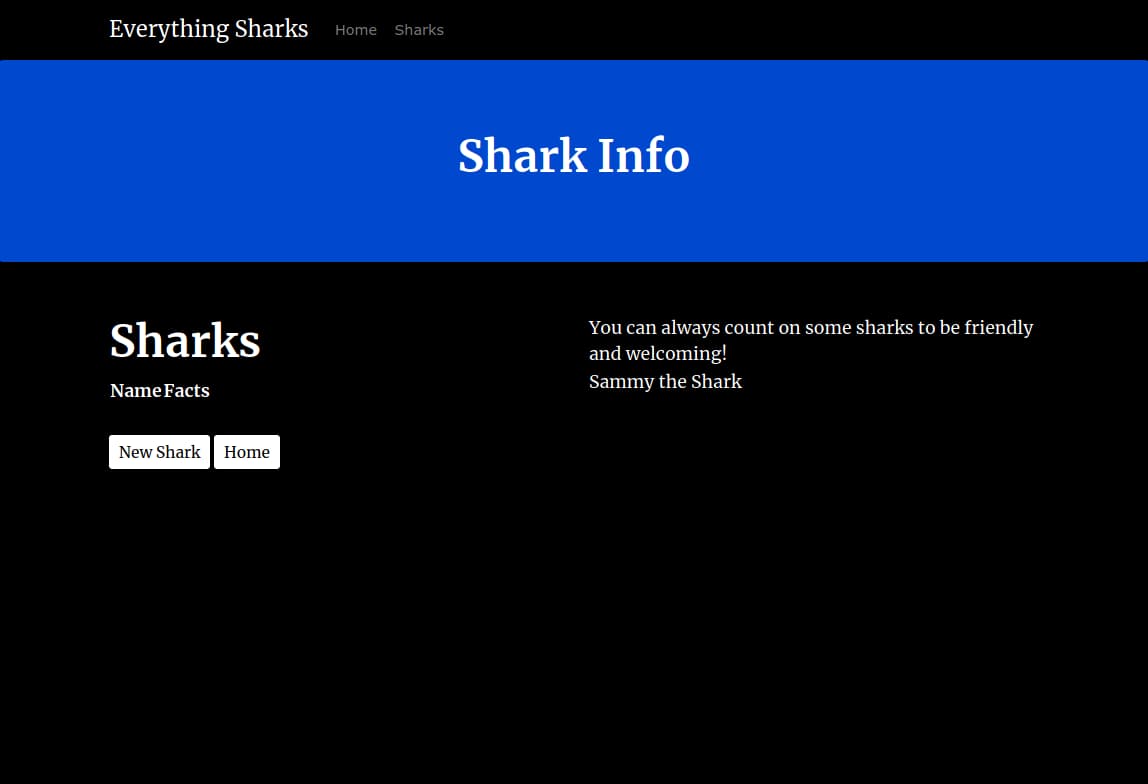
Click on the Get Shark Info button. You will have a page with a button to create a new shark:
Click it and when prompted, enter the username and password from earlier in the tutorial series. If you did not change these values then the defaults are sammy and shark respectively.
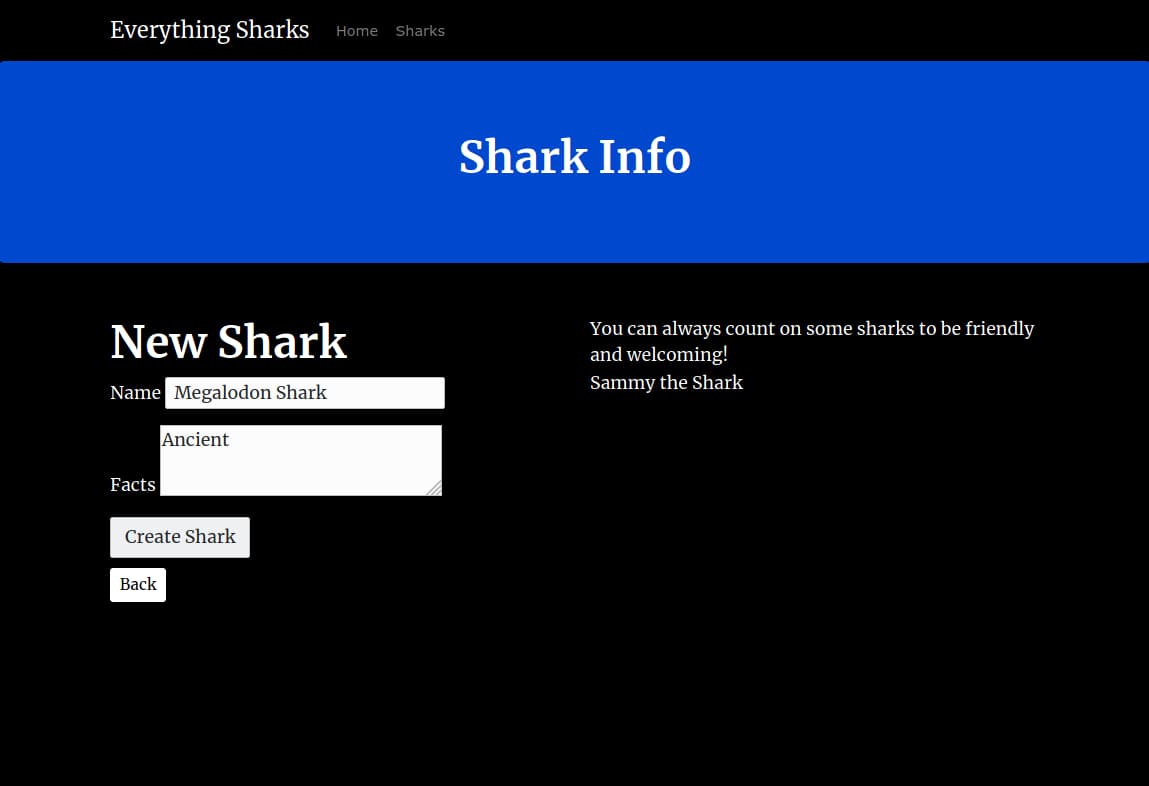
In the form, add a shark of your choosing. To demonstrate, we will add Megalodon Shark to the Shark Name field, and Ancient to the Shark Character field:
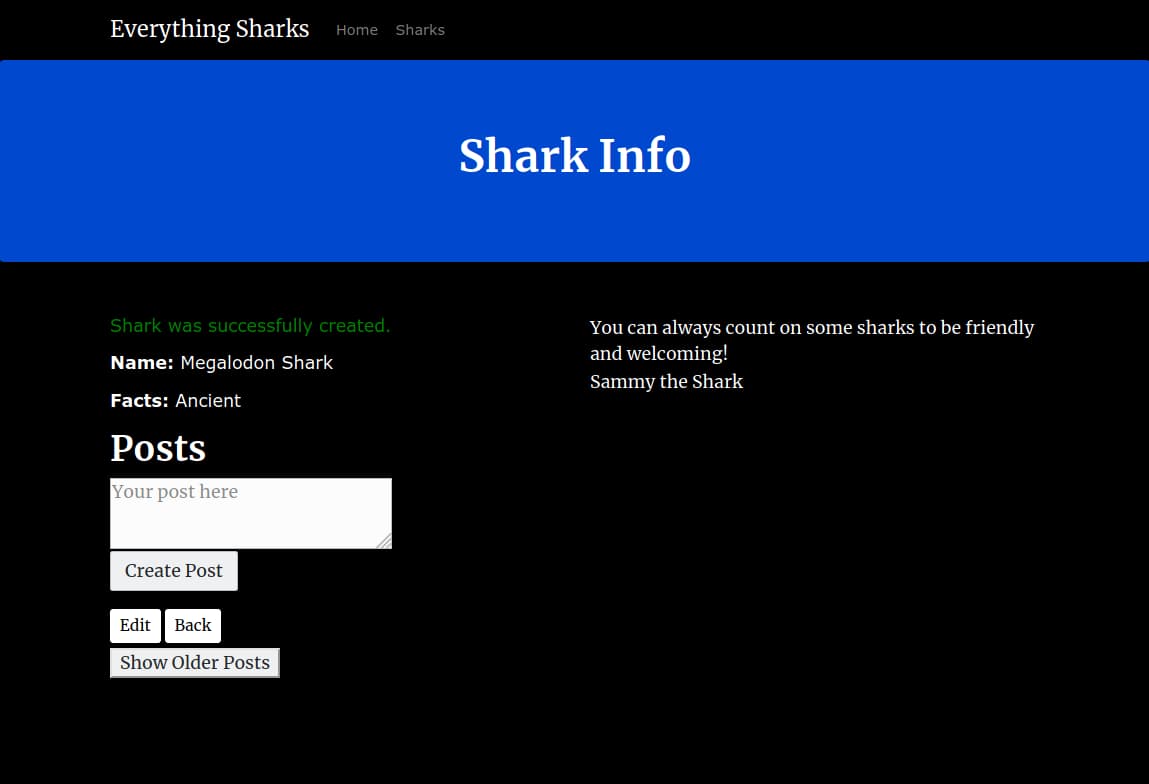
Click on the Submit button. You will see a page with this shark information displayed back to you:
You now have a single instance setup of a Rails application with a PostgreSQL database running on a Kubernetes cluster. You also have a Redis cache and a Sidekiq worker to process data that users submit.
Conclusion
The files you have created in this tutorial are a good starting point to build from as you move toward production. As you develop your application, you can work on implementing the following:
- Centralized logging and monitoring. Please see the relevant discussion in Modernizing Applications for Kubernetes for a general overview. You can also look at How To Set Up an Elasticsearch, Fluentd and Kibana (EFK) Logging Stack on Kubernetes to learn how to set up a logging stack with Elasticsearch, Fluentd, and Kibana. Also check out An Introduction to Service Meshes for information about how service meshes like Istio implement this functionality.
- Ingress Resources to route traffic to your cluster. This is a good alternative to a LoadBalancer in cases where you are running multiple Services, which each require their own LoadBalancer, or where you would like to implement application-level routing strategies (A/B & canary tests, for example). For more information, check out How to Set Up an Nginx Ingress with Cert-Manager on DigitalOcean Kubernetes and the related discussion of routing in the service mesh context in An Introduction to Service Meshes.
- Backup strategies for your Kubernetes objects. For guidance on implementing backups with Velero with DigitalOcean’s Kubernetes product, please see How To Back Up and Restore a Kubernetes Cluster on DigitalOcean Using Velero.
Thanks for learning with the DigitalOcean Community. Check out our offerings for compute, storage, networking, and managed databases.
Tutorial Series: Rails on Containers
This series covers how to build and containerize a Ruby on Rails application. It walks through common development tasks – adding nested resources, a JavaScript framework (Stimulus.js), Bootstrap stylings, and Sidekiq and Redis to handle background jobs – before moving on to showing you how to containerize a Rails application for development.
Browse Series: 7 tutorials
About the author(s)
Former Developer at DigitalOcean community. Expertise in areas including Ubuntu, Docker, Ruby on Rails, Debian, and more.
Still looking for an answer?
This textbox defaults to using Markdown to format your answer.
You can type !ref in this text area to quickly search our full set of tutorials, documentation & marketplace offerings and insert the link!
 This work is licensed under a Creative Commons Attribution-NonCommercial- ShareAlike 4.0 International License.
Become a contributor for community
Get paid to write technical tutorials and select a tech-focused charity to receive a matching donation.

DigitalOcean Documentation
Full documentation for every DigitalOcean product.

Resources for startups and AI-native businesses
The Wave has everything you need to know about building a business, from raising funding to marketing your product.
The developer cloud
Scale up as you grow — whether you're running one virtual machine or ten thousand.

Start building today
From GPU-powered inference and Kubernetes to managed databases and storage, get everything you need to build, scale, and deploy intelligent applications.
