By Tony Tran

Introduction
LEMP stack is a solution stack that employs a specific group of software to host web applications on a server. This term is an acronym which represents the Linux operating system with the Engine-X (Nginx) web server. The site data is stored in a MySQL database, and dynamic content is processed by PHP.
This tutorial will guide you through spinning up a DigitalOcean Droplet with LEMP stack pre-installed, using the DigitalOcean LEMP 1-Click App. It also includes useful tools such as Fail2ban for mitigating server attacks, Postfix for sending email, and Certbot for managing TLS/SSL certificates for secure HTTPS connections. After creating your Droplet, you will be guided through other use cases for LEMP stack. Because this 1-Click Droplet is based on a standard Ubuntu 20.04 Droplet, you can follow any of our LEMP tutorials on your Droplet after you finish this guide.
1-Click Deployment
By the end of this tutorial, you will have a Ubuntu 20.04 Droplet with the following additions:
- Nginx (version 1.17.10) is a popular open-source web server. It is a lightweight choice that can be used as either a web server or reverse proxy.
- MySQL (version 8.0.21) is a popular open-source database management system. It implements the relational model and uses Structured Query Language (better known as SQL) to manage its data.
- PHP (version 8.0) is a scripting language used in web development for creating dynamic and interactive web pages.
- Fail2ban (version 0.11.1) is a tool used to prevent brute force DDOS attacks through the creation of rules that ban specific IP addresses according to certain behaviors.
- Postfix (version 3.4.10) is a mail transfer agent that can be used to route and deliver email on a Linux system.
- Certbot (version 0.40.0) is a tool for automating the creation of certificates for TLS/SSL encryption for HTTPS traffic. Additionally, it can handle the automatic configuration of web server settings to use HTTPS using these new certificates.
In addition to the package installation, this 1-Click also include:
- An enabled firewall using UFW, allowing port
80for HTTP traffic, port443for HTTPS traffic, and port22for SSH traffic. - A root password already set for MySQL by running
mysql_secure_installation. This information can be found at/root/.digitalocean_password.
Step 1 — Creating a LEMP Droplet
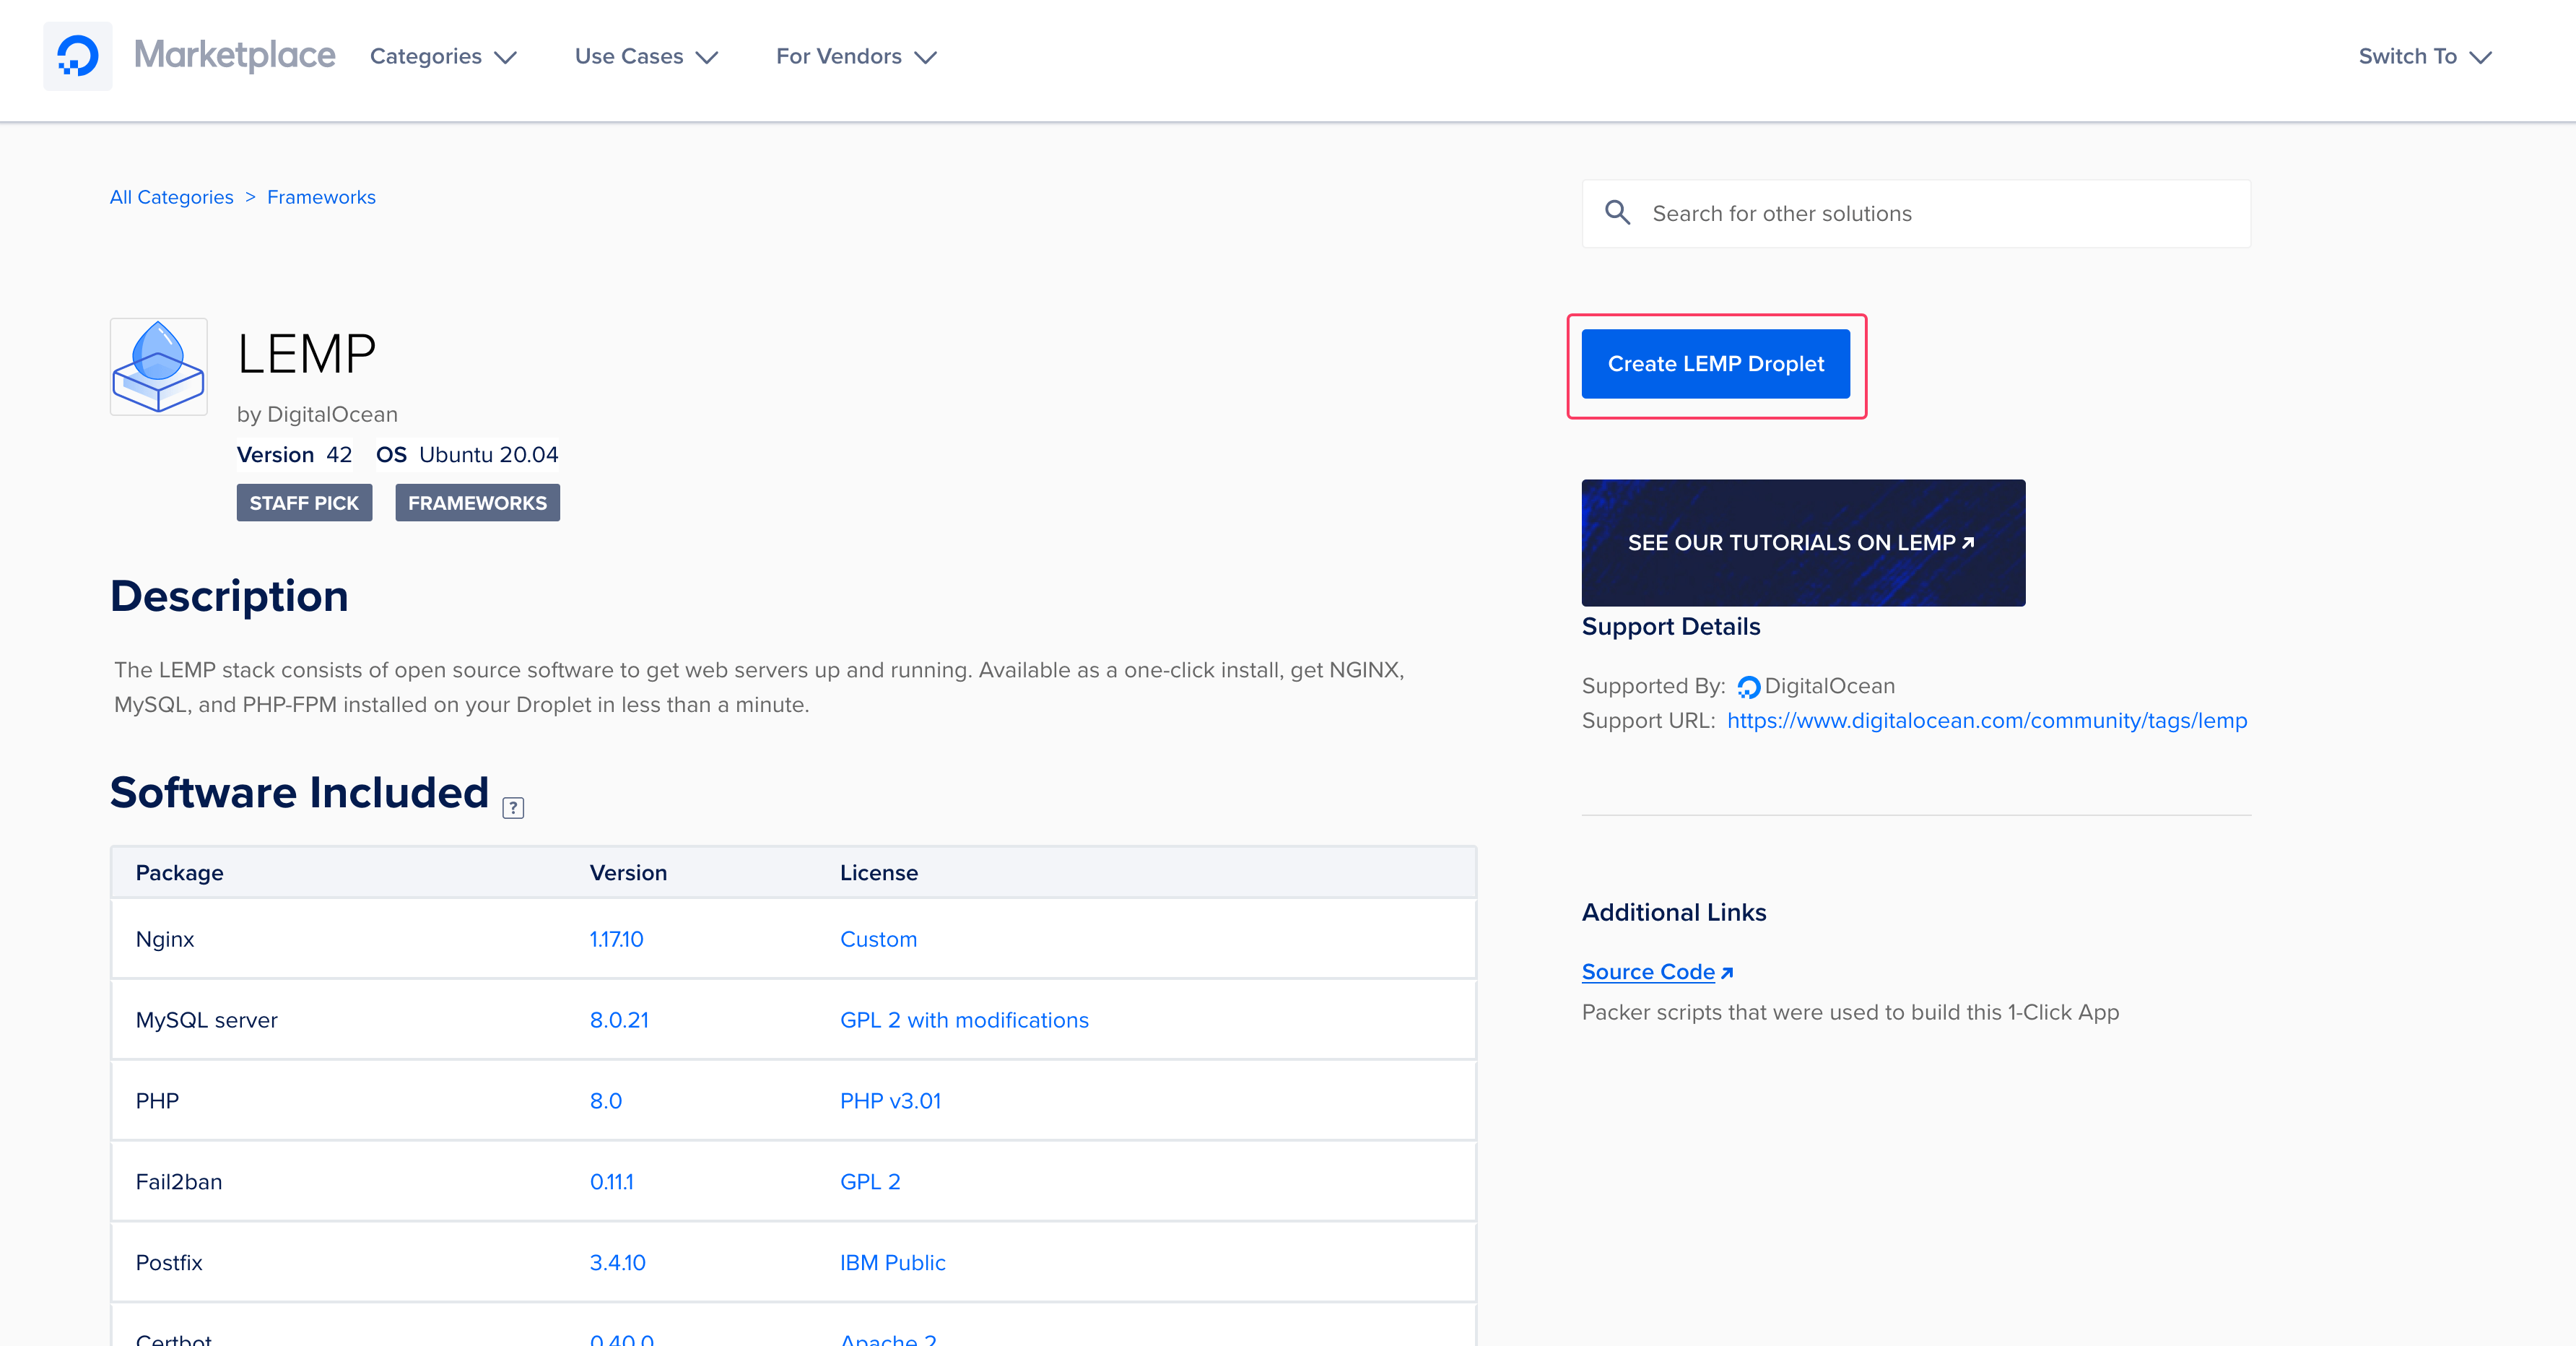
Start by creating a LEMP 1-Click Droplet that is available on our Marketplace, and that will take you to the DigitalOcean control panel. To create a LEMP Droplet from the LEMP 1-Click App, press the Create LEMP Droplet button:
If you are not logged into your DigitalOcean account, you need to login. If you don’t have an account, you can sign up for one.
Next you’ll be taken to the Create Droplets page. Here you can customize your server settings before creating your LEMP Droplet. Read the guide on How to Create your First Droplet for a description of all the choices you need to make in detail. The following sections are a few key settings to consider.
Choosing an image
Your image will already be set to the Marketplace tab with LEMP 42 on Ubuntu 20.04 selected:
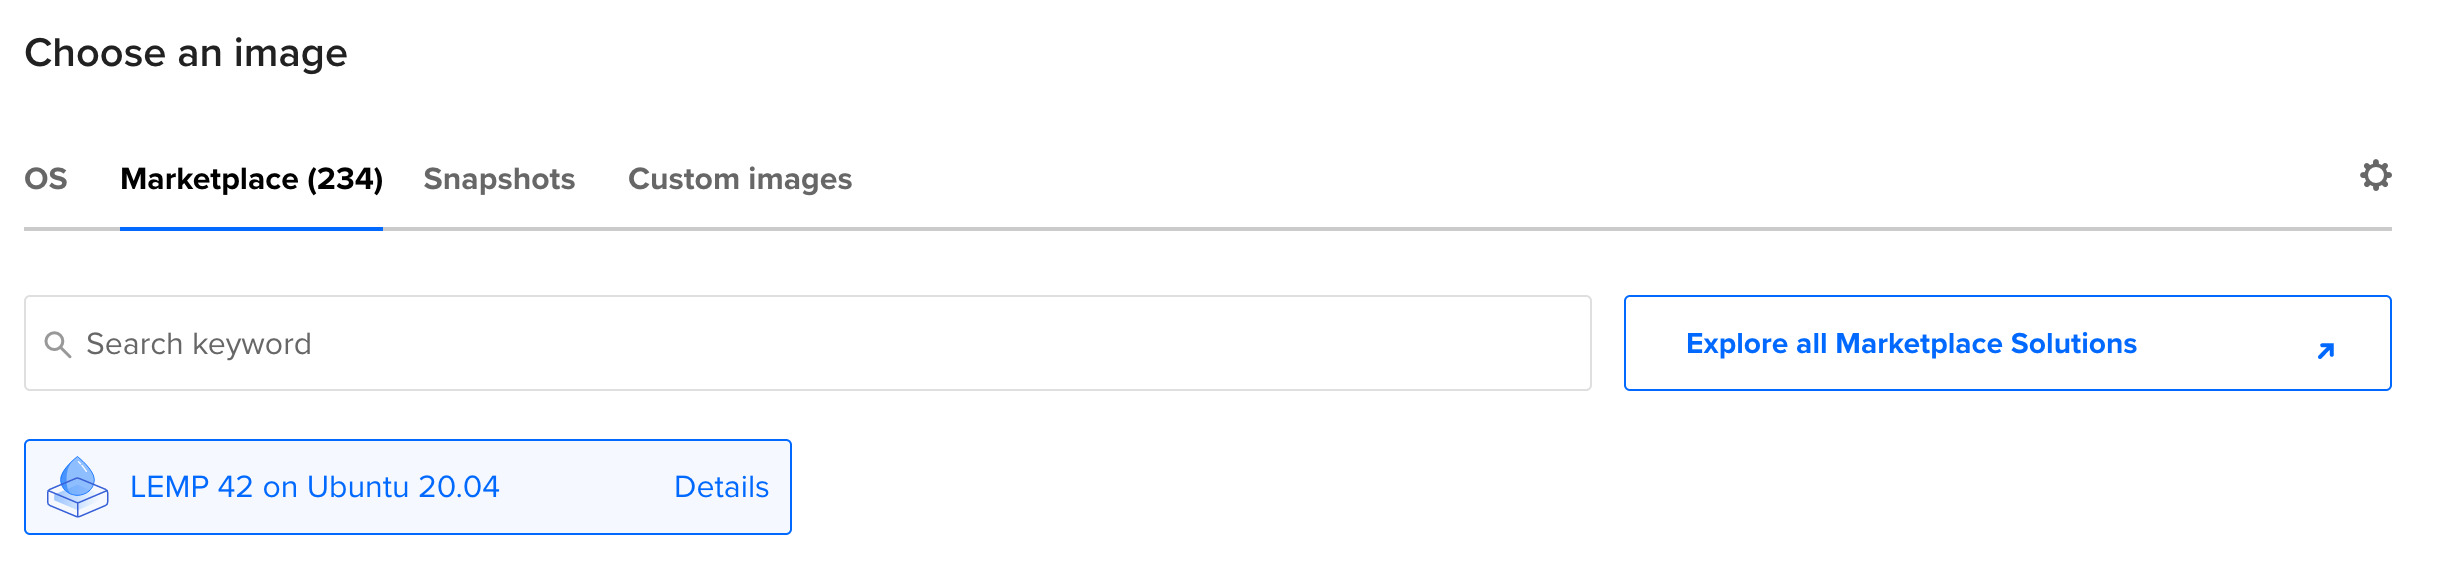
If this is not selected use the search box to search for LEMP.
You can accept the defaults or adjust settings according to your use case. We typically recommend the following changes:
Choosing a datacenter region
To avoid potential latency, it is recommended that you select a datacenter region closest to your user base. In some regions we have more than one datacenter. There is no difference between these same region datacenters (e.g., SFO3 and SFO2).
Choosing a plan
To run a Droplet with LEMP it is recommended to have at least 1GB of RAM.
Choosing an authentication method
The SSH Key option is recommended, rather than a Password for your Droplet. Authentication using SSH Keys is typically more secure.
Selecting additional options
Adding improved metrics monitoring and alerting to your Droplet helps you follow your Droplet resource usage over time. You may also want to consider enabling automated backups. You can come back later to enable backup functionality on Droplets you’ve already created.
Choosing a hostname
Give your Droplet an identifying name that you will remember, such as “LEMP Droplet 1” or naming it after the application you will be using it for.
After you’ve made all your choices, press Create Droplet in the bottom bar of the control panel screen. Once the Droplet is created, its IP address will be displayed:

You can connect to and configure your Droplet by accessing this IP address. Hover over the IP address and press Copy to copy it to your clipboard.
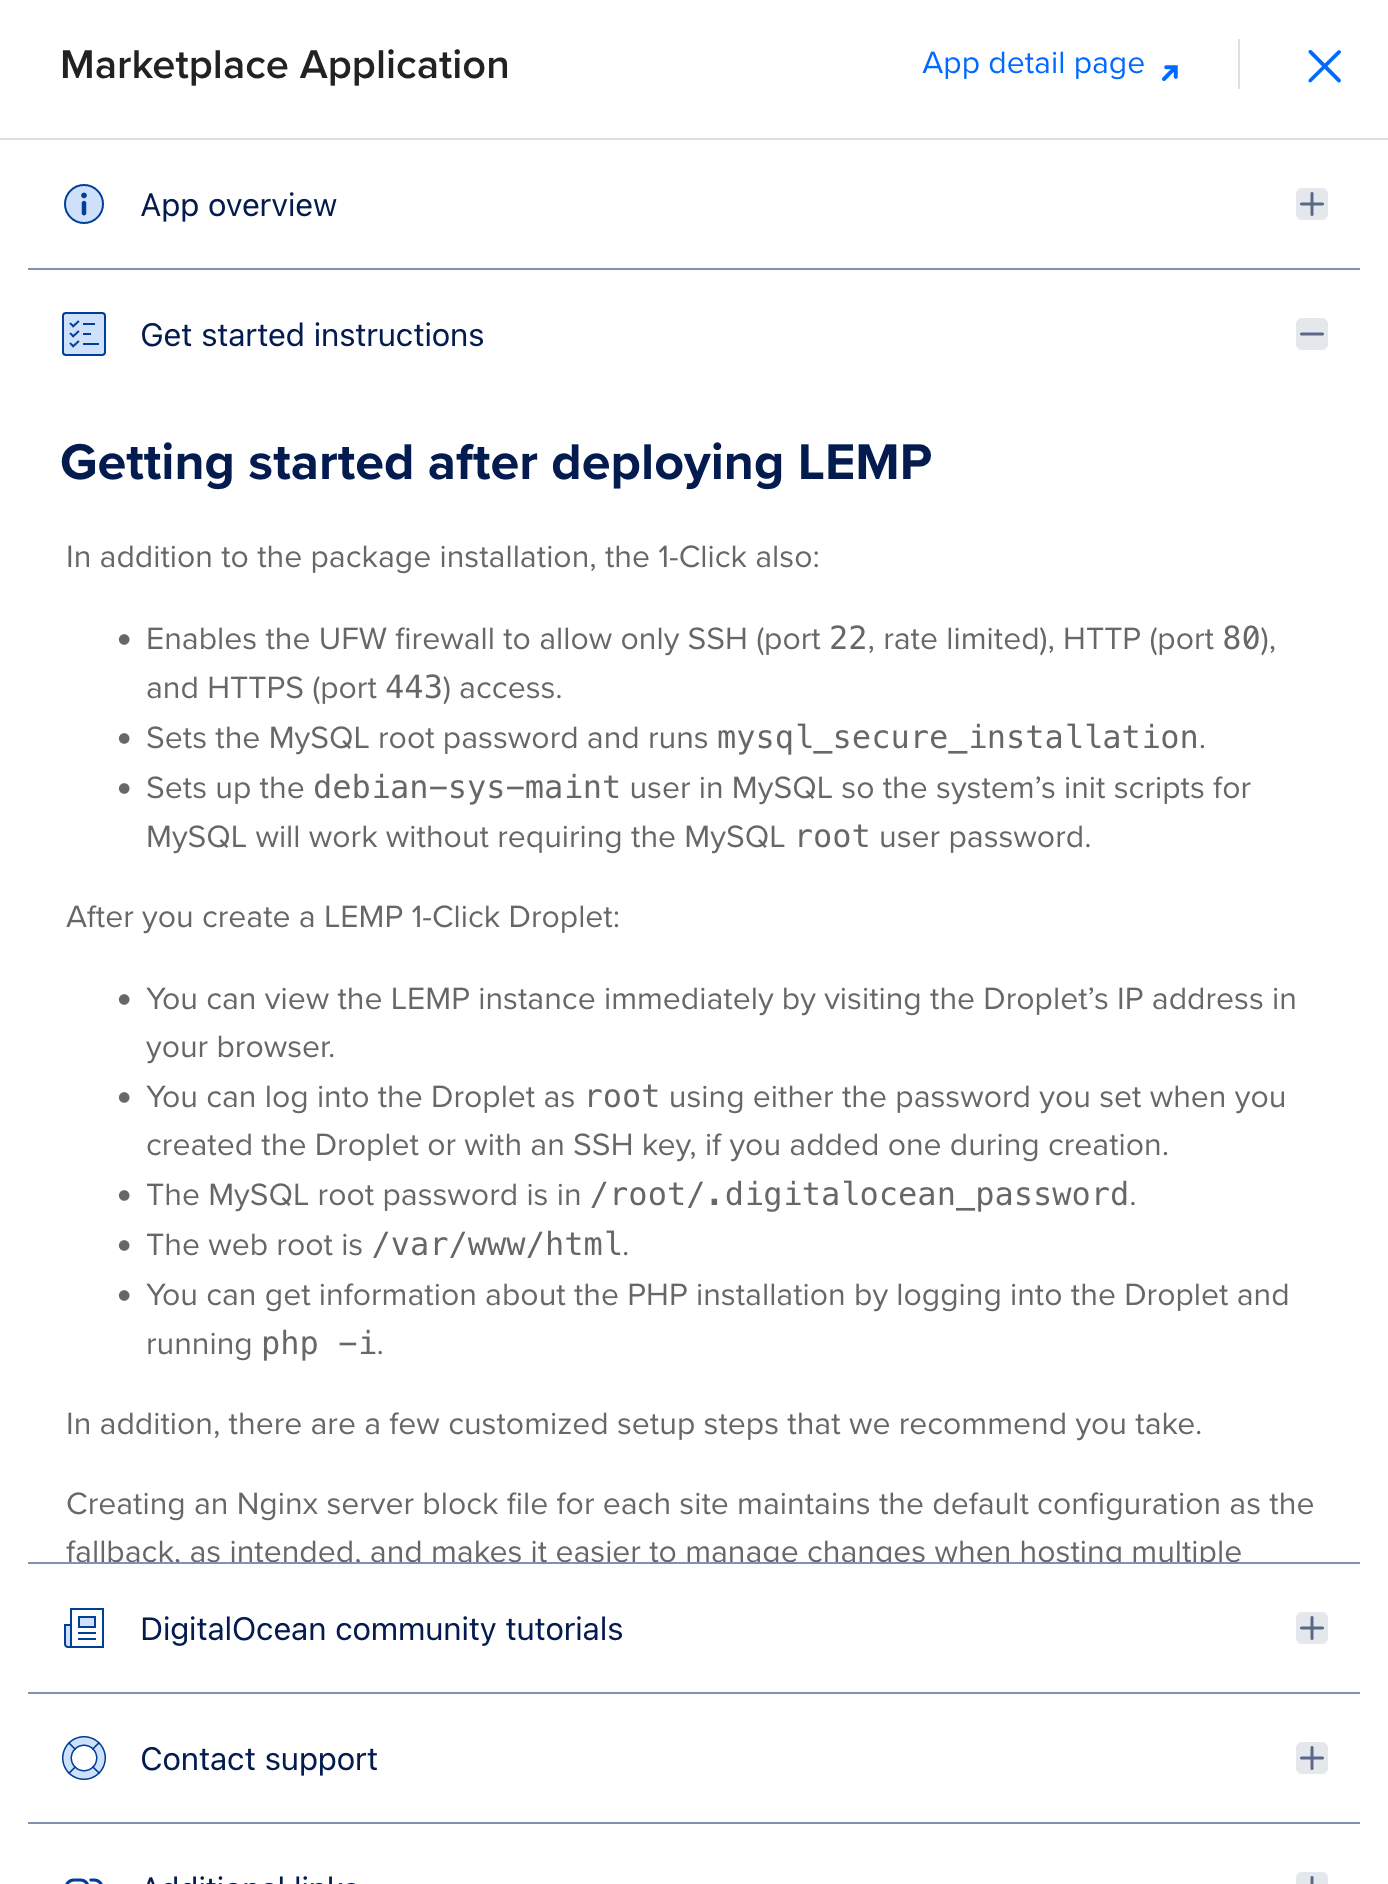
Droplets created through the 1-Click Marketplace comes with additional resources that you can access by pressing Get started:

This toggles a new panel, where you can gain additional information specific to your 1-Click application. This includes an overview, further steps to get started using your Droplet, and links to relevant tutorials from our Community site. Furthermore, you’ll have access to support and other resources for LEMP.
Once you’re finished getting your Droplet setup in the control panel, you can proceed to accessing it on your terminal.
Step 2 — Accessing the Droplet via SSH to Enable Configuration
Once you’ve spun up your LEMP Droplet, you need to connect to your Droplet via SSH. That means you’ll connect to the server from the command line. If you haven’t used a terminal program like SSH or PuTTY before, check out How To Connect To Your Droplet with SSH. When you’re ready, open a terminal on your computer and log into your Droplet as root via SSH with this command, substituting the IP address with your Droplet’s IP address:
- ssh root@your_server_ip
Once you’re finished getting your Droplet setup in the control panel, you can proceed to accessing it on your terminal.
Step 3 — Working with LEMP
Now that your LEMP Droplet is up and running, you can start working with LEMP. To verify that LEMP is set up and check its overall status, use the php command:
- php -i
Outputphpinfo()
PHP Version => 8.0.8

System => Linux lemp42onubuntu2004-s-1vcpu-2gb-sfo3-01 5.4.0-135-generic #152-Ubuntu SMP Wed Nov 23 20:19:22 UTC 2022 x86_64
Build Date => Nov 26 2022 14:07:36
Build System => Linux
Server API => Command Line Interface
Virtual Directory Support => disabled
Configuration File (php.ini) Path => /etc/php/8.1/cli
Loaded Configuration File => /etc/php/8.1/cli/php.ini
. . .
To access your automatically created root password for MySQL, you can open the following file with nano or your preferred text editor:
- nano /root/.digitalocean_password
root_mysql_pass="your_mysql_password"
Once you have your password noted, close nano by pressing CTRL + X.
Your 1-Click droplet is automatically configured to serve websites from a root directory of /var/www/html. Within this directory there is an example file that is being served named index.html. To inspect its contents, open the file with your preferred text editor:
- nano /var/www/html/index.html
<html>
  <head>
	<style>
  	body {
    	font-family: ProximaNova;
    	font-size: 15px;
    	font-style: normal;
    	font-stretch: normal;
. . .
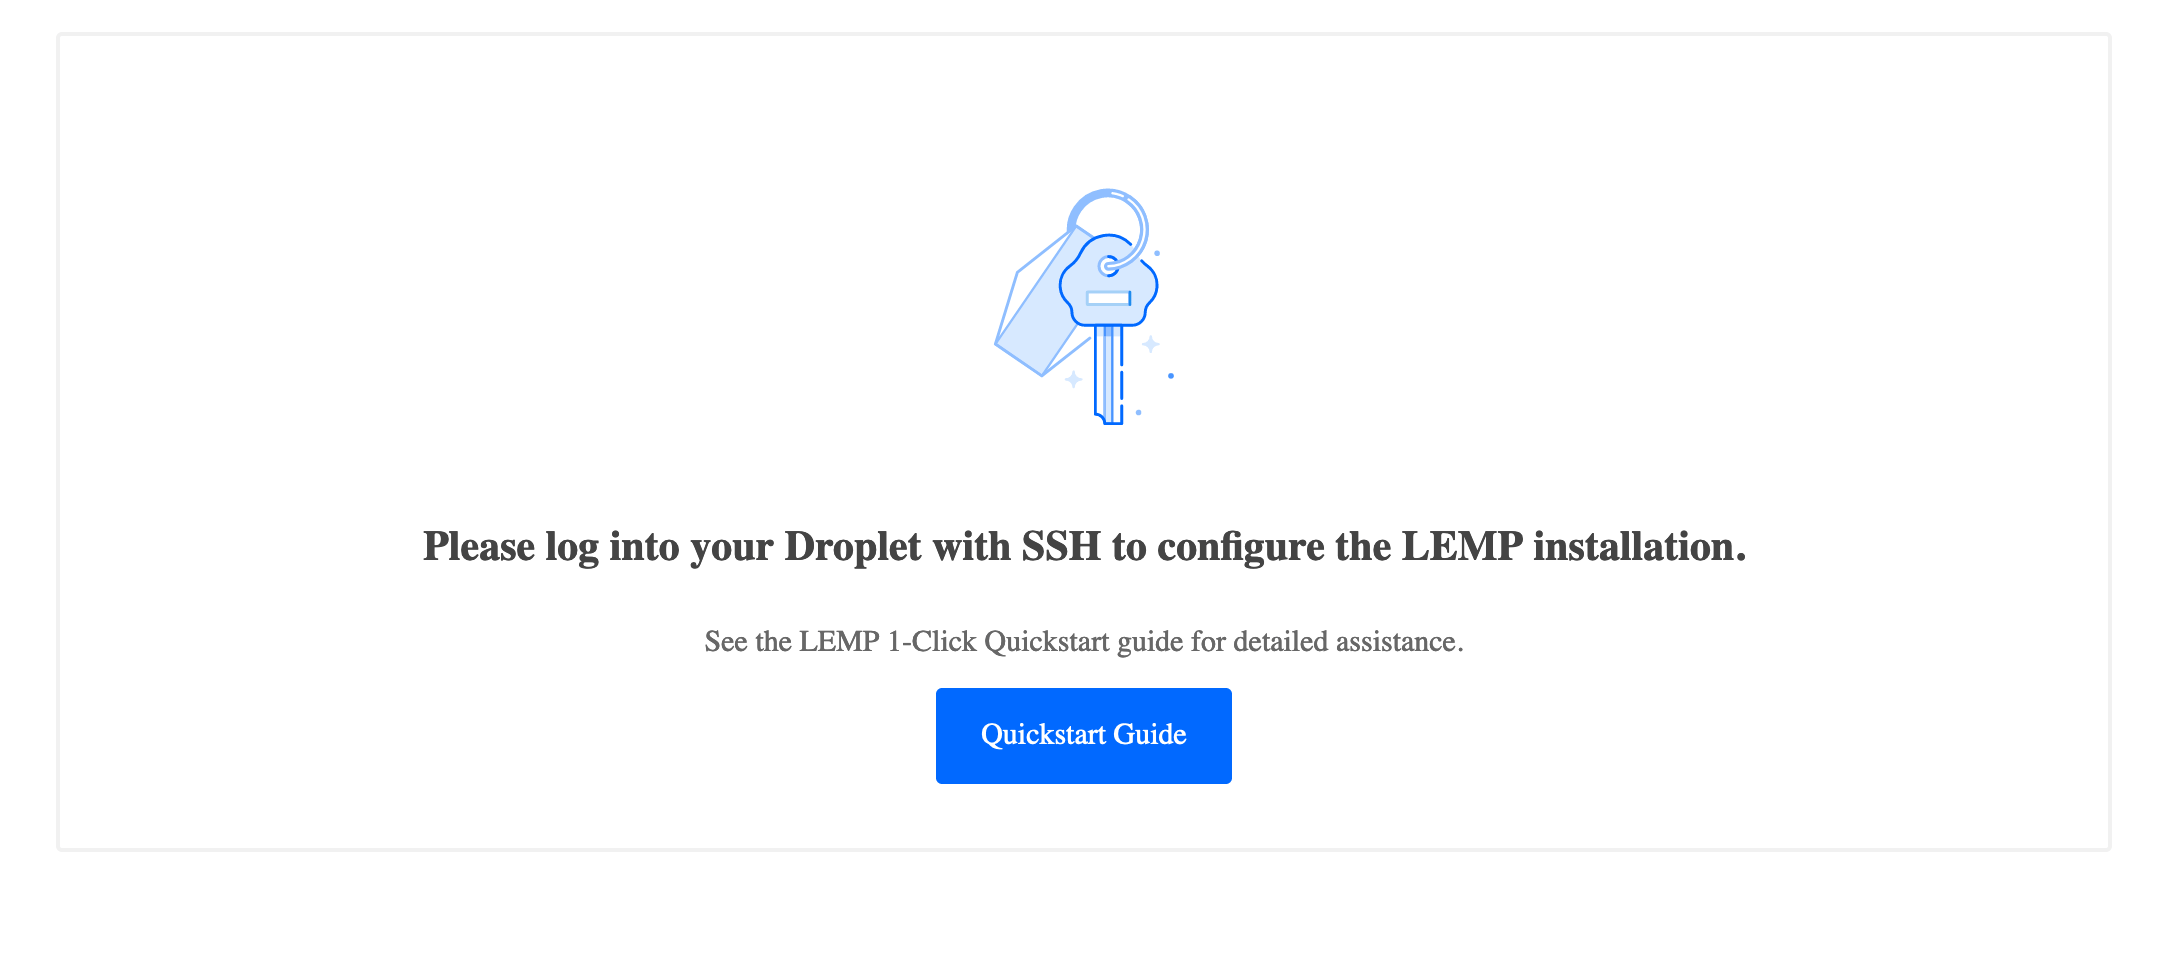
Once you are finished reviewing, close the file. You can view this file on your browser by navigating to http://your_server_ip:
Next, there are a few things you can do to further customize your LEMP setup and secure your web server’s traffic. One way you can customize your LEMP setup is by creating server blocks in Nginx.
When using the Nginx web server, server blocks (similar to virtual hosts in Apache) can be used to encapsulate configuration details and host more than one domain from a single server. Nginx on Ubuntu 20.04 has one server block enabled by default that is configured to serve documents out of a directory at /var/www/html. While this works well for a single site, it can become unwieldy if you are hosting multiple sites. For more information, follow Step 5 – Setting Up Server Blocks of our How To Install Nginx on Ubuntu 20.04 tutorial.
While Certbot comes installed with your 1-Click Droplet, you must run it to obtain your certificate through Let’s Encrypt. Let’s Encrypt is a Certificate Authority (CA) that facilitates obtaining and installing free TLS/SSL certificates, thereby enabling encrypted HTTPS on web servers. It provides a software client, Certbot, that automates the entire process of obtaining and installing a certificate for Nginx. For more information, follow our How To Secure Nginx with Let’s Encrypt on Ubuntu 20.04 tutorial.
Step 4 — Creating a New User and Adjusting Permissions and Firewalls (Optional)
Your new Droplet comes with only one user, which is the default root user. While LEMP can work as the root user, you also have the option to set up a new user and grant it administrative privileges through sudo. This, along with other security recommendations, can be found in our Initial Server Setup with Ubuntu 20.04 tutorial.
Additionally, you can choose to only allow traffic through HTTPS if you have properly set up your certificates using Certbot. Use ufw delete to remove the rule that came with your 1-Click Droplet:
- ufw delete allow 80/tcp
Your server is now only accessible through HTTPS.
Conclusion
Your LEMP 1-Click Droplet is now up and running. Keep in mind that while LEMP is treated as a singular entity in this tutorial, each of its separate components has its own suite of features and functionality. To learn more about each component, consider the following tutorials:
If you’re interested in a traditional installation of LEMP, you can check out our How To Install Linux, Nginx, MySQL, PHP (LEMP stack) on Ubuntu 20.04 tutorial. To learn about other software that uses LEMP stack as a foundation, you can explore Laravel for building websites following our How To Install and Configure Laravel with Nginx on Ubuntu 22.04 (LEMP) tutorial.
Thanks for learning with the DigitalOcean Community. Check out our offerings for compute, storage, networking, and managed databases.
About the author
Still looking for an answer?
 This work is licensed under a Creative Commons Attribution-NonCommercial- ShareAlike 4.0 International License.
Become a contributor for community
Get paid to write technical tutorials and select a tech-focused charity to receive a matching donation.

DigitalOcean Documentation
Full documentation for every DigitalOcean product.

Resources for startups and AI-native businesses
The Wave has everything you need to know about building a business, from raising funding to marketing your product.
The developer cloud
Scale up as you grow — whether you're running one virtual machine or ten thousand.

Start building today
From GPU-powered inference and Kubernetes to managed databases and storage, get everything you need to build, scale, and deploy intelligent applications.
