By Jeremy Morris and Lisa Tagliaferri

Introduction
If you’ve followed along with our Django Development series, you’ve successfully created a Django application that allows users with admin privileges to add comments and posts via Django’s admin UI dashboard. You’ve also set up data persistence by leveraging MySQL and Django’s object-relational mapping solution models.
In this tutorial, we will create Django views that enable our web application to properly handle web requests and return the required web responses. As defined in the Django docs, a web response can be the HTML content of a Web page, a redirect, or an HTTP error (e.g. 404). The code for the view functions can technically live anywhere in your project, as long as it’s on your Python path. However, there are some popular conventions for naming and placing the file in which these view functions exist, and we will be following these practices.
Once you are finished going through the steps of this tutorial, your Django blog site will pull a recent post into the your-IP-or-domain/post URL.
Prerequisites
This tutorial is part of the Django Development series and is a continuation of that series.
If you have not followed along with this series, we are making the following assumptions:
- You have Django version 4 or higher installed.
- You have connected your Django app to a database. We are using MySQL, and you can achieve this connection by following part two of the Django series, “How To Create a Django App and Connect it to a Database.”
- You are working with a Unix-based operating system, preferably an Ubuntu 22.04 cloud server as this is the system we have tested on. If you would like to set up Django on a similar environment, please refer to our tutorial, “How To Install Django and Set Up a Development Environment on Ubuntu 22.04.
- You have set up your Django Admin Interface. You can accomplish this by following our Django Admin tutorial.
As this guide is primarily dealing with Django Views, you may be able to follow along even if you have a somewhat different setup.
Step 1 — Create View Functions
Within your terminal, you first need to move into the relevant directory and activate your Python virtual environment. If you have been following along with this series, you can enter the commands below. It is important to always use a Python programming environment when you are developing your app to ensure that your code is contained and you are working with the right setup.
- cd ~/my_blog_app
- . env/bin/activate
Now that your virtual environment is activated, let’s navigate to the blogsite directory where we will open up a Python file and create our first view function.
- cd ~/my_blog_app/blog/blogsite
Open the views.py file for editing, using nano or the text editor of your choice.
- nano views.py
Upon opening the file, it should be populated with code similar to this:
from django.shortcuts import render

# Create your views here.
We will keep the import statement that imports the render() function from the django.shortcuts library. The render() function allows us to combine both a template and a context so that we can return the appropriate HttpResponse object. Keep this in mind because with every view we write, we are responsible for instantiating, populating, and returning an HttpResponse.
Next we’ll add our first view that will welcome users to the index page. We’ll import the HttpResponse() function from the Django http library. Using that function, we’ll pass in text to be displayed when the webpage is requested.
from django.shortcuts import render
from django.http import HttpResponse


def index(request):
    return HttpResponse('Hello, welcome to the index page.')
Following that, we’ll add one more function that will display the individual post we’re going to create later in the tutorial.
...
def individual_post(request):
    return HttpResponse('Hi, this is where an individual post will be.')
Our final views.py file will now be as follows.
from django.http import HttpResponse
from django.shortcuts import render


def index(request):
    return HttpResponse('Hello, welcome to the index page.')

def individual_post(request):
    return HttpResponse('Hi, this is where an individual post will be.')
When you are finished editing the file, be sure to save and exit. In nano, you can press CTRL and X, then Y, then ENTER.
Right now, there is no designated URL that these functions are pointing to, so we’ll have to add that to our urlpatterns block within our URL configuration file. With the views added, let’s move on to mapping URLs to them via this configuration file so that we can view the pages we’ve created.
Step 2 — Map URLs to Views
With Django, we can design our own URLs to use with our app. This is done in pure Python by using a file commonly referred to as your URLconf or “URL configuration” file.
In order for the web page to be displayed, Django first has to determine the root URLconf module to use, then proceeds to look for urlpatterns, a list data structure containing all of the URL patterns. Django then goes through each URL pattern until it finds the first one that matches. Once a match is found, Django finds the associated view, and that view function will receive data pertaining to the URL pattern and an HttpRequest object. If there is a failure at any point throughout this process, an error-handling view is shown instead.
In this section, we’ll be working with two different urls.py files in two different directories of our app.
While in the ~/my_blog_app/blog/blogsite directory, open the urls.py file — also known as your URLconf file — for editing. We’ll use nano here to edit the file.
- nano urls.py
Change the file so that it is the same as the file below, with the urlpatterns list.
from django.urls import path
from . import views


urlpatterns = [
    path('', views.index, name='index'),
    path('post/', views.individual_post, name='individual_post')
]
When you are finished adding the above lines, save and close the file.
Once we’ve updated the blogsite directory’s URLconf file, we’ll include it in the blog directory’s URLconf or else it won’t be recognized. We need to do this because it is set as the ROOT_URLCONF in our settings file. This means that Django is looking at the blog directory’s URLconf for urlpatterns.
To include our blogsite URLconf within our blog URLconf, we’ll need to navigate to that directory.
- cd ~/my_blog_app/blog/blog
Once you are there, you can open the URLconf file with nano or another text editor of your choice.
- nano urls.py
Within this file, we’ll add the following lines to include the /blogsite/urls.py file we have just worked with, which is indicated in the second line.
from django.contrib import admin
from django.urls import include, path


urlpatterns = [
    path('admin/', admin.site.urls),
    path('', include('blogsite.urls'))
]
Save and close the file.
Now let’s open a web browser in order to navigate to the URLs we’ve created and verify that they display the text we’ve added to the views. We’ll need to move into the parent directory to access the manage.py file that serves the Django app.
- cd ..
Issue the following command. You can replace 0.0.0.0 with your IP address below.
- python manage.py runserver 0.0.0.0:8000
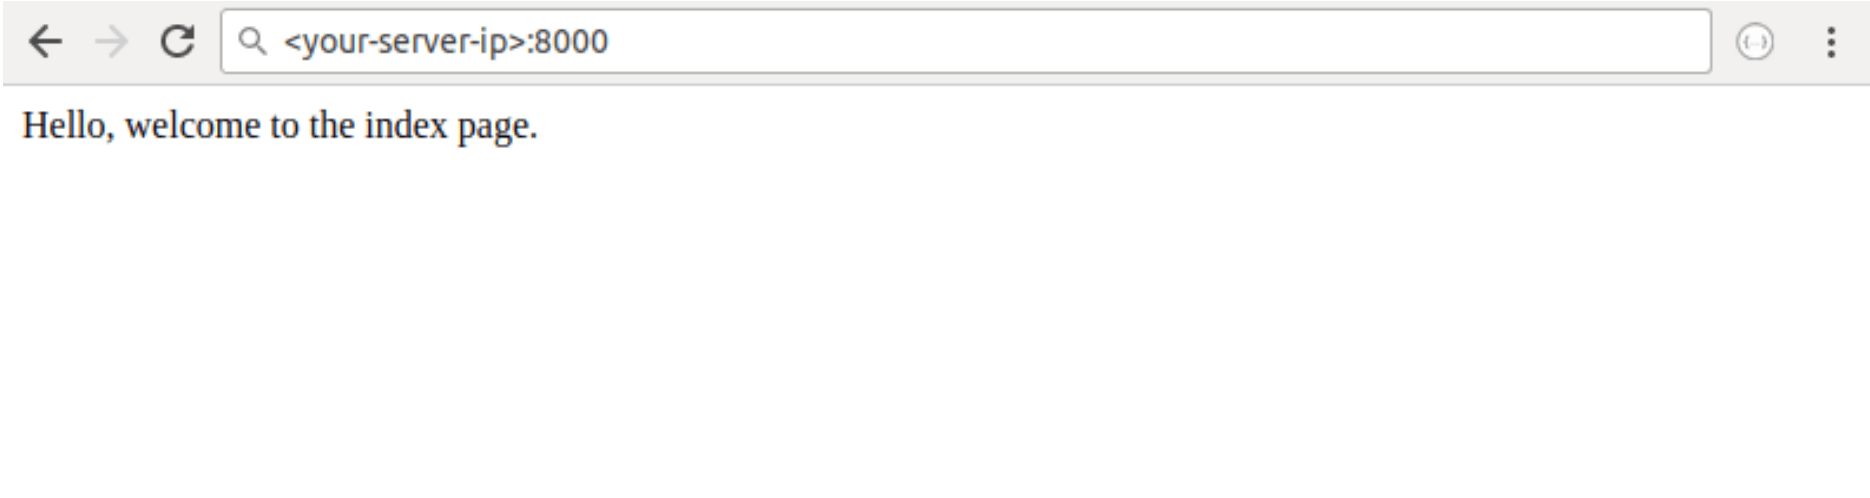
Within your web browser, navigate to your IP address, port 8000:
your-server-ip:8000
You will receive a webpage similar to the following:
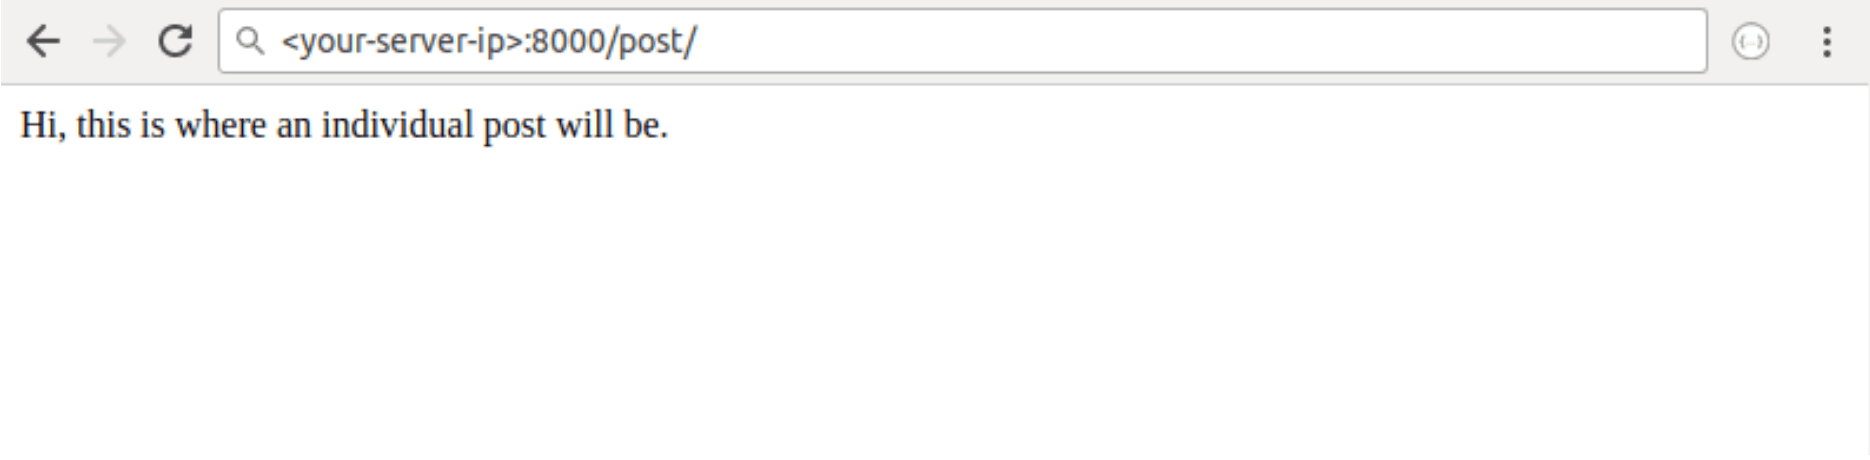
Next, navigate to the following URL:
your-server-ip:8000/post/
From here, the following webpage should be displayed:
We have now verified that the two urls.py files work, and the data shows us exactly what we’d expect. With this working, let’s add some real data into our blog.
Step 3 — Create a Blogpost
Now that you understand the fundamentals of how URL patterns and views work, let’s add a blog post and get that to display on the webpage instead of the text we’ve hardcoded into the Python files.
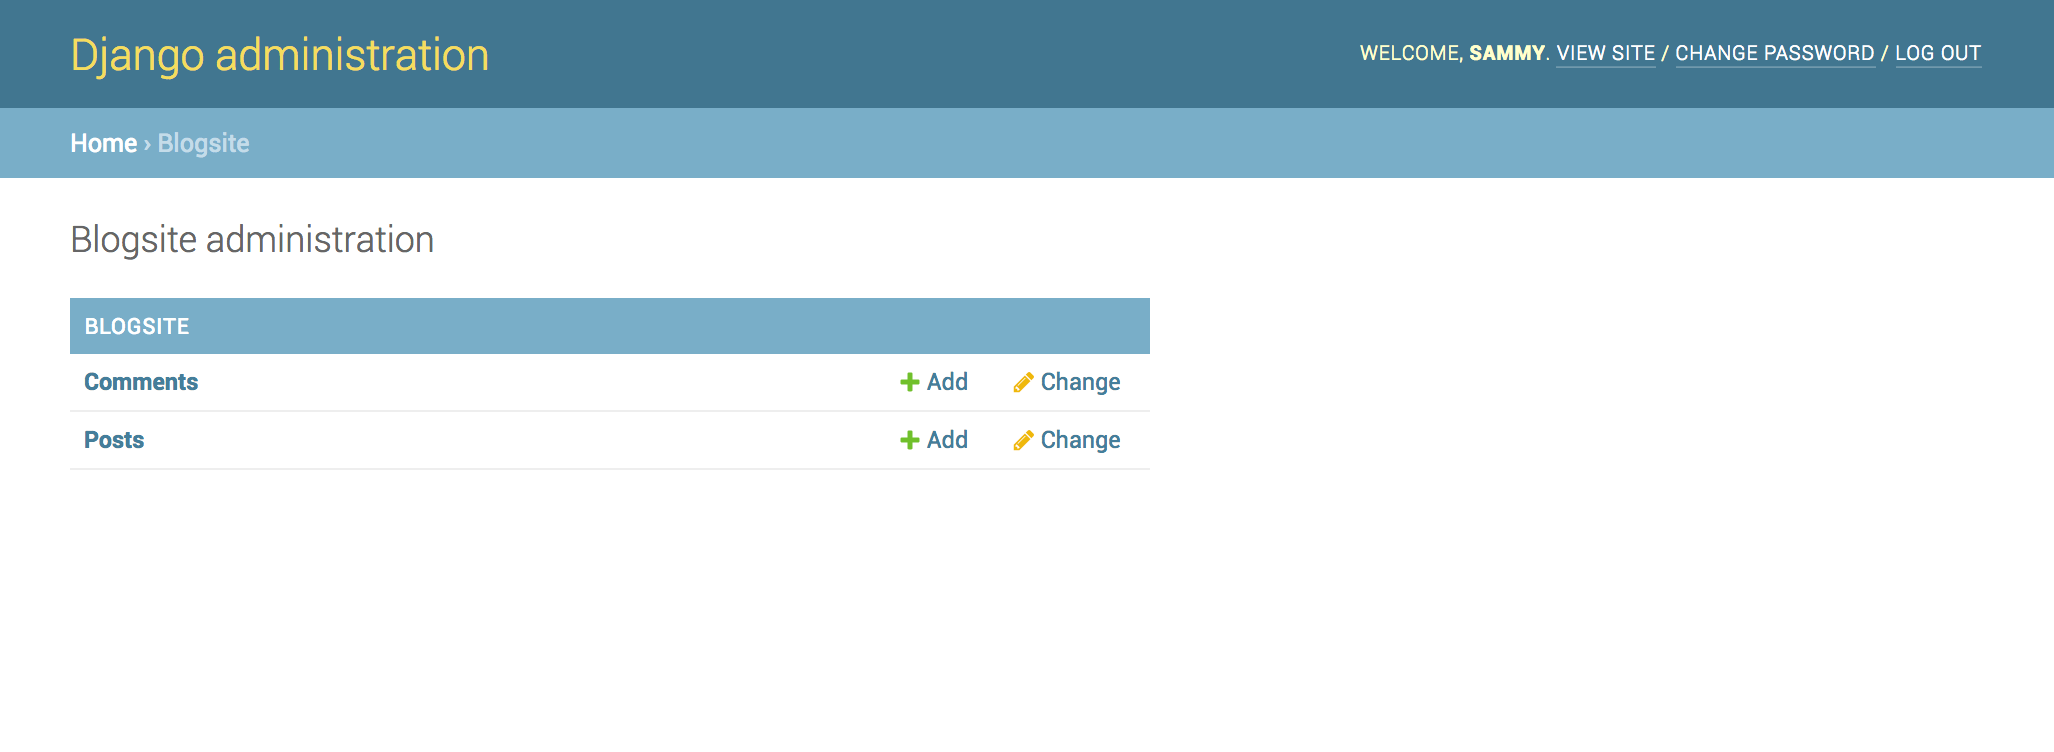
We’ll create a post through the admin page we’ve previously set up. With your server serving the Django app, use a web browser to navigate to the admin Blogsite page at:
your-server-ip:8000/admin/blogsite/
In the interface, click the + Add link located in the Posts row to start populating the database with an example blog post.
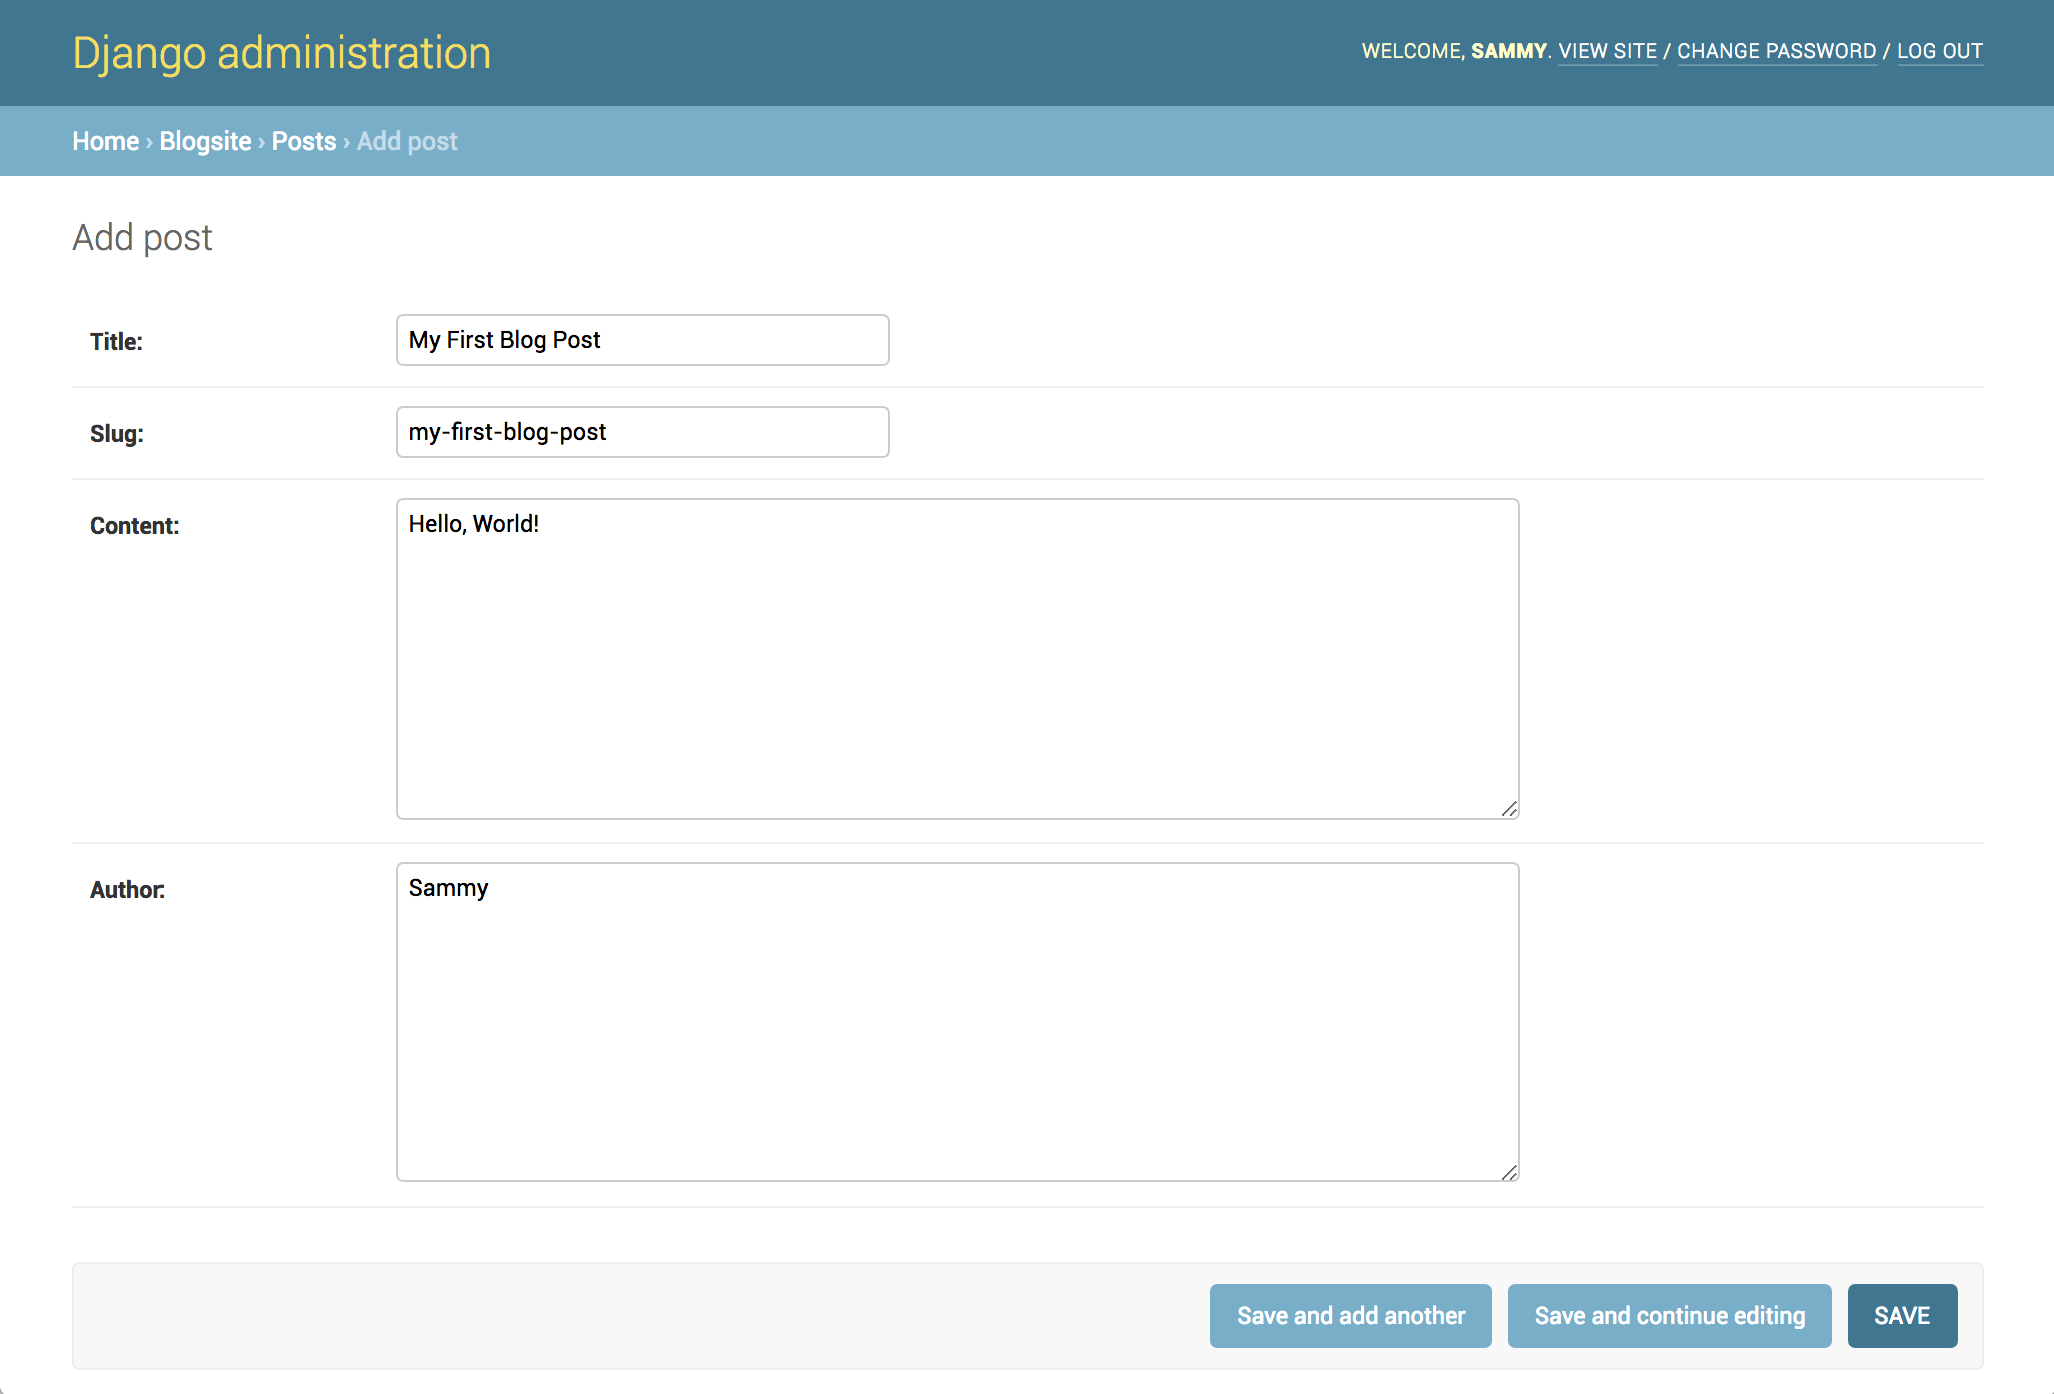
Upon clicking the link, you’ll receive an input form like this:
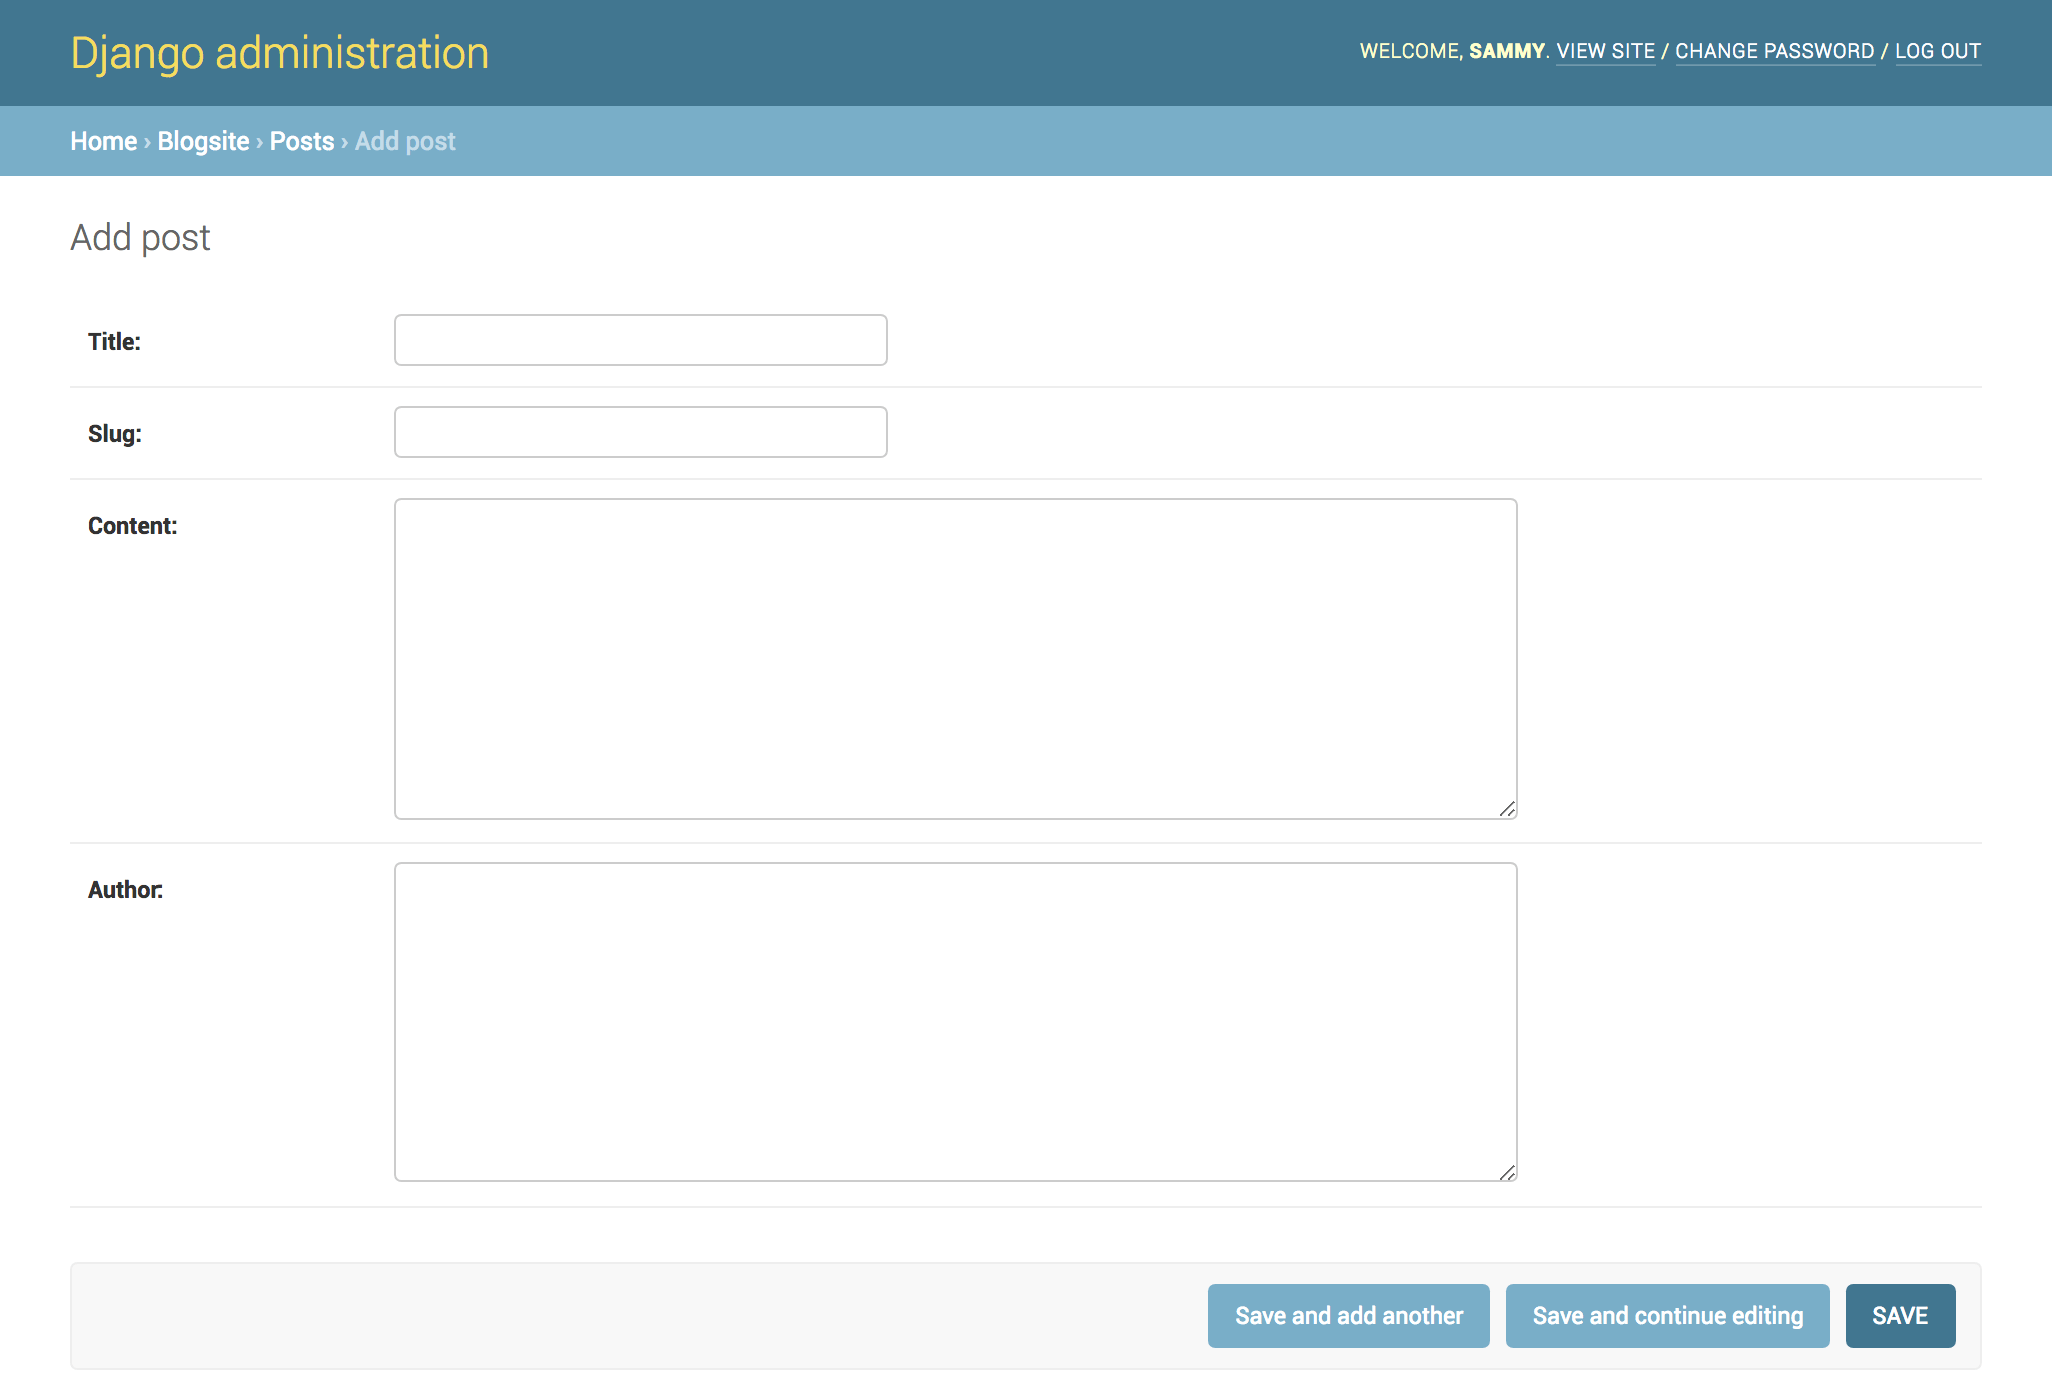
Whenever you want to add a post, you’ll go to this page to do so. Alternatively, you can edit posts with the Change link.
In the form, you’ll be able to edit the following fields:
| Field | Content |
|---|---|
Title |
Add your desired blog post title here, for example My First Blog Post. |
Slug |
This refers to the part of a URL which identifies a valid web address element with human-readable keywords. This is generally derived from the title of the page, so in this case we can use my-first-blog-post. |
Content |
This is the body of your blog post. We will just be adding Hello, World! for example purposes, but this is where you can be verbose. |
Author |
In this field, add your relevant name or username. We will use Sammy. |
Fill out the blog post form as you see fit for your testing purposes.
Once you have added example data into the page, click the SAVE button. You’ll receive the following confirmation page:
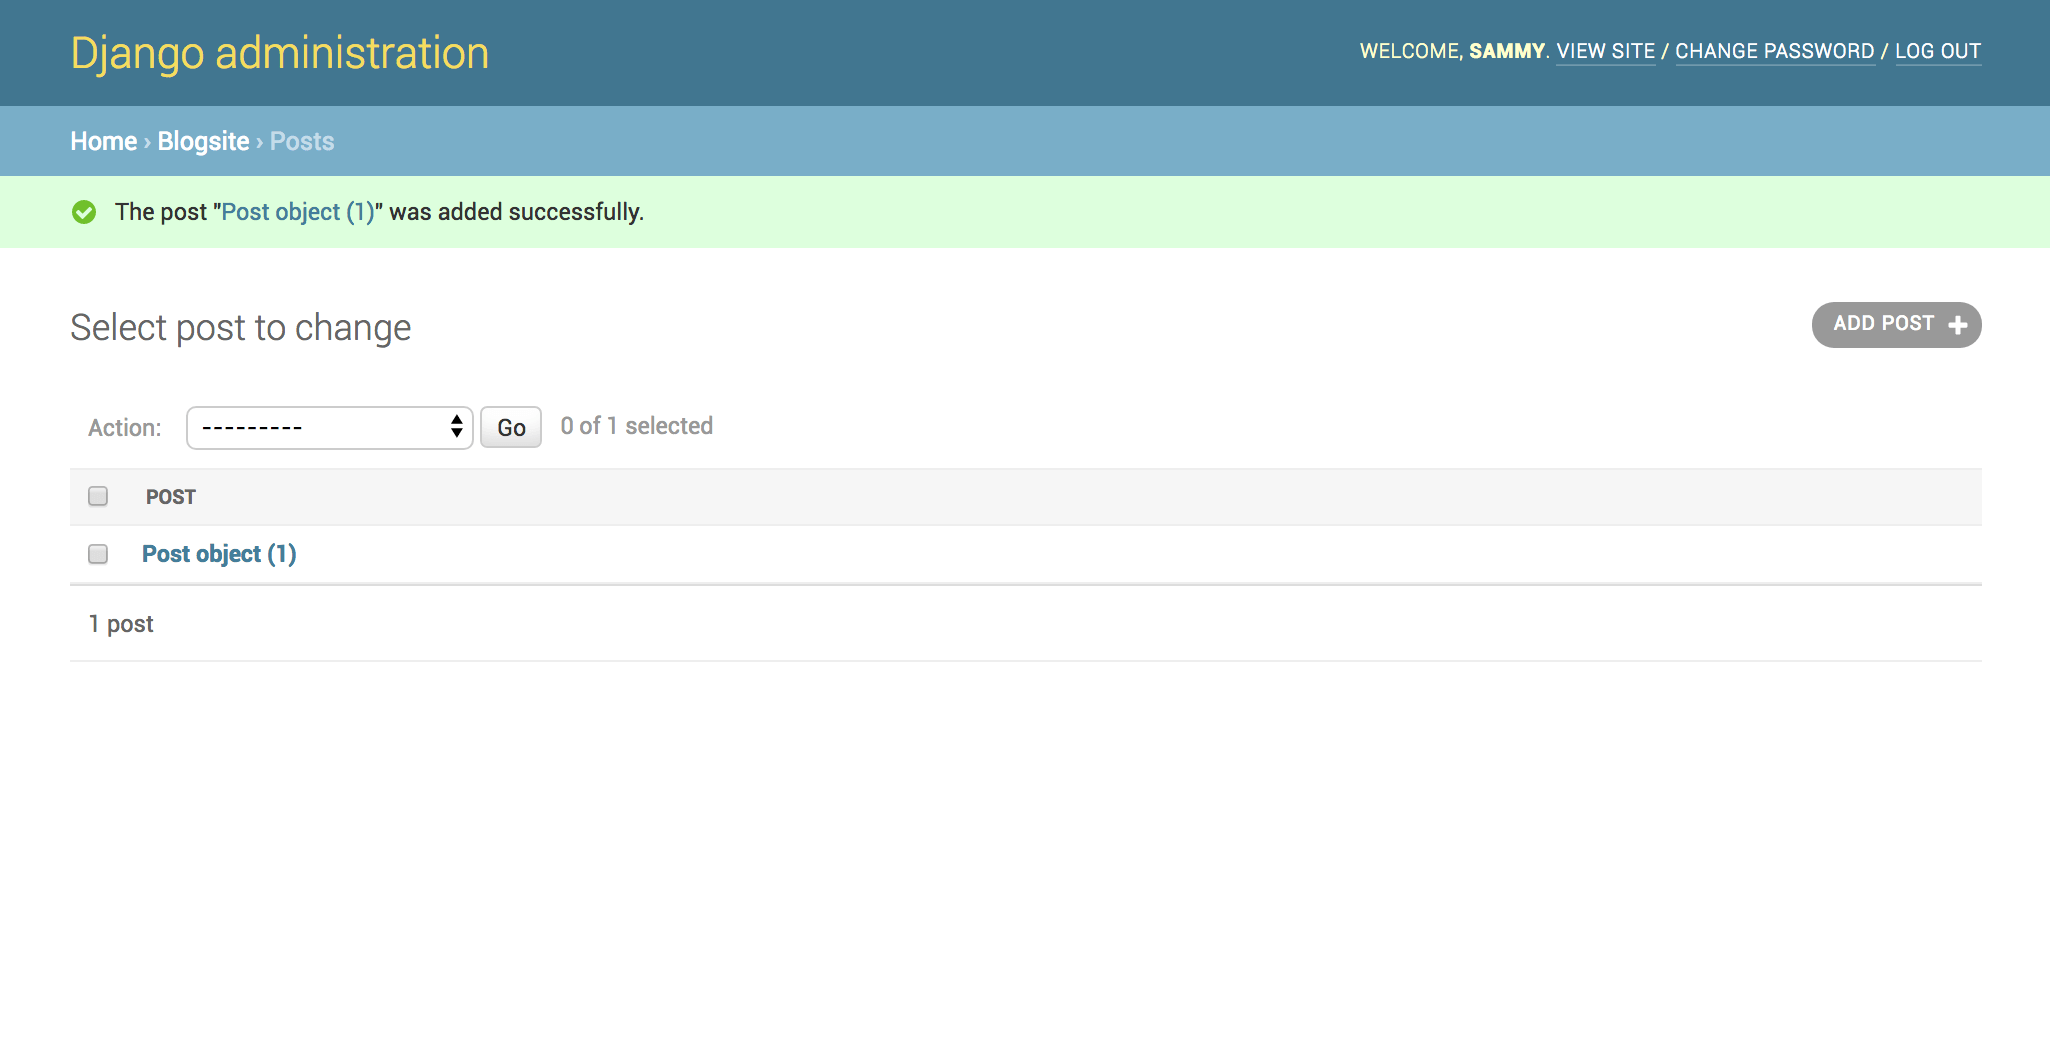
Congratulations! You’ve created your first blog post!
Next, let’s verify that it has added a row to the MySQL database that contains the data we just entered into the admin interface.
Step 4 — Display Database Data
At this point, we need to move into MySQL, so stop the current server process via the terminal by typing CTRL + C, then open up your MySQL interpreter. Our user for our Django app’s database is djangouser, but be sure to use the right user for your project.
- mysql -u djangouser
Once you’re in the MySQL prompt, move into the blog_data database (or the database that is correct for your project):
- use blog_data;
Then display the contents of the blogsite_post table.
- select * from blogsite_post;
You’ll receive output similar to the following, which should display the information you added into the admin user interface.
Output+----+--------------------+--------------------+---------------+----------------------------+--------+
| id | title              | slug               | content       | created_on                 | author |
+----+--------------------+--------------------+---------------+----------------------------+--------+
|  1 | My First Blog Post | my-first-blog-post | Hello, World! | 2020-05-14 00:30:03.186564 | Sammy  |
+----+--------------------+--------------------+---------------+----------------------------+--------+
1 row in set (0.00 sec)
As shown in the output, there’s a row with the data for the post we’ve added. Let’s now reference this data into the view function for posts. Use CTRL + D to exit the MySQL interpreter.
Navigate to the location of the views.py file inside of your blogsite app.
- cd ~/my_blog_app/blog/blogsite
Now open the file so that we can include our new data.
- nano views.py
Edit the file to be the same as the file below.
from django.shortcuts import render
from django.http import HttpResponse
from .models import Post


def index(request):
    return HttpResponse('Hello, welcome to the index page.')

def individual_post(request):
    recent_post = Post.objects.get(id__exact=1)
    return HttpResponse(recent_post.title + ': ' + recent_post.content)
In the code above, we added an additional import statement for Post. We also removed the quoted string from the HttpResponse and replaced it with the data from our blog post. To reference data for a particular object, we’re using the blog post ID associated with the object we’d like to show, and we’re storing that ID in a variable called recent_post. We can then get particular fields of that object by appending the field with a period separator.
Once you have saved and closed the file, navigate to the location of the manage.py file to run the Django app.
- cd ~/my_blog_app/blog
- python manage.py runserver 0.0.0.0:8000
From a web browser, navigate to the following address:
your-server-ip:8000/post/
Here, we’ll see the changes we have made; the page will be similar to this, displaying the text you added to the post.
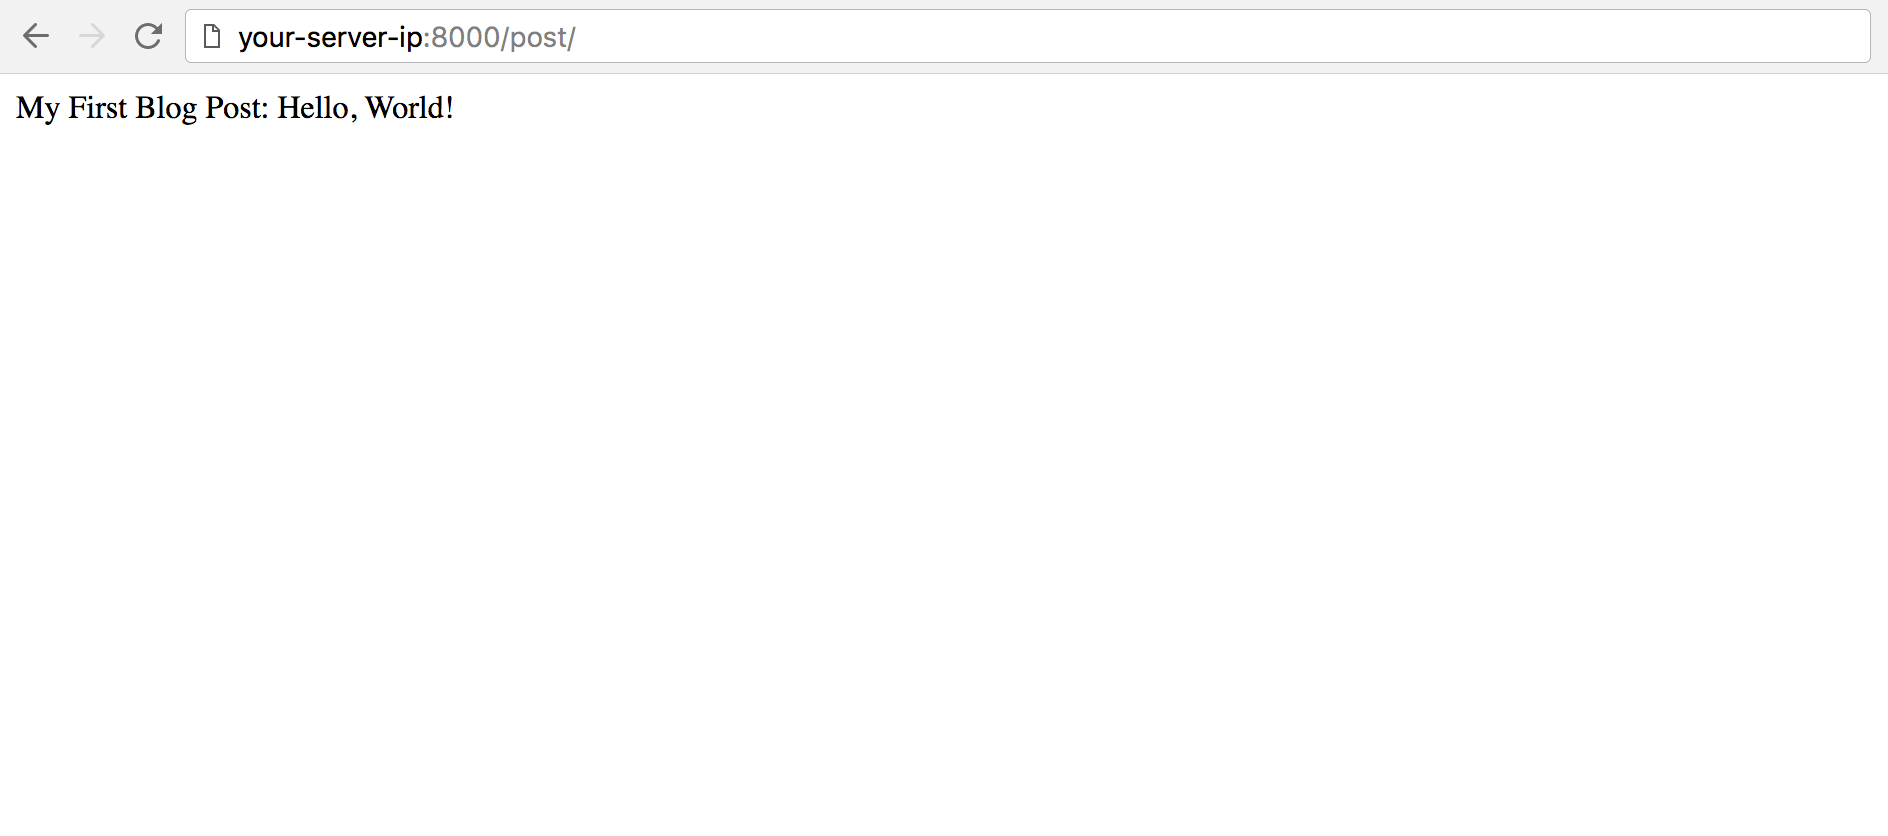
When you’re finished inspecting the page, press CTRL + C in the terminal to stop the process from running.
To deactivate your programming environment, you can type the deactivate command and then exit the server.
Conclusion
In this tutorial we have created views, mapped URL patterns, and displayed text on a web page from our blog post database.
The next tutorial will cover how to actually make this more aesthetically pleasing by using HTML to create Django templates. So far, this series has covered Django models and Django views. Templates are the last crucial part when it comes to the foundation of your Django application.
Thanks for learning with the DigitalOcean Community. Check out our offerings for compute, storage, networking, and managed databases.
Tutorial Series: Django Development
Django is a free and open-source web framework written in Python. Django’s core principles are scalability, re-usability and rapid development. It is also known for its framework-level consistency and loose coupling, allowing for individual components to be independent of one another. Don’t repeat yourself (DRY programming) is an integral part of Django principles.
Browse Series: 5 tutorials
About the author(s)
Software Engineer at DigitalOcean
Community and Developer Education expert. Former Senior Manager, Community at DigitalOcean. Focused on topics including Ubuntu 22.04, Ubuntu 20.04, Python, Django, and more.
Still looking for an answer?
This textbox defaults to using Markdown to format your answer.
You can type !ref in this text area to quickly search our full set of tutorials, documentation & marketplace offerings and insert the link!
I am doing as per your Django tutorial, In the last tutorial when I saved my first blog It didn’t save into the database. Can you please help on that.
Make sure you have double underscore in id__exact in ~/my_blog_app/blog/blogsite/views.py
I’m unable to get this to work. $ python manage.py runserver ip:8000**/post/** CommandError: “ip:8000/post/” is not a valid port number or address:port pair.
However, this one works: $ python manage.py runserver ip:8000
Quite a few typos in the tutorial.
This is really a helpful and clear tutorial. Thank you very much! I am looking forward to have the further tutorials!
 This work is licensed under a Creative Commons Attribution-NonCommercial- ShareAlike 4.0 International License.
Become a contributor for community
Get paid to write technical tutorials and select a tech-focused charity to receive a matching donation.

DigitalOcean Documentation
Full documentation for every DigitalOcean product.

Resources for startups and AI-native businesses
The Wave has everything you need to know about building a business, from raising funding to marketing your product.
The developer cloud
Scale up as you grow — whether you're running one virtual machine or ten thousand.

Start building today
From GPU-powered inference and Kubernetes to managed databases and storage, get everything you need to build, scale, and deploy intelligent applications.
