By Erin Glass
Senior Manager, DevEd

Introduction
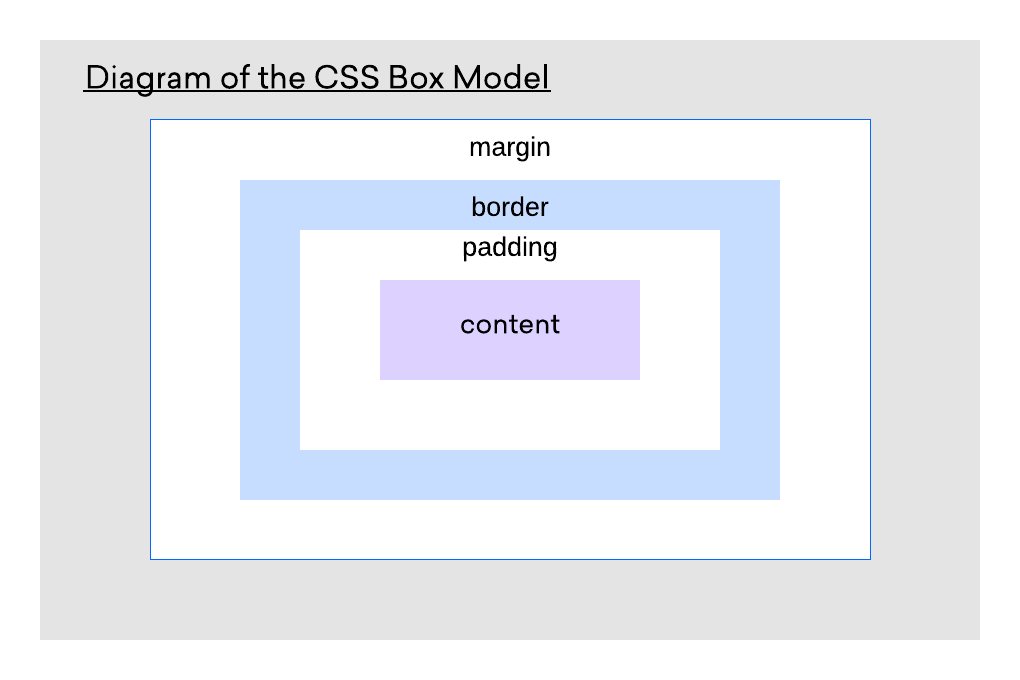
In this tutorial, you will learn about the CSS Box Model, a model used to refer to the content, padding, border, and margins of an HTML element. Understanding the CSS Box Model is helpful for adjusting the size of any of these parts of an HTML element and understanding how the size and position of elements is determined. This tutorial will begin by explaining each of the boxes of the CSS Box Model and then move on to a practical exercise on adjusting their values using CSS style rules.
Prerequisites
To follow this tutorial, make sure you have set up the necessary files and folders as instructed in a previous tutorial in this series How To Set Up You CSS and HTML Practice Project.
The CSS Box Model
An HTML element can be understood as a series of four overlapping boxes:
- The content box is the innermost box where the text or image content is placed. By default, its size is frequently set by the size of the content it contains. It is also the only box in the box model whose value is typically not zero by default (if it contains content); in contrast, the padding, border, and margin of an element default to zero for many HTML elements (such as
<p>,<h1>, and<img>elements) unless you specify otherwise. When you set values for the width and height of an element, you are typically changing the width and height of the content box. - The padding box is the second overlapping box, which consists of a transparent space that surrounds the content box. By default, the padding of many HTML elements is set to zero. Increasing the size of an element’s padding increases the distance between the content box and the border box.
- The border box is the third overlapping box that surrounds the padding box. By default, the border value of most HTML elements is set to zero. Increasing the size of an element’s border increases the distance between the padding box and the margin box. Note that the color, thickness, and style of the border can be adjusted.
- The margin box is the fourth and final overlapping box that consists of transparent space outside of the border of an element. By default, the margin value of some HTML elements is set to zero, though some elements have specified margin values as their default, such as the
<h1>through<h6>heading tags. Margins of two different elements are also allowed to overlap sometimes in a behavior called margin collapse. When this happens, the margin size defaults to the size of whichever element’s margin is the largest.
Now that you are familiar with the components of the CSS Box Model, you can practice styling these different boxes to explore how they work together to lay out and style an HTML element. You’ll start by creating a <div> element that contains text content and then adjust the values of each of these boxes to help demonstrate their location in an element.
Adjusting The Content Size of an HTML Element With CSS
First, make sure you have set up the necessary files and folders as instructed in a previous tutorial in this series How To Set Up You CSS and HTML Practice Project.
Erase everything in your styles.css file (if the file contains content from previous tutorials) and add the following CSS rule to your styles.css file:
.yellow-div {
  background-color:yellow;
}
Save the styles.css file. You have just created a class using the class selector yellow-div. Any <div> element you assign this class will have a yellow background color.
Next, erase all the content in your index.html file (except for the first line of code: <link rel="stylesheet" href="css/styles.css">) and add the following code snippet:
<div class="yellow-div">
Lorem ipsum dolor sit amet, consectetur adipiscing elit, sed do eiusmod tempor incididunt ut labore et dolore magna aliqua. Ut enim ad minim veniam, quis nostrud exercitation ullamco laboris nisi ut aliquip ex ea commodo consequat. Duis aute irure dolor in reprehenderit in voluptate velit esse cillum dolore eu fugiat nulla pariatur.
</div>
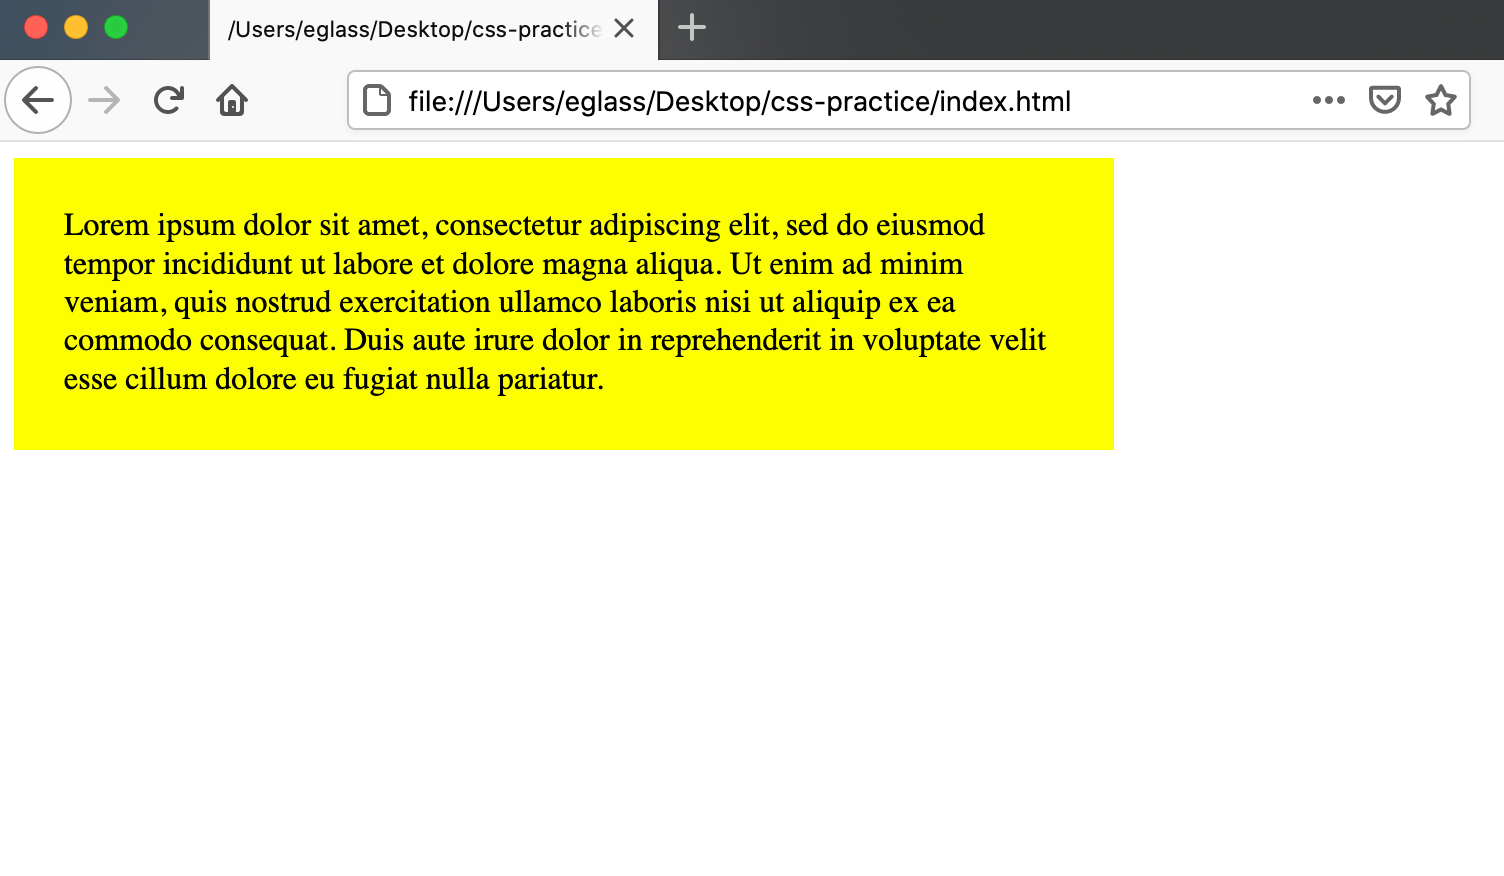
Save the file and load it in the browser. You should receive the following results:
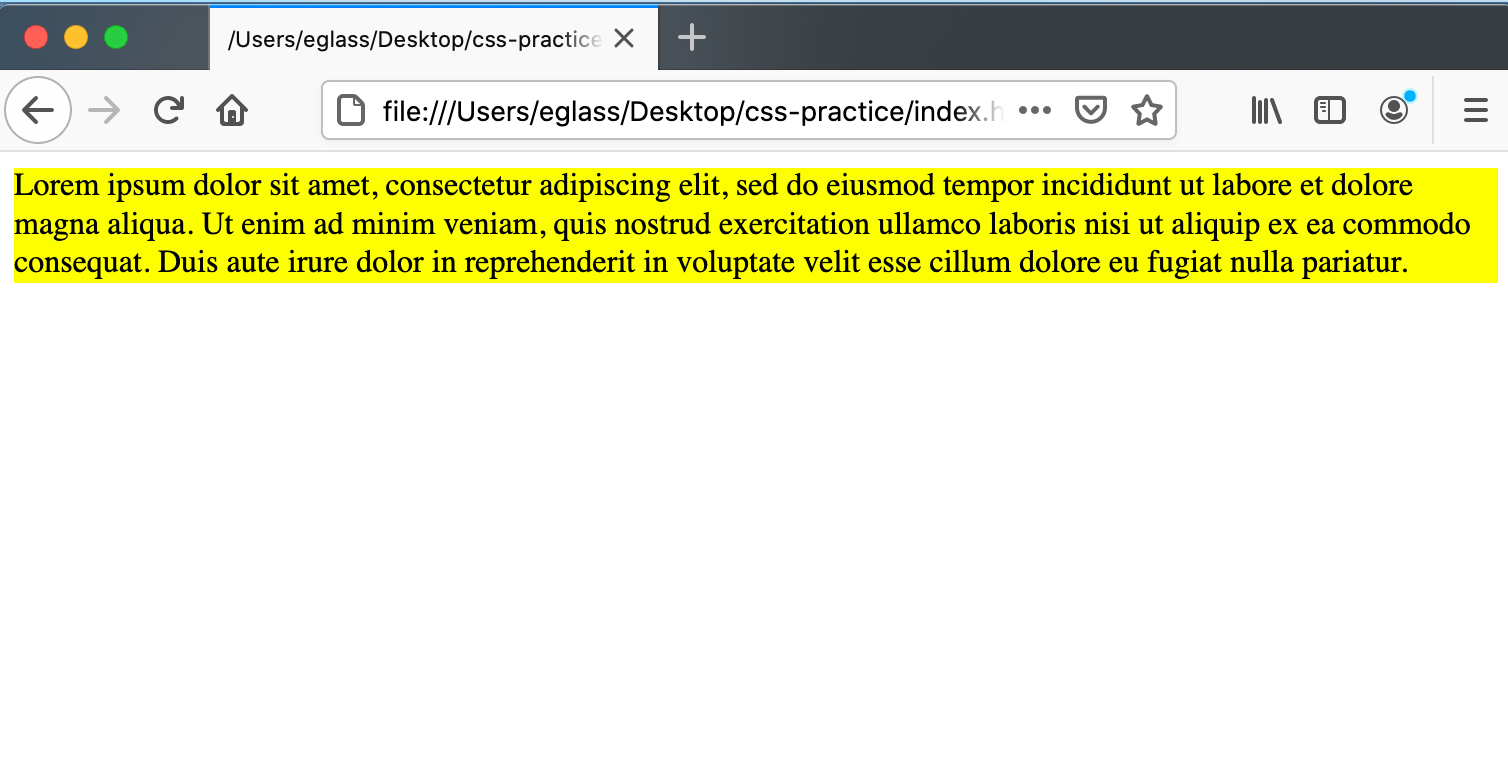
Your webpage should display a yellow box that contains the text content you added to the HTML file. Currently, only the innermost box—the content box—has a size and value; the padding, border, and margin are all set to zero. Notice also that the width and height of the yellow box is automatically determined by the size of the text content inside the <div> container. Try adding or subtracting text content to experiment with how the size of the <div> container changes accordingly.
Note: You can use Firefox’s Web Developer tools to view the box model of an HTML element and the values set for each box. Navigate to the Tools menu item in the top menu bar and select “Web Developer/Toggle Tools" from the dropdown menu. The Developer Tools should appear in the bottom of your window. Click the the arrow icon on the far left of the tool kit menu and then click on the element that you wish to inspect. The box model of the selected element will show up in the bottom right of the Developer Tools window pane. You may need to expand the window to view it.
Next, let’s specify the width of the <div> container to study how that changes the presentation of the element in the browser. Add the following highlighted line to your CSS rule in your styles.css file to set the width to 500 pixels:
.yellow-div {
  background-color:yellow;
  width: 500px;
}
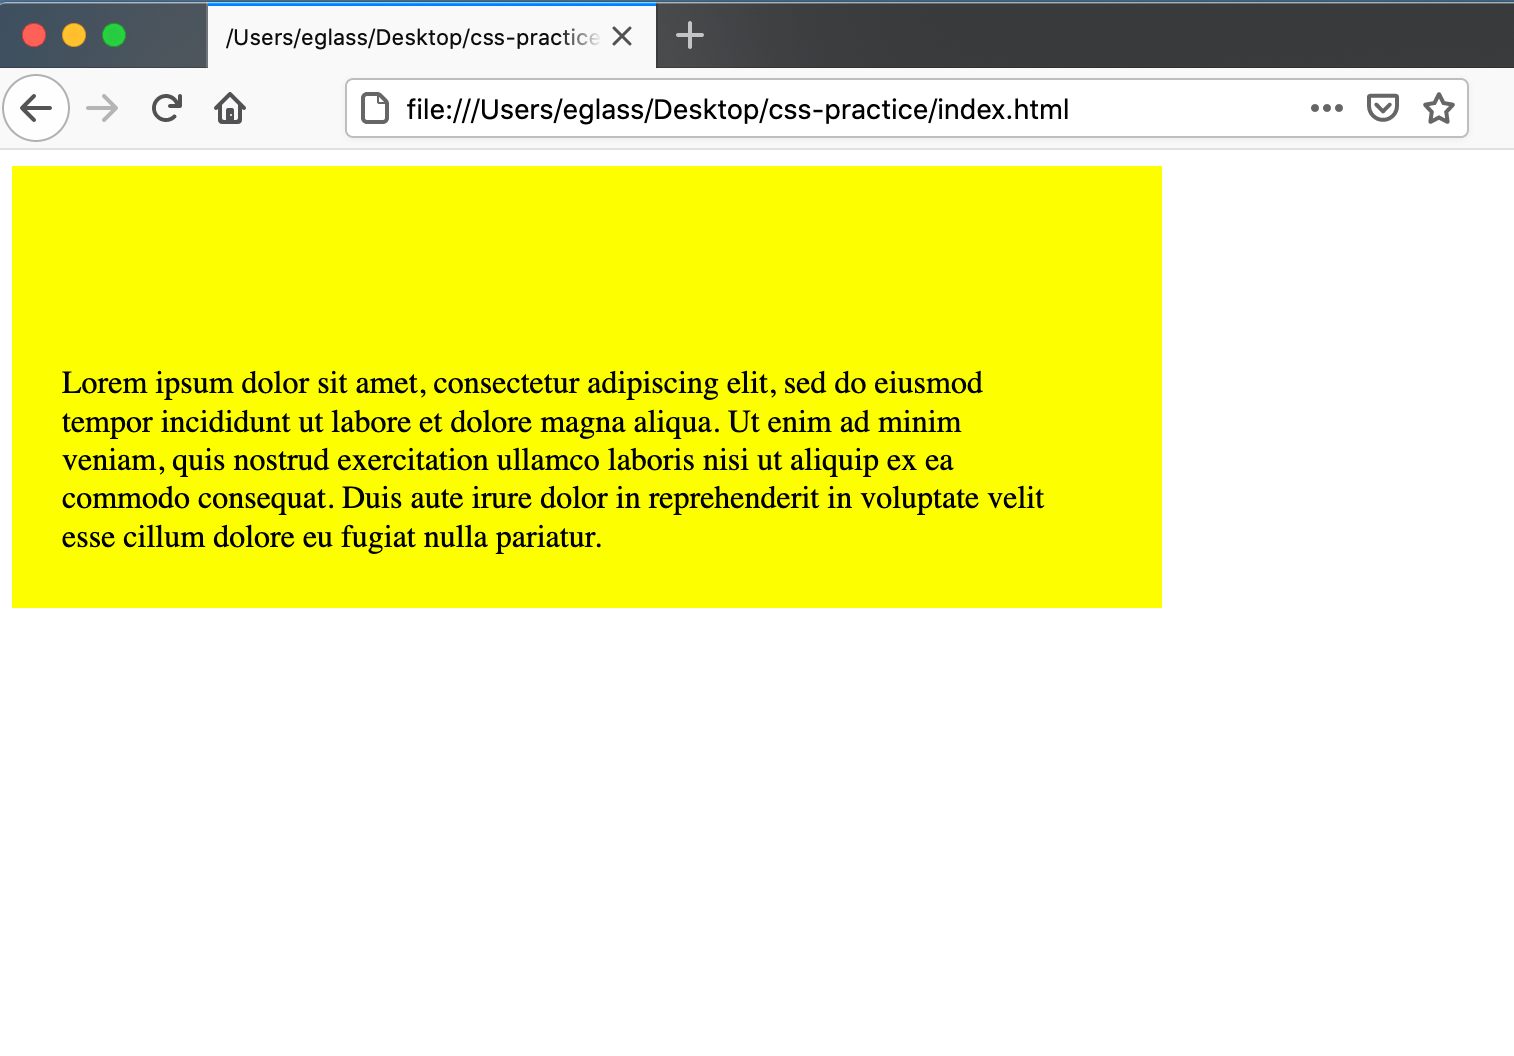
Save the file and load it in your browser. Your <div> container should now be 500 pixels wide, with its height automatically adjusting to allow the text content to fit inside:
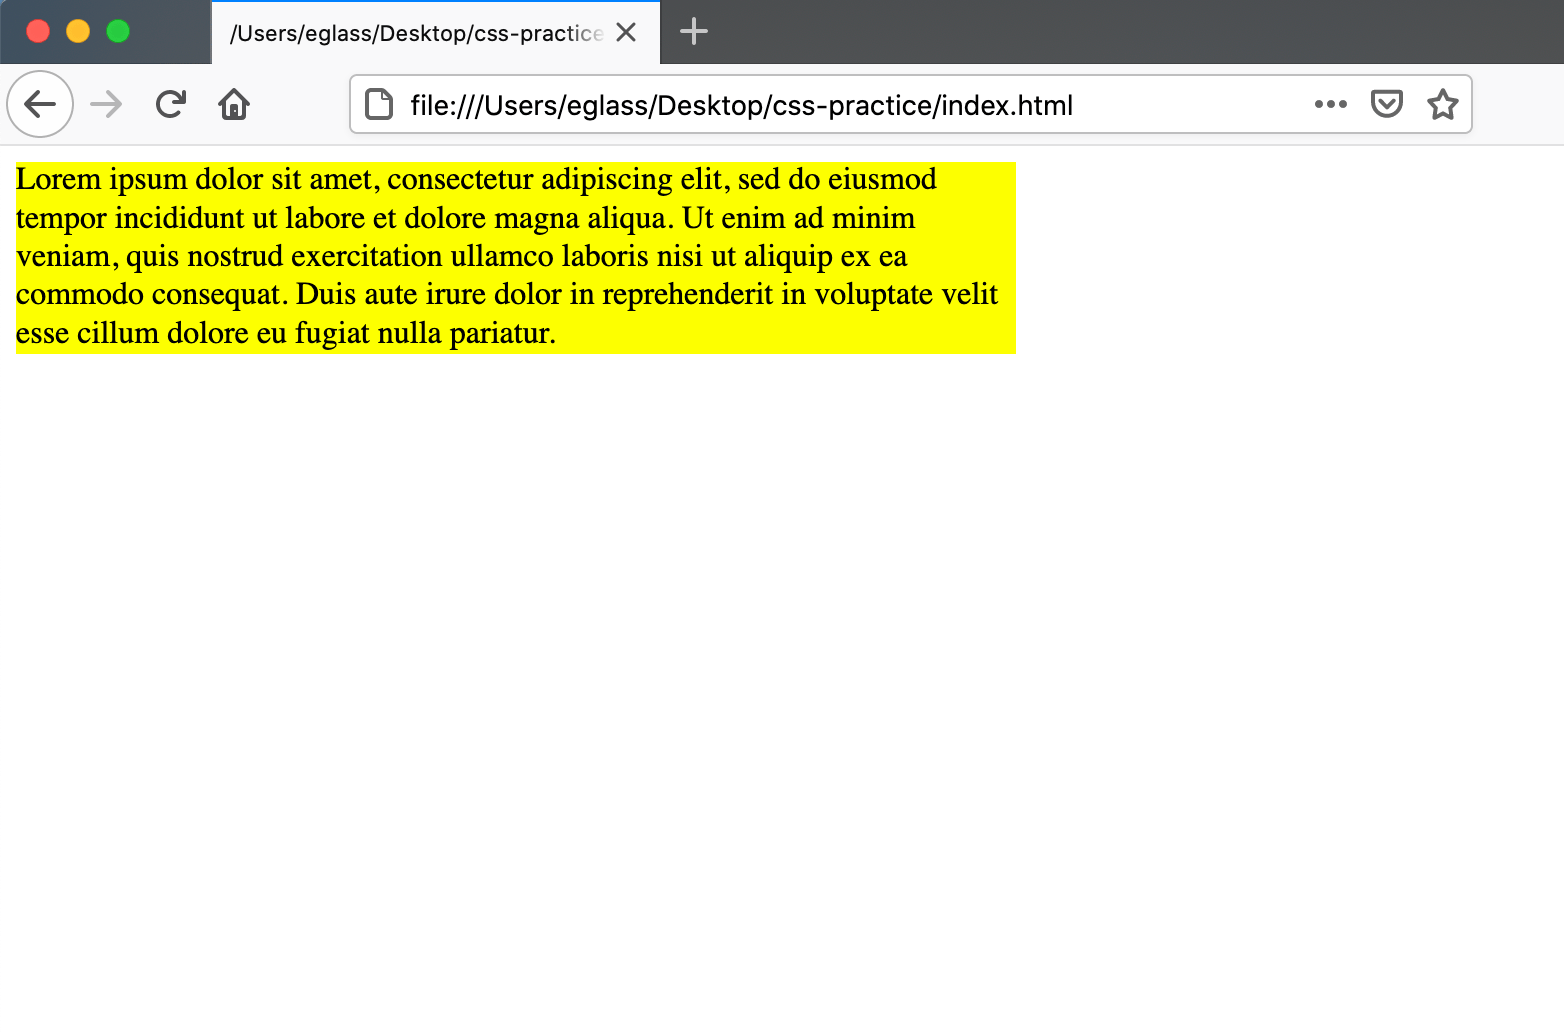
Note that you can also specify the height of a <div> element instead and allow for the width to adjust automatically. Or you can specify both the height and width, but be aware that the content will spill over the <div> container if the <div> element is too small.
How To Adjust the Padding Size of an HTML Element With CSS
Next, let’s increase the padding size to study how it changes the display of the <div> element. Add the following highlighted line to your CSS rule in your styles.css file to set the padding to 25 pixels:
[label styles.css]
.yellow-div {
  background-color:yellow;
  width: 500px;
  padding:25px;
}
Save the styles.css file and reload the index.html file in your browser. The size of the yellow box should have expanded to allow for 25 pixels of space between the text content and the perimeter of the box:
You can change the size of the padding by adjusting the padding value size. You can also change the padding size of specific sides of the element by using the following properties: padding-left, padding-right, padding-top, padding-bottom. For example, try replacing the declaration padding:25px; in your styles.css file with the highlighted snippet below:
[label styles.css]
.yellow-div {
  background-color:yellow;
  width: 500px;
  padding-left:25px;
  padding-right: 50px;
  padding-top: 100px;
  padding-bottom: 25px;
}
Save the styles.css file and load the index.html file in your browser. You should receive something like this:
Knowing how to specify padding sizes for individual sides of an element can be useful when arranging content on a webpage.
Adjusting the Border Size, Color, and Style of an HTML Element With CSS
Let’s now practice setting values for the border of an HTML element. The border property lets you set the size, the color, and the style (such as solid, dashed, dotted, inset, and outset) of an HTML element. These three values are set by assigning them to the border property like so:
selector {
  border: size style color;
}
Try adding the following highlighted declaration to add a solid black border that is five pixels wide:
.yellow-div {
  background-color:yellow;
  width: 500px;
  padding: 25px;
  border: 5px solid black;
}
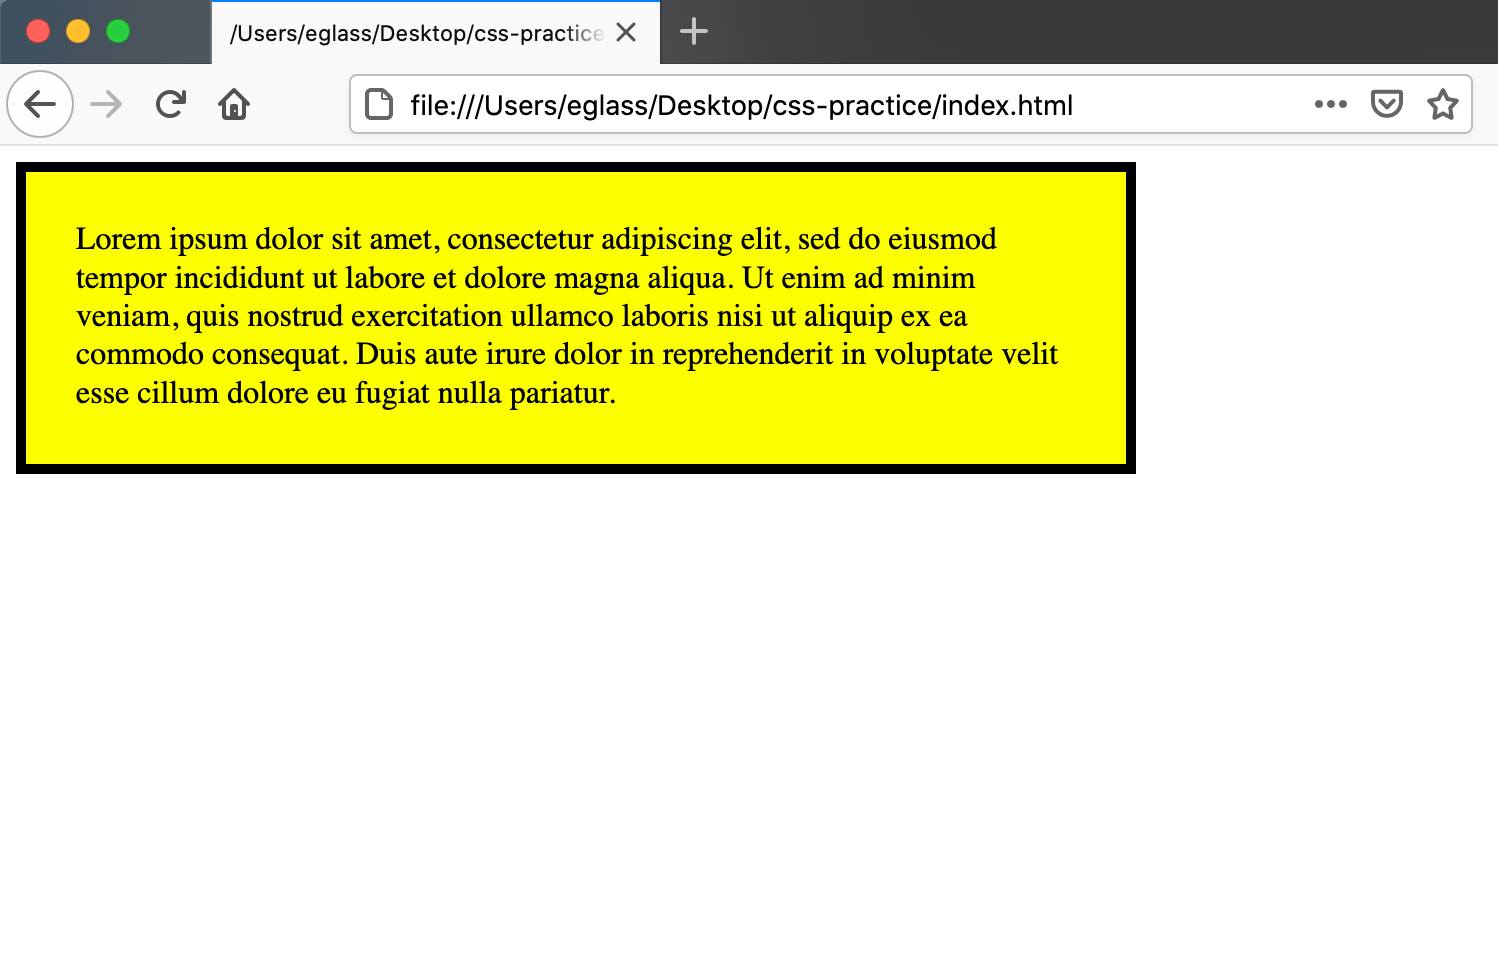
(You may want to erase your different padding declarations from the previous tutorial section and replace them with the single padding:25px; declaration to keep the ruleset manageable). Save the styles.css file and reload index.html in your browser to inspect the changes. Your yellow box should now have a border with the values you set in the CSS rule:
You can try changing the values to study how they change the display of the element in the browser. Like with padding, you can also specify the border side you’d like to adjust with the properties border-right, border-left, border-top, border-bottom.
Adjusting the Margin Size of an HTML Element With CSS
Next, let’s try adjusting the size of the margins of an element with CSS. In this exercise, we’ll give the margins a very large value so that it is easy to see how margin size is displayed in the browser. Add the following highlighted declaration to your ruleset in your styles.css file to set the margin to 100 pixels:
  .yellow-div {
  background-color:yellow;
  width: 500px;
  padding: 25px;
  border: 5px solid black;
  margin:100px;
}
Save the styles.css file and reload index.html in your browser to inspect the changes. The yellow box should have moved 100 pixels down and 100 pixels to the right to allow for the 100 pixels of margin space between its border and the edges of the viewport:
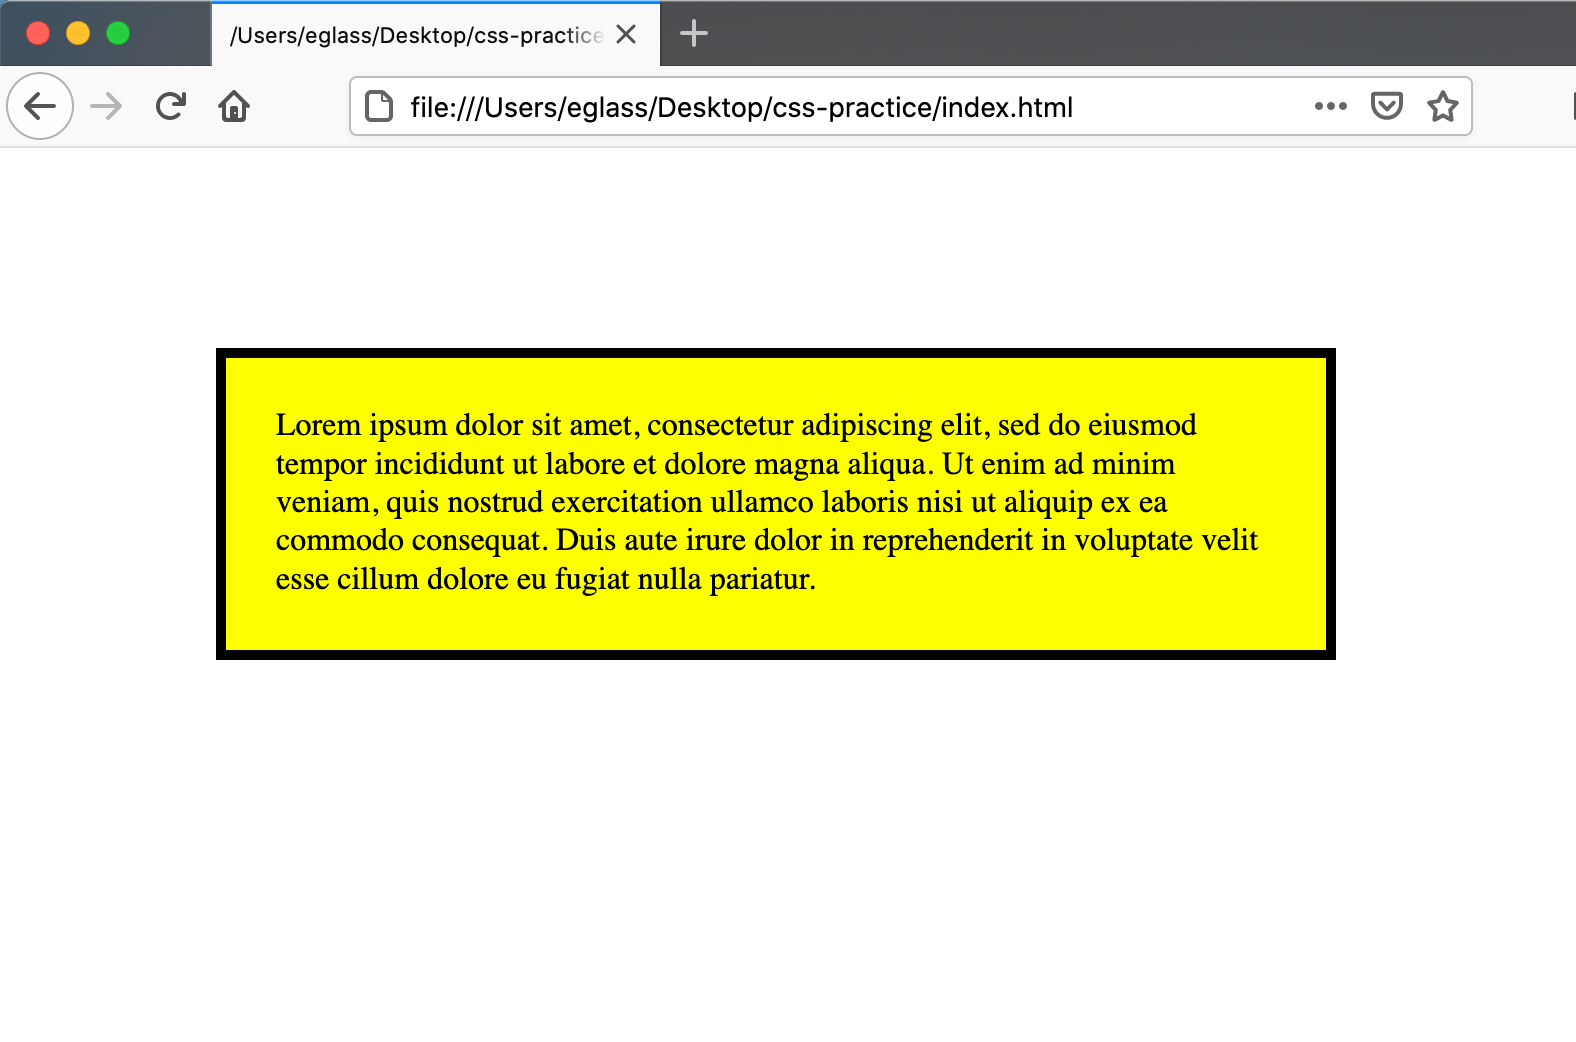
Note: You may have noticed that the yellow box originally had a small margin of white space between its top and left side and the edges of the viewport. This margin is automatically created by some browsers to allow for space between the edges of the viewport and the website content. You can remove this margin by setting the top and left margin to zero.
Like the padding and border, the sizes of specific sides of the margin can be set using margin-left, margin-right, margin-top, and margin-bottom.
Before moving on, add another <div> container to the page to study how the margin affects the position of nearby content. Without erasing anything, add the additional CSS ruleset to your styles.css file:
. . .
.blue-div {
  height:100px;
  width:100px;
  background-color: blue;
}
Save the file and return to your index.html file. Without erasing anything, add the following <div> element to your file and assign it the blue-div class:
…
<div class="blue-div"></div>
Save your index.html file and load it in the browser. You should receive something like this:
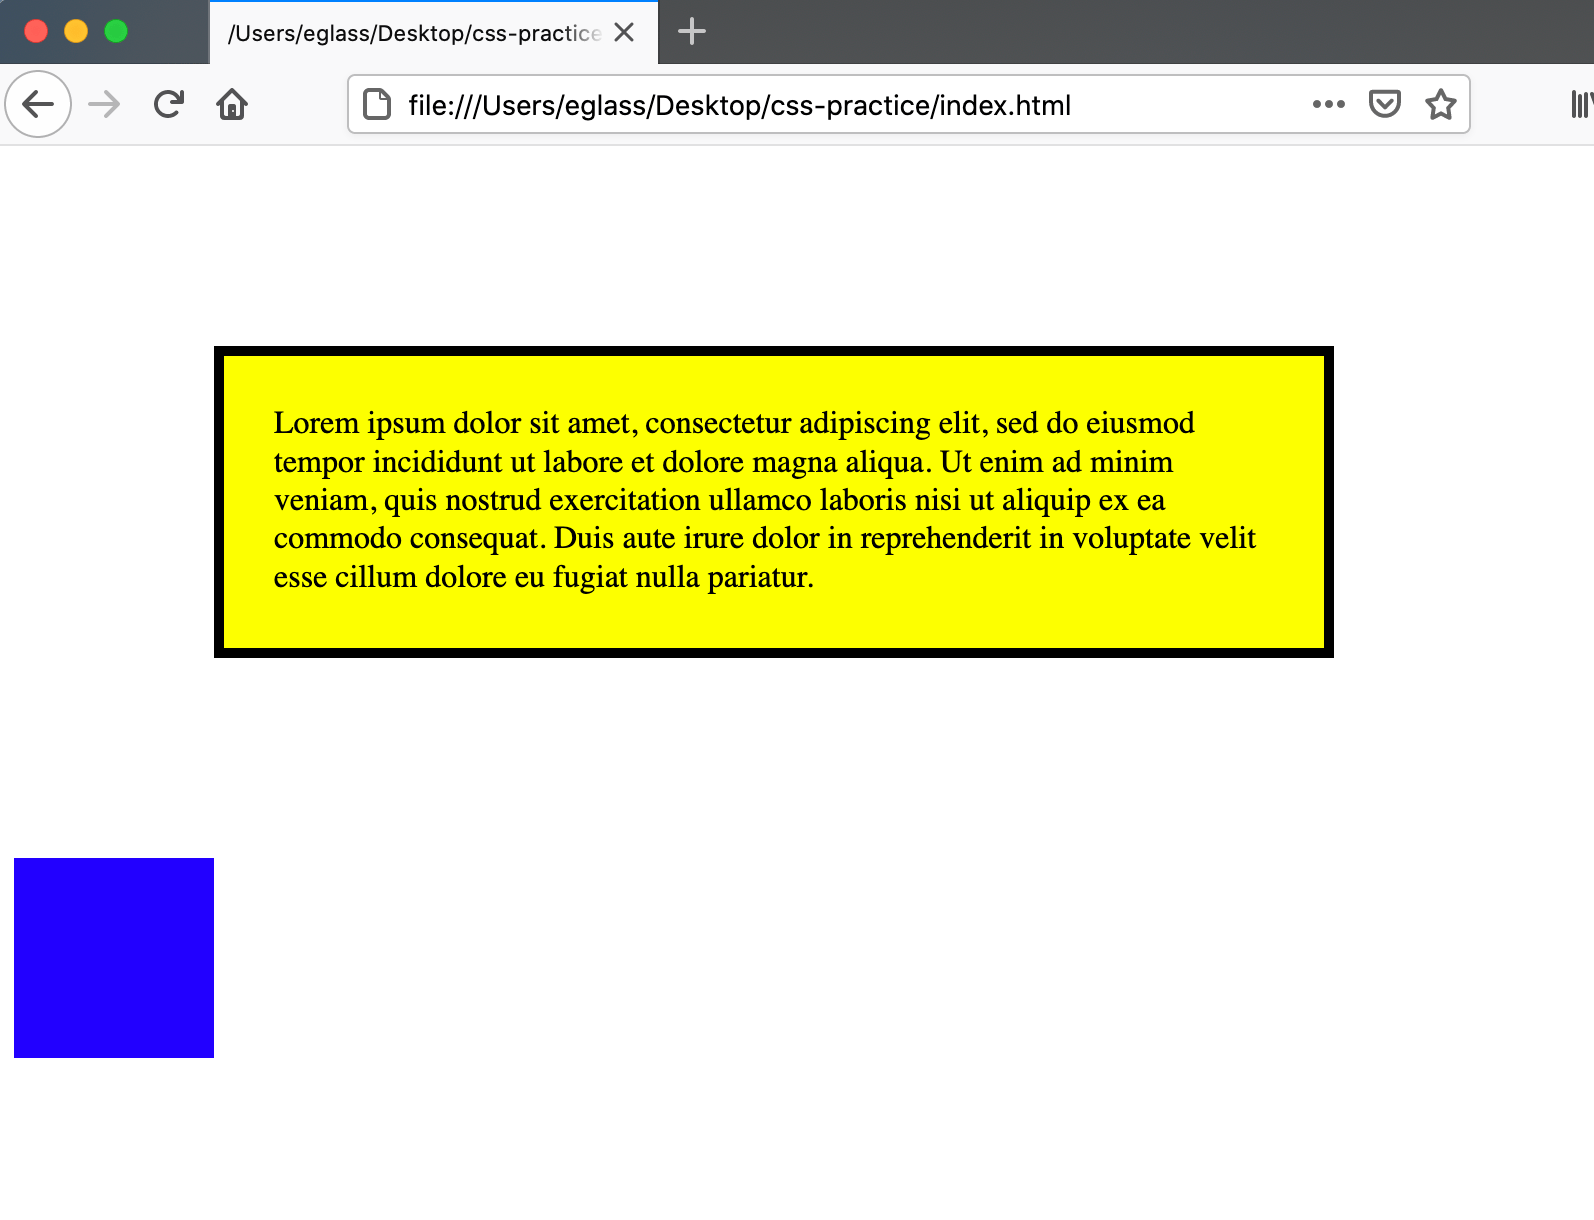
The browser should now display a blue box that is 100 pixels wide and 1000 pixels high. This blue box should be 100 pixels below the yellow box on account of the yellow box’s margin. In general, surrounding elements will by default be pushed away from an element on account of its margin. Be aware, however, that the margins of adjacent elements will often overlap due to margin collapse. The size of the overlapping margin is determined by the size of the largest margin between the two elements.
Conclusion
In this tutorial you learned about the CSS box model and how to adjust the size of each of its content, padding, border, and margin properties. Understanding the behavior of these properties and how to set values for them is useful when organizing and styling content on a webpage. This knowledge will be useful when building the demonstration website in the remaining tutorials. In the next tutorial, you will set up an index.html file to serve as the website’s homepage.
Thanks for learning with the DigitalOcean Community. Check out our offerings for compute, storage, networking, and managed databases.
Tutorial Series: How To Build a Website With CSS
This tutorial is part of a series on creating and customizing this website with CSS, a stylesheet language used to control the presentation of websites. You may follow the entire series to recreate the demonstration website and gain familiarity with CSS or use the methods described here for other CSS website projects.
Before proceeding, we recommend that you have some knowledge of HTML, the standard markup language used to display documents in a web browser. If you don’t have familiarity with HTML, you can follow the first ten tutorials of our series How To Build a Website With HTML before starting this series.
Browse Series: 20 tutorials
About the author
Open source advocate and lover of education, culture, and community.
Still looking for an answer?
This textbox defaults to using Markdown to format your answer.
You can type !ref in this text area to quickly search our full set of tutorials, documentation & marketplace offerings and insert the link!
That is not working
<!DOCTYPE html>

<img src="/data/image/en/welcome.png" alt="" height="756" width="1536">

.yellow-div {
  margin:0px;
}
 This work is licensed under a Creative Commons Attribution-NonCommercial- ShareAlike 4.0 International License.
Become a contributor for community
Get paid to write technical tutorials and select a tech-focused charity to receive a matching donation.

DigitalOcean Documentation
Full documentation for every DigitalOcean product.

Resources for startups and AI-native businesses
The Wave has everything you need to know about building a business, from raising funding to marketing your product.
The developer cloud
Scale up as you grow — whether you're running one virtual machine or ten thousand.

Start building today
From GPU-powered inference and Kubernetes to managed databases and storage, get everything you need to build, scale, and deploy intelligent applications.
